When photographing in very dark environments, the camera’s light meter is usually unable to suggest a starting exposure. It can be a tedious exercise of trial and error to determine the best exposure to use.
Waiting 15 or 20 minutes for an exposure to finish, and then an additional 15 or 20 minutes for Long Exposure Noise Reduction, can be very frustrating if the end result is an image that is considerably under- or over-exposed. Waiting that long for an image only to find out that the shot was not properly focused, or that the camera was not level, isn’t any better.
To take some of the guesswork out of calculating long exposures, and to save time in doing so, I developed a simple method for testing exposures at high ISOs.
High ISO testing
The aim of High ISO test exposures is two-fold. The first is to quickly determine the correct exposure in moonlight or other very dark situations. High ISO testing is not very useful in situations where the final exposure will be less than about 2 minutes.
The second purpose is to confirm focus, composition and camera alignment, and to make sure there are no unintended distractions in the frame. Using this procedure will save you a lot of time and will eliminate a lot of frustration in the field.
Testing is performed by raising the ISO 6 stops above your camera’s native ISO. This is because there are six stops of exposure between 1 second and 1 minute, and using this formula allows for a direct translation from testing exposure in seconds to final exposure in minutes. This greatly simplifies exposure calculation, and as a result:
The number of seconds in a High ISO test exposure equals the number of minutes at the native ISO at the same aperture.
For native 100 ISO cameras, the testing ISO is 6400
For native 200 ISO cameras, the testing ISO is 12,800
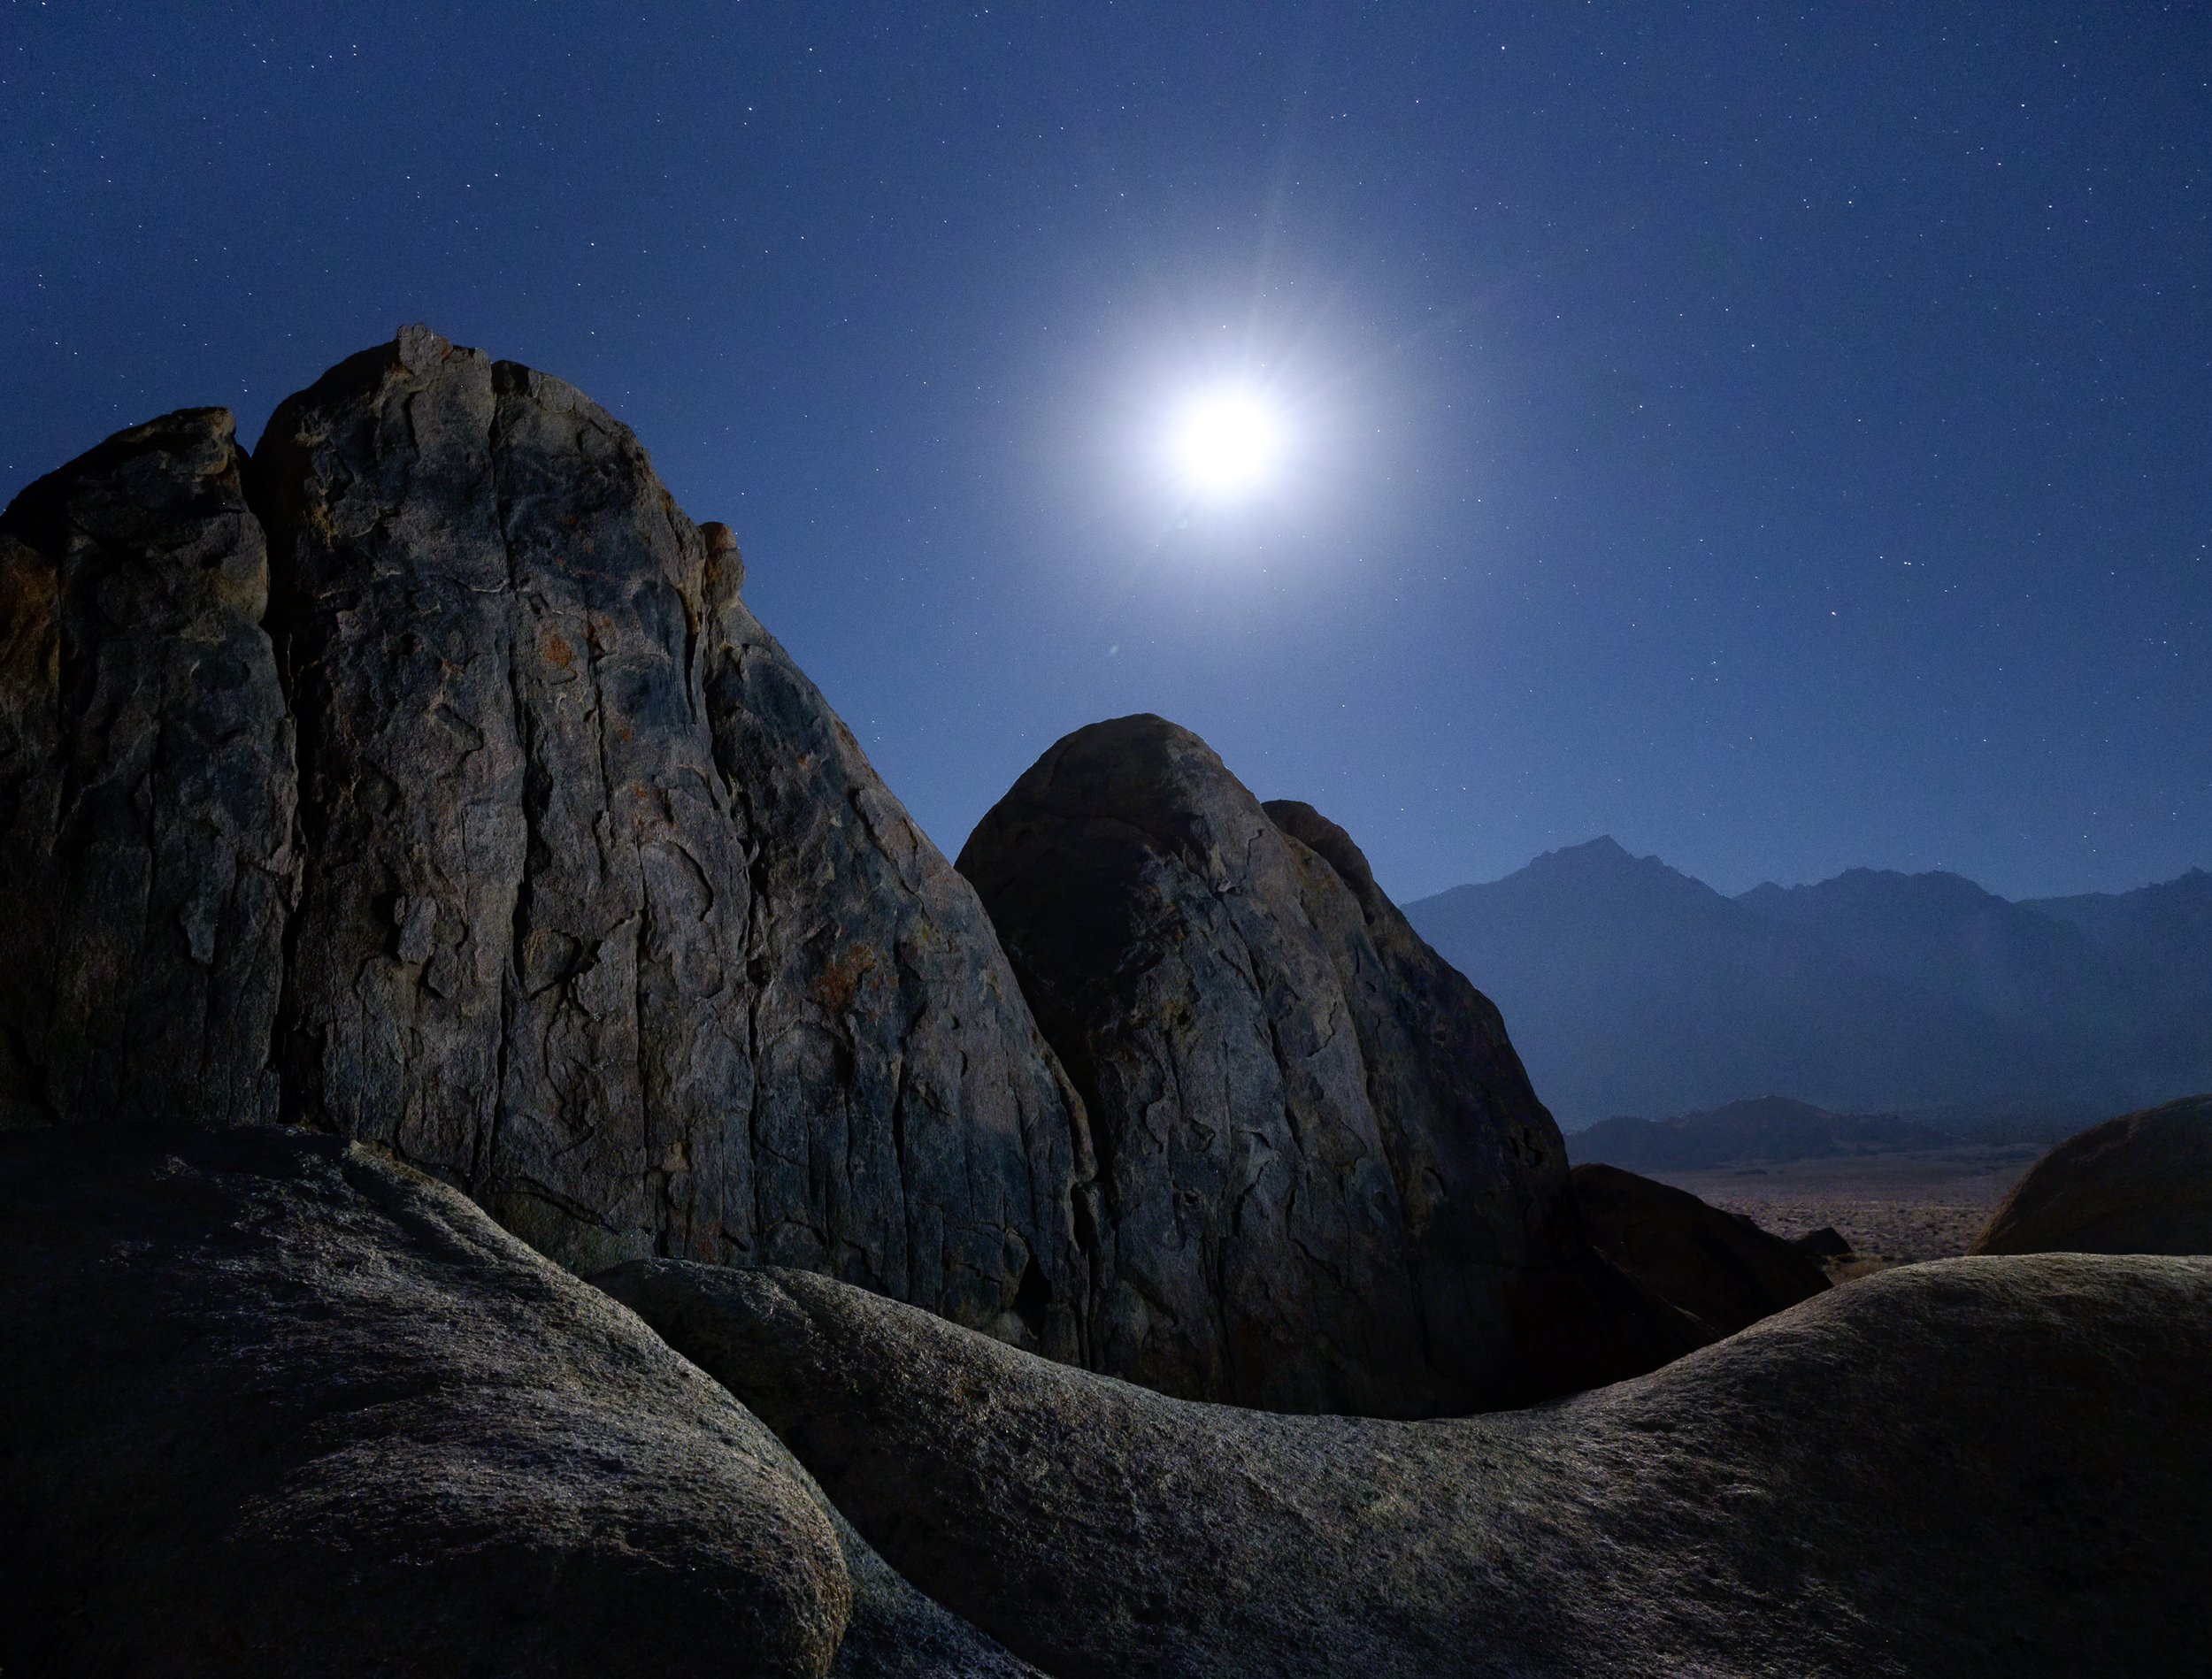
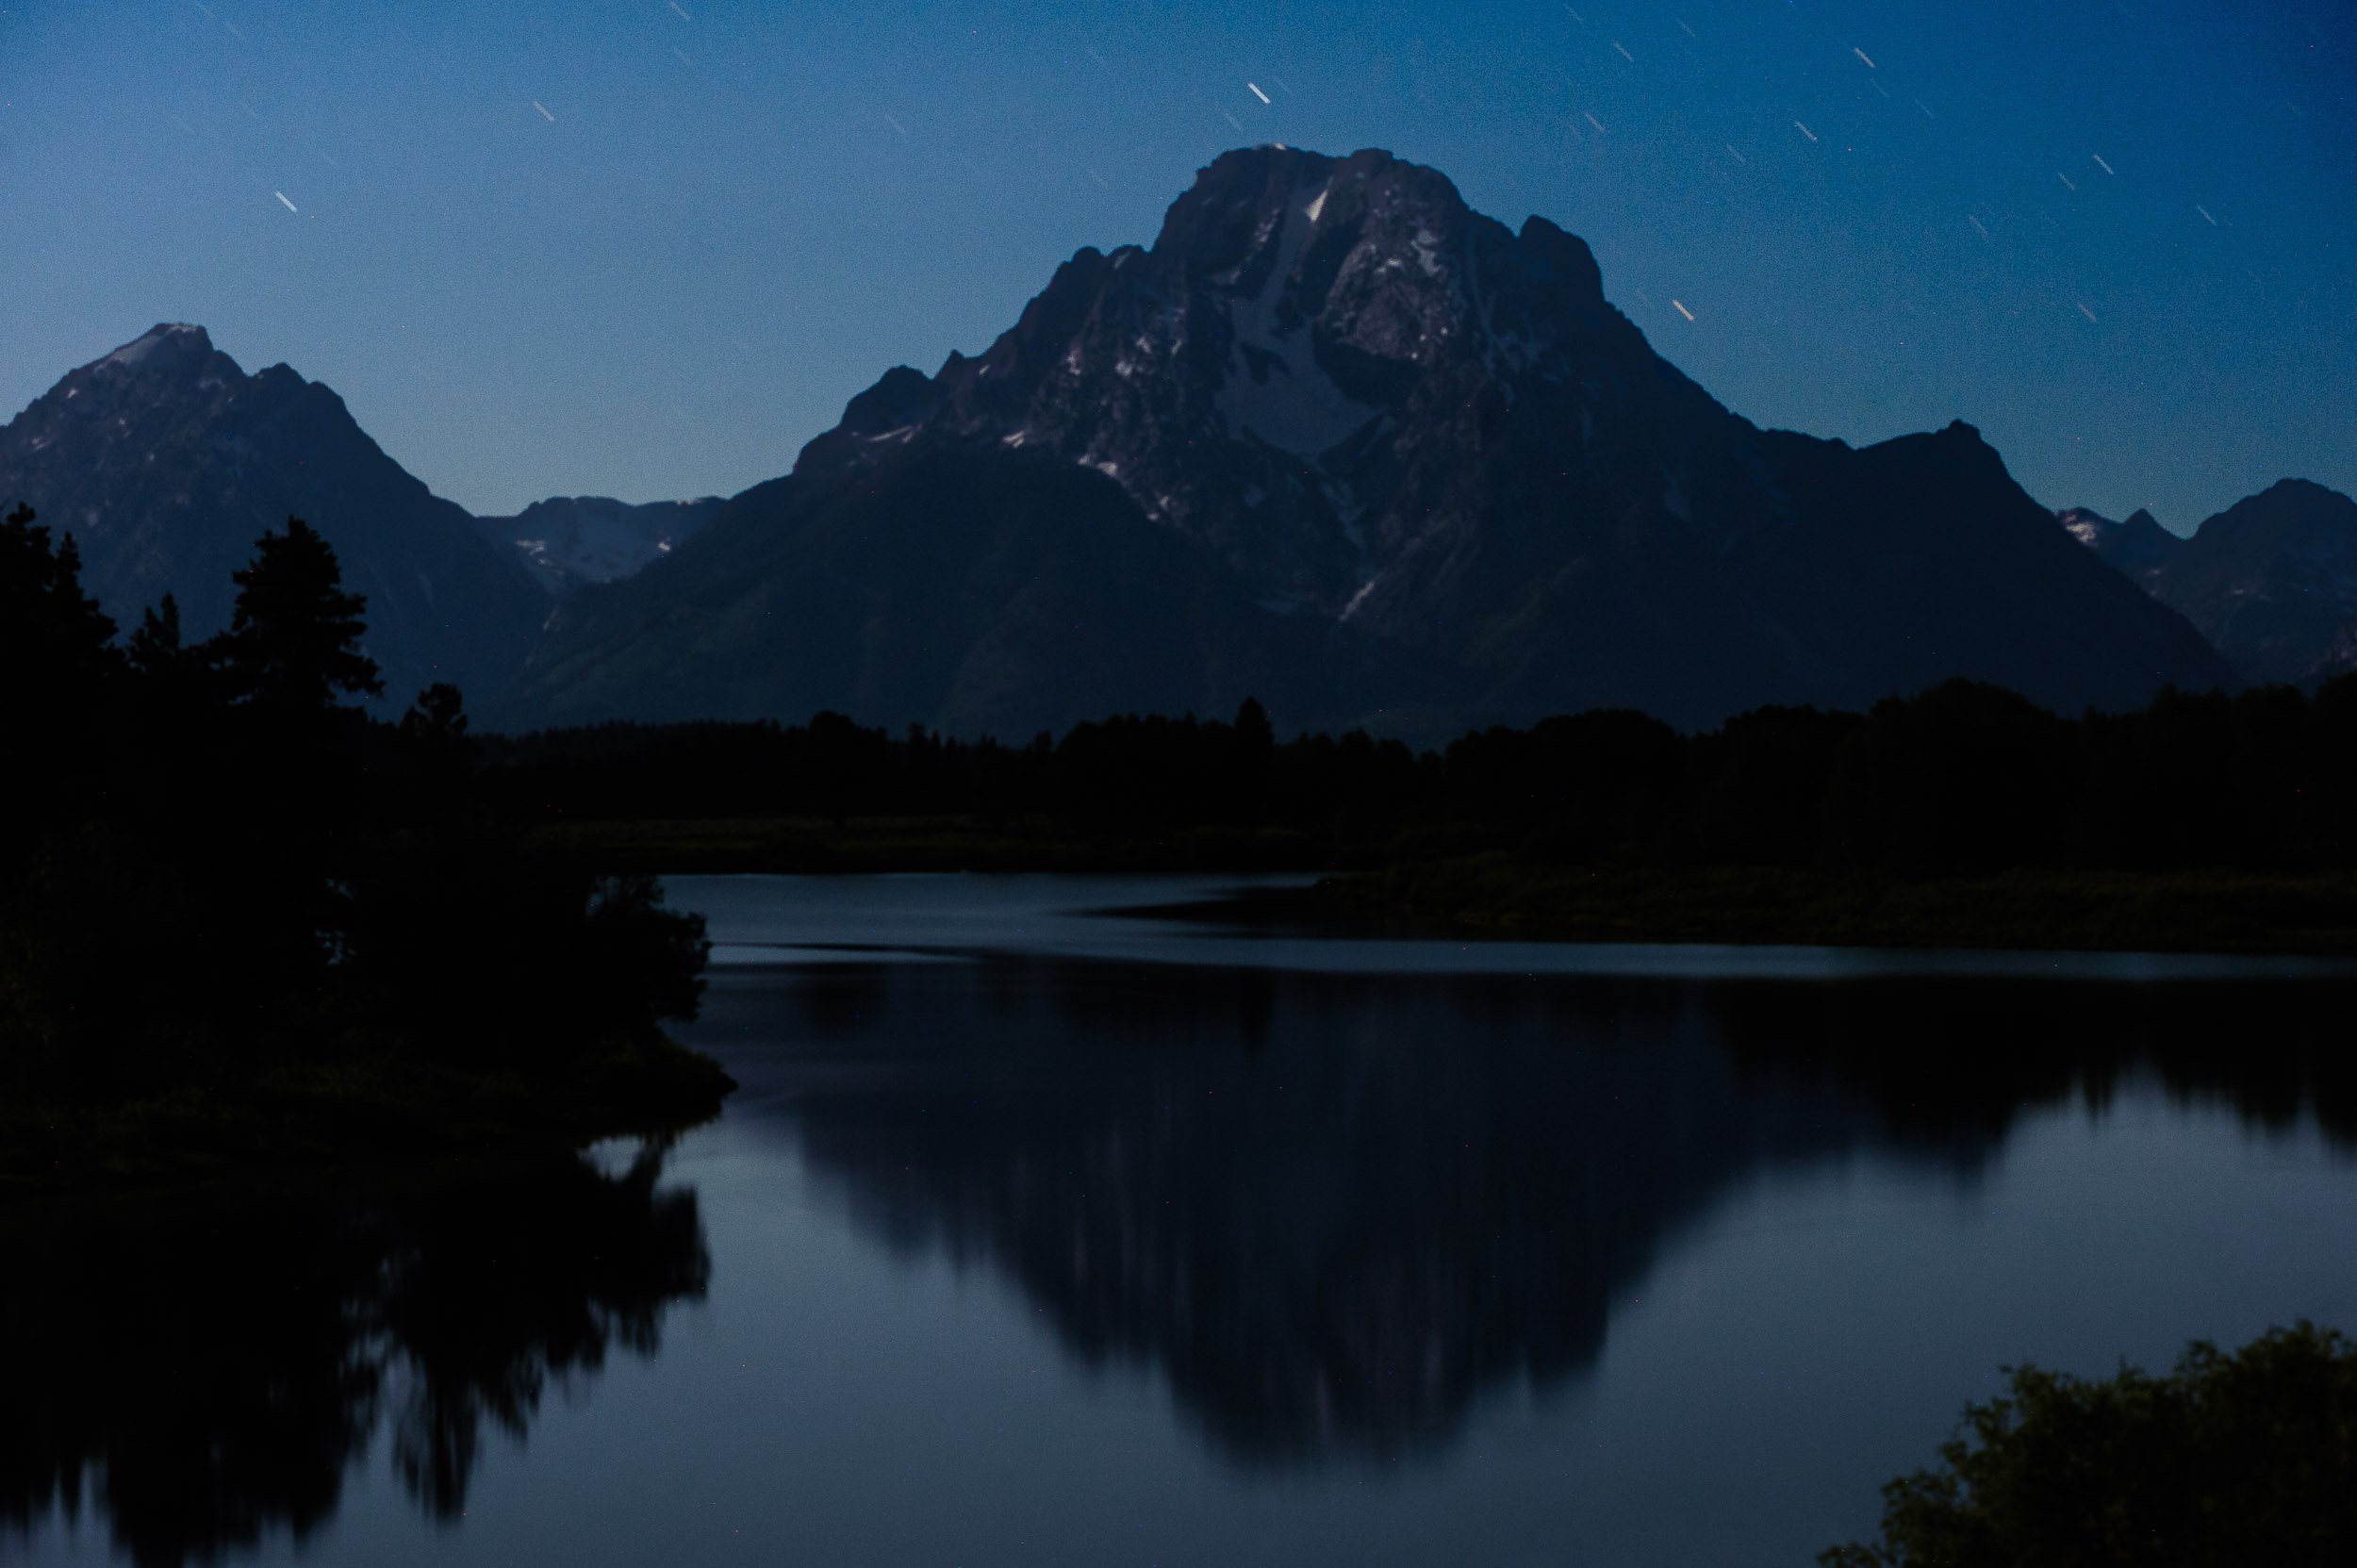
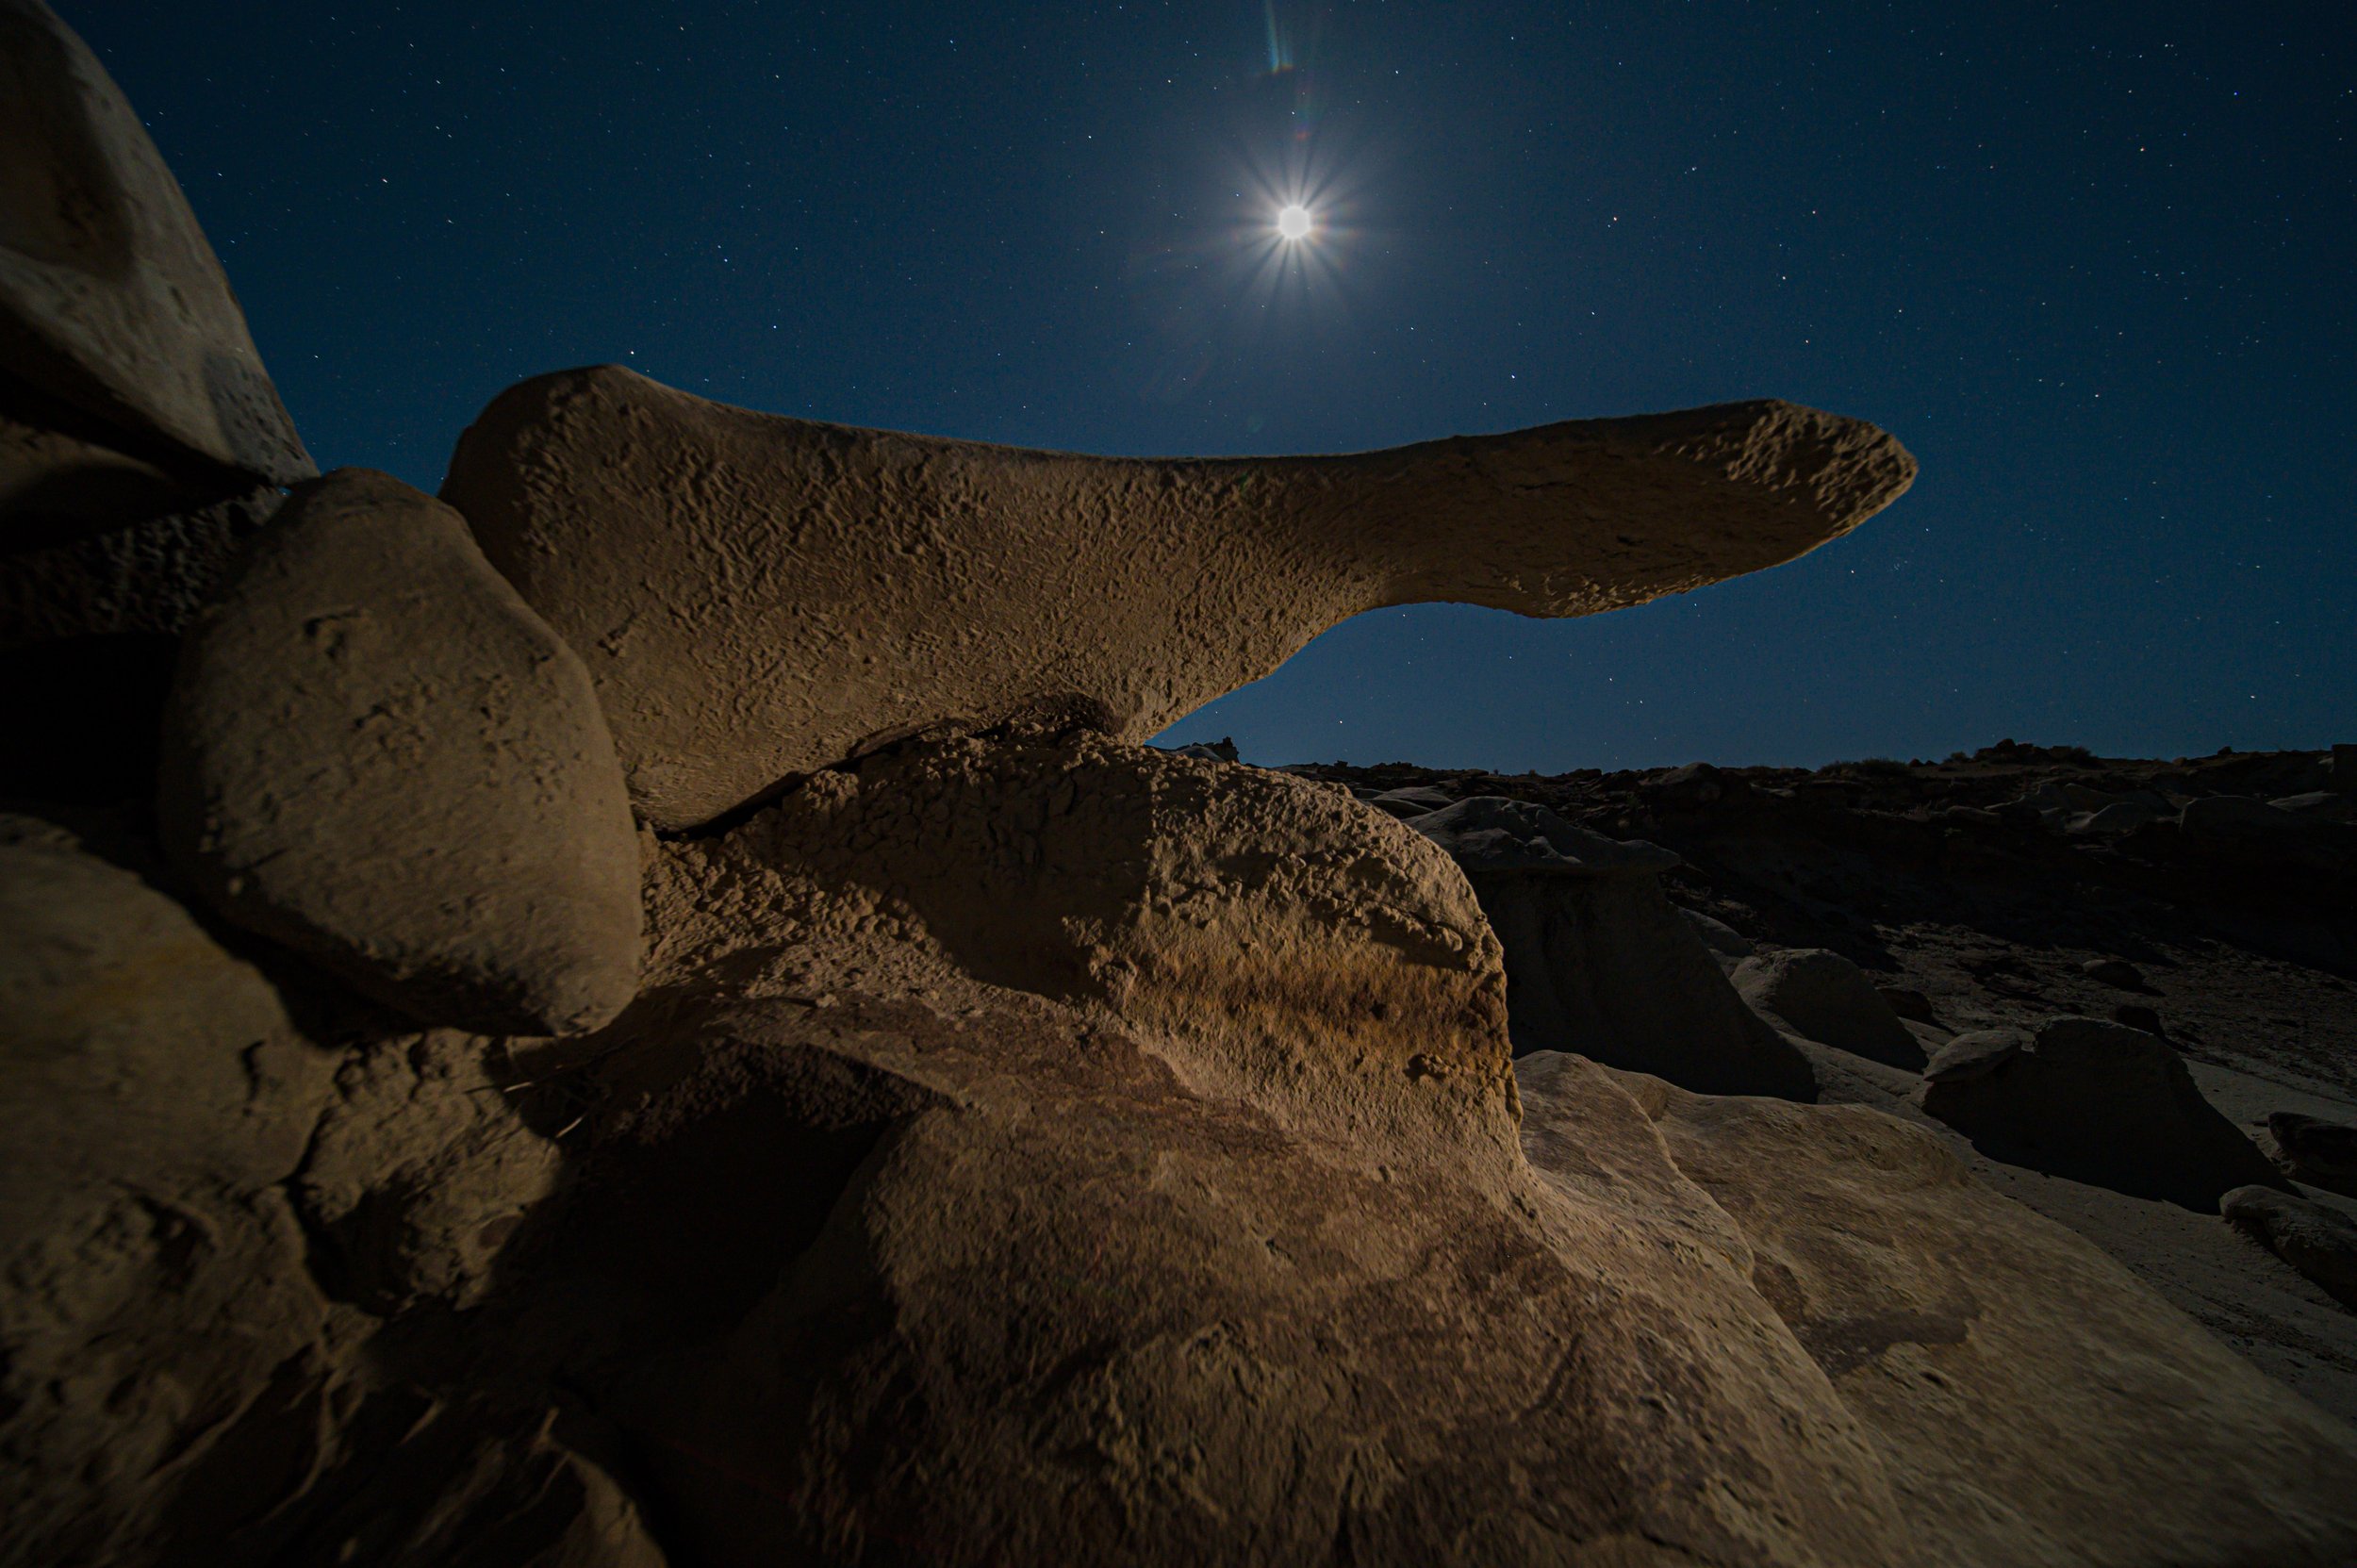
In moonlight or similar relatively low-contrast situations, using the histogram is the best way to determine exposure. A good starting point in full-moon conditions is 5 seconds, ISO 6400, f/8, or 3 seconds, ISO 12800, f/8. (Choose one depending on your ISO—see above.) This results in a quick exposure for testing composition, focus, etc. When you’re ready for the real shot, that exposure becomes 5 minutes, ISO 100, f/8, or 3 minutes, ISO 200, f/8.
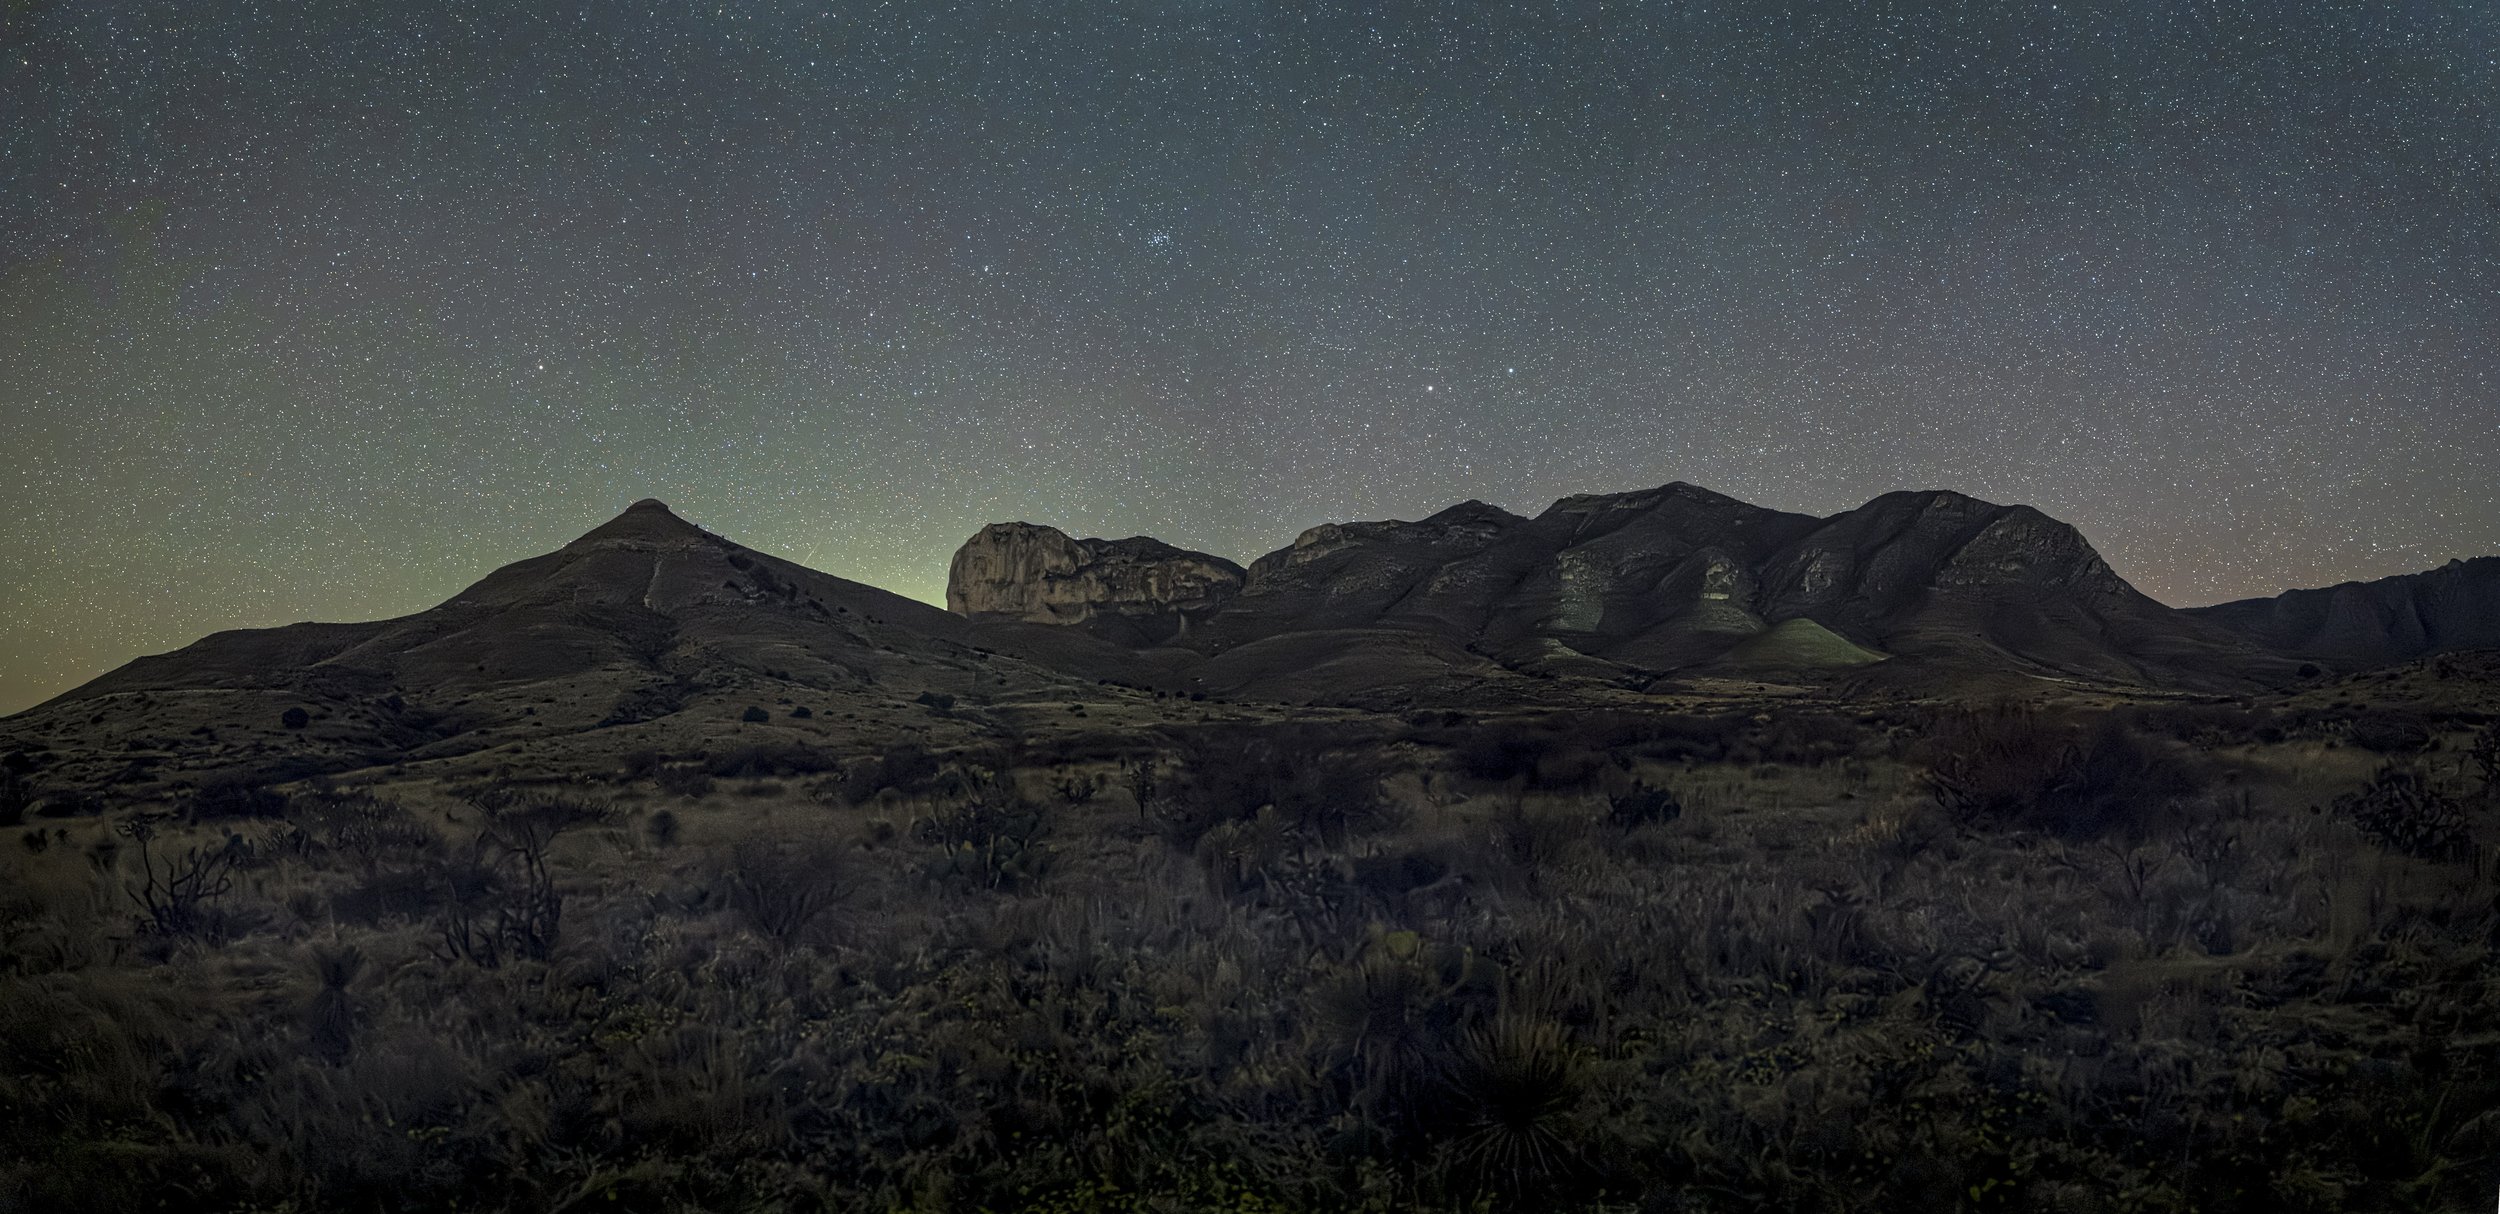
Just outside Big Bend National Park, I used a High ISO test (above) to get the image right with fast exposures, then reduced the ISO and lowered my shutter speed to get the final images (below).
Keep in mind that there is no one correct exposure, but many possibilities that will all yield different results. Use the exposure that best meets your needs based on your intended appearance of the final shot. In a moonlight-only image, a full, right-biased histogram may be best for optimal image quality. If you will be adding light to the shot, a better ambient exposure might be one that is just enough to avoid shadow clipping. In that case, the highlights will be provided by the added light, which will also push the histogram to the right. Simply increase or decrease the exposure until the desired histogram is achieved.
Photographing by the light of the moon and light painting is a lot of fun, and can be a tremendously rewarding endeavor with almost limitless possibilities. Getting the technical aspects of exposure and lighting out of the way quickly and efficiently leaves you with more time and energy to use your creativity to make truly outstanding images.
With practice, these techniques will become second-nature. If you incorporate them into your working methods, you’ll be rewarded with increased productivity, and with a higher success rate with your night photography.


