time-lapse

How I Got the Shot: Time-Lapse at the Owens Valley Radio Observatory

One of my favorite experiences last year was the Eastern Sierra workshop we ran in California with Rocky Mountain School of Photography. What made this one so extraordinary is that it offered a variety of subjects and ways to interpret the night. Most of us were excited about the surreal “rockscapes” of the Alabama Hills or the ghost town train depot at Laws. But for me? I couldn’t wait to photograph the Owens Valley Radio Observatory (OVRO) in Bishop.

The Location

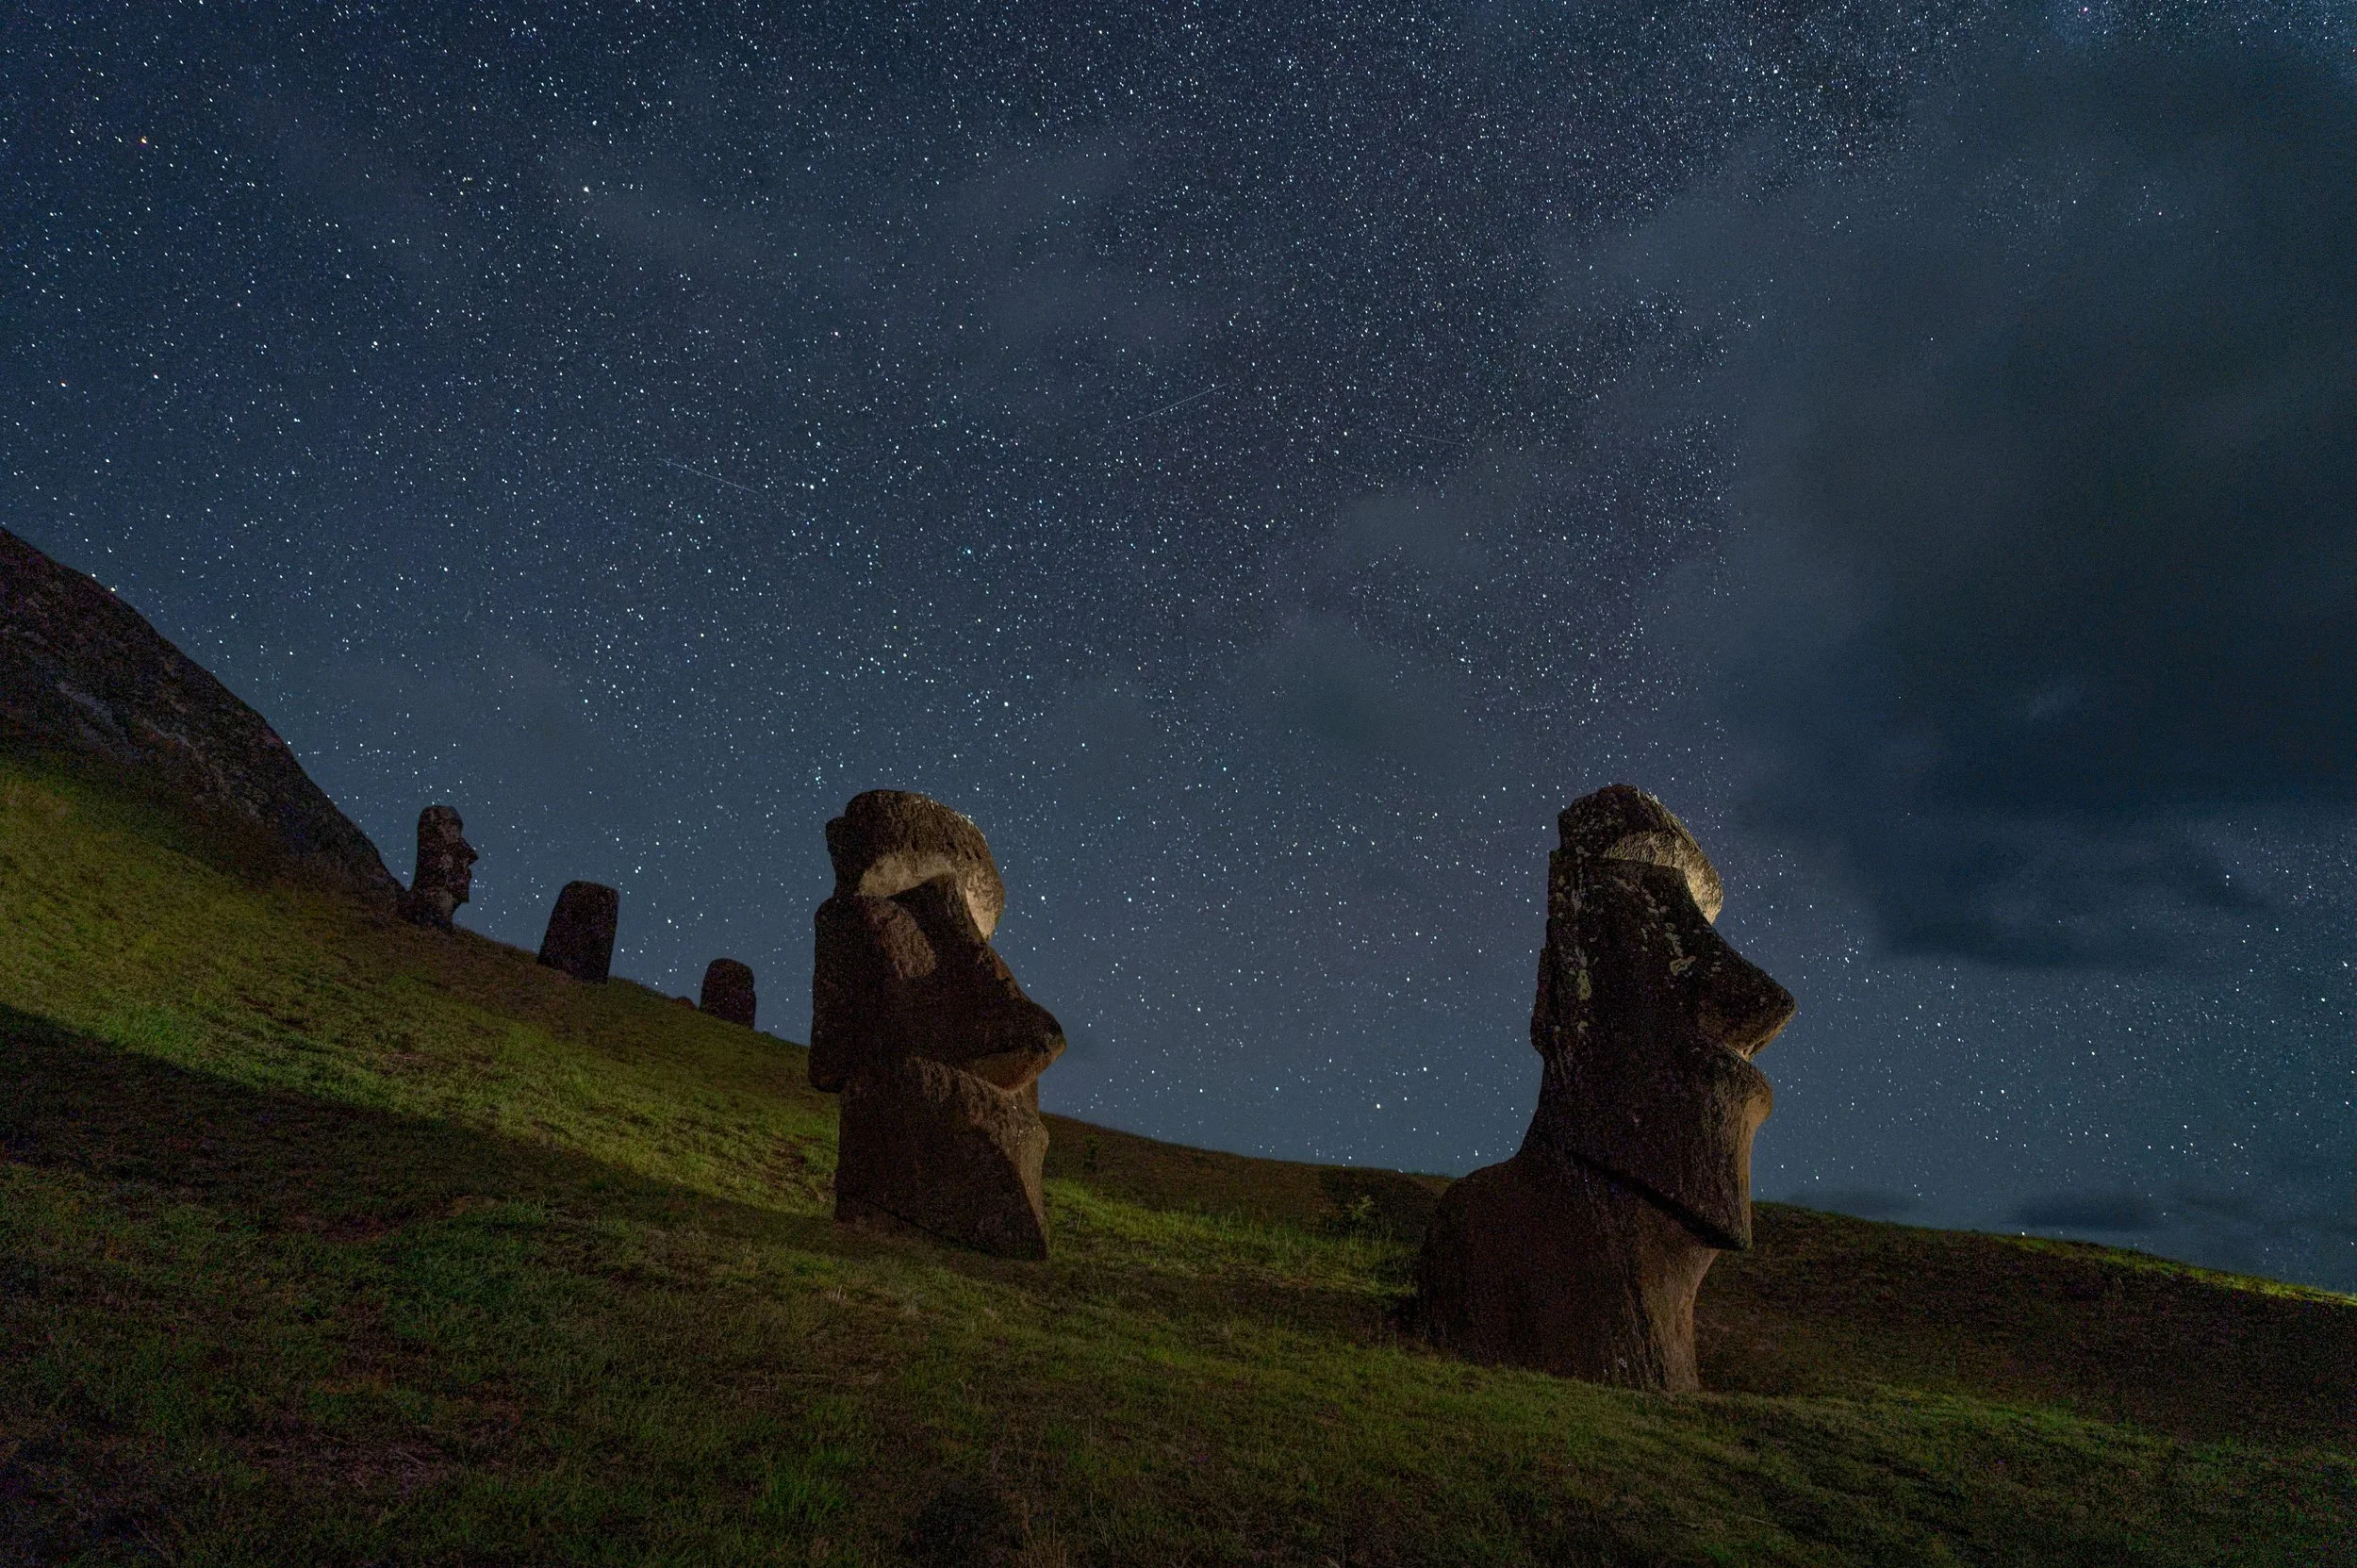
The Owens Valley Radio Observatory. Nikon Z 6 with a Nikon Z 24-70mm f/4 lens. 15 seconds, f/5.6, ISO 1600.

I’ve been to a few observatories, but to get a close-up look at these huge telescopes was a night photographer’s dream come true.

We had only one night scheduled at OVRO, and I had so many ideas I wanted to explore. Let’s just say I was stressfully excited! Two images I wanted to create were a time-lapse and a 2-hour-plus star trail shot of the telescopes. Unfortunately, as soon as I arrived I noticed that the cloud cover would prevent any long star trails from happening.

However, clouds can work very nicely in a time-lapse, as they are another moving element to capture as part of the scene. After all, time-lapses are all about movement.

Then I saw that the largest of the telescopes—a 40-meter beauty—was actively scanning the skies. Perfect. More movement!

The Shoot

I set up my Nikon Z 6 with a Z 24-70mm f/4 lens a couple of hundred yards away, so that I could include the sky patterns as well as the moving telescope.

However, in my excitement, I made a couple of critical errors with this first attempt. First, I defaulted to my typical vertical camera orientation, which worked for the single frame, but for time-lapse (or any video) you really want horizontal (unless you’re going to view it only on a phone).

Second, I was in a very “single frame” mindset instead of thinking about the many frames it takes to create a time-lapse. My exposures were 2 minutes, f/5.6, ISO 100. The 2 minutes was the issue. With time-lapses, you need a lot of single frames to make the “movie,” which means you generally want shorter (and therefore more) exposures. I didn’t do the time-lapse math prior to setting up my shot.

When creating a time-lapse, you need to work backward a bit. Before shooing, think about how long you want the video to be. For instance, if I wanted to make a 15-second time-lapse using a “normal” video playback of 30 frames per second, then I would have needed 450 frames. With 2-minute exposures, that would take 15 hours of shooting! Shorter exposures (say, from 10 to 30 seconds) are generally better, especially if you will be at a location for only a few hours.

Instead, I ended up with 91 vertical 2-minute images. I assembled them quickly in Photoshop and used a rate of 12.5 frames per second, which gave me a decent 7-second time-lapse that you can see in Figure 1.

Figure 1. My first attempt.

I do like that the longer exposures worked well with the lesser frame rate to slow things down a bit—that really lets you see the motion of the telescope, clouds and car trails.

The Reshoot

As luck would have it, we had another opportunity to photograph at OVRO on this trip. Reshoots are amazing! Given this second chance, I wanted to learn from my mistakes and do a better job.

First, I had to figure out the best horizontal composition. The skies were clear and full of stars. Without the clouds moving through the scene, I composed for a closer look at the main actor, the 40-meter telescope.

Next, I needed to figure out a shorter exposure. The moon was out, so a shutter speed of 8 seconds was definitely attainable. It would take about 800 shots in 2 hours to capture the assets needed to create a 30-second time-lapse. If you need help figuring out the math for a time-lapse, our savvy friends at PhotoPills have a pill for that (Figure 2).

Figure 2. PhotoPills has a calculator for seeing how many frames are needed to create time-lapses of different lengths.

My final exposure was 8 seconds, f/5.6, ISO 1600. I set my Z 6 to Bulb mode, and I set up my Vello Shutterboss II with a 1-second interval between shots. I let it rip for a little over 2 hours, which gave me 835 exposures to work with.

The Post-Production

My video editing skills are definitely basic—I’m really a still photographer, not a videographer. Fortunately in 2017 Adobe added a time-lapse feature to Photoshop, which is software that I’m very comfortable using.

Here’s what I did:

1. I exported my selects from Lightroom as JPGs, making sure my filenames were sequentially numbered—i.e., OVRO_1, OVRO_2, OVRO_3, etc. (There should be no breaks in the numbering.) Under Image Sizing, you want to check the Resize to Fit box and enter either 1920 pixels wide for an HD video or 3,840 pixels wide for 4K. I chose the latter.

2. In the Photoshop menu, I chose File > Open, which opens the dialog we use to get things started (Figure 3). I navigated to the folder of time-lapse JPGs and selected the first one. I checked the Image Sequence box, then pressed Open.

Figure 3.

3. For a frame rate, 30 is considered best practice for digital video. However, you can choose a lower or higher frame rate to slow things down or speed things up. It’s easy to experiment and cook to taste. I chose 24 for this time-lapse.

4. The files were quickly put together as one video layer in Photoshop. I clicked on Window > Timeline to open the timeline bar in Photoshop (Figure 4).

Figure 4.

5. I pressed the space bar on my keyboard to watch the time-lapse play slowly. Typically only one play is required to buffer the video.

6. You can do basic editing like adding music, cross-fades, etc., but I didn’t add any visual bells and whistles, preferring to keep this time-lapse simple.

7. Exporting requires a few key steps. I selected File > Export > Render Video. The Render Video window (Figure 5) is pretty self-explanatory. Name your file, then choose where to save it. You can select a settings preset to suit your needs. The presets are helpful for automatically resizing your video to fit the various formats of YouTube, Vimeo, and Android and Apple Devices. I used Adobe Media Encoder.

Figure 5.

That’s it. A quick and easy way for me to assemble a time-lapse.

As you can see with this second one, the improved frame rate created smoother and more realistic movements within the video.

Figure 6. The final time-lapse.

Wrapping Up

A dark-sky time-lapse is an amazing way to seize the night. I was thrilled with the experience and felt that the OVRO was a perfect subject to really show the passing of time and the search for life beyond the stars!

Like I mentioned before, I’m not a seasoned video guy, so I used Photoshop to tackle this, as it’s software that I’m already comfortable with. But there are other options out there. One in particular I’m excited to delve into is LR/Timelapse, partly because it eliminates some of the steps above by allowing you to go from Lightroom directly into the rendering software. Stayed tuned to our blog for more on that later this year.

Gabriel Biderman is a partner and workshop leader with National Parks at Night. He is a Brooklyn-based fine art and travel photographer, and author of Night Photography: From Snapshots to Great Shots (Peachpit, 2014). During the daytime hours you'll often find Gabe at one of many photo events around the world working for B&H Photo’s road marketing team. See his portfolio and workshop lineup at www.ruinism.com.

UPCOMING WORKSHOPS FROM NATIONAL PARKS AT NIGHT

How to Stand Out in a Crowd (of other Night Photographers)

You’ve made it. You’re in that *special* place in your dream wilderness area. Darkness is upon you, the stars are doing that winky, twinkly thing. And that amazing monument of nature is laid out in front of you. … And then so are a dozen or more other people.

When you’re shooting in a crowd, how do you make an image that doesn’t look the same as those of the photographers around you?

It’s a question we get often on our workshops. And here is how we encourage our attendees (and ourselves!) to frame for personal and visual success. In other words, here are some tips for how to stand out among a crowd of other night photographers.

You’re Special

First, consider this: None of us sees things the same way. So, relax. Trust the aspirations that got you into photography in the first place.

All of the instructors here at National Parks at Night have seen this over and over, even when it’s just us out shooting for fun. And we are surprised and delighted over and over again when our workshop participants (and we!) make startlingly different images from the same location.

So believe in your instincts. Believe in your eye. Let it take you to the right spot and let yourself see what it shows you.

Cooperate & Collaborate

If you read our blog on the regular, you’ve seen examples of the power of many photographers working to make an image together. Here are some examples:

To properly light some scenes, it’s fantastic to have one person operating the cameras, and others out in front or to the sides carefully constructing a story of light and shadow with light painting, light writing and more.

It’s fun. And if you swap places, everyone gets a turn directing the lighting, running cameras and making light in all the right places.

On top of that, you can make friends with like-minded people this way. Not only do you encourage sharing the space and respect, but you could also gain a shooting partner!

‘When everybody zigs, zag’

Although Marty Neumeier’s advice comes from a book for marketing professionals, it applies to all walks of life.

Differentiation is what makes someone or something stand out in a sea of similarity. It requires awareness of what others are doing paired with finding a place, voice or meaning that others are ignoring.

A very simple way to apply this is to look at what lens everyone else is using and then use a different one.

For example, when Gabe and I were at Devils Tower National Monument and everyone had their ultrawide lens on, I switched to my Nikon 70-200mm f/2.8 and pushed in on the rock formation.

My zag. Nikon D750, Nikon 70-200mm f/2.8. 271 seconds, f/2.8 ISO, 800.

What most others were capturing. Not a single other person did that. And the image I made feels very personal and powerful. One may argue that the insanely colorful sky glow was worth shooting. Right on—I agree. I shot both! And I believe the tight shot on the tower has power and emotion that the wide shot cannot provide. Nikon D750, Zeiss 15mm Distagon f/2.8. 30 seconds, f/2.8, ISO 3200.

Try a Different Angle

Often, it looks like there is one obvious, reallllly great spot to shoot from. You may label it as “ideal.”

But walk around. Go low. Go high. Go vertical or horizontal. Go around the back. Turn around 180 degrees.

Remember, in the northern hemisphere, star circles are to the north and the Milky Way is to the south. Work your way around something and capture both opportunities.

Around the backside of the ruins, I found this. Nikon D750, Zeiss Distagon 15mm f/2.8. 25 seconds, f/2.8, ISO 6400.

And most people chose this view. Nikon D750, Zeiss Distagon 15mm f/2.8. 322 seconds, f/2.8, ISO 400.

Walk away—Wipe the slate clean—Do something unexpected

My favorite example of this is is when I was scouting Capitol Reef National Park with Gabe and Chris. Gabe was way off to the left. Chris was somewhere off to the right. And frankly, I wasn’t having such a good night. I wasn’t feeling it.

So I walked back to the car and said, “Well, let’s get some frames in. I drove umpteen hours to be here. Just do the work, and good things will happen.”

Then, being me, I just kind of noticed how shiny our car was. And then how the stars reflected perfectly off the hood.

“Can I get stars off our car hood?” Nikon D750, Zeiss Distagon 15mm f/2.8. 120 seconds, f/3.2, ISO 400.

Honestly, after I saw this photo come up on the LCD, it changed my entire mood. I went from “Meh” to “Let’s do this!” in one frame. Then I went back and found these scenes:

That’s more like it. Nikon D750, Zeiss Distagon 15mm f/2.8. 723 seconds, f/3.5, ISO 100.

Foreground for the win. Nikon D750, Zeiss Distagon 15mm f/2.8. 240 seconds, f/4.0, ISO 400

Plan to be Different

If you are a plan-ahead kind of person (or want to develop the habit) pull out PhotoPills and do some virtual scouting. Or use Google Earth and Google Images or Instagram to familiarize yourself with how others captured a particular scene.

You may spot an opportunity at the edge of their frame that piques your interest and stirs your creativity. Or, even while going to find the spot they shot from, you may see something they didn’t see.

Get Meta—Photograph the Photographers

I absolutely love showing our human relationship to the natural environment.

More often than not, I step back a little, set up my camera to make photos of the people working the scene, and set my intervalometer to run continuously.

From a time-lapse sequence I ran while working on light painting with some workshop attendees. Nikon D750, Nikon 70-200mm f/2.8. 13 seconds, f/2.8, ISO 6400.

By doing this, I:

1) get amazing time-lapses

2) always get something I could not have planned or directed

Another thing you can do is ask a fellow photographer nearby to pose for a portrait. Wouldn’t you want a photo of you doing what you love, where you love doing it? Imagine their delight (and yours).

Workshop student Susan making a pass with a light wand behind our model. Nikon D750, Nikon 105mm f/1.4. 8 seconds, f/4, ISO 200.

Use Hikers and Headlamps as an Advantage

When I see other park visitors moving into my scene, I ask myself, “How can I make this work for my image?” Some people turn off the camera when it happens, but I love when strollers-by wear headlamps and wave flashlights around.

I’ll time my shots to incorporate these “human car trails” with glee and determination. I like to wait it out until they traverse my entire scene.Fuji X-T1, 7artisans 7.5mm f/2.8 Fisheye. 800 seconds, f/2.8, ISO 100.

It’s Just a Jump to the Left …

We all do the Time Warp when we’re out making night photography. Collecting all those photons on a sensor is truly a remarkable thing. We’re lucky we have to tools, the time and the opportunity to do it.

I hope my suggestions help you get more out of crowded situations, and make you feel like a winner when being creative in those wild, starry places.

Matt Hill is a partner and workshop leader with National Parks at Night. See more about his photography, art, workshops and writing at MattHillArt.com. Follow Matt on Twitter Instagram Facebook.

UPCOMING WORKSHOPS FROM NATIONAL PARKS AT NIGHT