Eleven Eclipses: Following Our Friends in the Path of Totality

Here we are. After waiting for it to come for years, the week of the Great North American Eclipse is now over.

Four of the five of us at National Parks at Night enjoyed the few minutes of darkness. I was with my daughter Maggie on an eclipse-chasing road trip to eastern Kentucky. Lance was with his wife Katherine in their backyard in Vermont. Matt and Gabe were leading our workshop in Arkansas’ Hot Springs National Park.

In the days that followed, we looked around social media and saw so many wonderful and creative images made during that 4 minutes of magic, set in so many inspiring places along the path of totality. And we noticed that many of those photographs were made by former attendees of our workshops and conferences. Really—the work we’ve seen has blown us away.

So we decided that instead of celebrating our own eclipse images, we want to celebrate theirs.

Below you’ve find eclipse photographs and eclipse stories from 11 of the amazing night photographers we’ve had the pleasure of working alongside over the past decade. We hope you enjoy their art.

Of course, these aren’t all the photographs created by our alums, nor by the uncountable number of night photographers around the globe. So many images are still showing up on social media, and we applaud them all.

If we missed you in the celebration below, please add your photo and your story to the comments section, or on our social media. We’d love to see what you did!


Charles Barker

cbarkerphoto.comInstagram

Nikon Z 9 with a Nikon Z 100-400mm f/4.5-5.6 lens at 400mm. Composite of exposures from 1/800, f/8, ISO 800 (phases) to 1/60, f/22, ISO 800 (totality).

I went to Cuyahoga National Park in Ohio. I approached this without full awareness of just how special this experience would be. I planned for this event, spent lots of time listening to others describe it, I’d seen pictures and thought I knew what I was about to see. Yet, as the moment of totality arrived, I was still astonished, startled and in awe. Staring at the dark sphere where the sun should be, I realized I’d taken the sun for granted my entire life. The collective gasp and applause of other park-goers nearby reminded me that we were all sharing this amazing moment, and it was one none of us would ever forget.

Ed Finn

Instagram

Fujifilm X-T5 with a Fujifilm XF 8-16mm f/2.8 lens at 15 mm. Composite of 35 frames shot at 1/40, f/5.6, ISO 400.

I shot this in Lake Placid, New York. We drove there Friday through a snowstorm, and it snowed all day Saturday as well, with solid thick clouds. We scouted the area for the best shot on Sunday. The eclipse was high in the sky Monday, which made finding an interesting foreground a challenge. At the back of the hotel we were staying in I could frame the shot through some trees, with mountains behind. The area filled with people from the hotel and the neighborhood to see the eclipse, and we were pleased that the snow stopped and the clouds lightened by showtime for the eclipse tailgate parties.

Holly Looney

ourworldinphotos.com

Canon R3 with a Canon RF 100-500mm f/4.5-7.1 lens at 400 mm. Composite images shot at 1/500, f/8, ISO 1600.

I shot this in Ouachita National Forest in Hot Springs, Arkansas, as part of National Parks at Night’s Hot Springs and the Total Eclipse workshop. I did this composite because I was struck by the number of onlookers who left the area following the end of totality. That was definitely not the end of the eclipse and this is a visual of that fact.

James Embrescia

Sony a1 with a Sony 200-600mm f/5.6-6.3 lens.1/500, f/8, ISO 800, shot at intervals of 1 minute, 20 seconds intervals.

I just took the online black and white workshop with by Tim and Lance, so I wanted to try a black and white picture of the eclipse. I like photos that capture abstract patterns and the motion of natural things, so this was a natural for me. I picked an interval I thought would work based on something I read about speed of motion during an eclipse, and I was lucky.

Jurgen Lobert

Linktree

Sun images: Nikon Z 6II with a Nikon Z 180-600mm f/5.6-6.3 at 600 mm. 1/180, f/8, ISO 100. Foreground: Nikon Z 6II with a Sony 14mm f/1.8 lens at 1/2, f/11, ISO 200.

After planning for Texas because of less chance for clouds, I cancelled my trip on short notice to escape the tornado warnings and rain forecast, and I ended up near Pittsburg, New Hampshire, on a perfectly clear day with a bunch of friends. I decided to stress myself out and operate three cameras, one for closeups, one for landscape and another for a 360-degree view with a circular fisheye to capture that awesome moment with darkness above and sunset all around.

Klaus-Peter Statz

Instagram

Totality: Nikon D780 with Nikon 200-500mm f/5.6 lens at 400mm. 1/160, f/8, ISO 400. Foreground: Sony RX100V at 24mm (built-in lens). 1/30, f/1.8, ISO 500.

After shooting the 2017 eclipse (also during a National Parks at Night workshop, in Idaho) and missing most of the spectacle as I was busy operating two cameras, I vowed that this time I would shoot only the corona and would spend the remaining time watching the eclipse with my own eyes. When totality happened I had my Nikon shoot bracketed close-up exposures, triggered with a remote release. Watching the eclipse I was so impressed by what I saw that I spontaneously snapped a few frames with my trusted Sony point-and-shoot, one of which serves as the foreground for this composite. The sun/moon at totality is one of the frames shot with the Nikon at 400mm. The two together are the perfect representation of what I saw and experienced.

Lawrence Lee

Instagram

Pentax K-1 Mark II with a Pentax 150-450mm f/4.5-5.6 lens at 410mm. 1/2500, f/8, ISO 800.

This was my first total solar eclipse experience and it was truly amazing. Shot in Lake Placid, New York, at the Olympic Ski Jumping Complex. We had spent the weekend scouting locations and chose this spot for its easily identifiable ski jumping towers. I shot the eclipse with two cameras using the 150-450mm telephoto lens and a 15-30mm lens.

Patricia Blake

Instagram

Sun images: Canon 5D Mark IV with a 200mm lens. 1/800, f/6.3, ISO 1600 during totality, plus bracketed exposures with a NiSi Solar Filter Pro Nano UV/IR Cut ND during the other phases. Foreground: Canon 60D with a 14mm fisheye lens. 1/6, f/8, ISO 1600.

The 2024 eclipse happened to go right over my hometown in New Castle, Indiana. I just knew that I wanted to get a shot of the eclipse phases over a historic Indiana barn. This beautiful barn was built in 1860 and happens to be owned by an astrophysicist who was thrilled to have a night sky nerd like me ask if I could sit in his empty cornfield during the eclipse. I made some wonderful new friends and truly enjoyed photographing. Getting muddy in a cornfield was absolutely worth it!

Shari Hunt

sharihuntphotography.comInstagram

Sony a7R III with a Sigma 150-600mm f/5-6.3 lens. 1/250, f/6.3, ISO 100.

I was initially going to chase clear skies, but decided the day before the eclipse to stay in Dallas. With heavy low clouds most of the morning (even just an hour before totality), I thought it would be a total bust. However, I met fellow National Parks at Night alum Beth Kochur at our nearby lake and set up, with fingers crossed. Everything turned out perfect just in time and the eclipse was insane. Now I understand the addiction (kinda like night photography).

Sudhir Mehta

Instagram

Sony a7R III with Sony 100-400mm f/4.5-5.6 lens at 400mm. Composite of totality pictures shot at shutter speeds ranging from 1/200 to 2 seconds, f/11, ISO 200.

I shot the eclipse while on the National Parks at Night workshop to Hot Springs National Park. This was shot in Charlton, near Hot Springs, Arkansas.

Terry Kahler

tkahler.comInstagram

Sony a7 IV with a Sony 200-600mm f/5.6-6.3 lens. 1/160, f/6.3, ISO 800.

I shot in Austin, Texas. I wasn’t too excited about this event as photographing the solar eclipse is not part of my bucket list. As a result, I was not prepared. My camera gear sat on the shelf as it has for months. At about 1:13 p.m. local time, even though we had very cloudy skies and I had only minutes to prepare, I decided that I should get myself in gear and prepare to photograph the event just in case conditions improved. So I got up from my desk and retrieved my camera gear only to note that the batteries were depleted. However, I found one battery with a 47 percent charge. I inserted the battery in the camera, mounted my lens and headed out to photograph this astronomical event. Right place, right time.

Your Turn

Did you shoot the eclipse too? We’d love to see your images! Share in the comments below, or on our Facebook page, or on Instagram (tag us @nationalparksatnight #nationalparksatnight #seizethenight). Be sure to tell a story too—the technical aspects, the challenge overcome, or a tale of the experience.

Chris Nicholson is a partner and director of content with National Parks at Night, and author of Photographing National Parks (Sidelight Books, 2015) and Photographing Lighthouses (Sidelight Books, 2024). Learn more about national parks as photography destinations, subscribe to Chris' free e-newsletter, and more at www.PhotographingNationalParks.com.

UPCOMING WORKSHOPS FROM NATIONAL PARKS AT NIGHT

From Beginning to End, How to Expose a Solar Eclipse

It’s almost here! The Great North American Eclipse happens only two days from now, on April 8, 2024.

Much of America—especially the camera-owning folk—has been waiting for this day since being dazzled in 2017 by the last total eclipse to span the continent. The hype is real, and the reason is good.

To help folks get ready, last week we published a brand new e-book, There Goes the Sun: A Guide to Photographing a Solar Eclipse. Below is an excerpt from that book.

The book covers pretty much everything you’d want to know about photographing an eclipse, from gear to scouting, from shooting to editing, and more. The excerpt below is from the chapter on shooting. We hope it gives you an edge toward getting some great images on Monday.


THE SUN’S MOVEMENT

The sun moves its own diameter every 2 minutes. Setting a shooting interval for every 2 minutes will make sure that you capture many phases of the eclipse without any overlap. Gabe stacked the accompanying eclipse photo with a frame shot every 3 minutes, which gave enough separation between each shot.

Note that without a tracker to keep the sun in the middle of the frame during all the phases of the eclipse, you will need to readjust your frame every 10 minutes with a 300mm lens or every 5 minutes with a 600mm lens.

Eclipse composite. © 2017 Gabriel Biderman. Nikon D750 with a Nikon 14-24mm f/2.8 lens. 13 images stacked in Photoshop.

CAMERA SETTINGS

Settings are very subjective. Just like any day or twilight shot, you can be creative with adjusting your exposure for a desired effect that emphasizes movement, clarity or depth.

Also note that the exposure can vary depending upon your filter strength, clouds in the sky and how high the sun is (eclipses that happen low to the horizon will need to cut through more atmospheric haze, which reduces luminosity).

Your exposure will change as the eclipse progresses, and further on in we’ll detail what you can expect, in chronological order.

We suggest reading through it a few times to get comfortable with how the light, and therefore your settings, will change over the course of a few hours.

A good starting point for exposing for the sun, with a solar filter on the lens, with clear skies, is:

1/500, f/8, ISO 800

Why these settings? These are safe settings that will play to the strength of most cameras and lenses for excellent image quality. Let’s explain why:

Aperture

An aperture of f/8 is the sweet spot for most lenses and will not cause extreme diffraction or flare. If you are using a telephoto lens, stopping down to f/11 would also work and be more in the sweet spot.

Shutter Speed

The general rule for handheld telephoto photography is to use a shutter speed that’s the reciprocal of your focal length. For example, for a 500mm lens the shutter speed would be at least as fast as 1/500. Theoretically this prevents the image from getting soft due to camera movement caused by heavy gear.

That said, we recommend that you use a tripod and turn off VR/IS/OIS for the eclipse. This will make any relatively fast shutter speed effective. We’ve shot totality at as low as 2 seconds as part of exposure brackets to get even more detail in the corona. However, during the partial phases the sun will be brighter and we can play to the safer shutter speeds between 1/125 and 1/1000 to the best sharpness. Even at fast shutter speeds, with long lenses, try to trigger your camera with your built-in or external intervalometer—this will help prevent any camera shake.

ISO

This is probably the most subjective choice. How comfortable are you shooting with your camera at ISO 800, 1600, 3200 or 6400? If there are ISOs you want to stay away from, you can probably pull that off. This will be easy during the partial phases, as the bright sun will easily allow for ISOs of 100 to 800.

However, once the eclipse is 90 percent full, things start to get dark. During totality the brightness will be equivalent to the beginning of nautical twilight. There will be a need to let in more light, and ISO is usually the best setting to push up.

Note that the higher the ISO, the more noise will be prevalent in the image. However, we find that modern cameras (2020 and beyond) can easily handle ISOs up to 6400. Plus, these days there are plenty of ways to reduce noise with post-processing.

TELEPHOTO SHOT

Gabe Biderman set up for a telephoto shot of the 2023 annular eclipse.

A telephoto shot will be taking up most of your attention.

Focal length and tracking are the key components to photographing the eclipse with a telephoto lens.

Another important aspect is to practice, practice, practice prior to the eclipse. Most likely a telephoto rig will be less familiar than what you use on a daily/weekly basis. Get used to tracking the transit as well as pointing the camera and lens high in the sky.

Does your camera have a swivel-out screen? That will make aiming high at the sun a lot easier.

If you don’t use a tracker, you will need to continually recompose, or the sun will move out of your frame in mere minutes. If do use a tracker, keep an eye on it and make sure it doesn’t flip and fall over. Definitely practice this in the months/weeks leading up to the eclipse.

Base Exposure

In terms of exposure with a telephoto, you have your base of 1/500, f/8, ISO 800 for shooting the sun prior to and through the beginning of the partial eclipse. We strongly advise bracketing to nail an exposure. Time will be scarce—you don’t want to waste any fumbling with third-stop adjustments. And memory is cheap, so bracket and fire away, then find your best exposures in post.

To do this, set your bracketing to three frames with one-stop increments. You can continue to use this three-stop bracket through 90 percent of the partial eclipse as the exposure won’t change much, unless clouds come in.

Alternatively, if you’re comfortable that you have the perfect exposure, you can just take that one shot every 2 to 3 minutes.

How do you know if your telephoto exposure is correct?

Figure 1.

A good exposure for a partial eclipse is one that doesn’t have extreme blooming around the sun and that keeps the sun spots sharp. Check your histogram. Figure 1 was for an image shot with a Lee solar filter. Note that the histogram is pushed 90 percent to the right, but the highlights are not clipping. Shadows, of course, are being clipped due to the black sky surrounding the sun. The exposure settings were 1/250, f/8, ISO 800.

Losing Light

Once the eclipse gets to 90 percent total, you’ll need to adjust your exposure. Anticipate that. You should really pay attention once the sun is half hidden. Begin to monitor your exposures even more frequently. Check the histogram—is anything overexposed? Is there blooming around the sun? The black around the sun should be solid black, because we are basing the exposure solely on the sun. We want it bright, but not overexposed.

Once the sun starts to look like a crescent, you might have to open up one stop (either raise your ISO or lower your shutter speed). By the time the eclipse is at 90 percent and closing in on totality, you might need to adjust your exposure by opening up an additional one to two stops. Monitor your histogram and continue to bracket three frames at one-stop increments.

Diamonds in the Sky

Right before totality, the first diamond ring phenomenon appears: a sharp burst of light around the edge of the moon that signals the last gasp of sunlight before totality begins (Figure 2). The first diamond ring is difficult to photograph because it lasts for approximately 10 seconds and you need to juggle a few things. First you need to remove your solar filter (perhaps remove it a few seconds early, anticipating when it will happen), then you need to adjust your exposure to the light without the solar filter on (which will be an additional two to three stops you need to let in).

Don’t sweat it. The diamond ring also happens at the end of totality, so you’ll get another chance. And it’s much easier to nail the second one.

Figure 2. Diamond ring phenomenon. © 2017 Gabriel Biderman. Fujufilm X-T2 with a 300mm lens. 1/15, f/22, ISO 800.

Totality

A good starting point for totality is:

1/60, f/8, ISO 1600

However this is just a launching off point. We advise bracketing seven frames with one-stop increments. If you are in burst mode, you can knock these off pretty quickly.

Bracketing generally is applied to your shutter speed, so set your ISO and aperture to something you are comfortable with and that also allows the bracket to not go deep into long shutter speeds (in the seconds).

That being said, we have seen plenty of creative shots during totality that use either HDR or composite blending to incorporate shutter speeds up to 20 seconds. These overexposed shots will really show off how far the corona extends. If you bracket, you can retain some of the brighter highlights and then blend it all together in post.

Post-Totality

If you had set a timer to the beginning of the eclipse, then you’ll be one step ahead in preparing for the second diamond ring effect. Stop down your aperture to f/16 for the diamond ring, as that will amplify the sunburst coming off the moon. You’ll have about 10 to 15 seconds to bracket and nail the diamond ring before too much of the sun is revealed and starts to just blob out.

That’s when it is time to put the solar filter back on and adjust your exposure to a crescent sun. Set your interval for every 2 minutes and adjust your exposure as the sun gets brighter and brighter. Soon you’ll be around the previously recommended exposures of 1/500, f/8, ISO 800, and you can just continue to bracket three frames for every interval. Continue to do this for the rest of the partial phases.

Figure 3.

If you do this you’ll set yourself up to accomplish:

  • capturing any single phase of the eclipse

  • capturing multiple phases of the eclipse that can be composited together creatively (Figure 3)

  • an HDR of your bracketed images to bring out more detail and dynamic range

  • a time-lapse of the eclipse (if you shot even more intervals—this is recommended more for people with trackers that will keep the sun steady in the middle of the frame)


Are You Ready for the Eclipse?

Eclipse photography is a ton of fun, but you need to be prepared. In addition to the details about planning exposures, our e-book also covers:

  • gear critical for eclipse photography

  • safety guidelines

  • finding where the sun will be

  • how to use the light of the eclipsed sun

  • processing eclipse photos, including blending and compositing

  • how to become an eclipse chaser

  • and more!

To get your copy of There Goes the Sun, click below:

Wrapping Up

When you’re done shooting the eclipse, we’d love to see your images! Share in the comments below, or on our Facebook page, or on Instagram (tag us @nationalparksatnight #nationalparksatnight #seizethenight). Be sure to tell a story too—the technical aspects, the challenge overcome, or a tale of the experience.

Chris Nicholson is a partner and director of content with National Parks at Night, and author of Photographing National Parks (Sidelight Books, 2015) and Photographing Lighthouses (Sidelight Books, 2024). Learn more about national parks as photography destinations, subscribe to Chris' free e-newsletter, and more at www.PhotographingNationalParks.com.

UPCOMING WORKSHOPS FROM NATIONAL PARKS AT NIGHT

Black Hole Sun: Get Ready to Shoot the 2024 Eclipse with Our New E-Book

It certainly seems like we are living in a golden age of eclipses.

When we started National Parks at Night in 2015, we were in the middle of a rare tetrad of blood red lunar eclipses. We experienced the 2017 total solar eclipse in a variety of ways, with Gabe and Matt leading hands-on experiences in Idaho and Oregon, respectively, and me sitting on a blanket with my daughter in South Carolina.

Then in 2023 we seized our first ring of fire eclipse with a group trip to Capitol Reef National Park, and with another group learning PhotoPills at the edge of the eclipse path in Joshua Tree National Park.

Then we prepared for the next big one: the Great North American Eclipse of 2024. It’s happening this coming Monday, April 8.

To help get you prepared, we’re excited to announce our brand new e-book, There Goes the Sun: A Guide to Photographing a Solar Eclipse.

What’s in the Book

The book comprises 66 pages and is chock full of everything you’d want to know about shooting an eclipse. Including:

  • a history of eclipses

  • a list and explanations of the gear required

  • notes on eye and gear safety

  • results on testing different solar filters and their affect on color

  • detailed instructions on scouting, shooting and processing

  • a gear guide for all sorts of products to help in the cause

  • and more!

Sample Pages

Sample Tips

Here are three tidbits on eclipse photography that you can find in the book:

  1. “If you manually follow the eclipse with a long lens, it’s a good plan to allow room for the sun to travel across your frame for some time and then readjust your framing when it nears the edge. This does, however, require attention to your camera throughout all the phases you will be photographing.”

  2. “The sun moves its own diameter every 2 minutes. Setting a shooting interval for every 2 minutes will make sure that you capture many phases of the eclipse without any overlap.”

  3. “For everything except totality images, you can probably edit one to taste and then synchronize that image with the rest. But for your frames close to or during totality, which you shot at different exposures, you’ll need to edit them separately to get them to match.”

Get Your Copy Today

Whether you’re new to photographing eclipses and need to know where to start, or whether you’ve done this before and want to level up, we have you as covered as a black-hole sun!

Get your copy of There Goes the Sun for $9.99 today by clicking below:

Then, when you’re done shooting the eclipse, we’d love to see your images! Share in the comments below, or on our Facebook page, or on Instagram (tag us @nationalparksatnight #nationalparksatnight #seizethenight). Be sure to tell a story too—the technical aspects, the challenge overcome, or a tale of the experience.

Chris Nicholson is a partner and director of content with National Parks at Night, and author of Photographing National Parks (Sidelight Books, 2015) and Photographing Lighthouses (Sidelight Books, 2024). Learn more about national parks as photography destinations, subscribe to Chris' free e-newsletter, and more at www.PhotographingNationalParks.com.

UPCOMING WORKSHOPS FROM NATIONAL PARKS AT NIGHT

Shoot for the Stars with us in Kanab: Announcing the 2024 Nightscaper Conference

We’re heading back to Kanab! To one of the premier places in the United States for dark skies and spectacular, surreal landscapes.

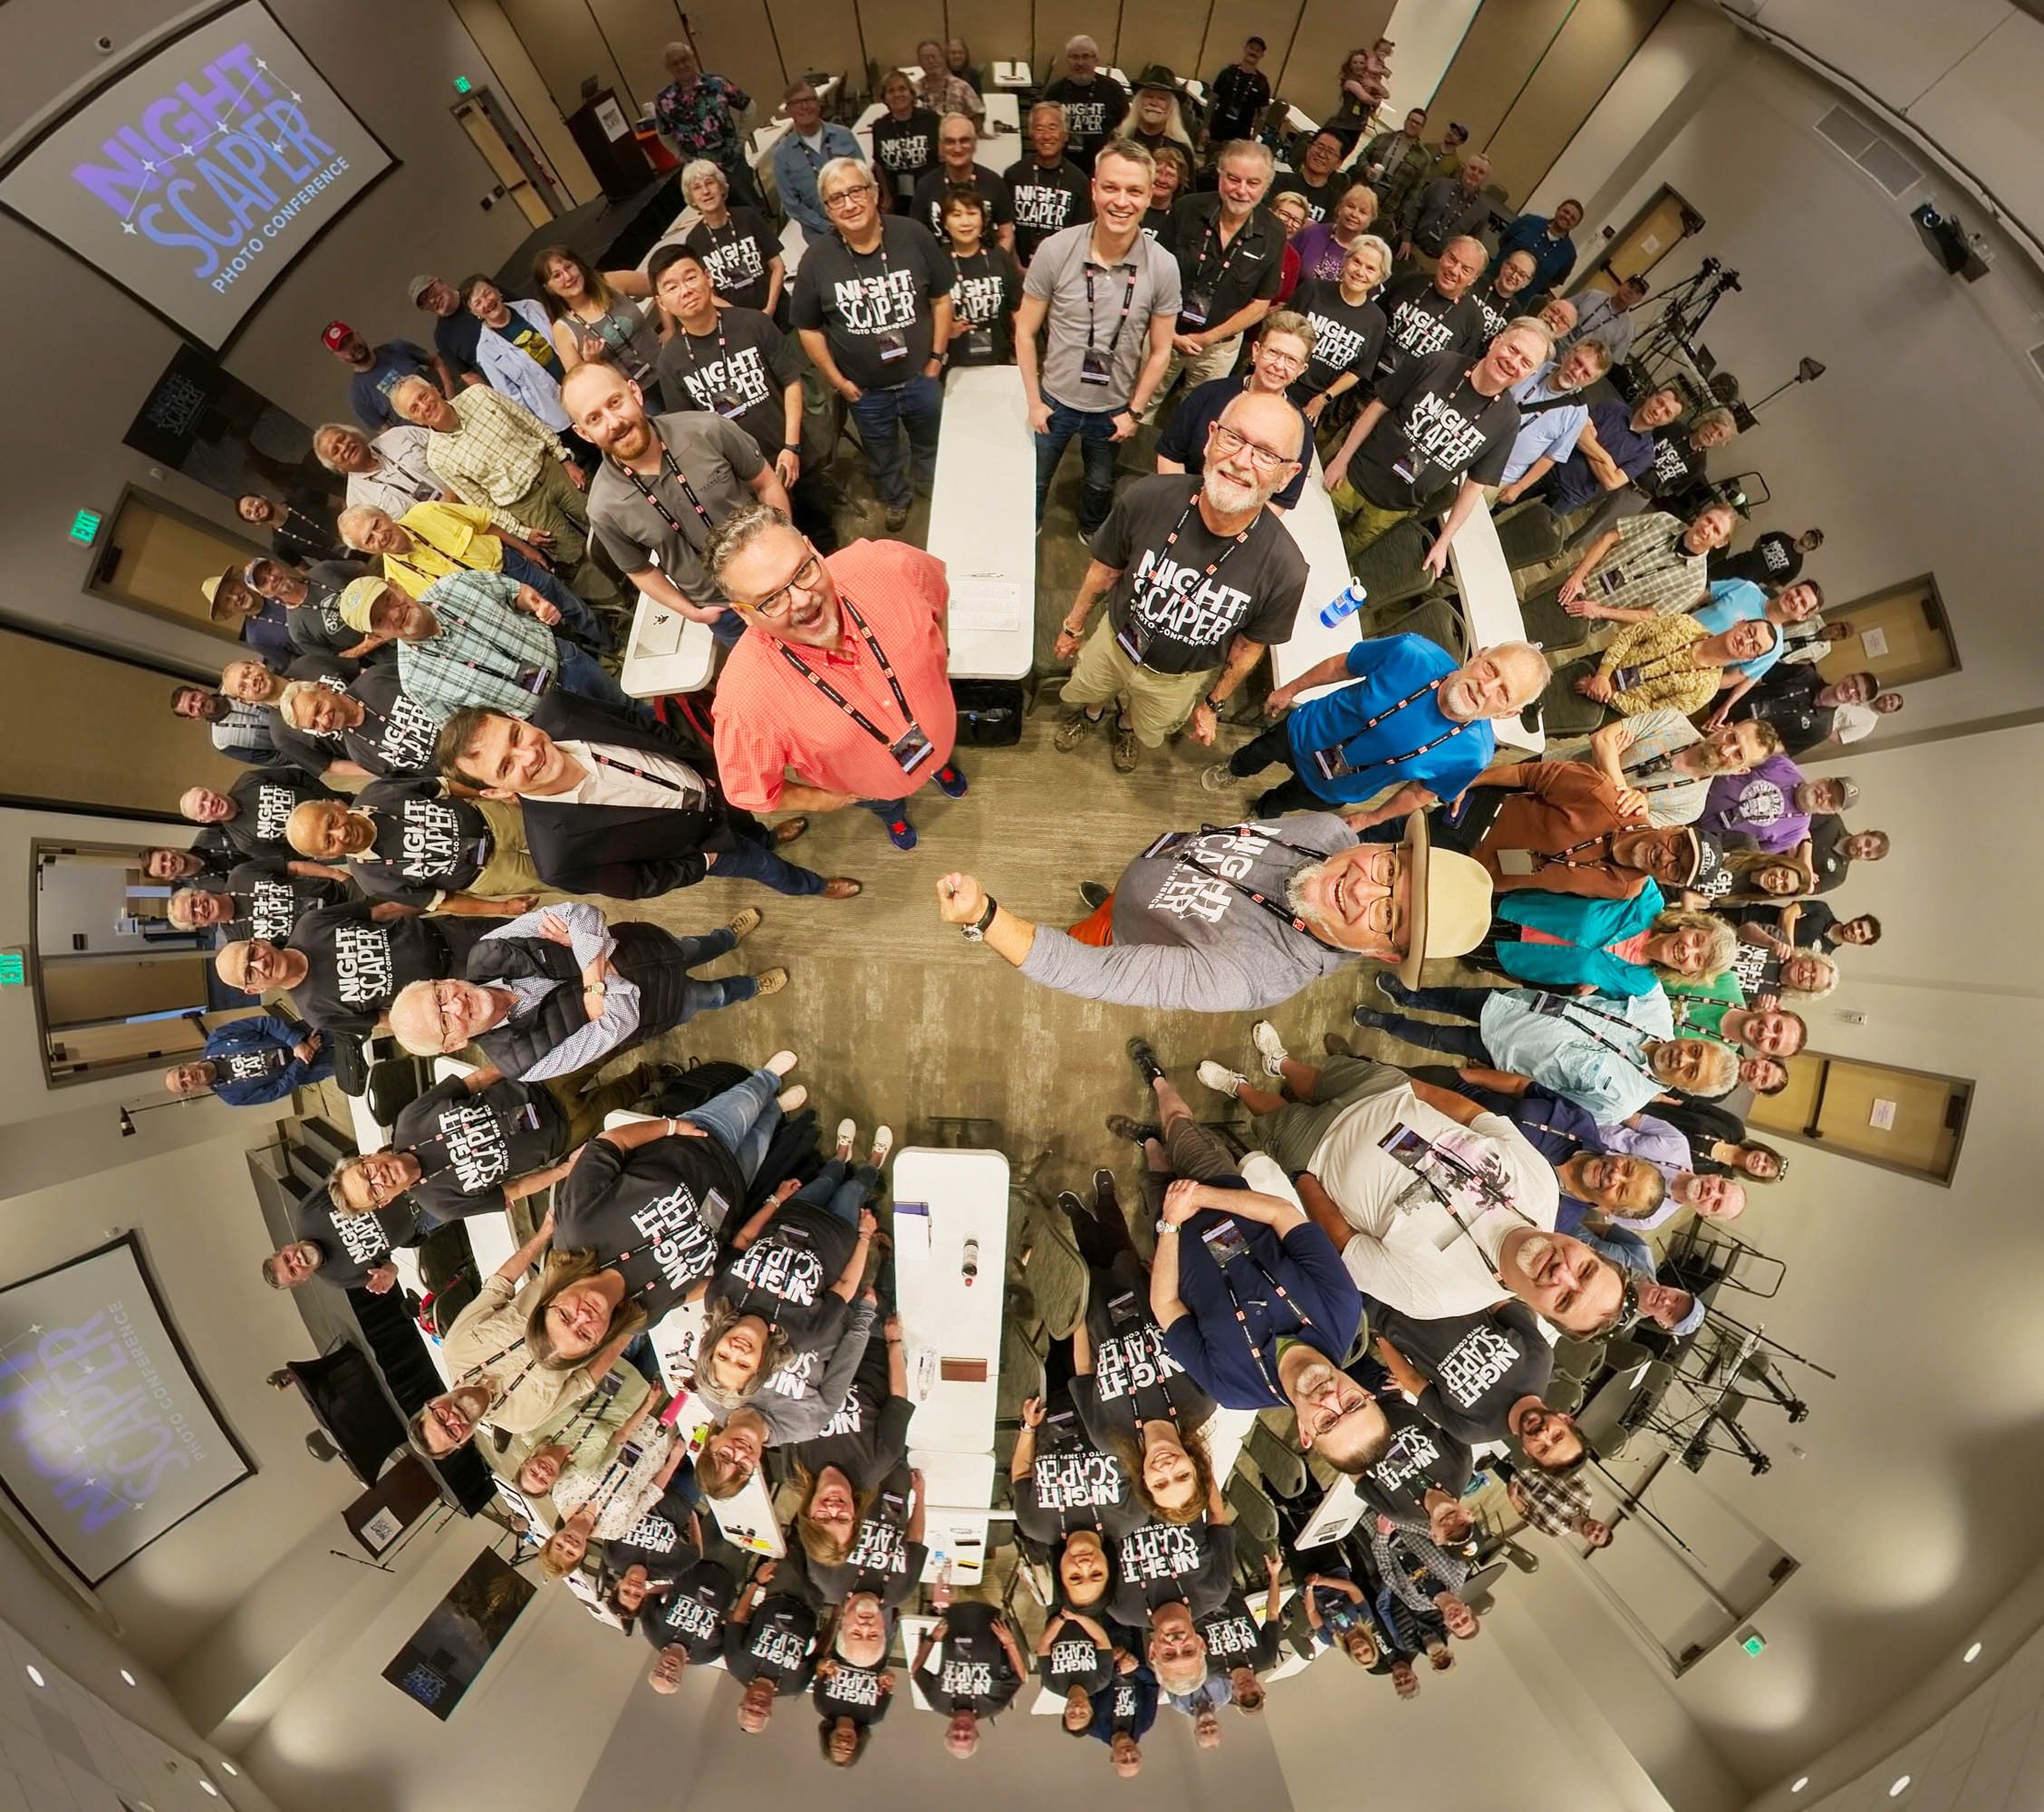
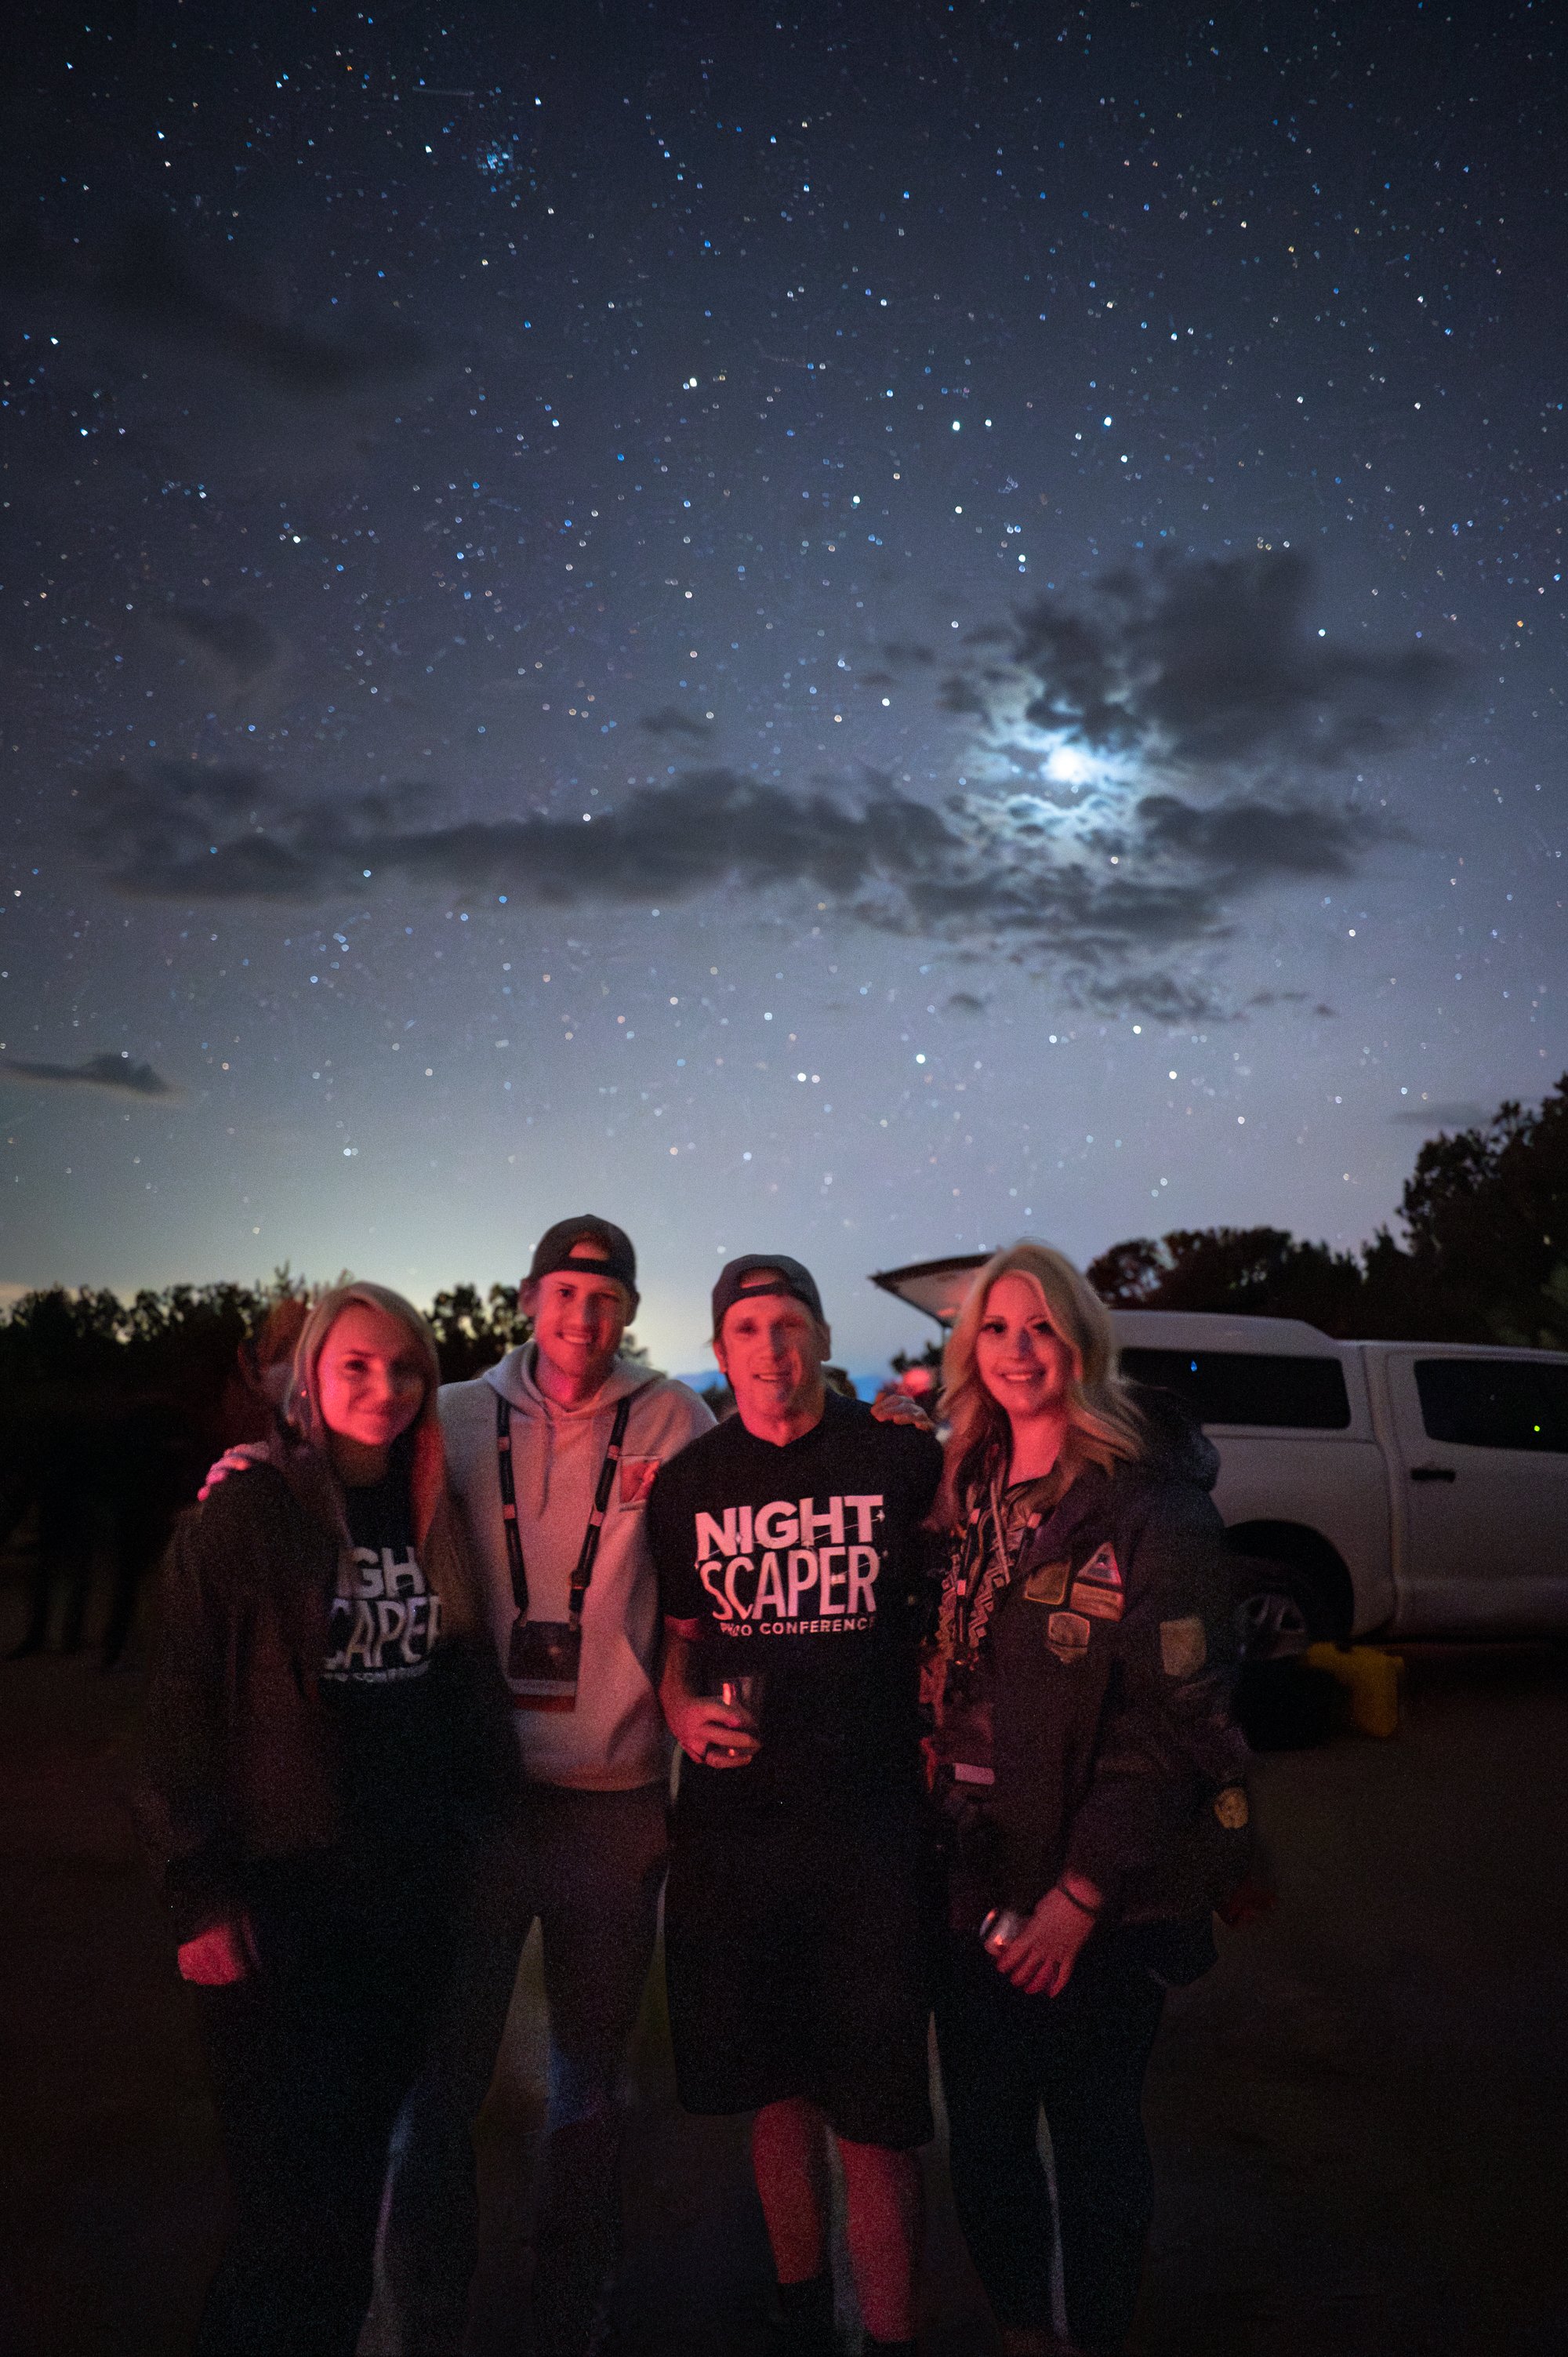
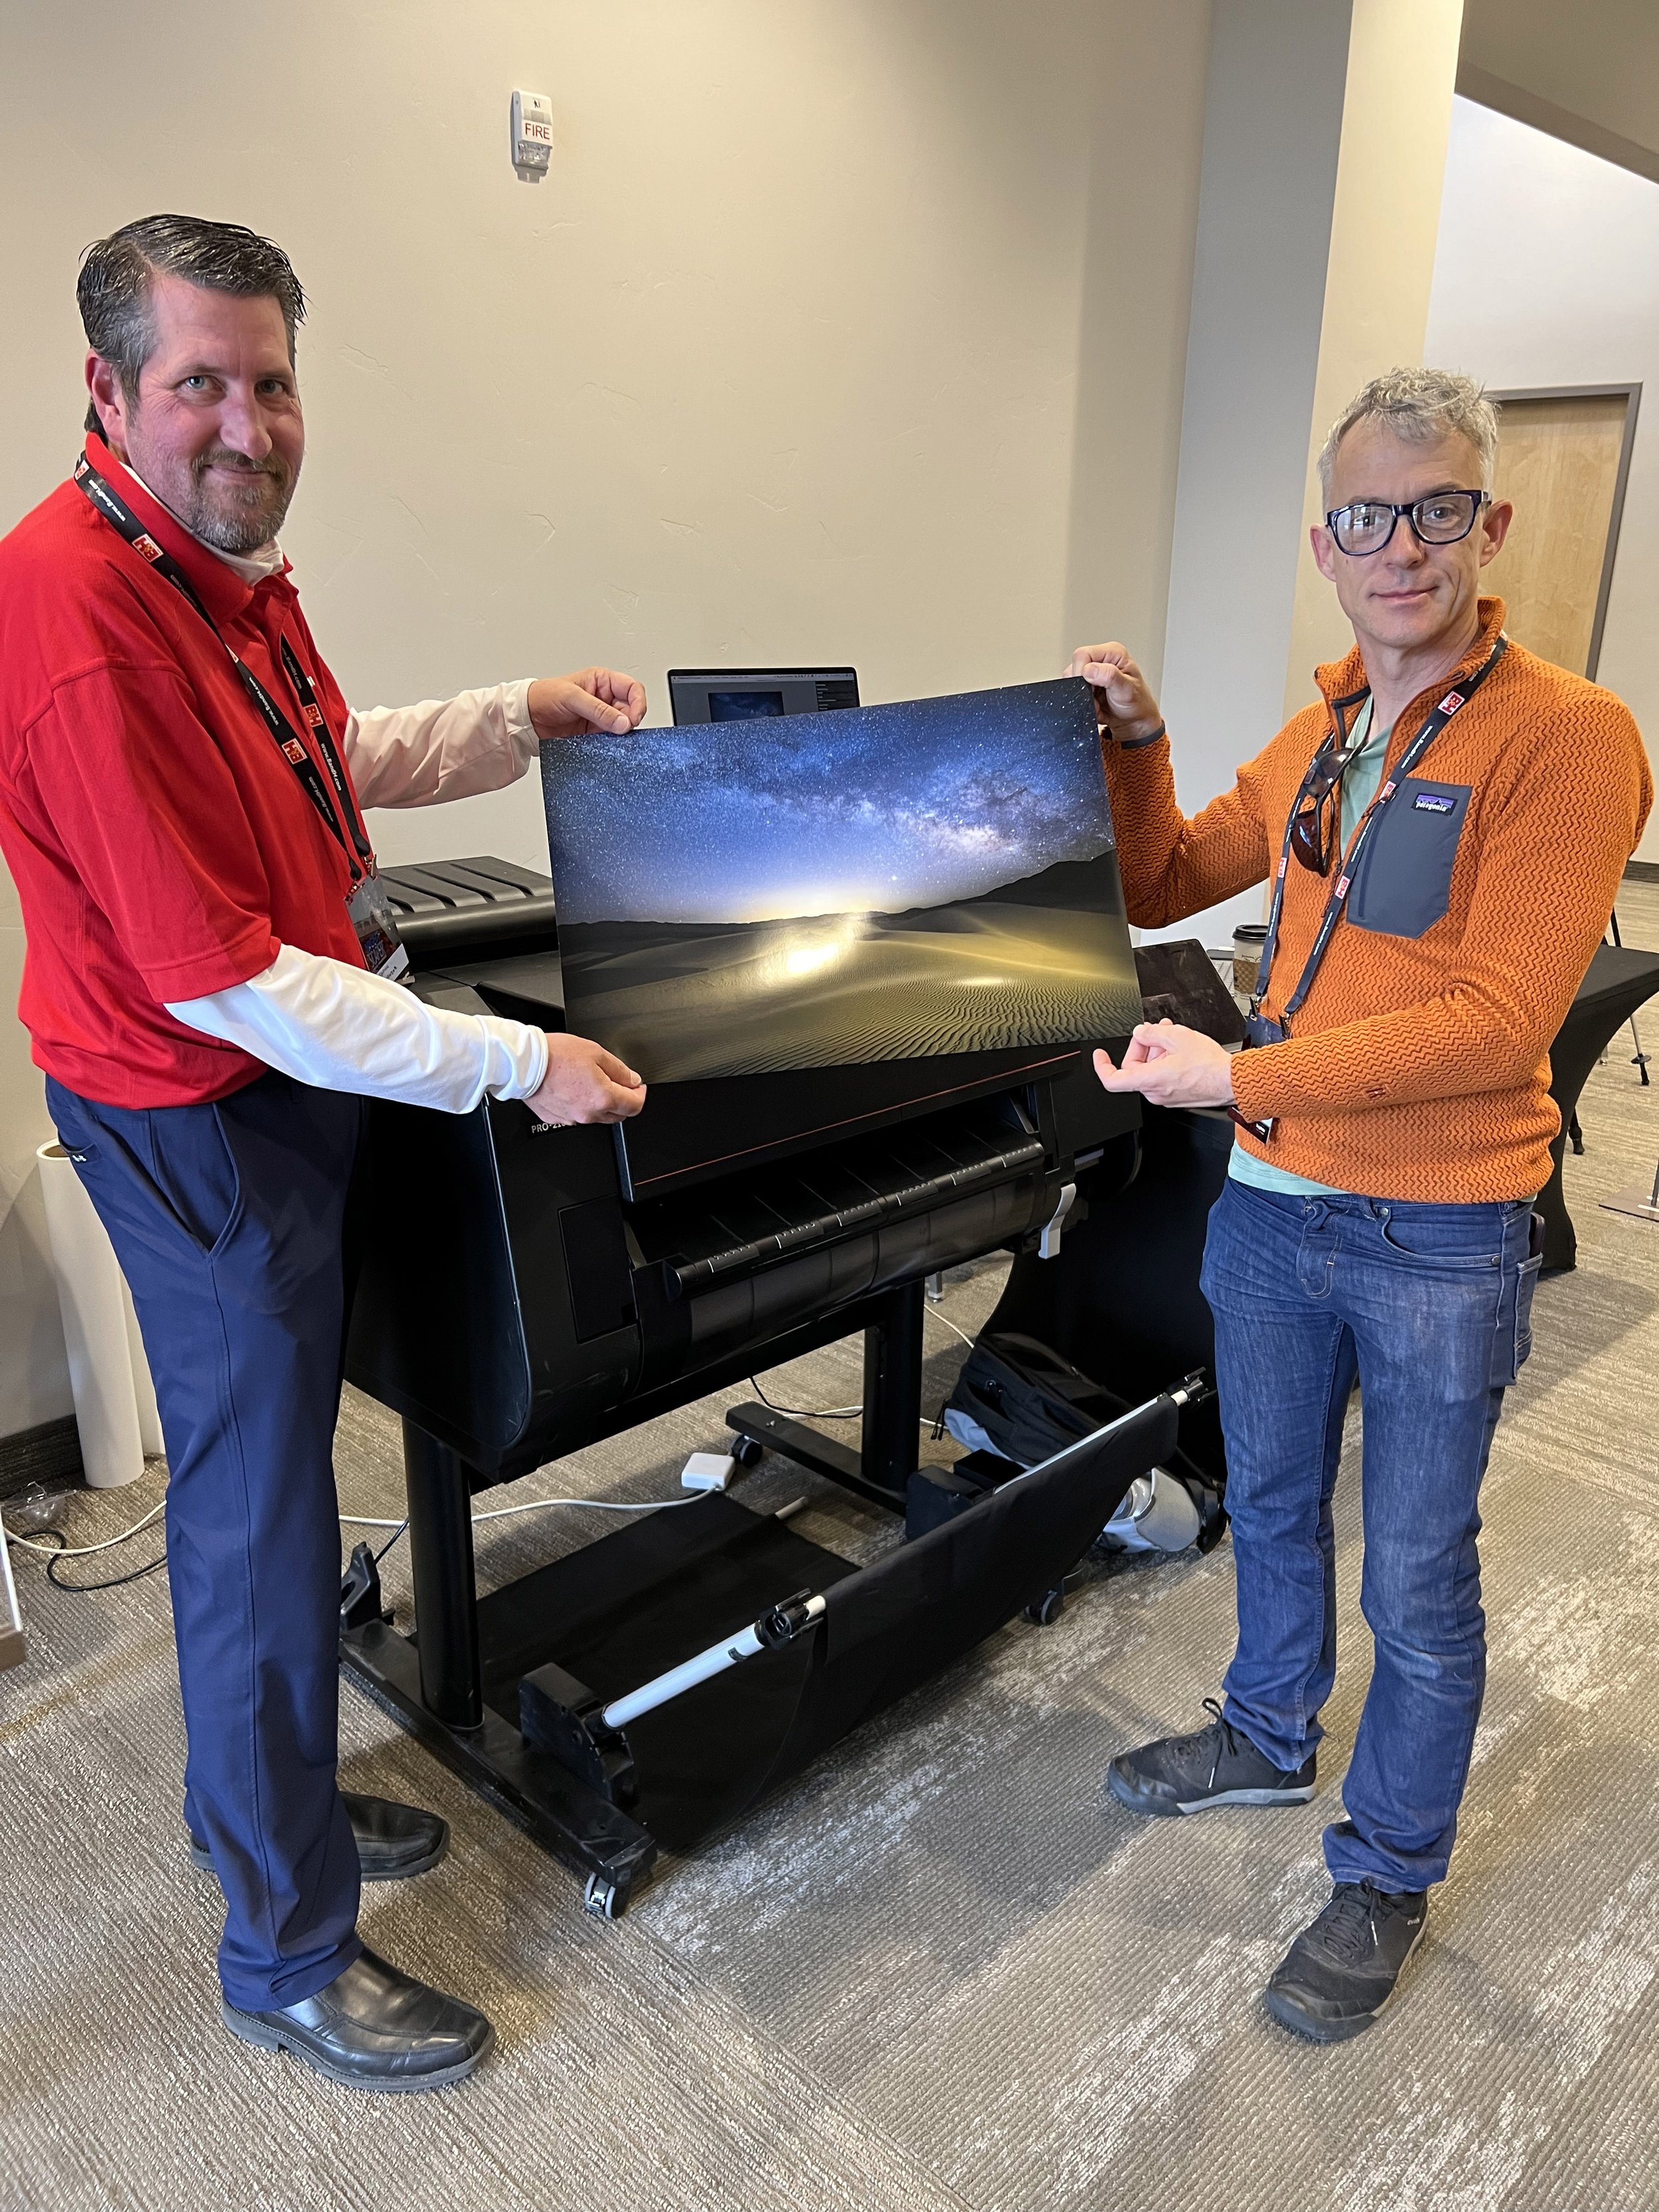
This week we officially launched the 2024 Nightscaper Photo Conference, and we invite you to come shoot for the stars with us.

About Nightscaper

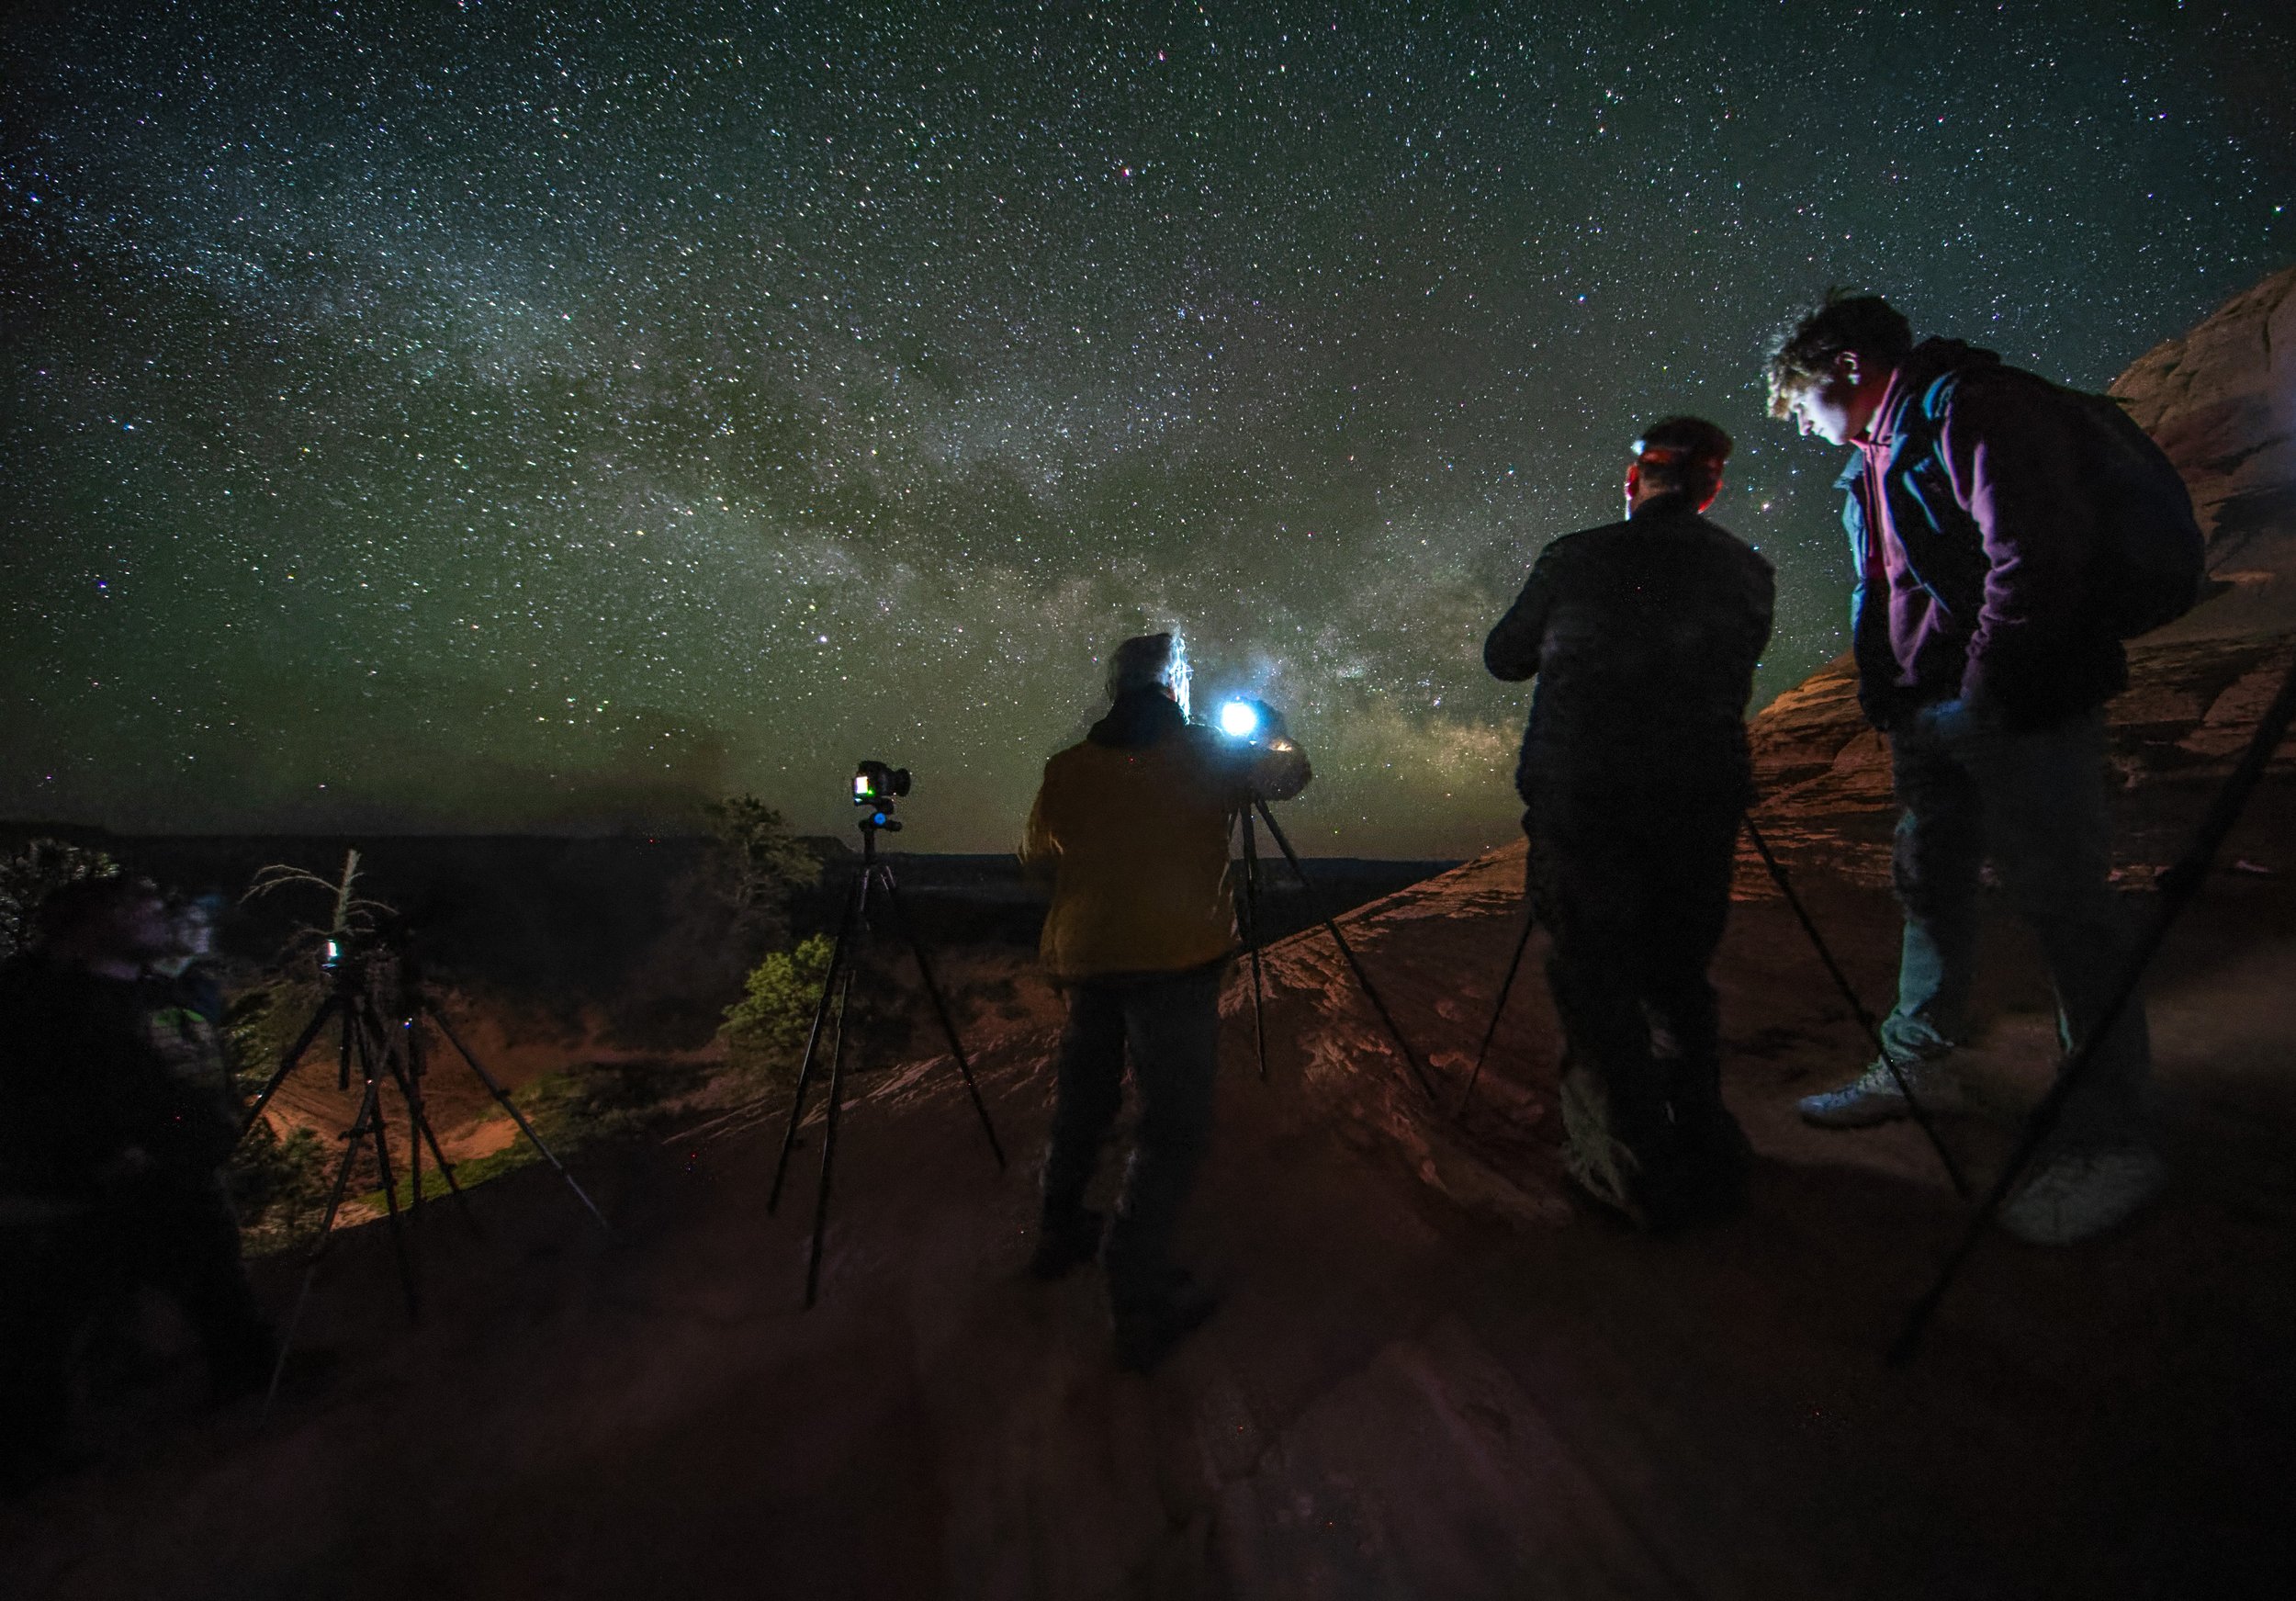
If you’re making plans for your 2024 fall Milky Way season, then include Nightscaper in your schedule and level up your astro-landscape night photography skills. This year’s conference will be held in the nights leading up to the new moon, providing perfect darkness to photograph the setting Milky Way in the earlier hours of the night.

You’ll join other passionate photographers, scientists and inspirational speakers in Kanab. The daytime conference leaves plenty of room for going out at night with speakers, as well as with friends new and old. Speakers will also be offering local workshops before and after the conference, so you can put together a pretty awesome night photography experience in one of the best places in the world for doing so.

The Nightscaper conference goes on for four days, starting each day in late morning to accommodate those who were out shooting the night before. Daily lunches are included, as well as one dinner.

Tickets

Tickets for the 2024 conference went on sale this past week. We are offering Conference + Replays tickets for those who can travel or Replays-only for those who cannot travel but still want all that education and inspiration.

  • $549 ($200 off the full price) for in-person tickets: use code “EarlyBird”

  • $349 ($50 off full price) for replays-only tickets: use code “EarlyBirdReplay”

Early Bird tickets will be available only through March 31, so grab yours at a discounted rate while you can!

Speakers

We are very excited to announce speakers for 2024 conference. Several from last year are returning: Kristine Richer, Mike Shaw, Jess Santos, Bryony Richards, Gabriel Biderman, Matt Hill and Chris Nicholson.

In addition, we will be welcoming:

  • Alyn Wallace, 2021 speaker and author of Photographing the Night Sky

  • Alyssa Pagan, science visuals developer for the James Webb Space Telescope

  • Katrina Brown, a master of creative light painting and time-lapse

  • Michael Frye, renowned landscape photographer and author of five books, including Digital Landscape Photography: In the Footsteps of Ansel Adams and the Great Masters and and The Photographer’s Guide to Yosemite

  • Rafael Pons, the bard of PhotoPills

  • Tim Cooper and Lance Keimig of National Parks at Night

  • and the original nightscaper, conference founder Royce Bair!

For more information, visit our About the Speakers page.

And keep checking back, because that won't be the last of the names you’ll see. We'll be adding a few more speakers, and we’ll keep you posted.

Follow Us for News

We’ll be rolling out event more information throughout the spring and summer, including:

  • more sponsor and speaker announcements

  • morning add-on post-production classes

  • speaker workshops

  • lodging info

  • and more!

Stay tuned in to our conference news by following the Nightscaper social media accounts:

Also, be sure to sign up for the Nightscaper email list to receive all conference updates right in your inbox.

Finally, join the Facebook group to share your night photos and to chat all things night photography.

Chris Nicholson is a partner and director of content with National Parks at Night, and author of Photographing National Parks (Sidelight Books, 2015) and Photographing Lighthouses (Sidelight Books, 2024). Learn more about national parks as photography destinations, subscribe to Chris' free e-newsletter, and more at www.PhotographingNationalParks.com.

UPCOMING WORKSHOPS FROM NATIONAL PARKS AT NIGHT

We're Going Live! Announcing 4 Online Courses for 2024

We all love being in the field to shoot, but we all also know that opening the shutter is only half the task of creating a great photograph. The other half is processing.

To help with that second half, National Parks at Night periodically offers online post-processing workshops, and today we’re excited to announce the next rounds of those. Moreover, not only are we announcing new sessions for two popular courses we’ve run in the past, but we’re also launching two brand new courses!

The two returning courses are Lightroom Live and Photoshop Live, both of which lead attendees through the basics of mastering these two incredible tools of the digital darkroom. The two new courses take things a few steps further, with Black and White Live and Processing Night Panoramas Live teaching attendees how to master the ins and outs of these specialty areas.

We’ll be hosting all four of these online courses this spring. Each will take place on weekday evenings, two evenings per week, for two weeks—for a total of eight hours of group education over four nights. We also limit each course to 12 attendees, to ensure time for individual attention to questions and answers. Along the same lines, after the course each attendee will be offered a half hour of one-on-one time with an instructor of their choice.

For more information about each of these online workshops, continue reading below. (And in each section, check out our free tip!)

Black and White Live

Black and white imagery has always had an aura of timelessness, drama and sophistication. Using this scheme at night is no different. Since photographers shooting in monochrome cannot lean on color to provide information in any given scene, we are forced to concentrate on other building blocks to evoke emotion, to tell a story or to capture the drama. This four-night online workshop will guide you on the journey through all of that and more.

This course will teach many aspects of the digital black and white process, from tips on capturing the best raw materials in the field to processing with what we consider the best software for the job, Silver Efex Pro.

You’ll also learn what creates a great black and white image, how to understand and control tonal contrast, how to apply local enhancements to create glowing images, and more.

Black and White Tip from Lance

If you’re setting out to create black and white images, learn to see that way in the field. Your camera can help you, as if you set it properly, then it can preview your images in black and white right on the LCD. In the camera settings, change Picture Style (Canon), Picture Control (Nikon) or Creative Style (Sony) to Monochrome or Black and White. This will help you avoid passing up photographing a scene because it lacks interesting color. One example of this would be an urban night scene illuminated exclusively by sodium vapor lights. In color, those scenes are usually quite unappealing, but they often look great as black and white.

Processing Night Panoramas Live

Stitching panoramas can be challenging enough with daytime photographs—the complexity increases even more for images captured at night. If you’ve ever struggled with stitching panorama panels, this is the course for you. We will teach how to process simple and complex night panos in Adobe Lightroom Classic, Photoshop and, most importantly, in PTGUI Pro.

In this online workshop you’ll learn not just how to stitch basic panoramas, but also how to blend twilight and star-point panos in Photohsop and PTGui, how to stitch vertoramas with both star-point and star-trail toppers, how to understand and choose different projections, how to create “tiny planet” photos, and more. The course will also feature a full demonstration of the best stitching software out there, PTGui Pro, with a focus on how to use it for night panos.

Pano Processing Tip from Matt

When stitching a vertorama in PTGUI Pro, be sure to choose among the transverse projection variants. Then click and drag to place the true horizon on the center horizontal line. (If the horizon is behind a landform, align with that instead of the skyline.) Chances are the final result will look just like you envisioned … perhaps better!

Lightroom Live

For 99.9 percent of the photography world, the process of post-production starts with Lightroom. Yet so many photographers feel that they don’t fully understand the software, let alone know enough to wield its full potential.

With a strict focus on the Library and Develop modules, in this online course you'll learn how to add keywords, create collections, globally adjust your images and fine-tune your masterpiece with local adjustment tools.

And as a bonus, you’ll get our video Lightroom: Correcting Your Catalog Chaos.

Lightroom Tip from Gabe

Most of our night skies have atmospheric haze, especially from the horizon to 20 degrees above, which is where the core of the Milky Way tends to reside most of the year. Lightroom’s Dehaze slider was built to cut through haze and provide more separation in the lower-contrast areas of the scene—but it also works wonders on dark night skies! A little Dehaze can go a long way in making your stars and the Milky Way pop. Watch out though, because Dehaze also increases saturation and can make your skies too purple or blue, so be ready for a potential color adjustment afterward.

Photoshop Live

Photoshop is a challenging program to learn on your own. And it’s also massive. But don’t worry—as a night photographer, you don’t need to learn every tool, setting and checkbox in order to harness the program’s power. Having a good foundation of the program and some basic knowledge of key features (as well as intricate knowledge of some subtle features) will help you develop the skills necessary to create advanced night photography composites and finely crafted images.

Our areas of focus will be understanding the architecture of Photoshop, strategies and best practices for using layers, mastering advanced local adjustments, masking, and much more!

Photoshop Tip from Chris

Photoshop has lots of selection tools. Magic Wand. Quick Selection. Object Selection. There’s a tool for selecting the sky, or a subject, or a focus range, or a color range. Which is best? All of them! Each of the selection tools has their pros and cons, and situations where they outperform their counterparts. Therefore, learn how to use each of these tools and practice with them all. You’ll learn the situations that each excels in, and then you’ll always know which to use in different scenarios.

Come Learn With Us Online

Wherever your next passion for learning lies, we hope that one of these online courses can help. For more info on each, click here:

We look forward to seeing you there!

Chris Nicholson is a partner and director of content with National Parks at Night, and author of Photographing National Parks (Sidelight Books, 2015) and Photographing Lighthouses (Sidelight Books, 2024). Learn more about national parks as photography destinations, subscribe to Chris' free e-newsletter, and more at www.PhotographingNationalParks.com.

UPCOMING WORKSHOPS FROM NATIONAL PARKS AT NIGHT