We all love shooting under the stars, but oftentimes we are pushing our cameras and lenses to the extreme. In last month’s article we talked about “Shooting for the Sharpest Stars” and how that forces us into even higher ISOs and shorter exposures. Most cameras have difficulty at 6400-plus ISOs, and the shorter exposures make it tricky to get any detail in the foreground.
Enter the Mac-only software Starry Landscape Stacker (SLS), which blends multiple high ISO star point shots to reduce noise while keeping your stars sharp! (For PC users, your solution is Sequator, which operates and yields similar results to SLS. We will take a closer look at Sequator on our blog a little later this year.)
What is Starry Landscape Stacker?
SLS is a very intuitive piece of software that gives you smoother final images by recognizing and aligning the “tracked stars,” and then stacking the files while applying noise reduction to the other areas of the sky. This is probably the best piece of software to squeeze the most image quality out of multiple files instead of just working with one.
In this post, we’re going to look at the basics of how to use SLS. At the end, you can watch a video of me working through the details of processing an image this way.
Shooting Considerations for SLS
The key for both SLS and Sequator is that we shoot multiple images in the field—at least 10, but 20 is even better. The more information the program has, the better it will work.
So, once you settle on your star point composition, check focus and attain a good exposure, don’t just take one or two shots and move on. Instead, set your intervalometer to take 20 shots with a 1-second interval between. And you can certainly take more than 20 shots. If I have settled on a really nice composition, I might shoot it for an hour or so to get different alignments of the Milky Way as it moves across the sky.
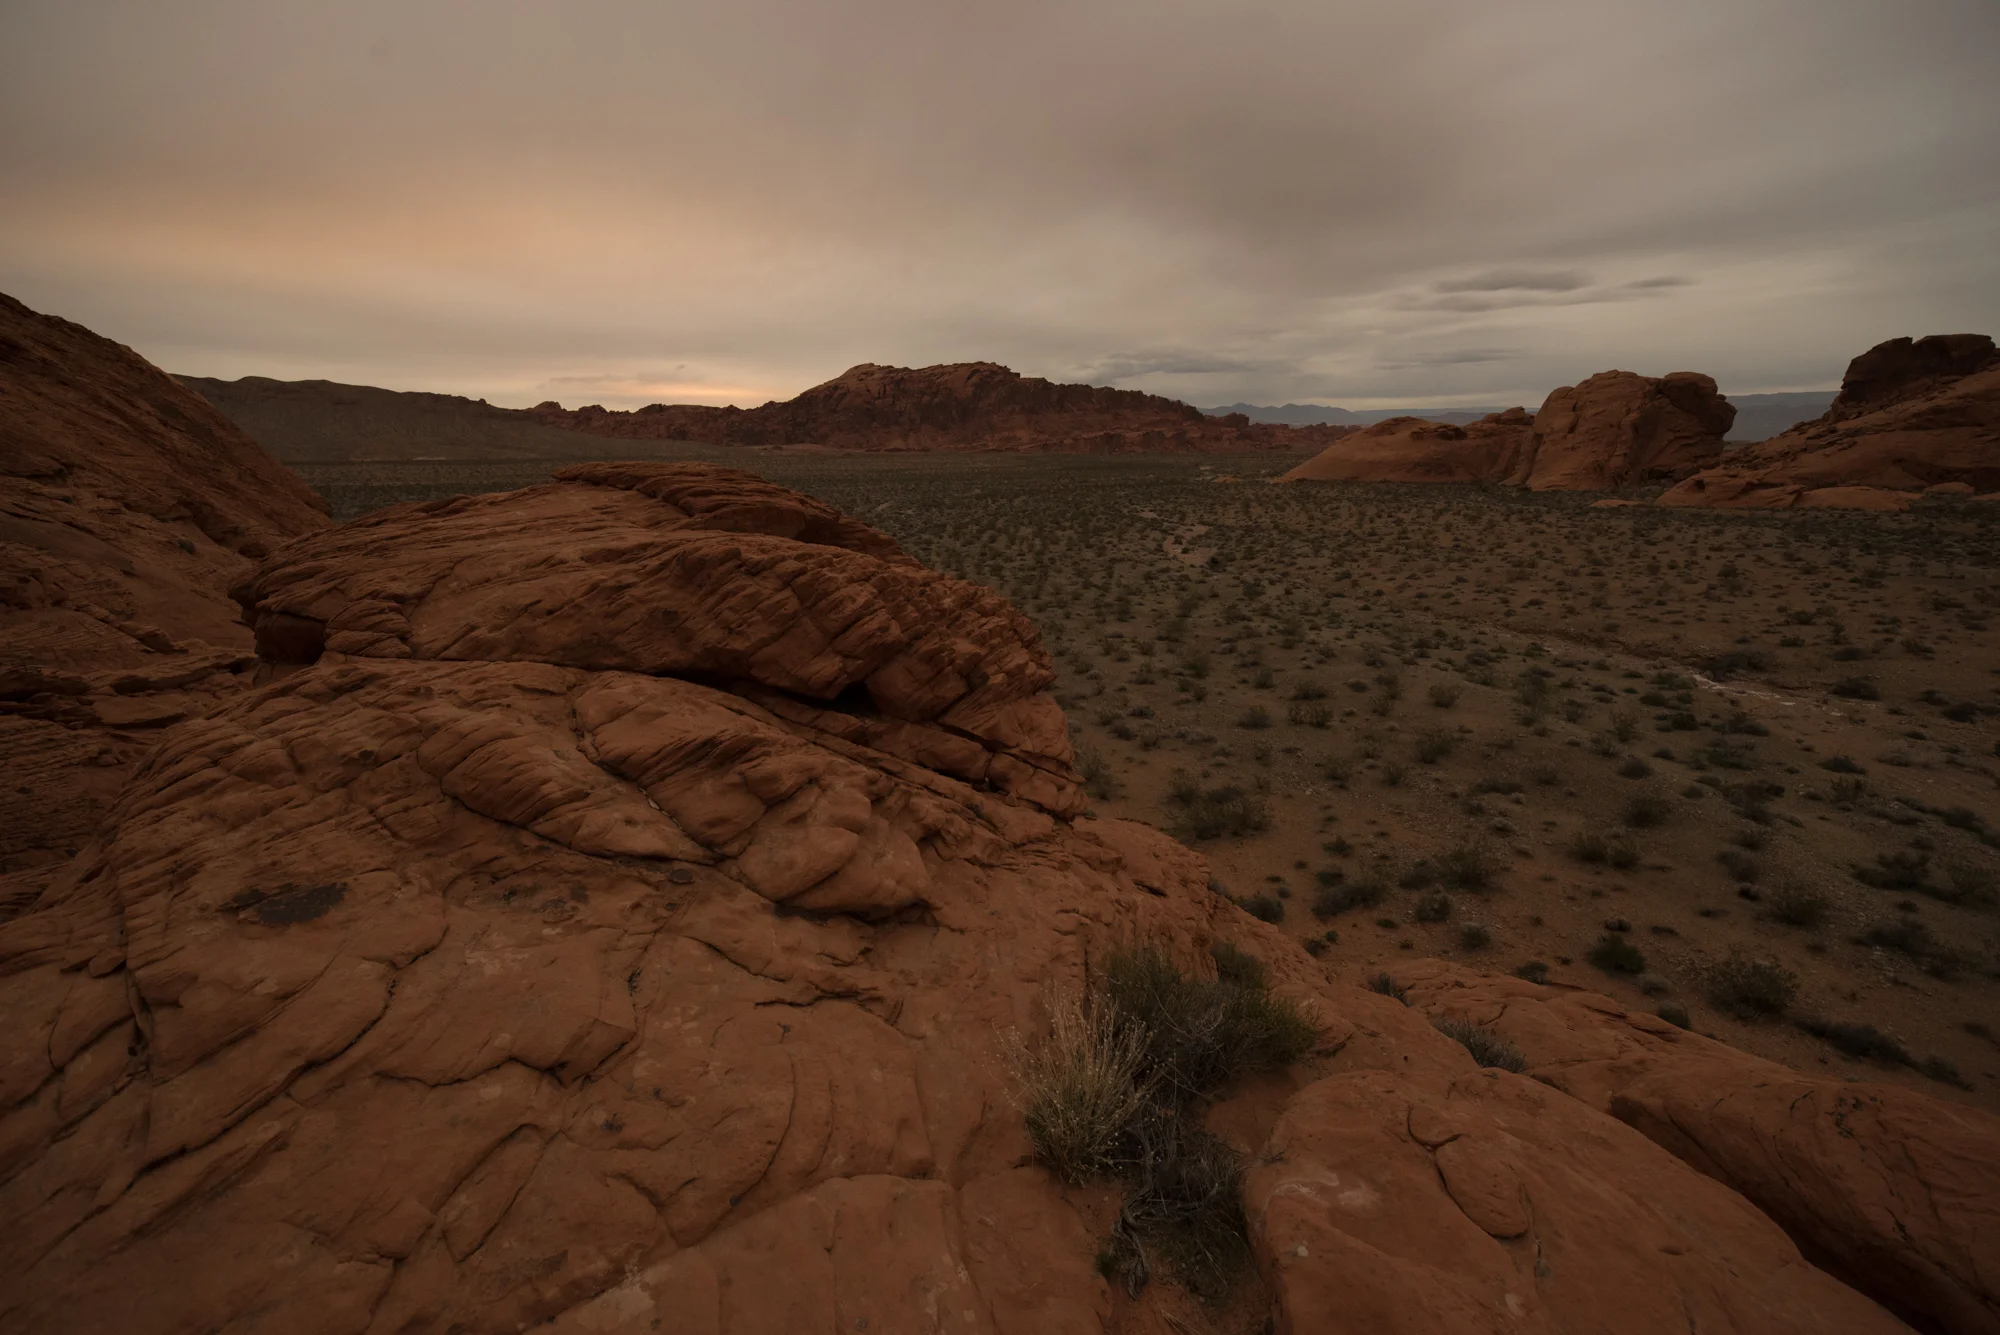
We also have to consider the foreground. In the Figure 1 below, the exposure is good for the sky, but there’s hardly any information in the foreground.
Figure 1. Nikon D5 with an Irix 15mm f/2.4 lens. 25 seconds, f/2.5, ISO 6400.
How can we fix it? Three solutions:
1. Take a twilight shot.
If you arrive to your location prior to nightfall, take a few shots as the light varies throughout the twilights. You can use those later to blend into your star shot. Of course this approach works for only one setup per night (unless you have two or more cameras), but it can create a unique look. (In previous blog posts you can see examples of when Matt and Tim have done this.)
2. Light paint your foreground.
This works really well if we have something dominant in the foreground that is easily reachable with our light painting tools. However, if we have a big swathe of landscape, that will be difficult to paint.
3. Take a longer foreground-only exposure.
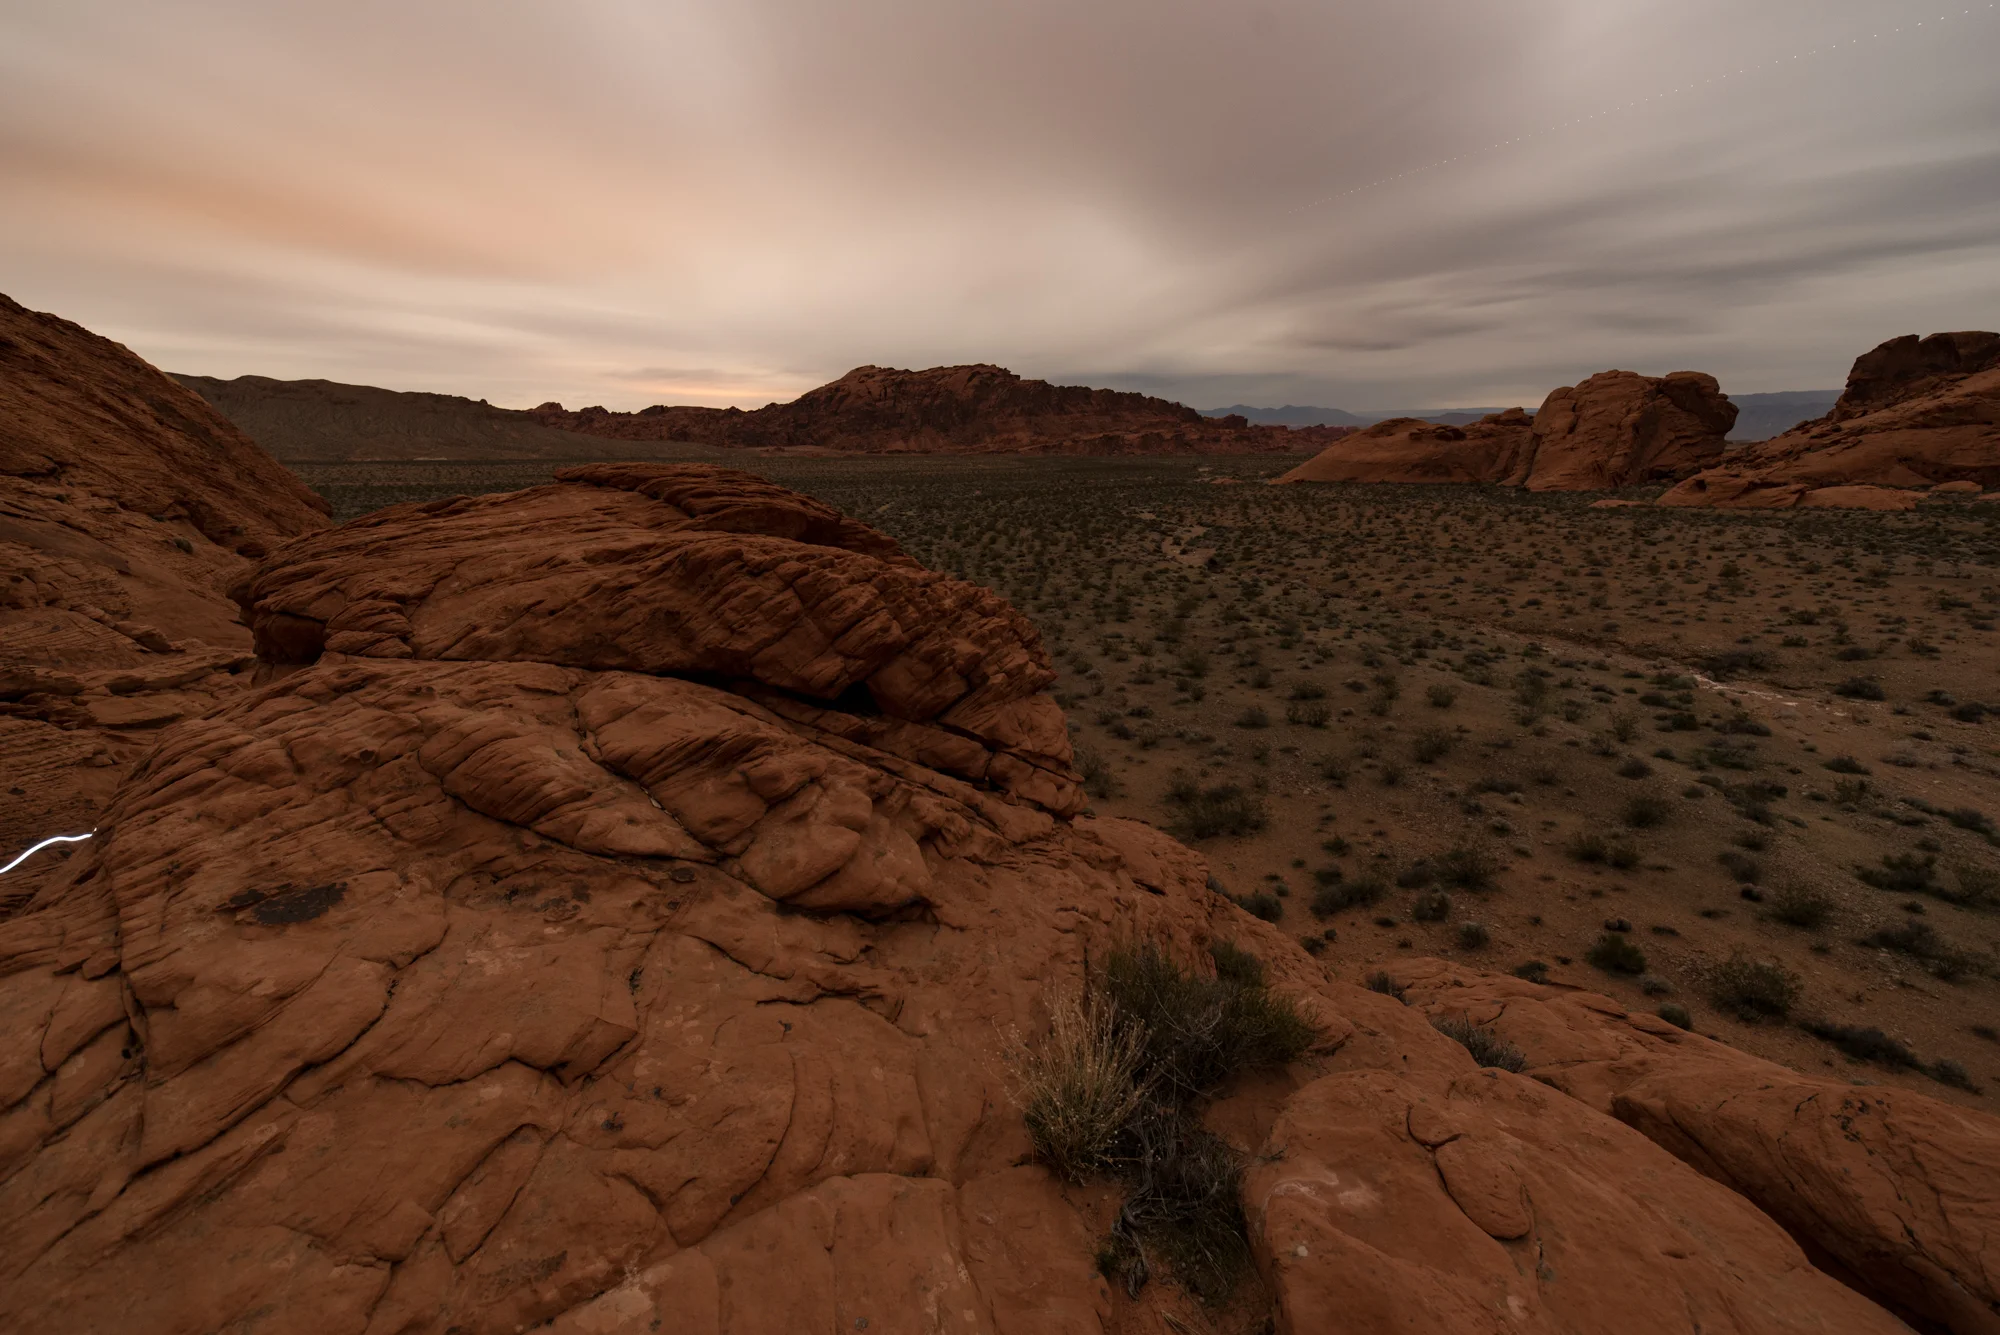
Lower your ISO, turn on your long-exposure noise reduction, and take a shot that is three to six stops higher than your sky shot. By using the a lower ISO we can get a cleaner foreground. But don’t expose so that it looks like a daytime foreground—my rule of thumb is to shoot a foreground exposure that gets the histogram off the left side and more in the middle (Figure 2).
Figure 2. Nikon D5 with an Irix 15mm f/2.4 lens. 13 minutes, f/2.5, ISO 1600.
My thought process on for this image: It was very dark, with no moon in the sky in Capitol Reef National Park, which is a Gold Tier Dark Sky Park. I figured an exposure of 4 minutes at ISO 6400 (three stops brighter than the sky shot) would start to reveal foreground. However, I also didn’t want the 6400 noise in the darker foreground, so I lowered my ISO two stops to 1600, which is incredibly clean on the Nikon D5. Adding five stops to my original image gave me an exposure of 13 minutes (should have been 16 minutes, but oh well), f/2.5, ISO 1600.
Don’t look at how bright the sky and the trailing stars are—the piece we want from this image is the foreground detail of the road cutting through the landscape.
Preparing Your Files for SLS
There are a few key things to do to your sky files in either Lightroom or Camera Raw to best prepare them for SLS. The idea here is to remove any chromatic aberrations and have a nice flat file that will help SLS align and combine the dimmer stars.
1. Lower the contrast of the image. I generally set my contrast to -100 and increase the exposure to +.30 (Figure 3). It won’t look good on the screen but that’s OK—just be careful you are not blowing out any stars.
Figure 3.
2. Turn off any sharpening and noise reduction. Bring the sliders all the way to zero (Figure 4). SLS will handle the noise reduction for now and we will do the sharpening after SLS stacks the image.
Figure 4.
3. Correct for lens aberrations. Under the Lens Correction section of Lightroom, check Remove Chromatic Aberration (Figure 5) and manually adjust any vignetting to even out the exposure of the image (Figure 6). I choose to manually adjust the vignetting instead of turning on “Enable Profile Correction” (EPC) because I’ve noticed weird artifacts/moire patterns in the stacked images when doing so early in this process. EPC adjusts for distortion and vignetting, so it’s best practice to apply the Lightroom adjustment (if you want) to the finished image after stacking in SLS. Again, our goal here is only to prepare a nice flat file that SLS can use to easily recognize the stars, sky and landscape for blending. Minimum pre-processing equals maximum results.
Figure 5.
Figure 6.
That’s it! You don’t have to remove airplane trails or satellites. SLS will help you remove them from or add them into the final image.
Once you have worked on the first image of your “batch” you can then quickly sync the adjustments to other files. Choose your best 10 to 20 consecutive images that have the best positioning of the Milky Way or stars, and export them as full-resolution 16-bit TIFF files that include all metadata (because SLS uses your exposure information when stacking). (Figure 7.)
Figure 7.
Processing in SLS
I’ll go into more in depth in the video below, but here are some overall processing tips:
1. Open the files in SLS. It will stack them together and there will be a bunch of red dots that identify the stars.
Figure 8.
2. Follow the “Workflow” instructions at the top left.
3. Adjust Dots in the Sky. Remove any red dots on the ground, along the horizon, in cloudy areas, or in any spots where there weren’t actually stars. You can even add dots into the sky if there are major areas in the sky that don’t have them.
4. Click Find Sky. That will create the blue mask of the sky; it doesn’t need to be perfect but should include all the areas where there are stars. If you have a horizon that has lots of trees cutting into the sky, choose “Mask with Islands of Sky” and that will let SLS know to create masks for the stars between the branches. You might need to clean this up, but SLS does an excellent job to get you started.
5. Align With. This will remove the blue mask. At the bottom of the workflow section it says Current Image. Click on Next and Previous to choose which Milky Way/star-point alignment you’d like SLS align to.
6. Align and Composite. This stacks all the images. You have to select a composition algorithm to choose:
Min Horizon Noise is the default and works in most cases. It brightens the Milky Way stars a bit more than the surrounding stars and minimizes the noise along the horizon.
If you do notice any star trailing or duplication along the edge of the mask, use the Min Horizon Star Dupe. There is also a “mean” version of the Horizon Noise and Star Dupe—this uses the older “median” algorithm that was seen in previous versions of SLS.
7. Click Save. SLS saves the stacked file to your folder of TIFFs. SLS gives you the option to save a copy of the mask; I generally don’t need it as the masked file works fine. You’ll need to import this new file into LR and then do any image massaging there.
Tip: You can save multiple algorithms of the stack. The Max algorithm reveals any airplanes, satellites or meteors. Save a clean Min Horizon Noise for minimal noise, but then save any meteors that came through and you can blend them together in Photoshop!
Walking Through an SSL Edit
That’s it! You now have the cleanest night skies out there! Check out the video below, where I go into detail and walk through the whole process. I also take the SLS night sky image and blend it with the foreground from the longer exposure in Photoshop.
Milky Way season is here and the temperatures are rising, bringing more noise into our shots. Use Starry Landscape Stacker to create even cleaner jaw dropping night images!

