Humor

The Night Photography Game-Changer: Day for Night Filters Now Available

At first glance, the National Parks at Night mission might appear to be solely about venturing into parks in the dark to teach night photography. But our broader mission is much … well, broader. It’s about pushing the envelope for the entire world of night photography.

To that end, we’ve been quietly working hard for the past 14 months to develop our first tangible product—a set of tools that will at once help established night photographers expand their creative potential and give new night photographers an easier way into the niche.

And finally, we are very proud and excited to announce the National Parks at Night “Day For Night Filters.”

prodcut 5.jpg

This is a toolkit of seven classes of filters—available individually, in sets or in one comprehensive package—designed to allow certain types of night photography to be executed even when conditions aren’t right for traditional approaches to shooting in the dark.

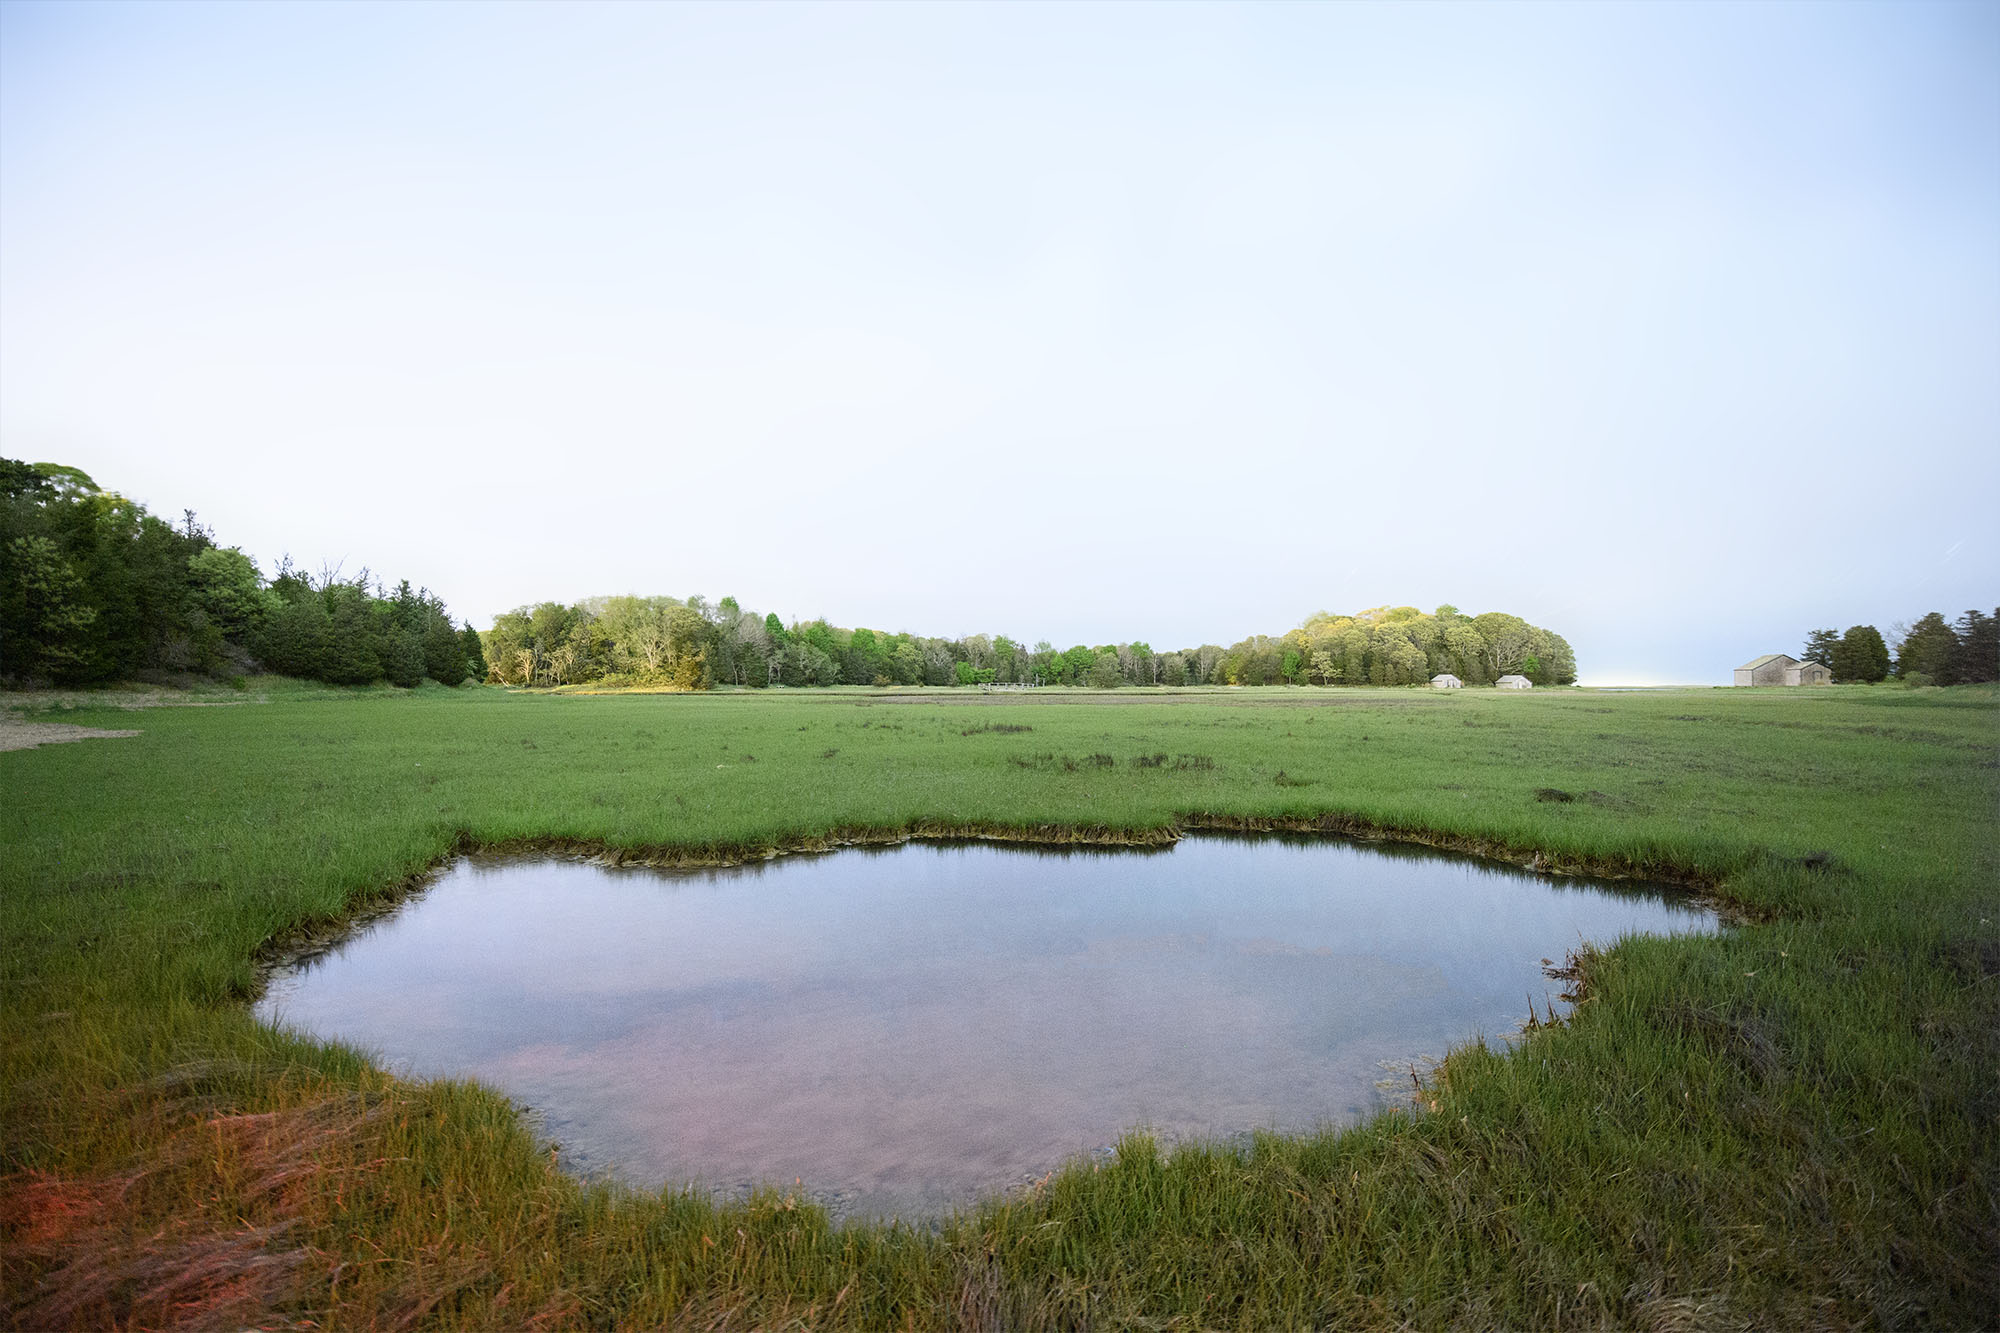
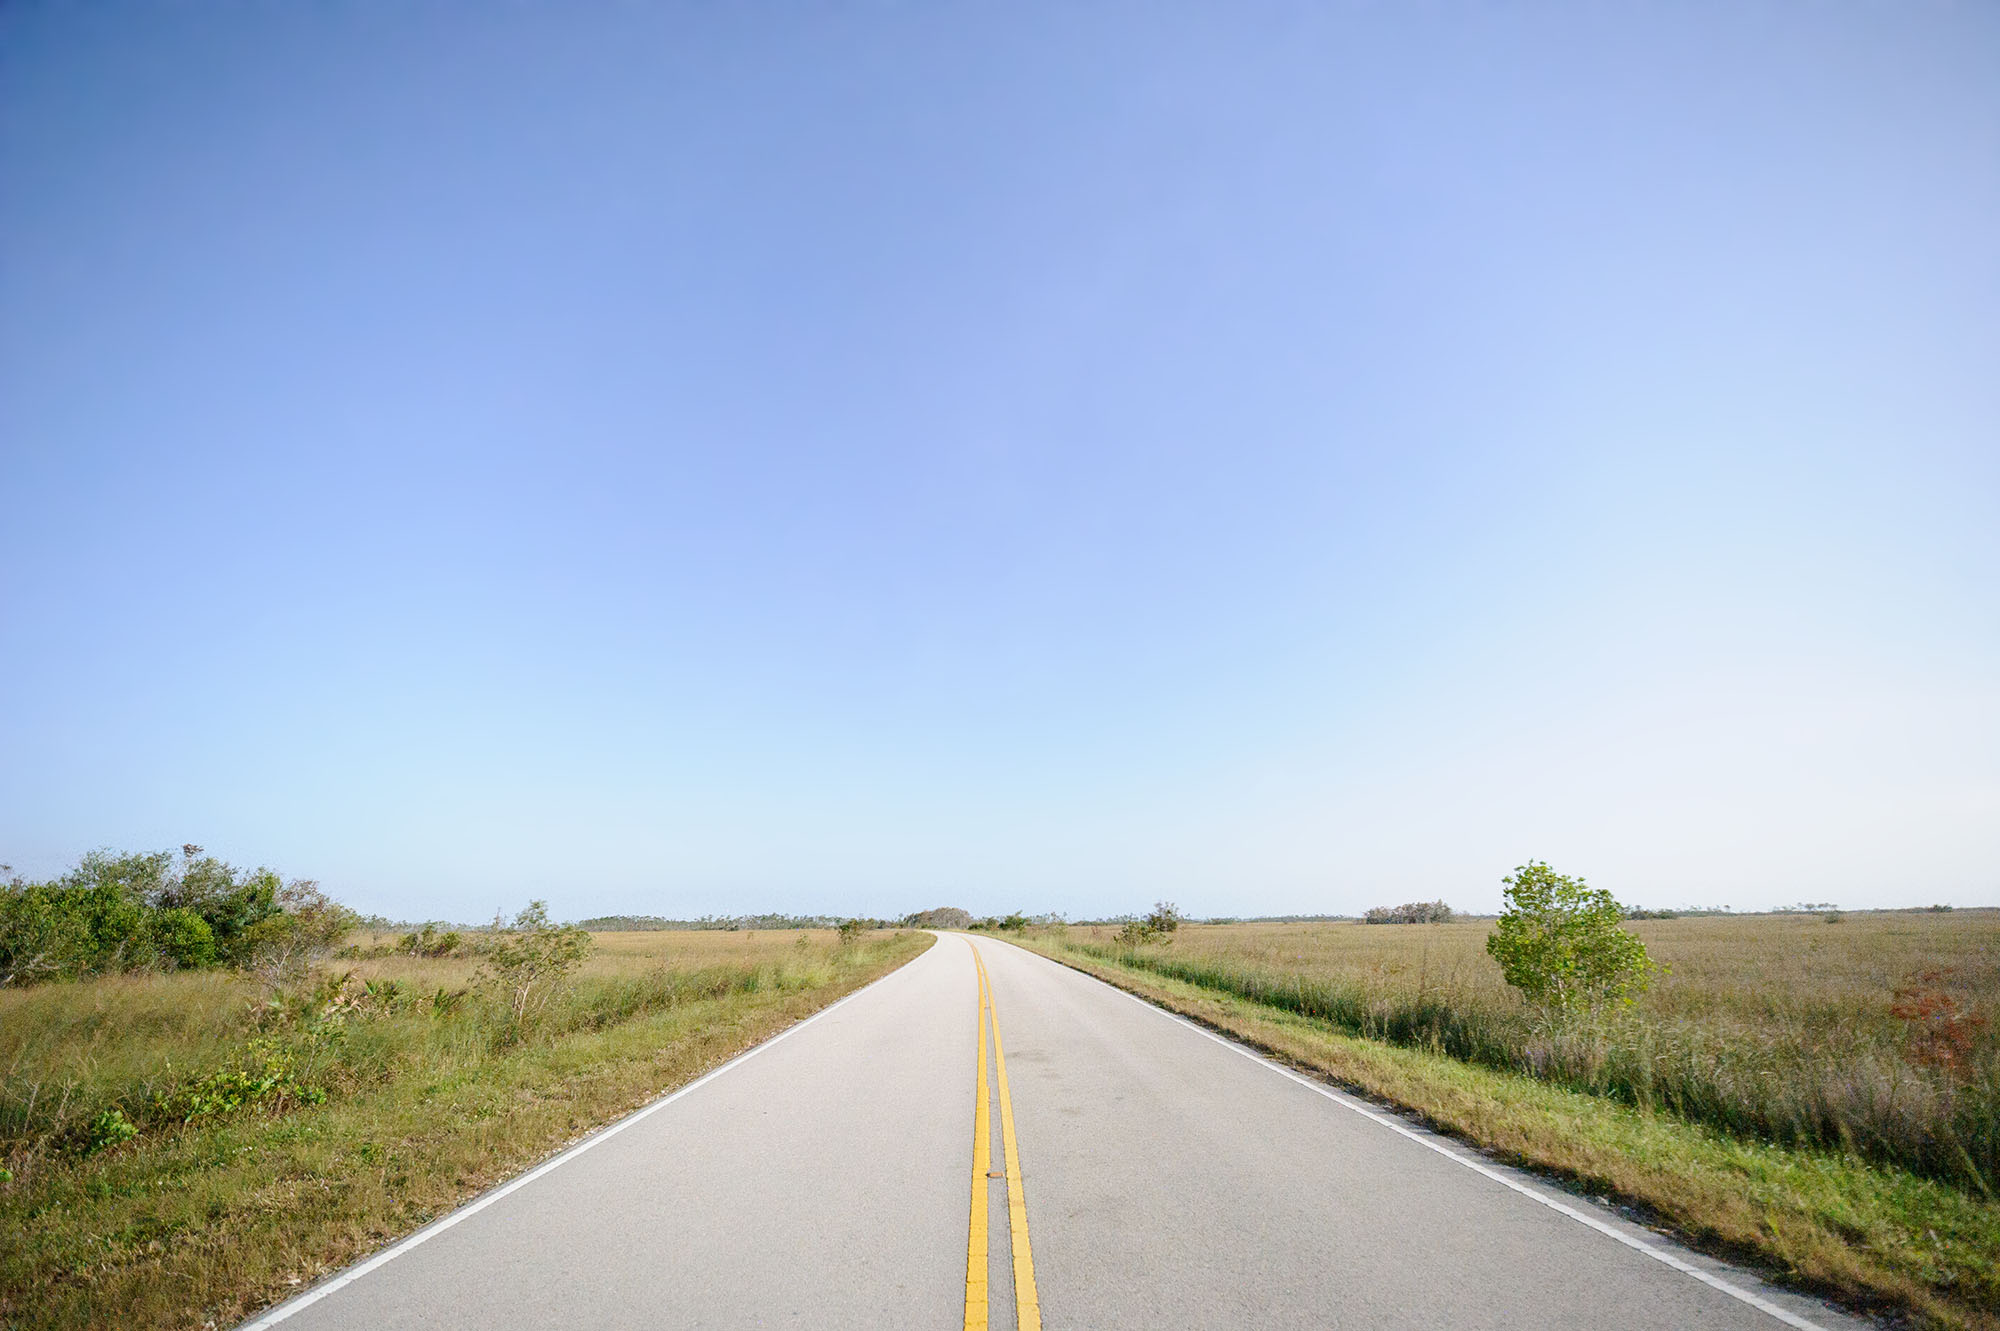
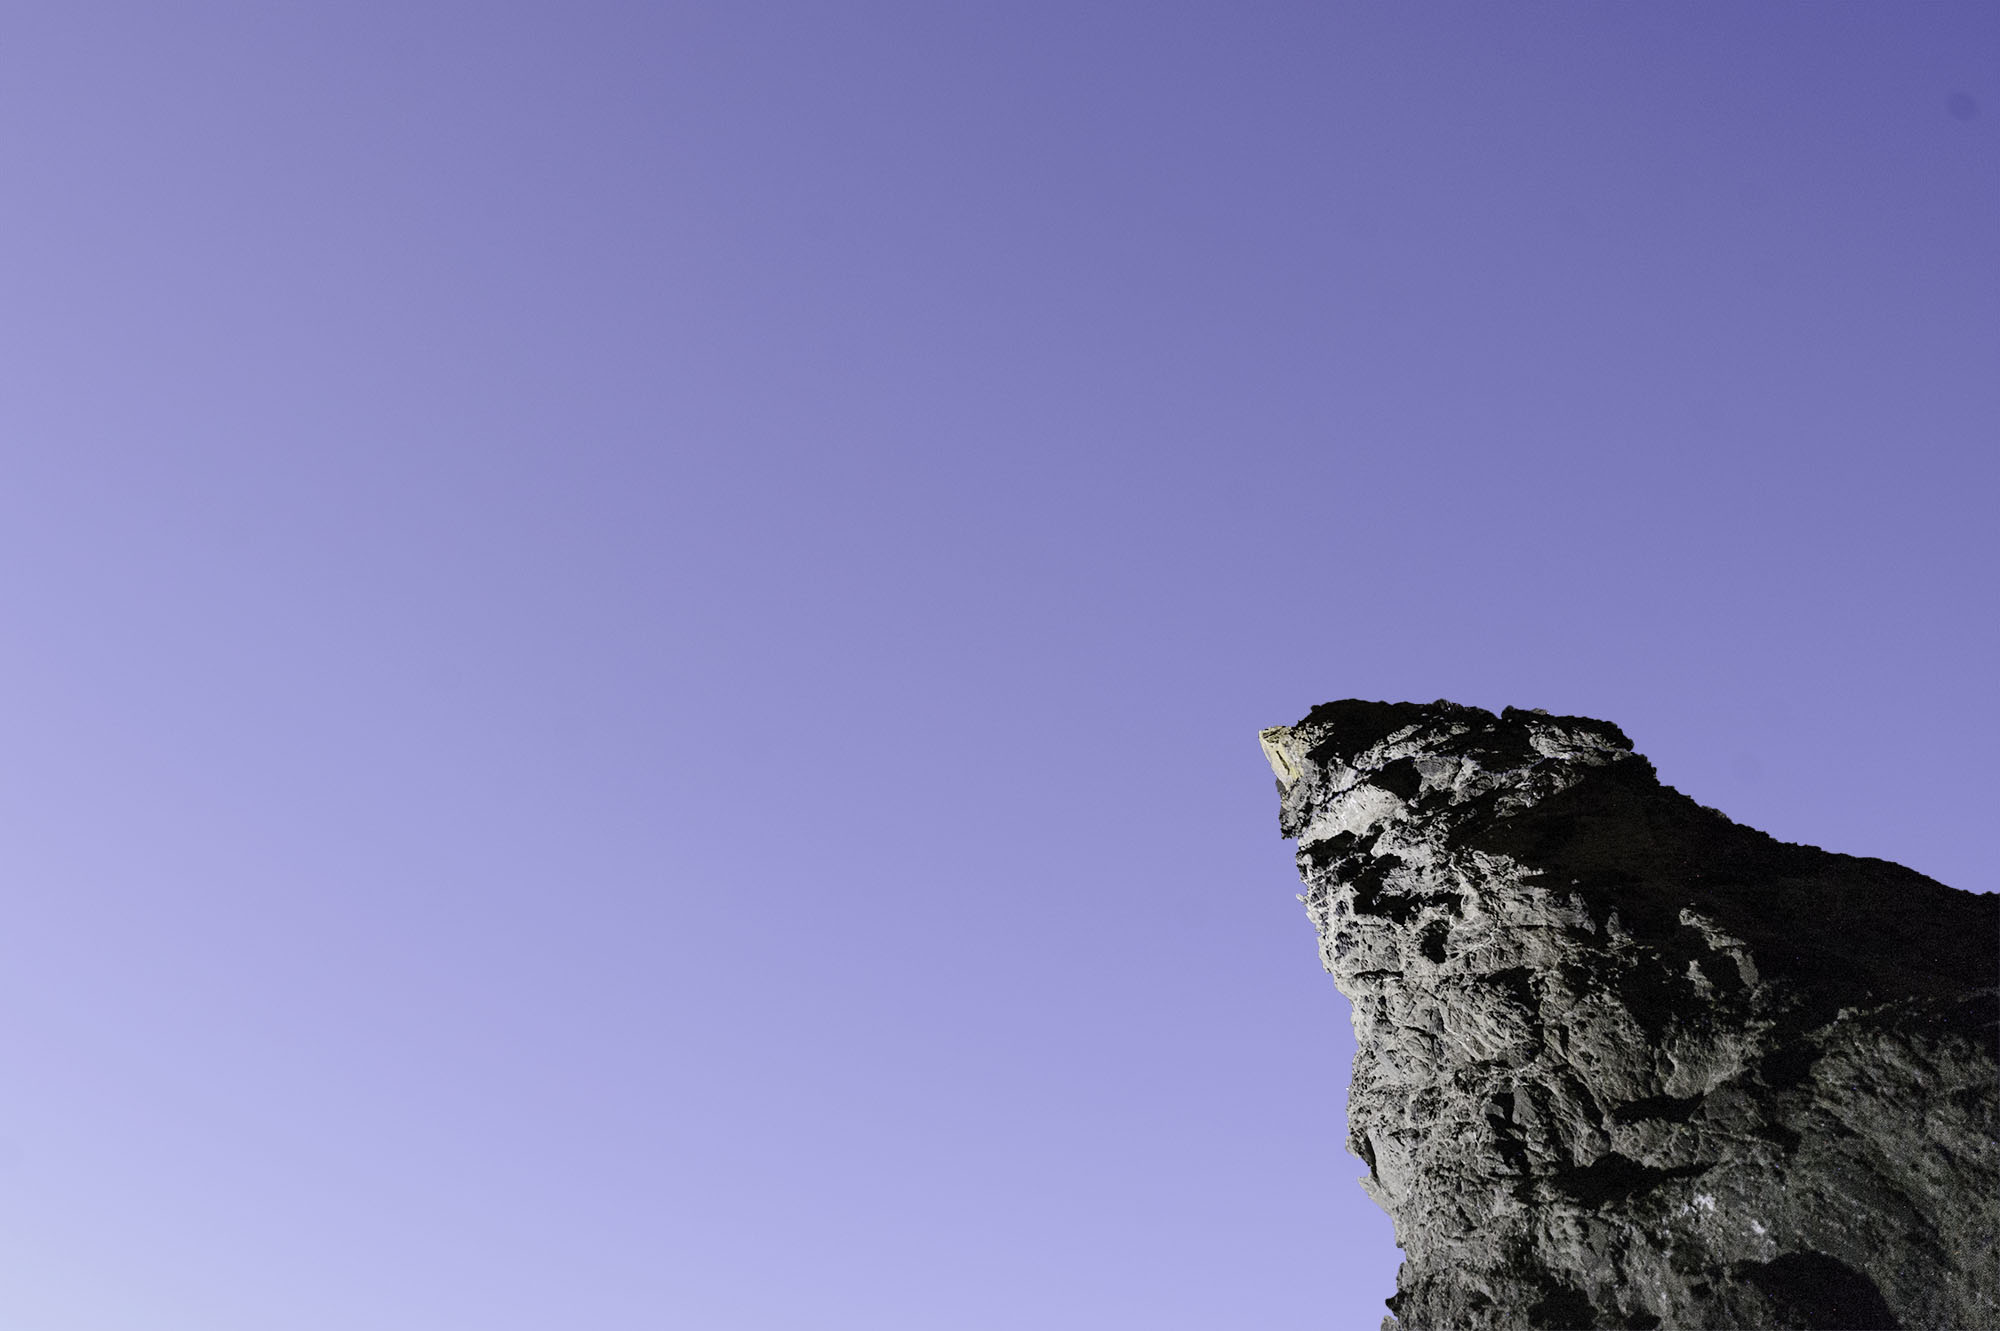
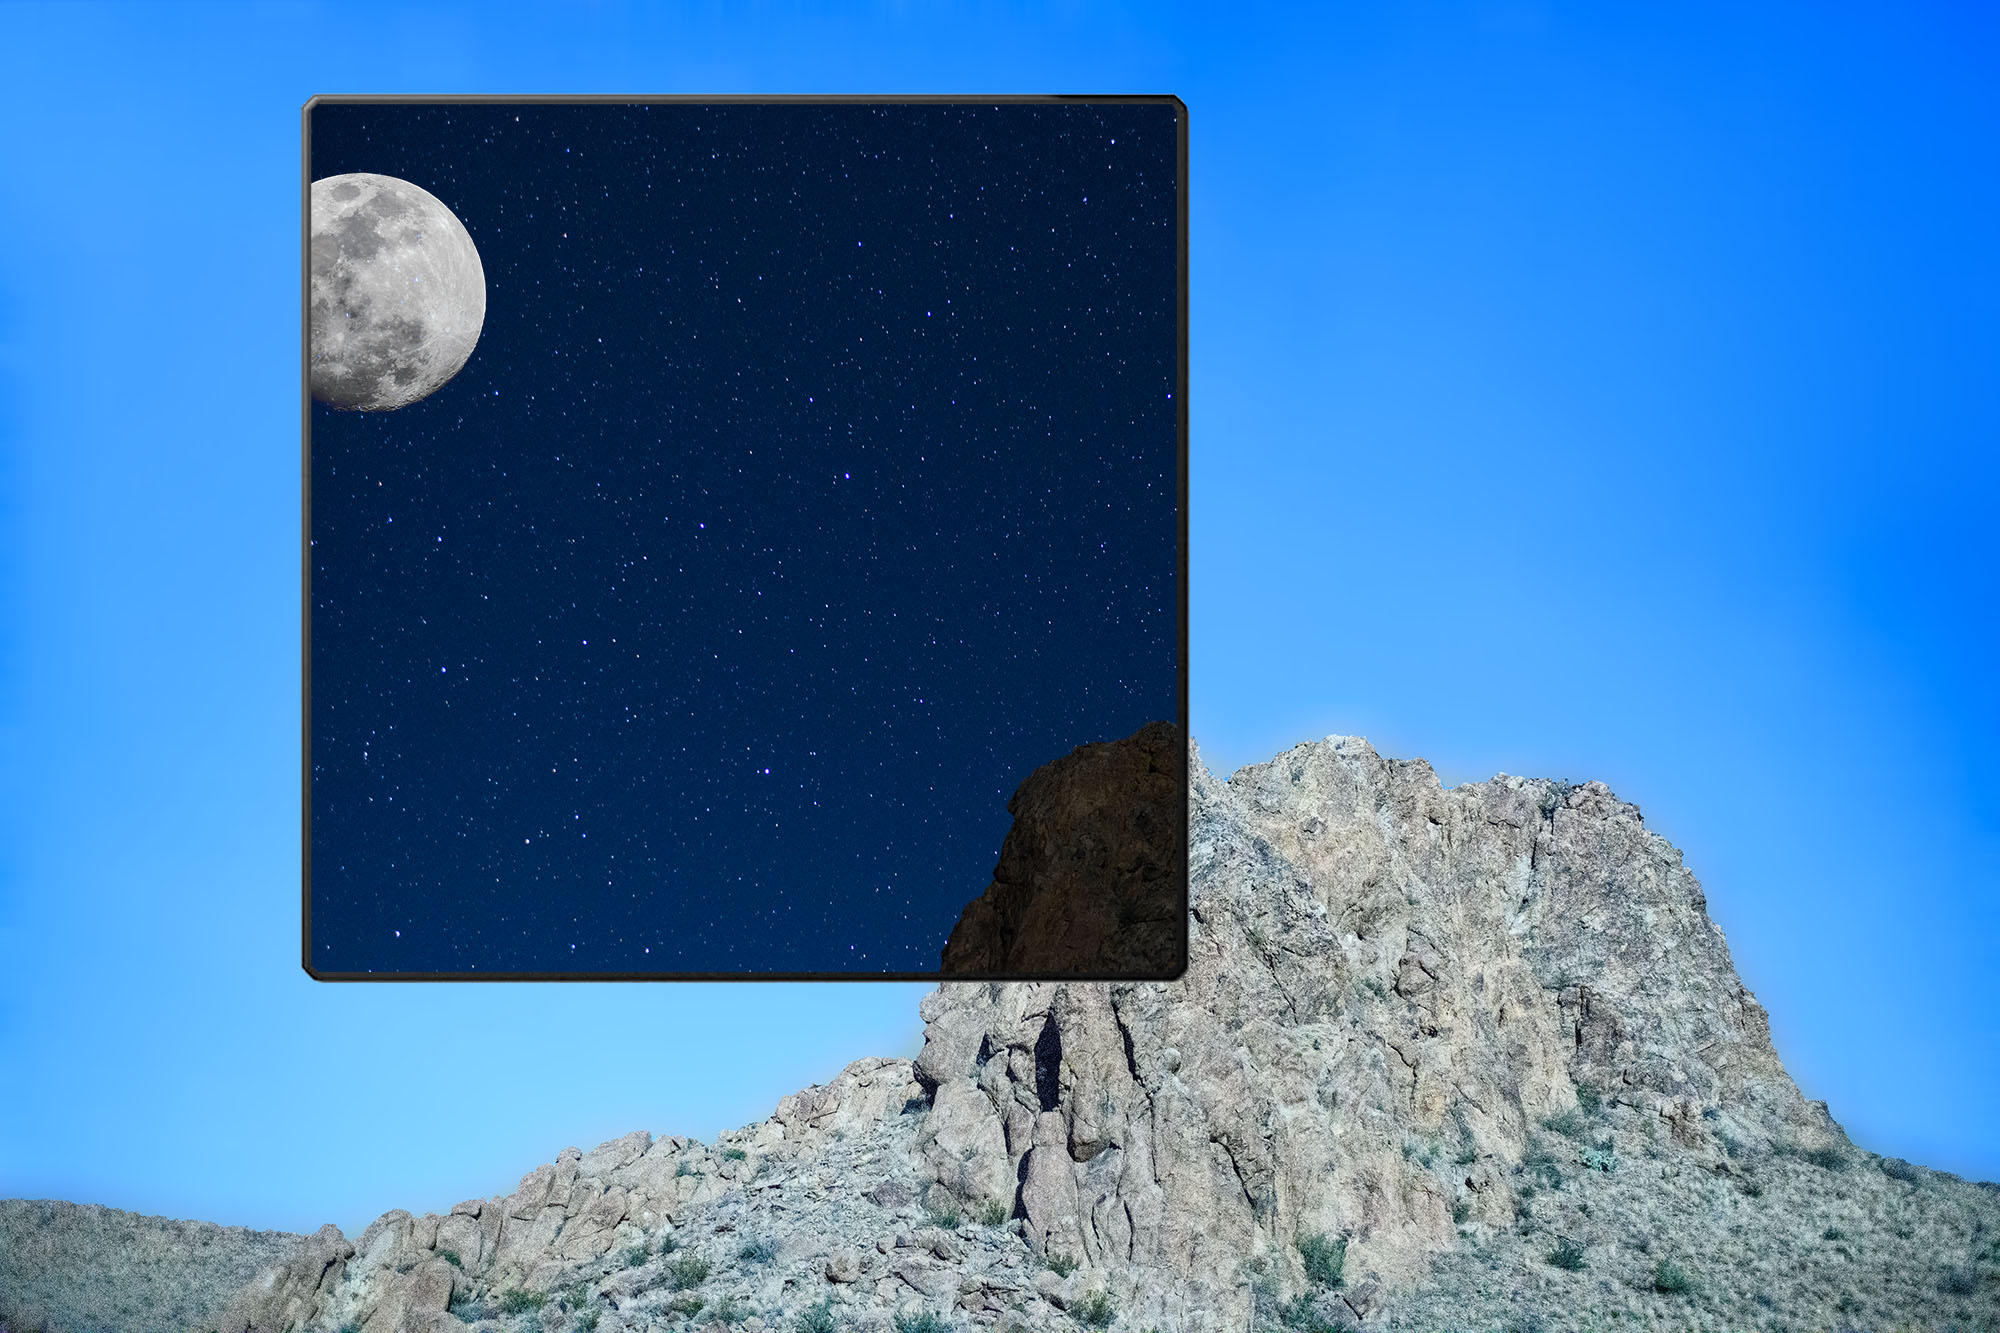
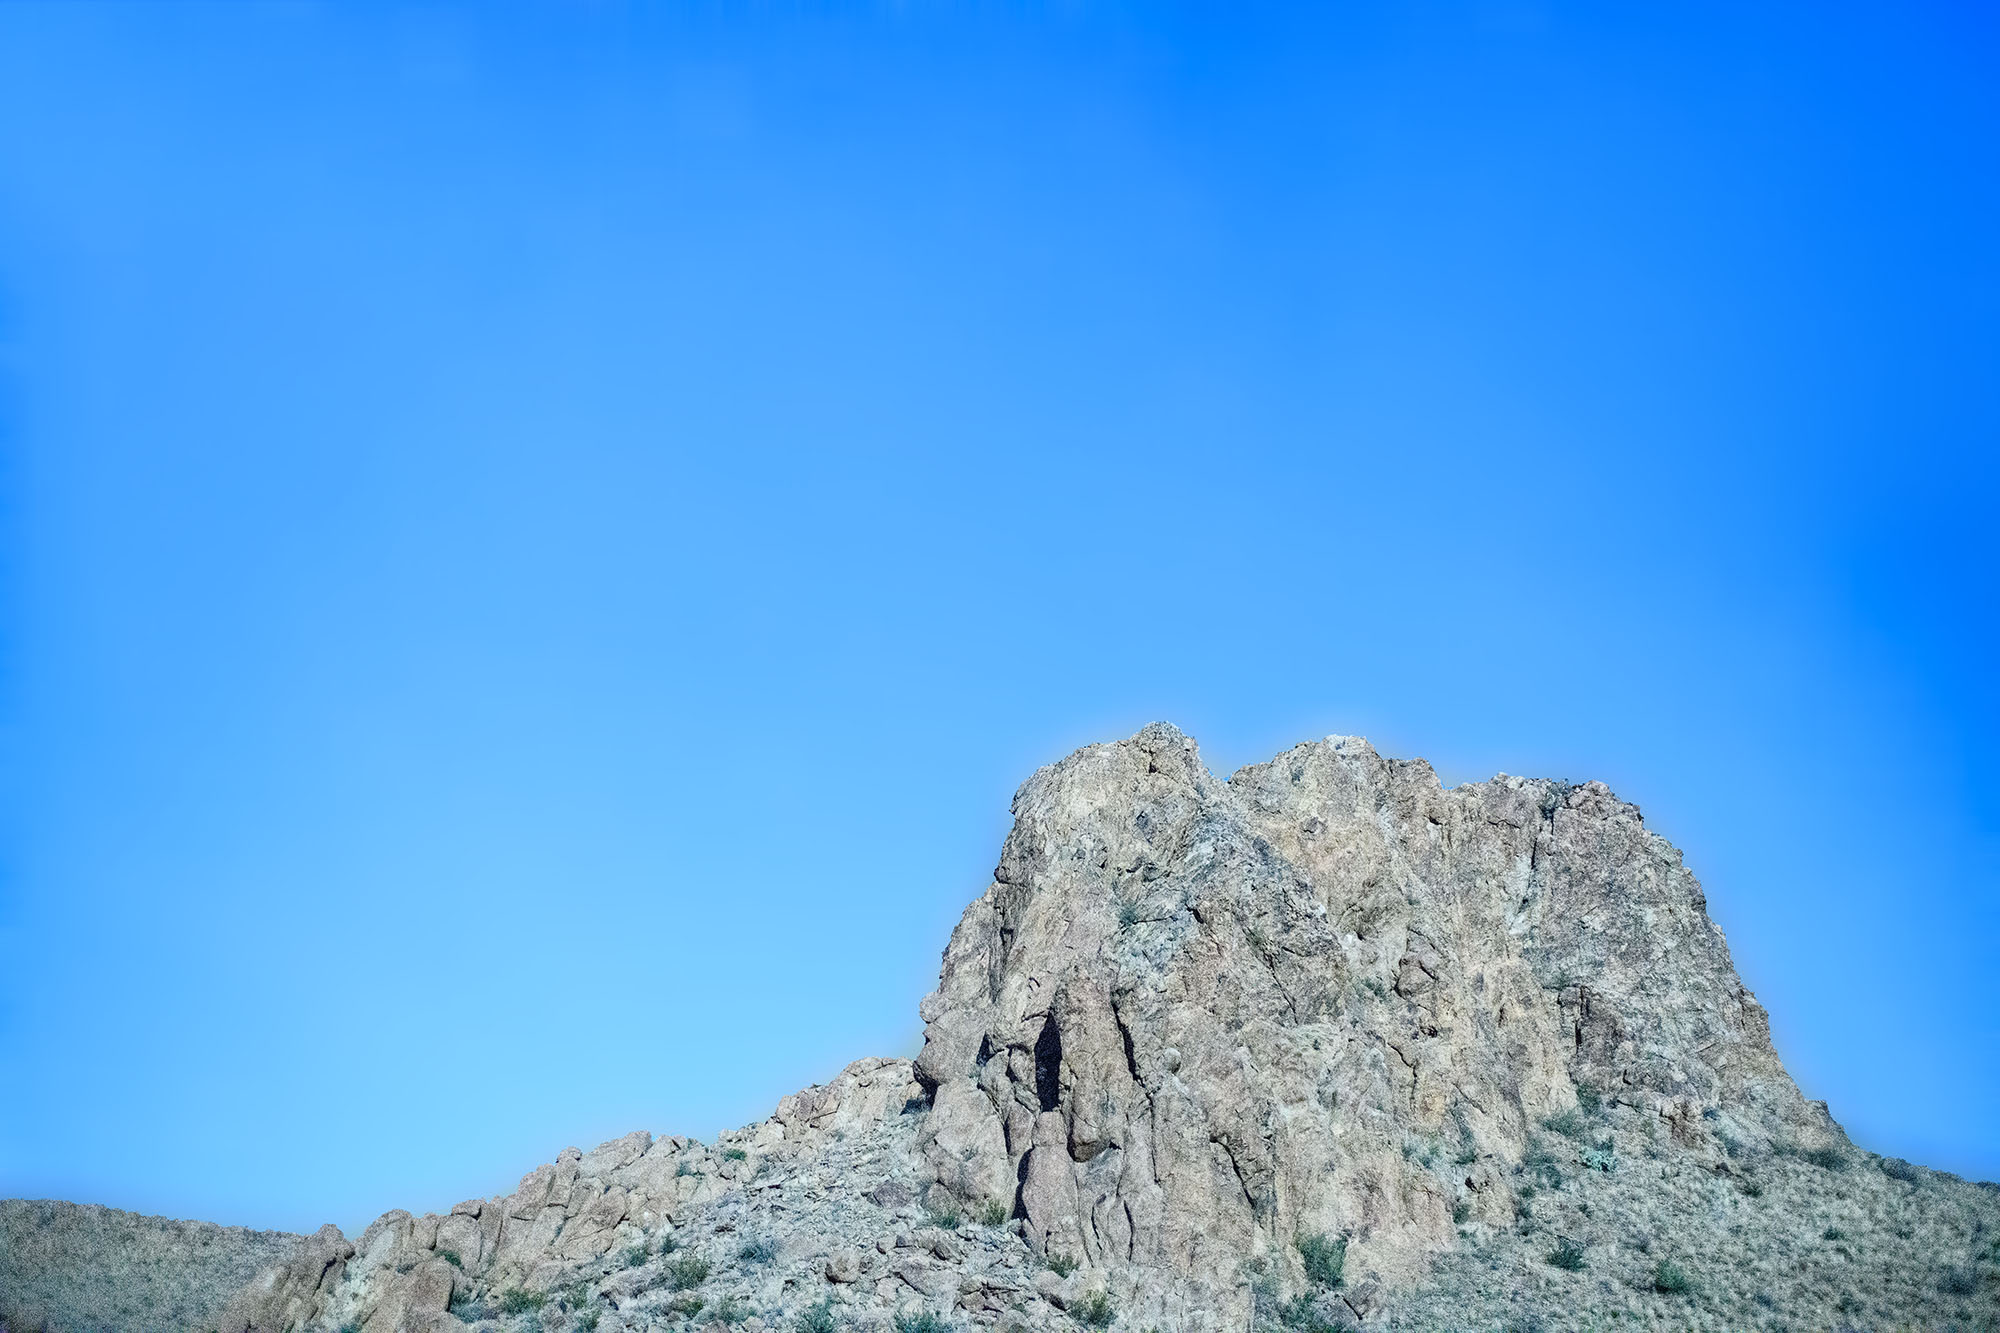
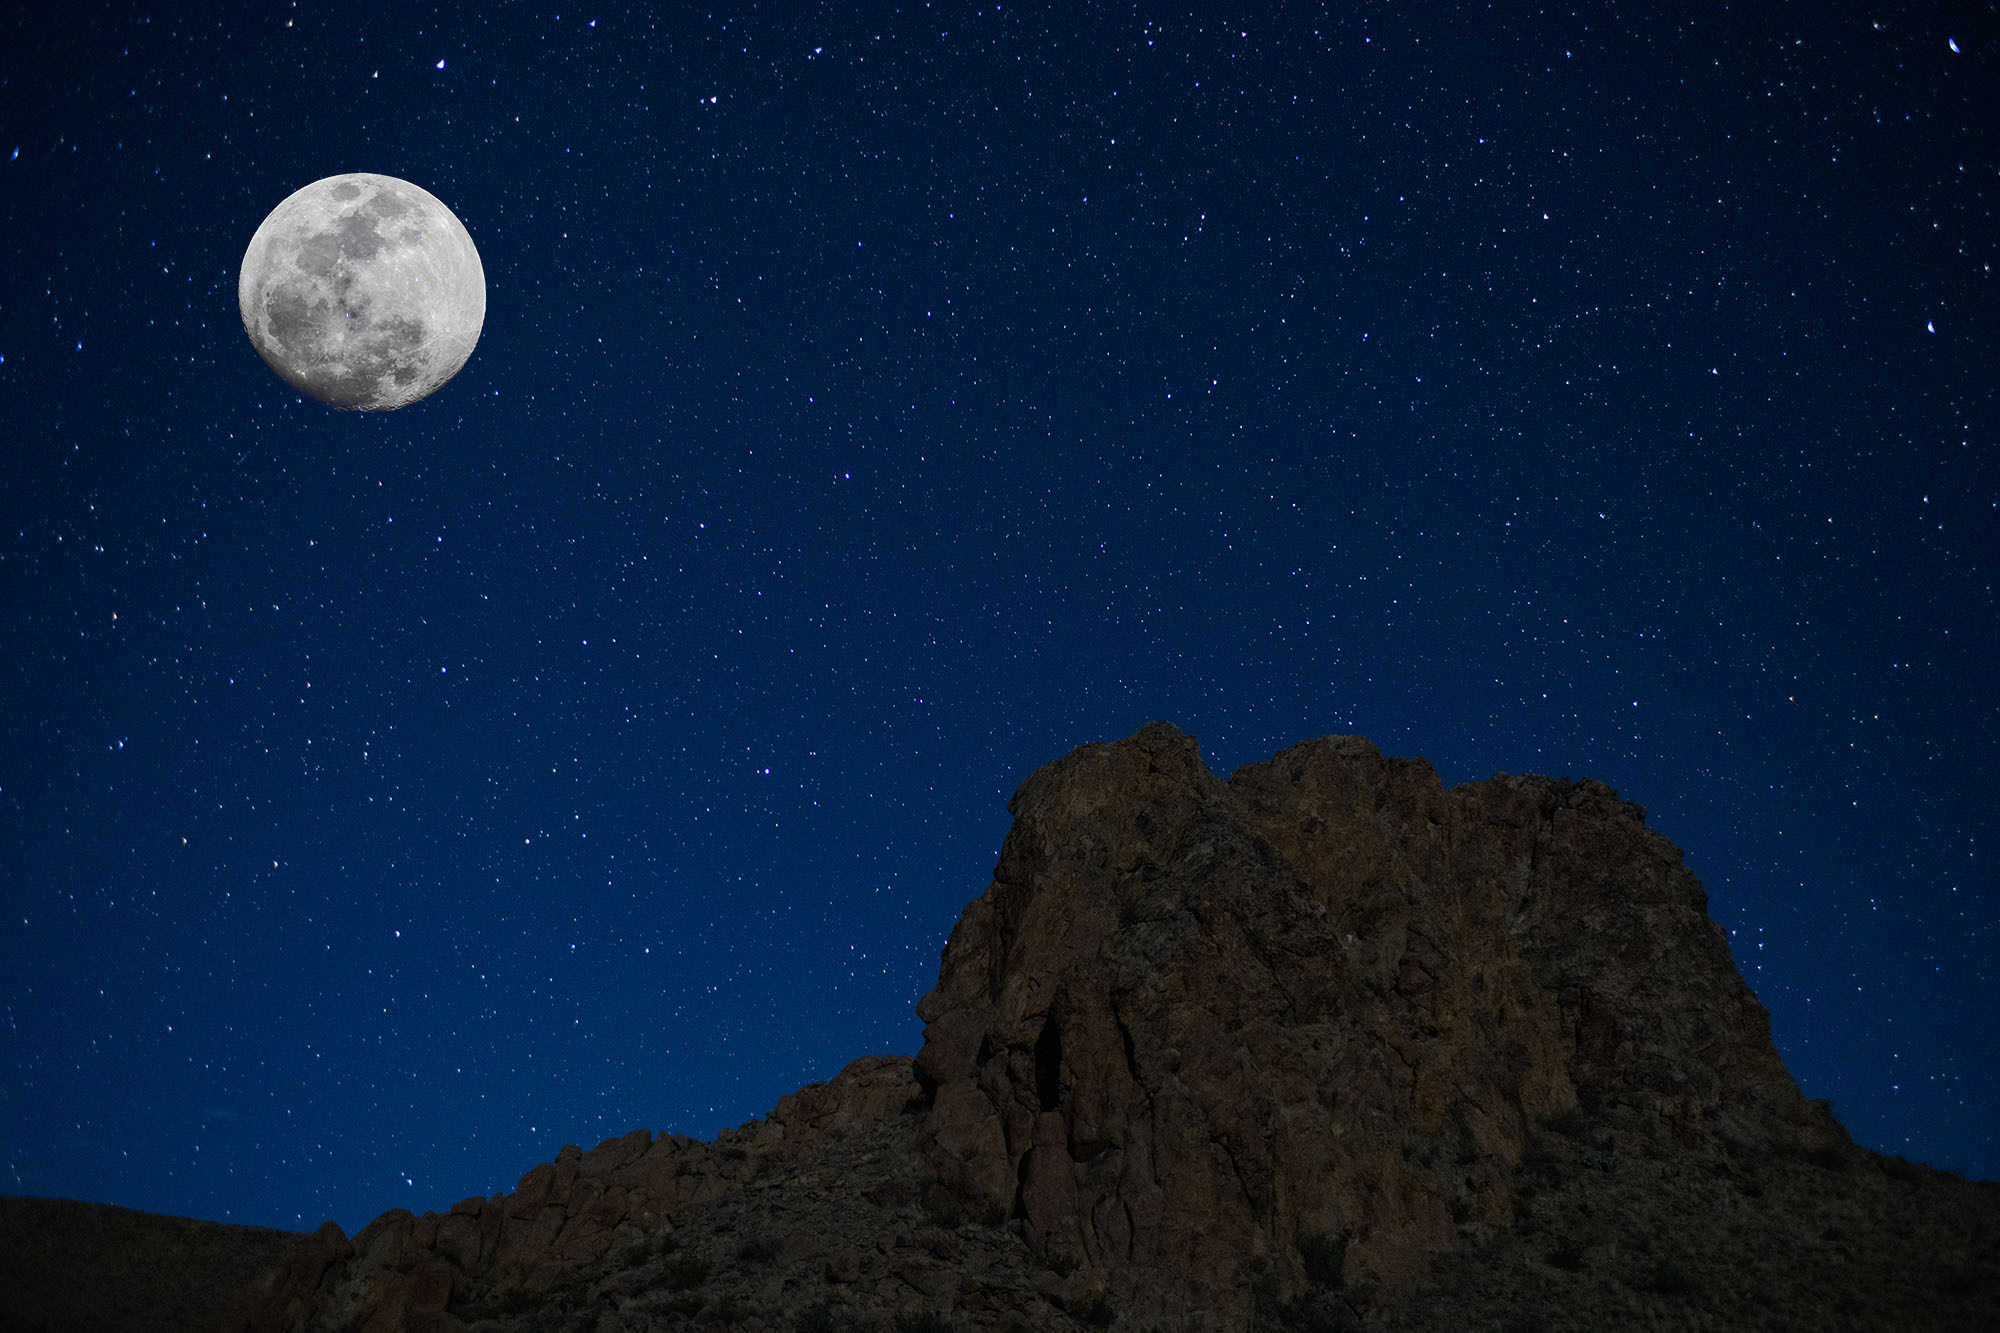
The idea behind the filters is born from the old-time filming technique of “day for night”—essentially, using daytime light conditions to produce a nighttime look. But while the film crews of yesteryear generally accomplished this effect simply by underexposing, this toolkit goes a step further.

How The Filters Work

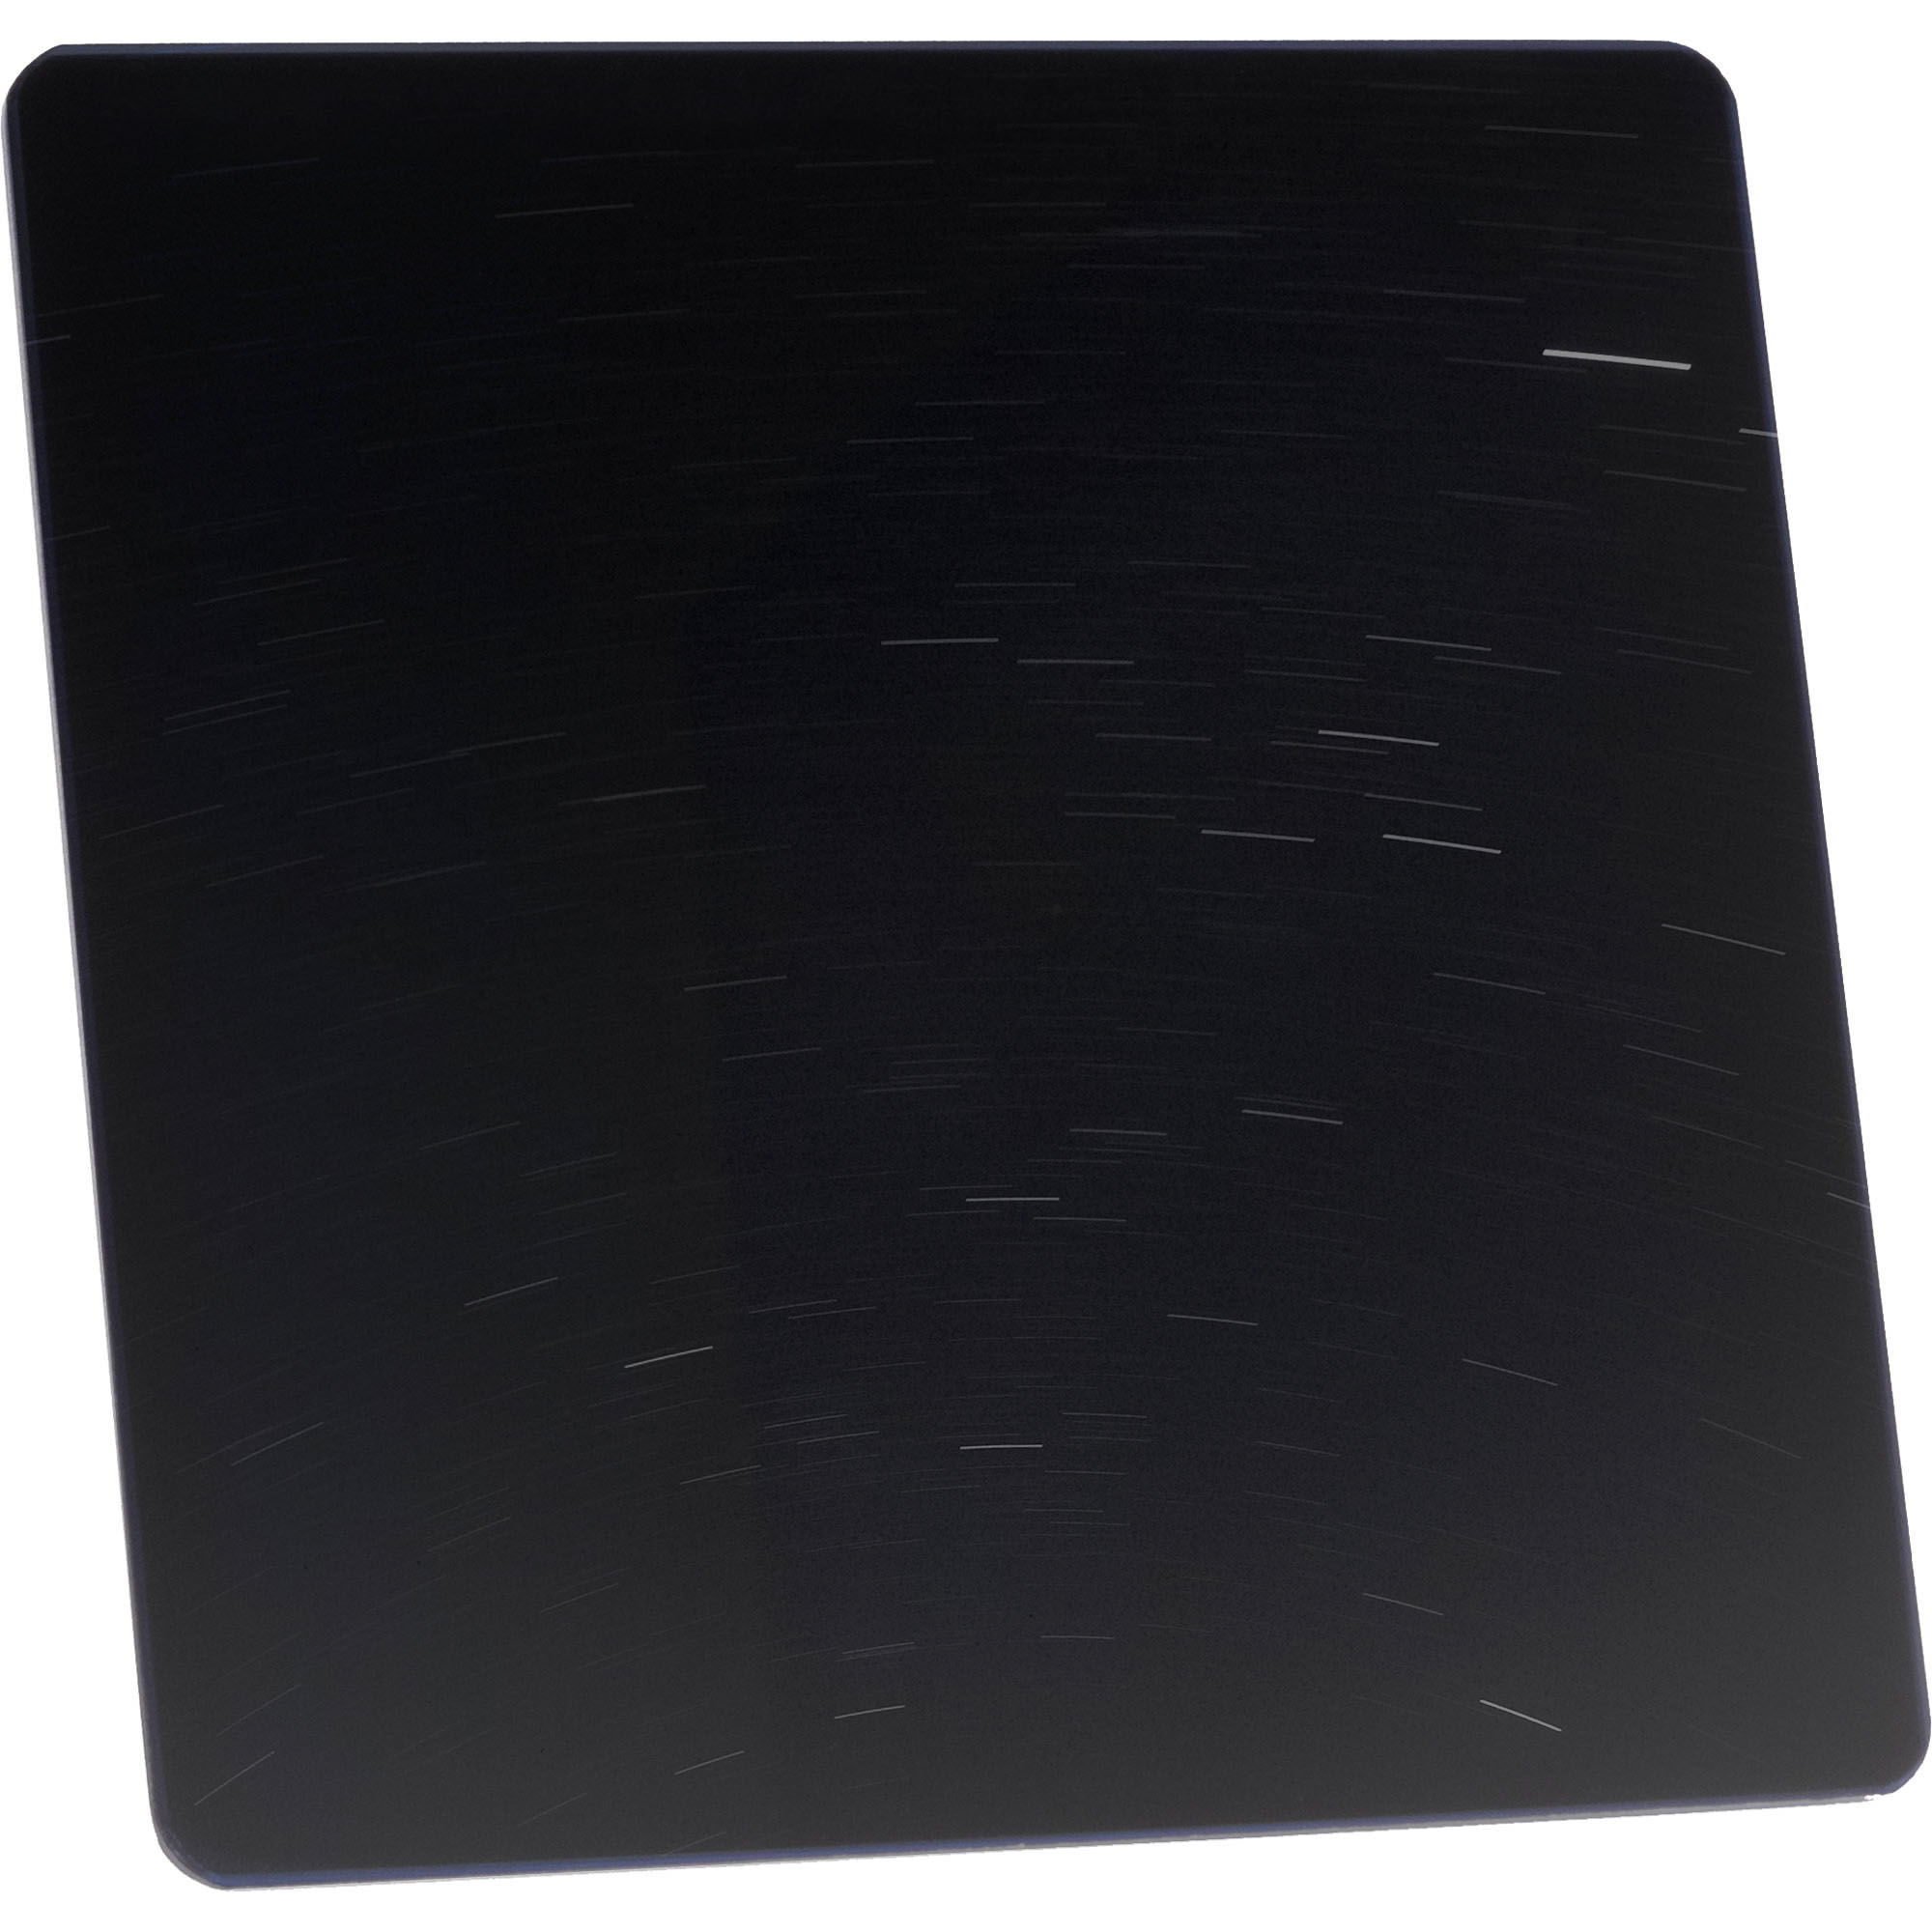
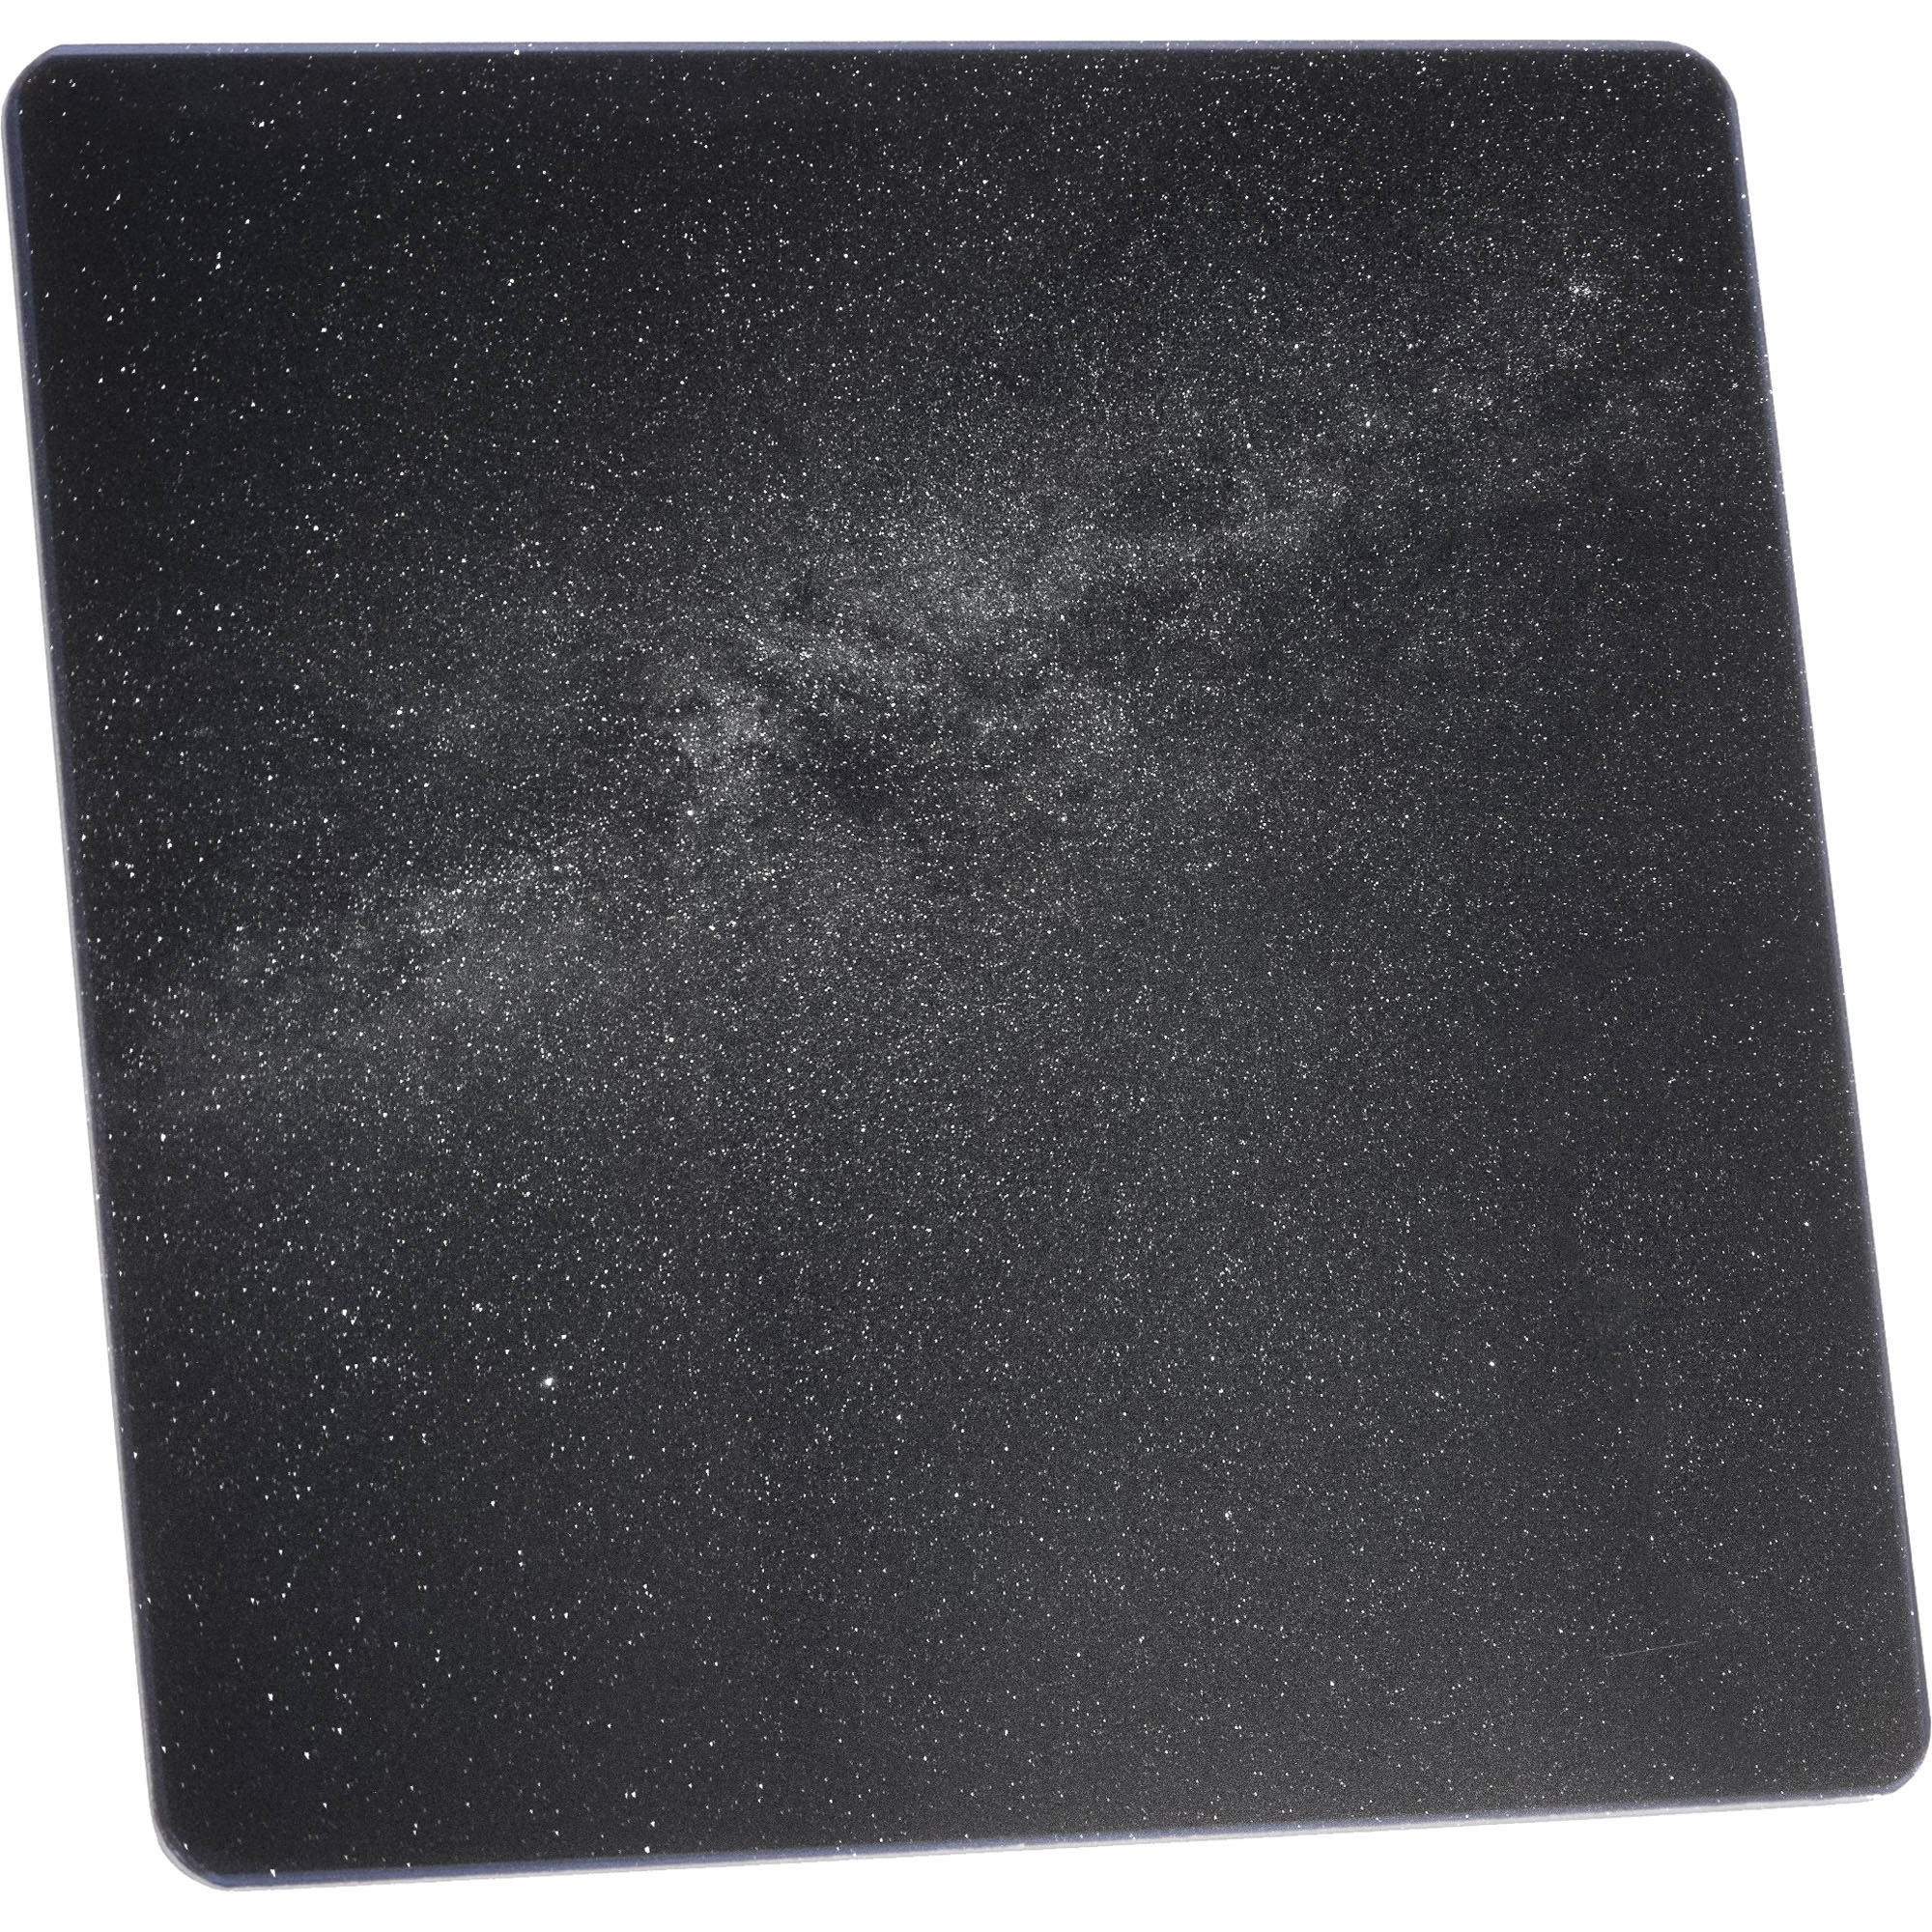
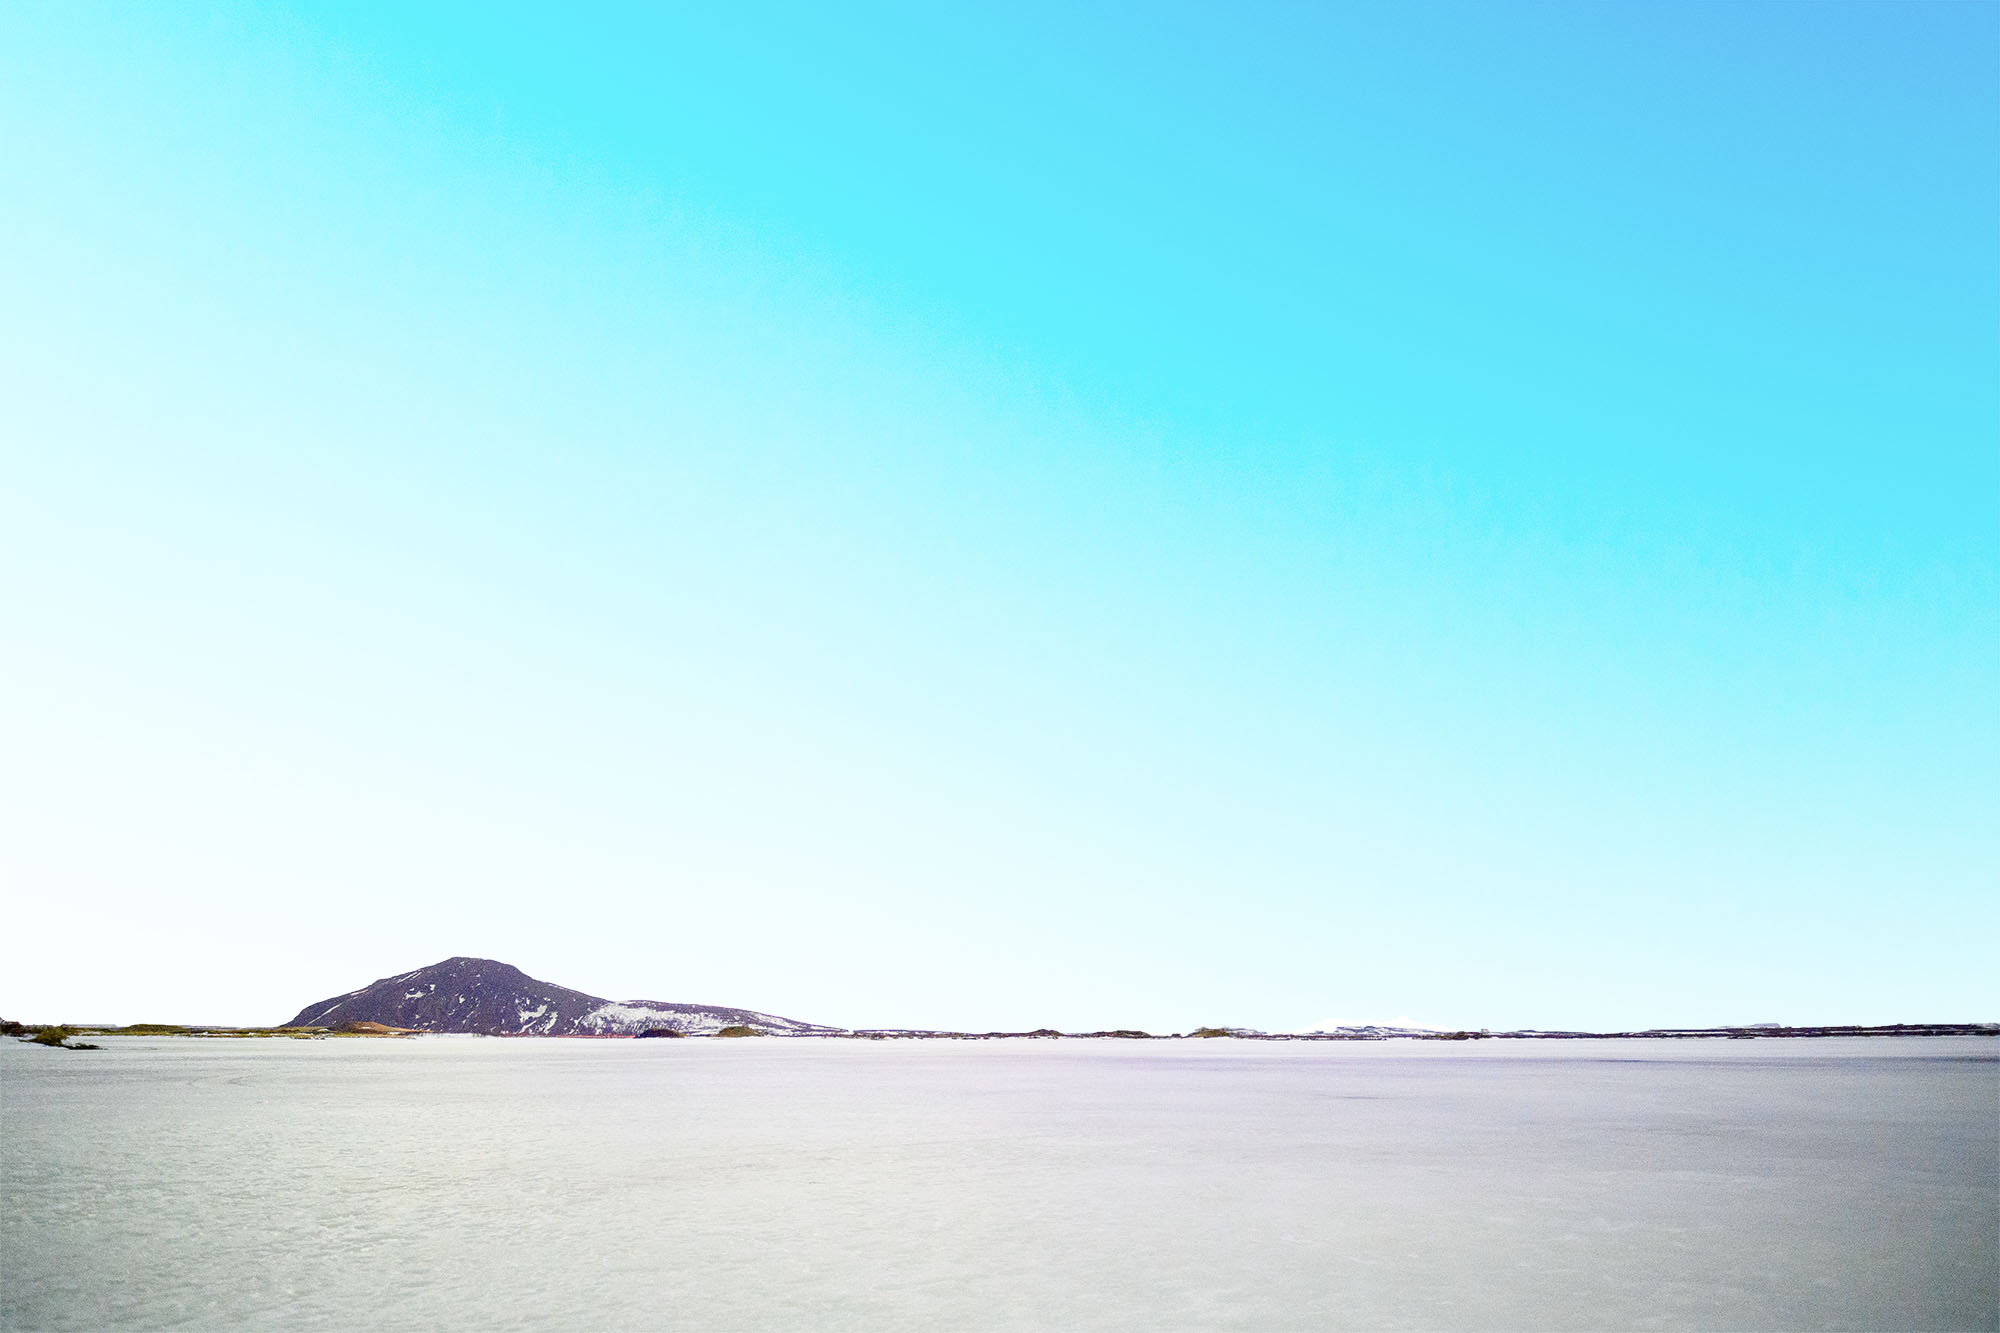
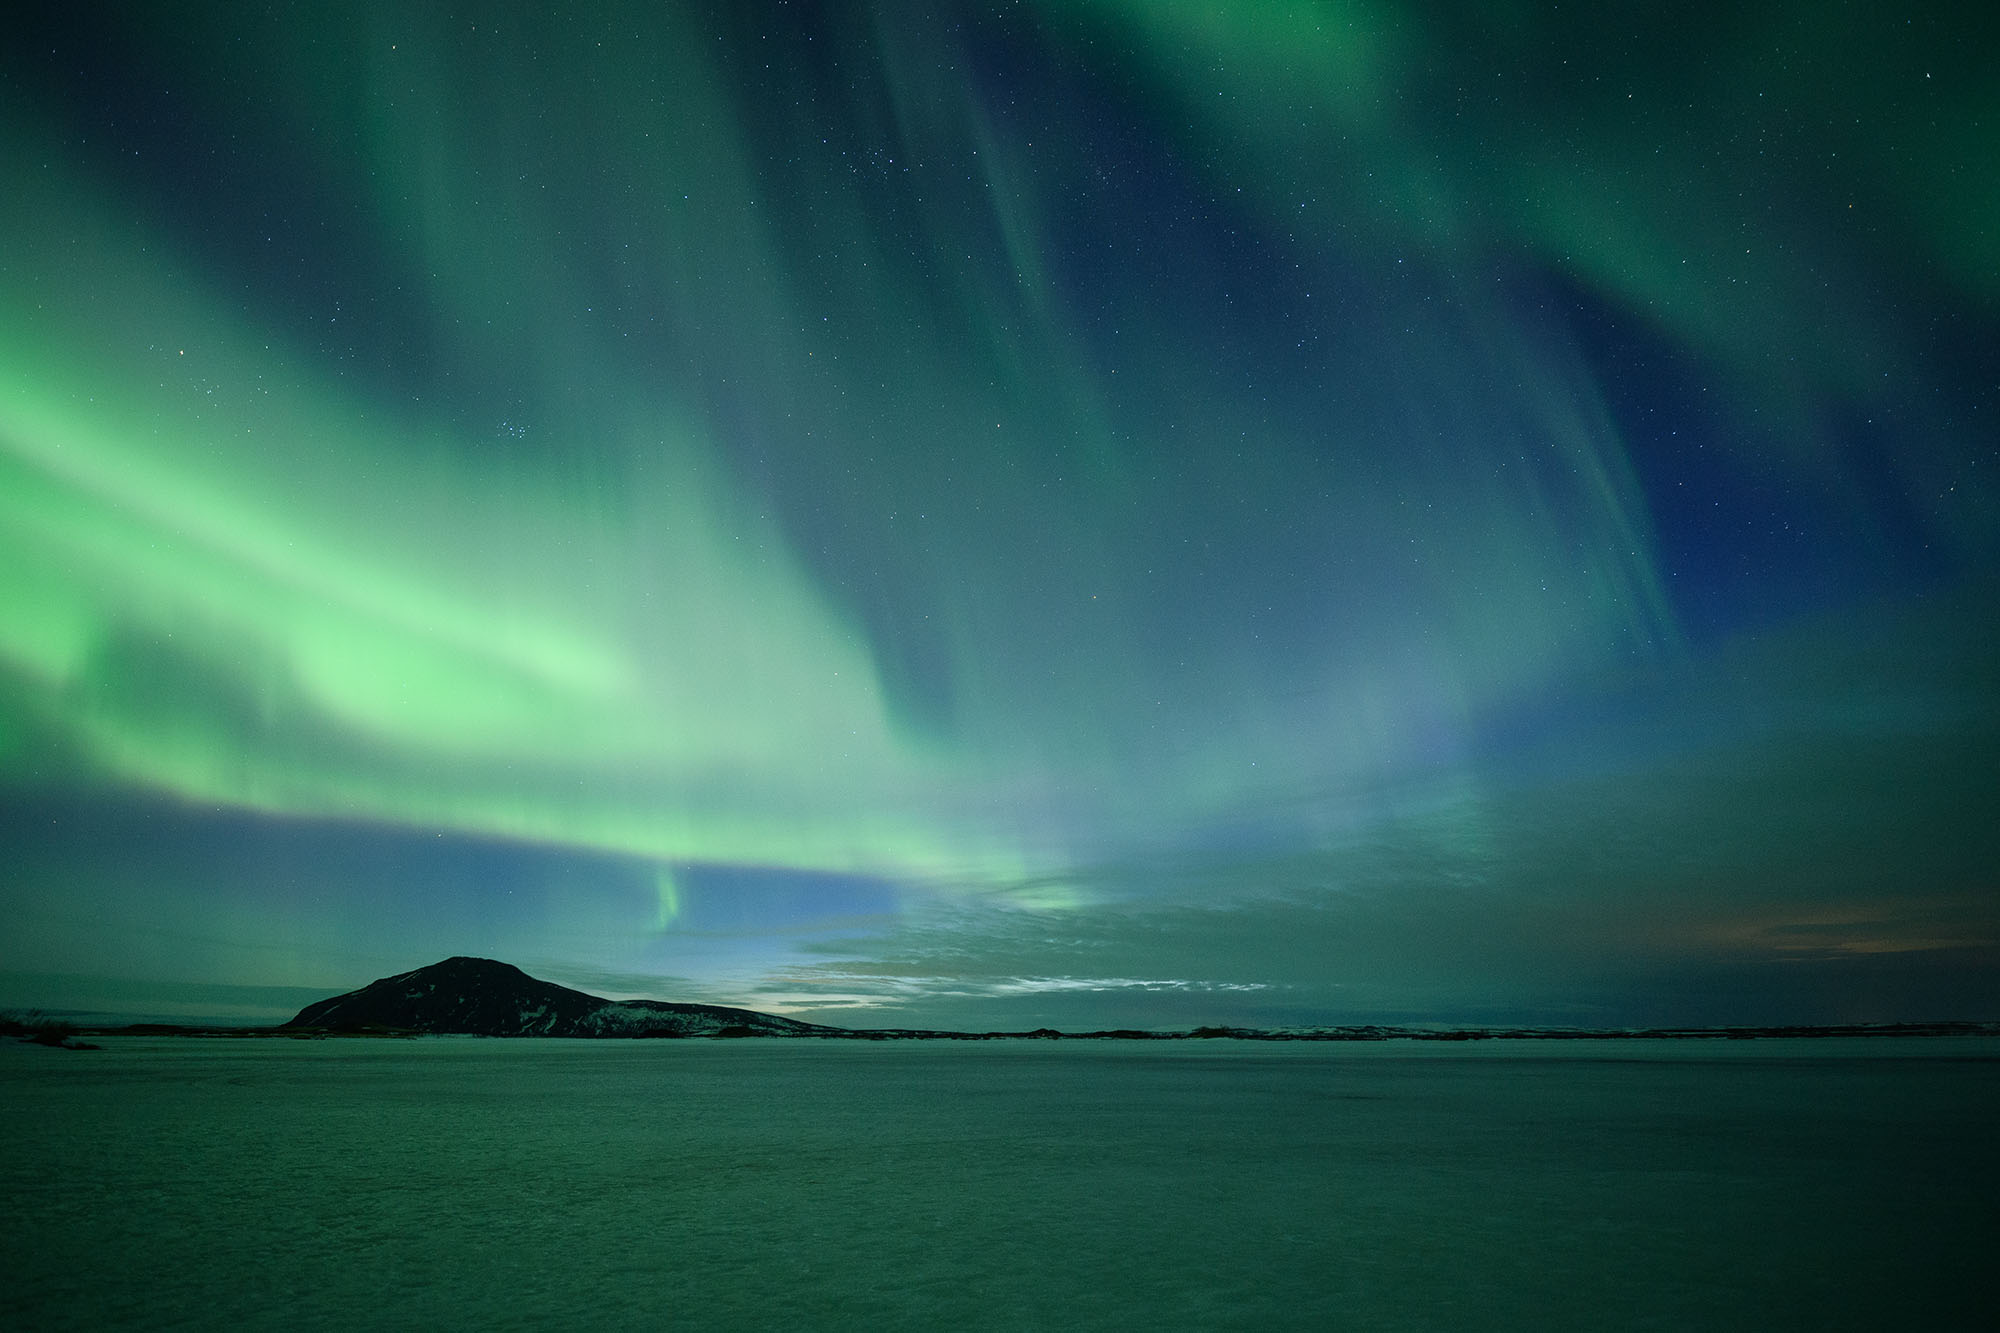
All our filters feature a neutral density (ND) base layer, which is then etched to produce different common astro-landscape looks when photographing a daylight scene. The etched portions allow daylight in while the ND portions keep other areas dark. The combination allows for a wide range of effects, from star points to star trails to the Milky Way and even auroras! Plus much, much more.

The ND portions, however, are not completely neutral—they have a cool-toned coating (mired-blue, for the tech-minded reader) that produces a truer “nighttime” look. Conversely, the etched portions of the filters have a mix of warming tones. This DualTemp (patent pending) combination of these two color-correcting filter technologies produces images that look exactly as if they were photographed at night.

The Toolkit

Our initial rollout is a selection of filters crafted to reproduce the most popular night photography scenarios, as detailed below.

(Unless otherwise noted, all filters are available in rectangular format in sizes 85mm, 100mm and 165mm.)

Star Points Filter

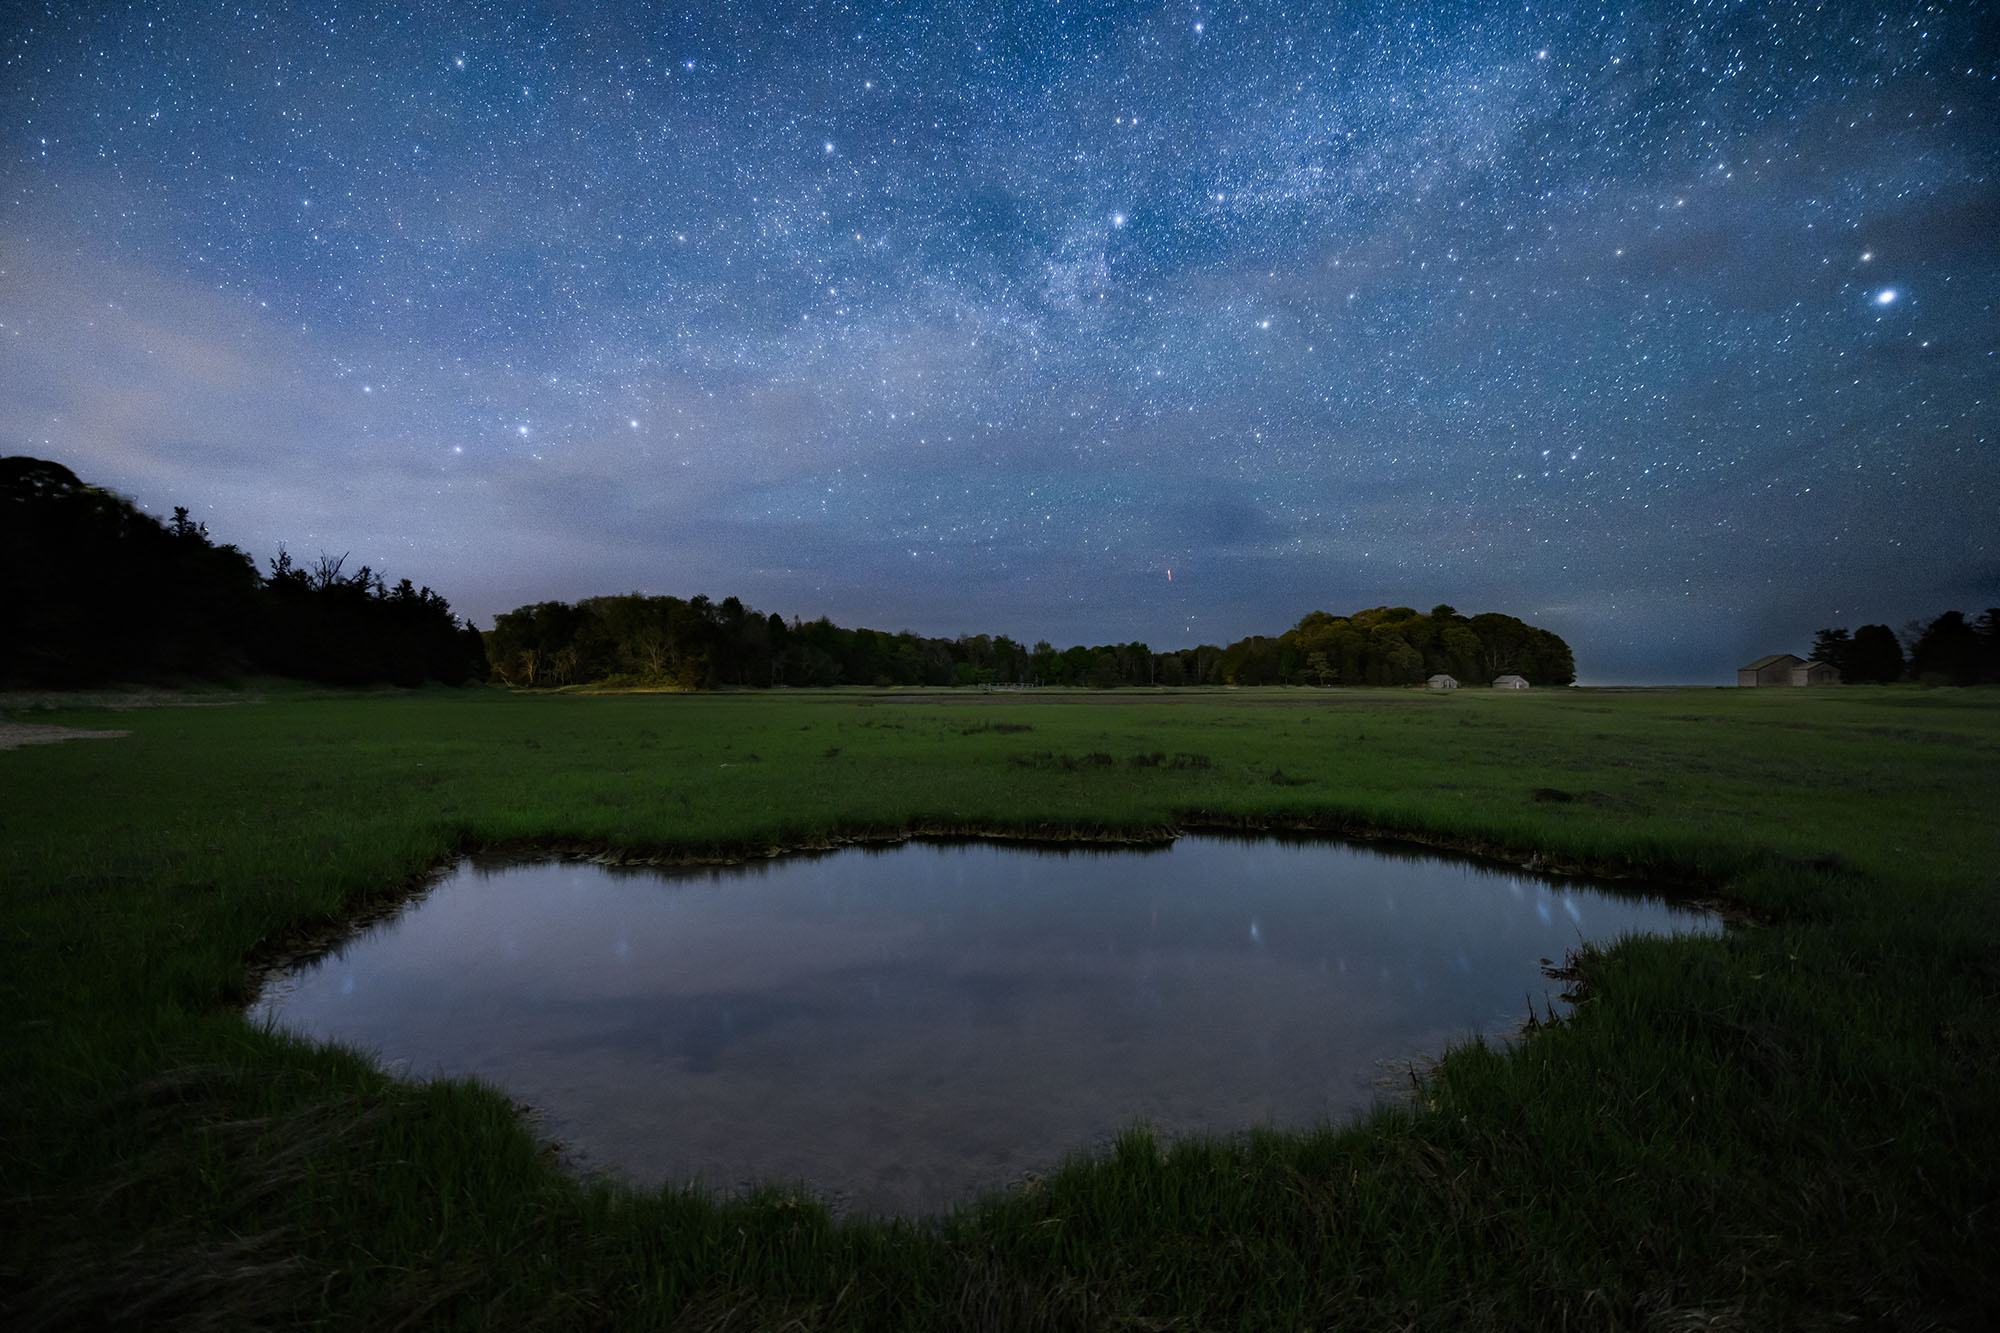
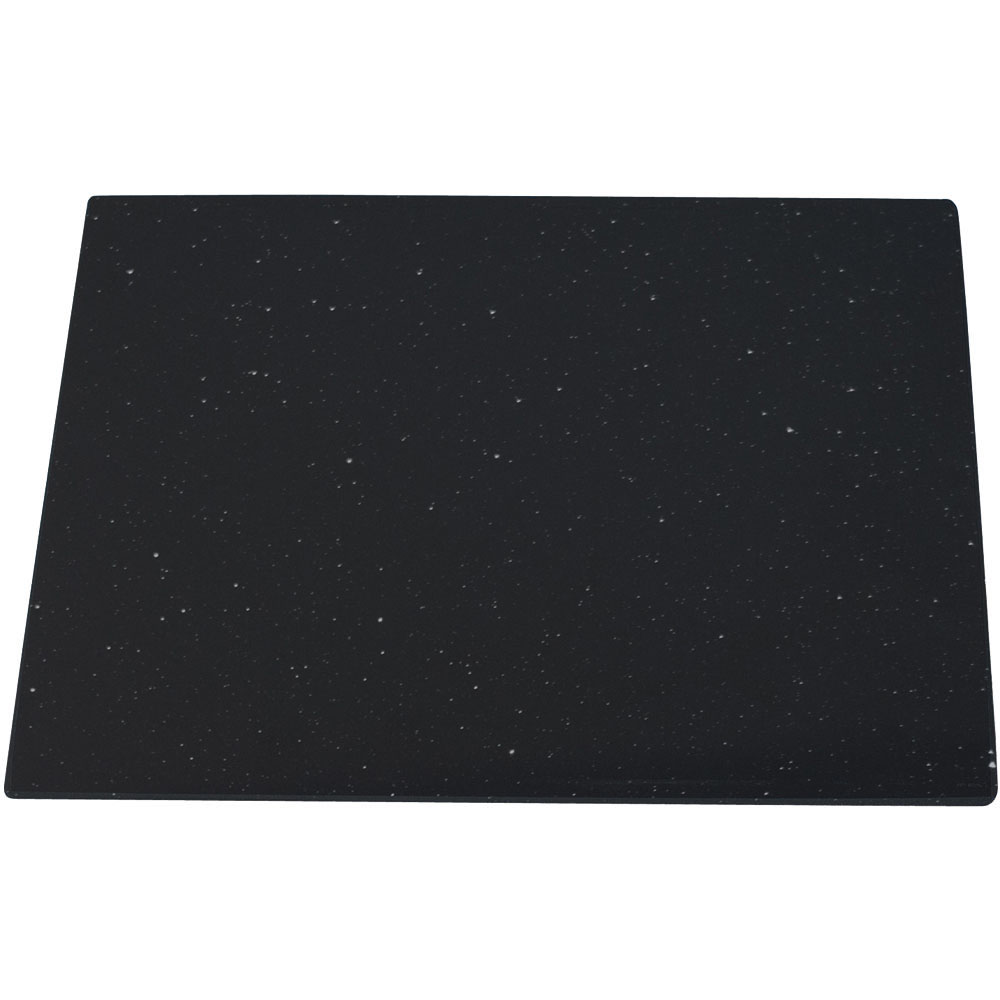
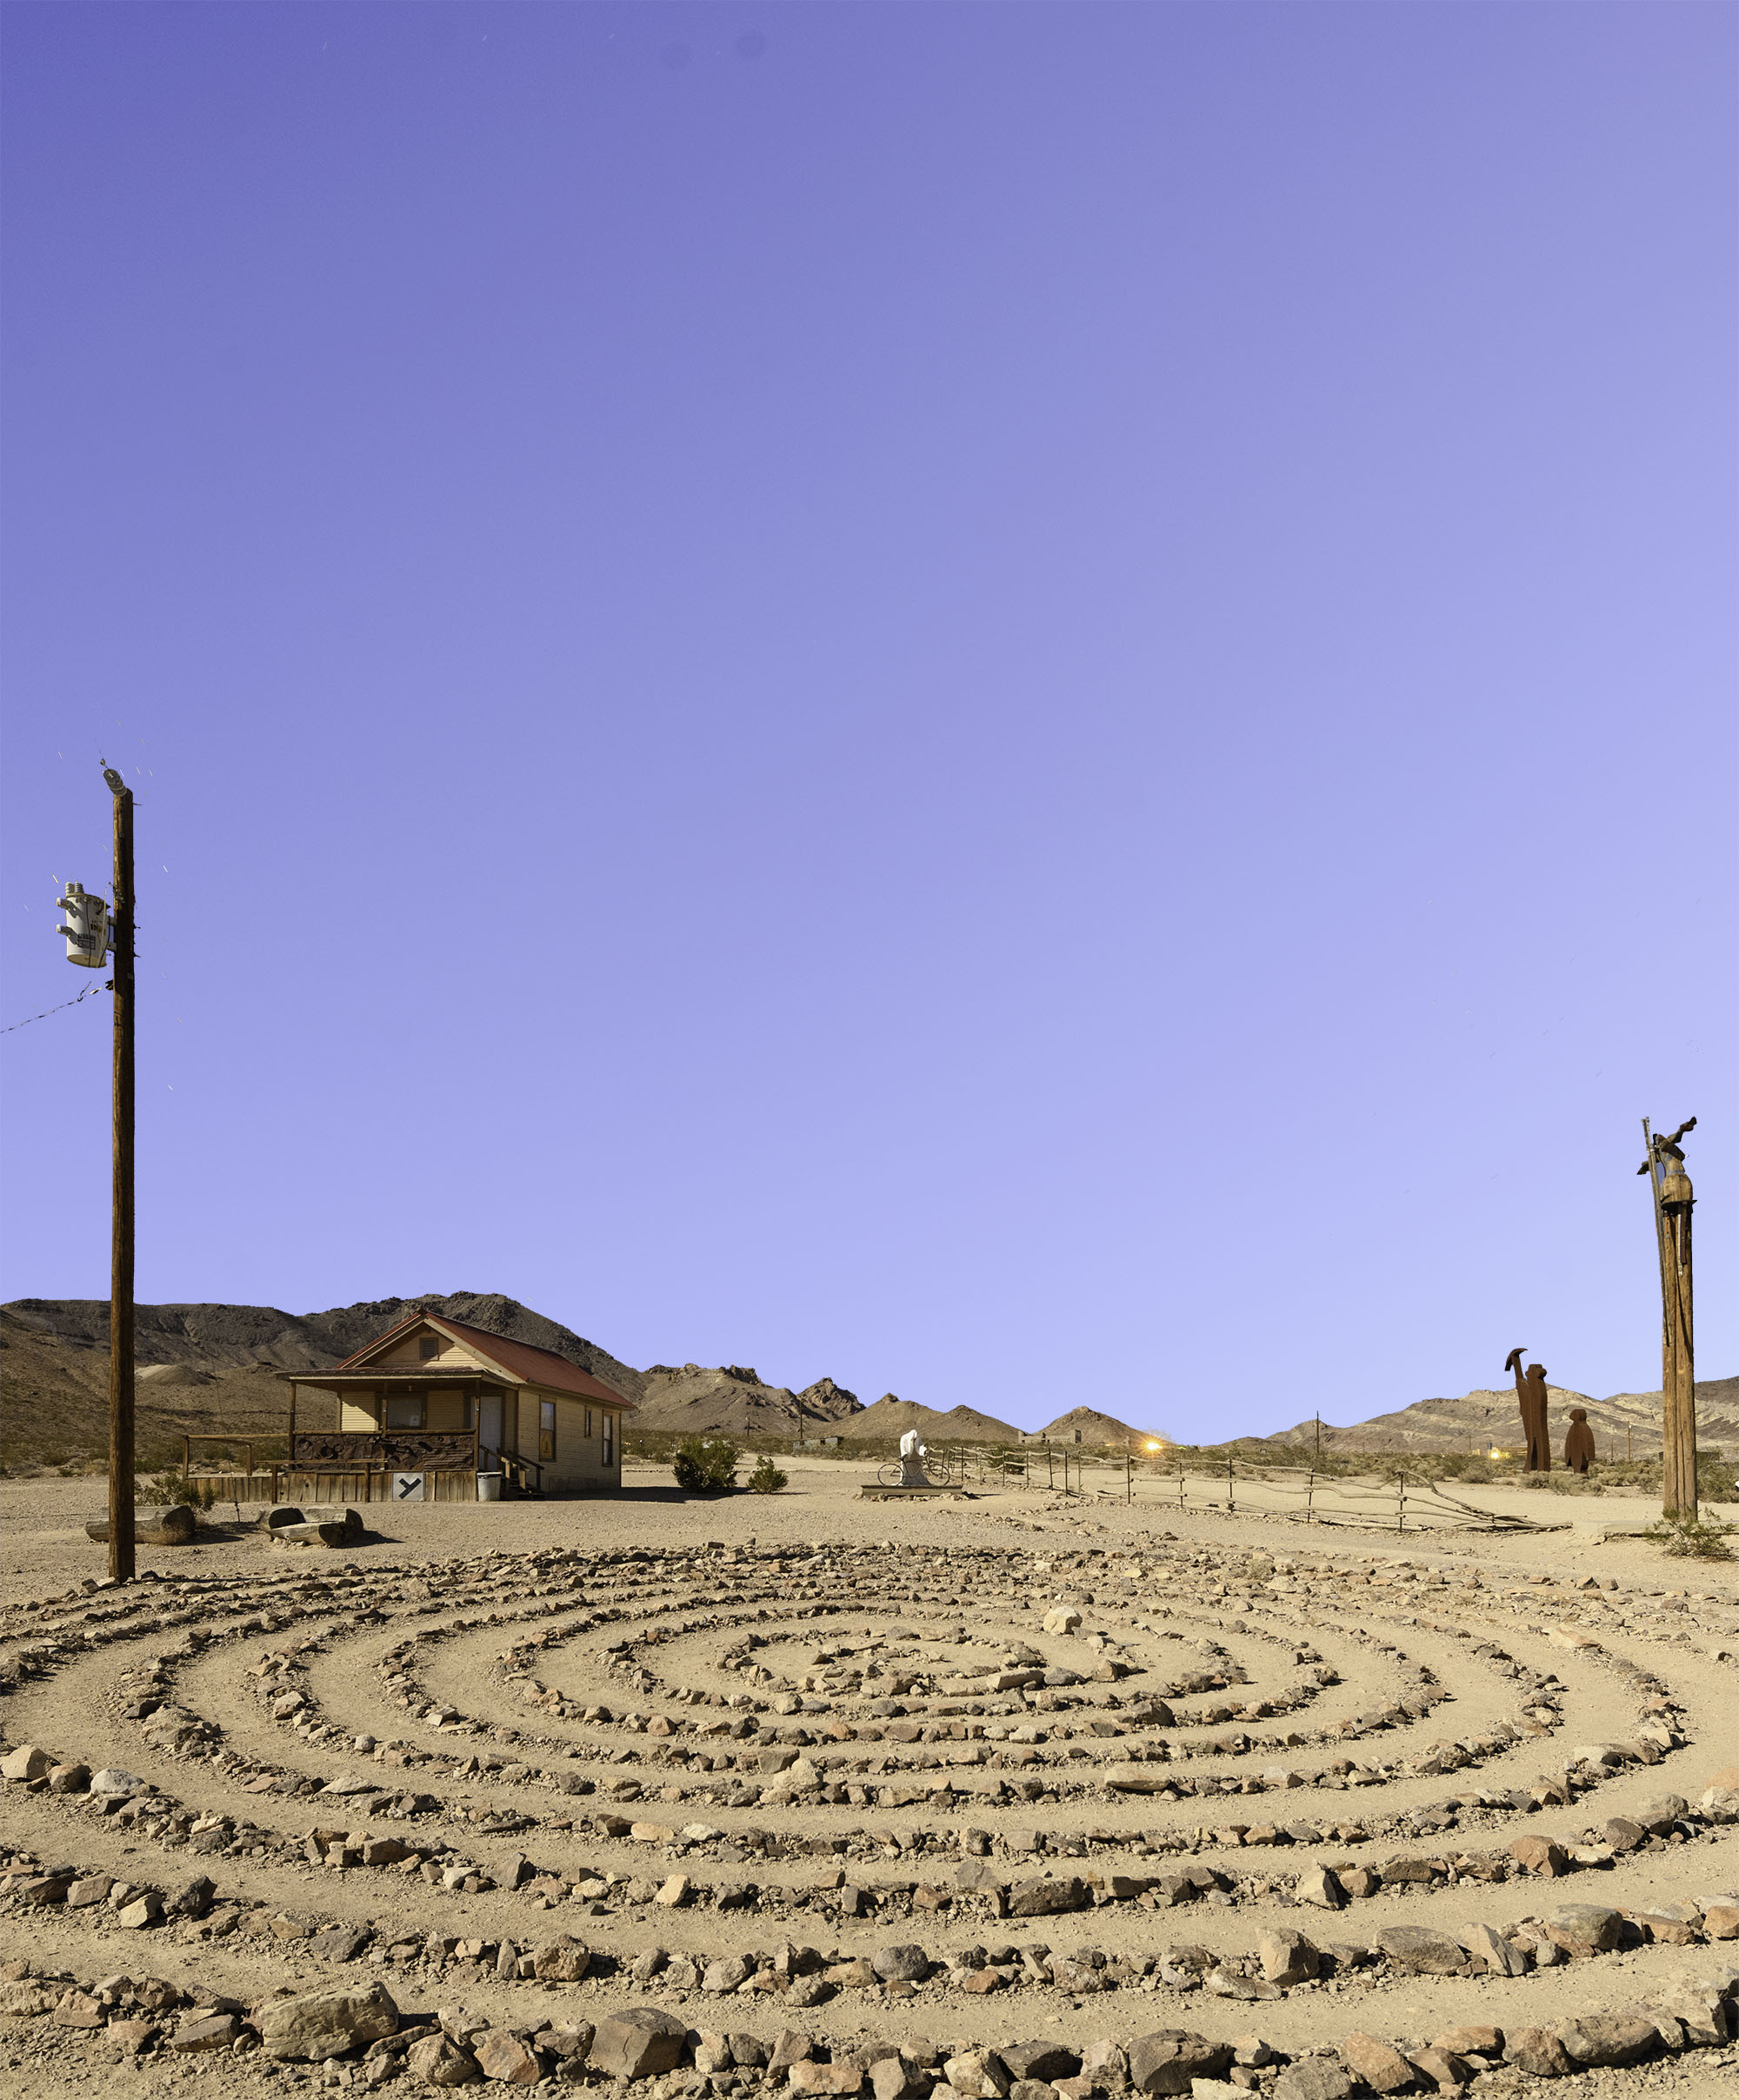
The most basic of our Day For Night Filters is the “Star Point,” which allows you to photograph “under a night sky” no matter what time of day you’re shooting. The neutral density overlay is pocked with tiny pits, each a different size with subtle variations in color temperature, all of which combine to create a highly realistic starry sky effect when shot with daylight color temperatures.

The Star Points kit includes three filters with different densities of stars, for maximum creative leeway.

Star Trails Filter

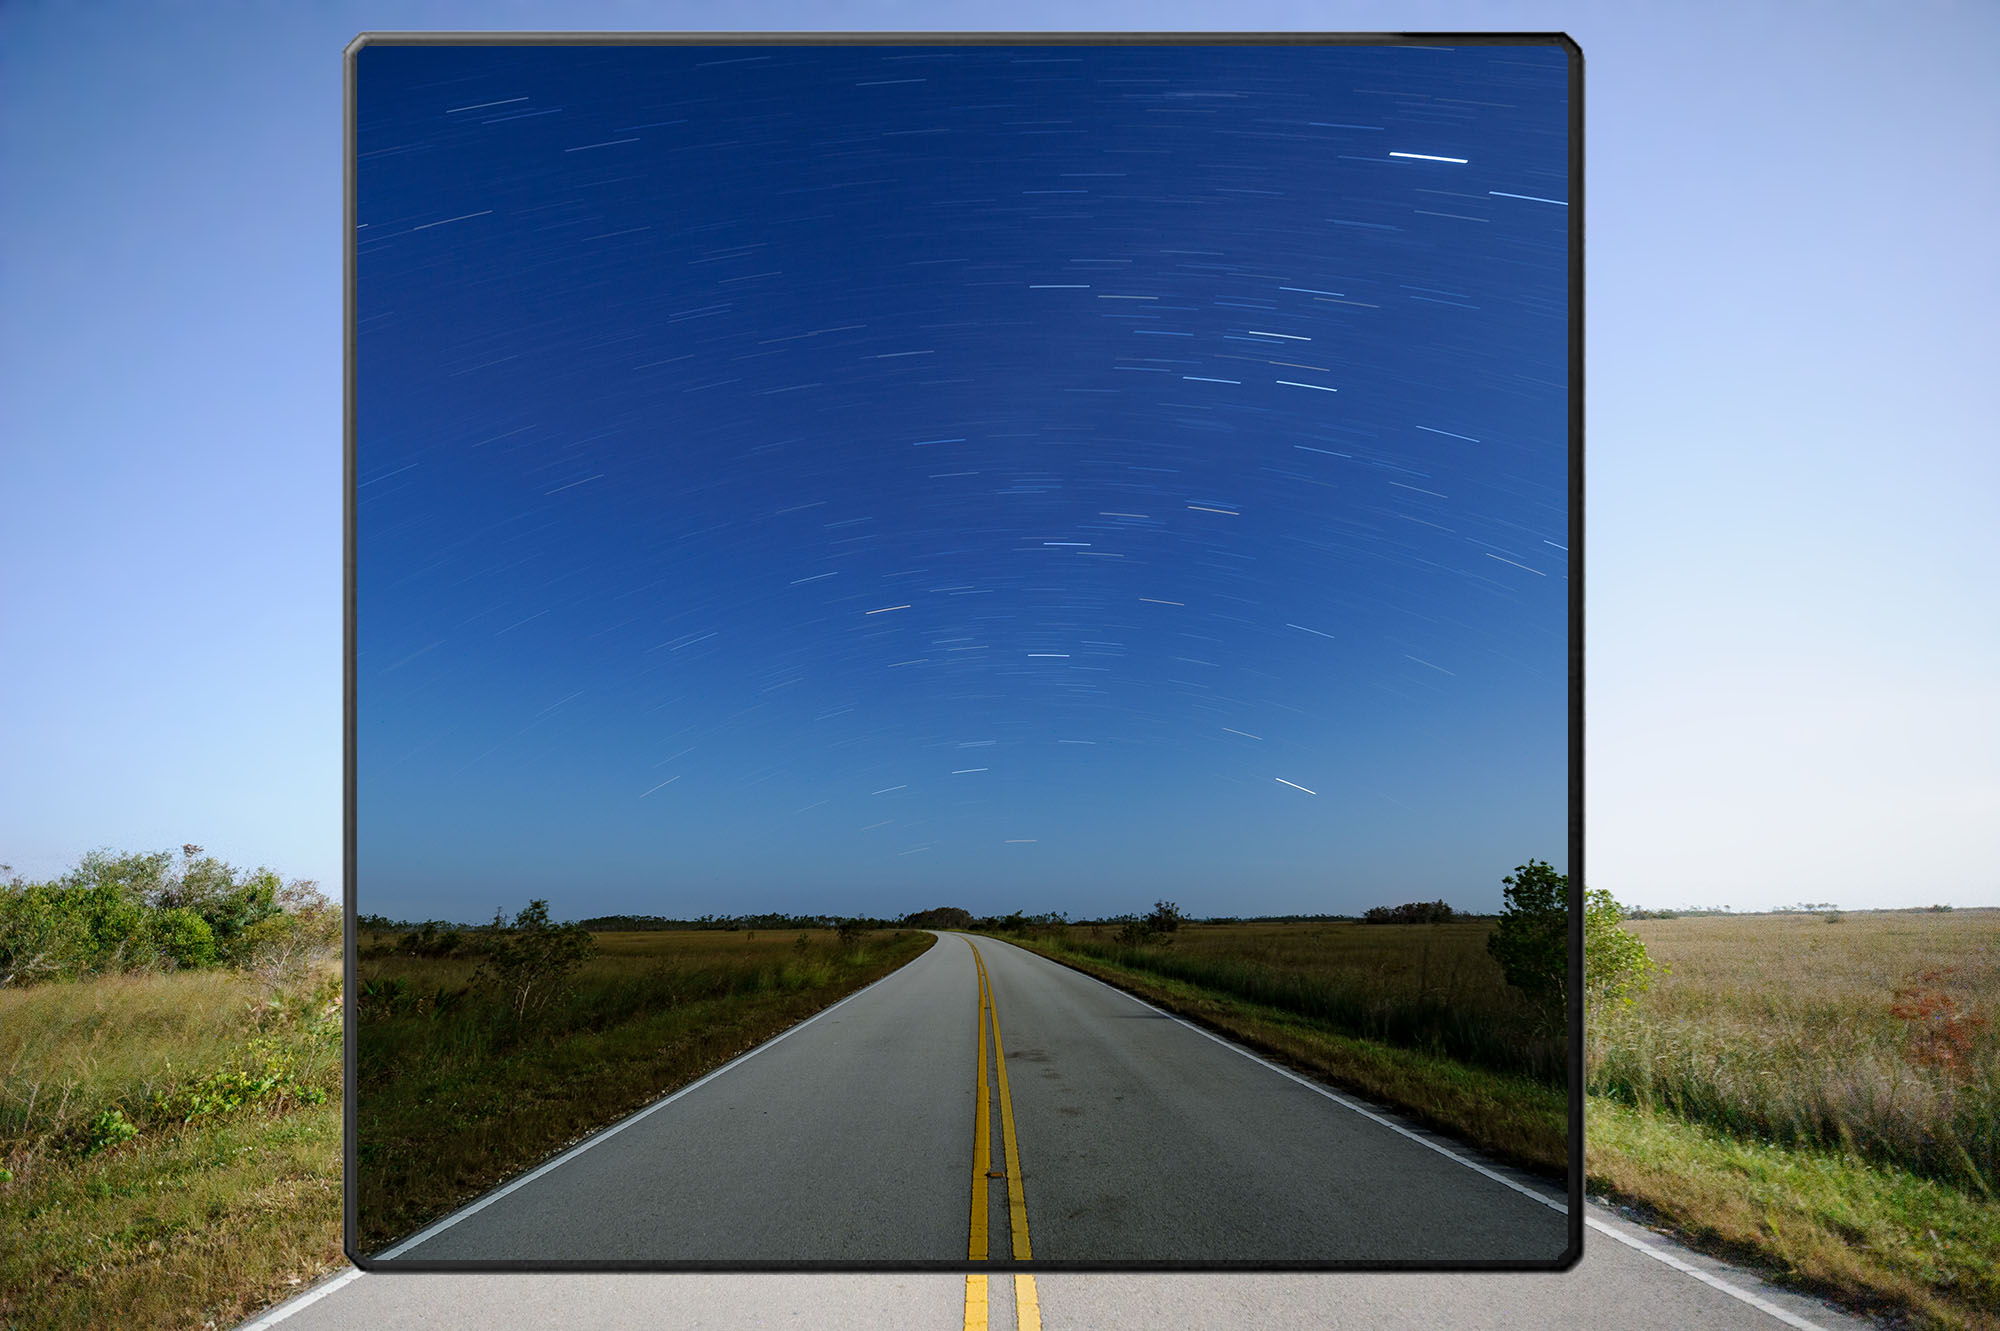
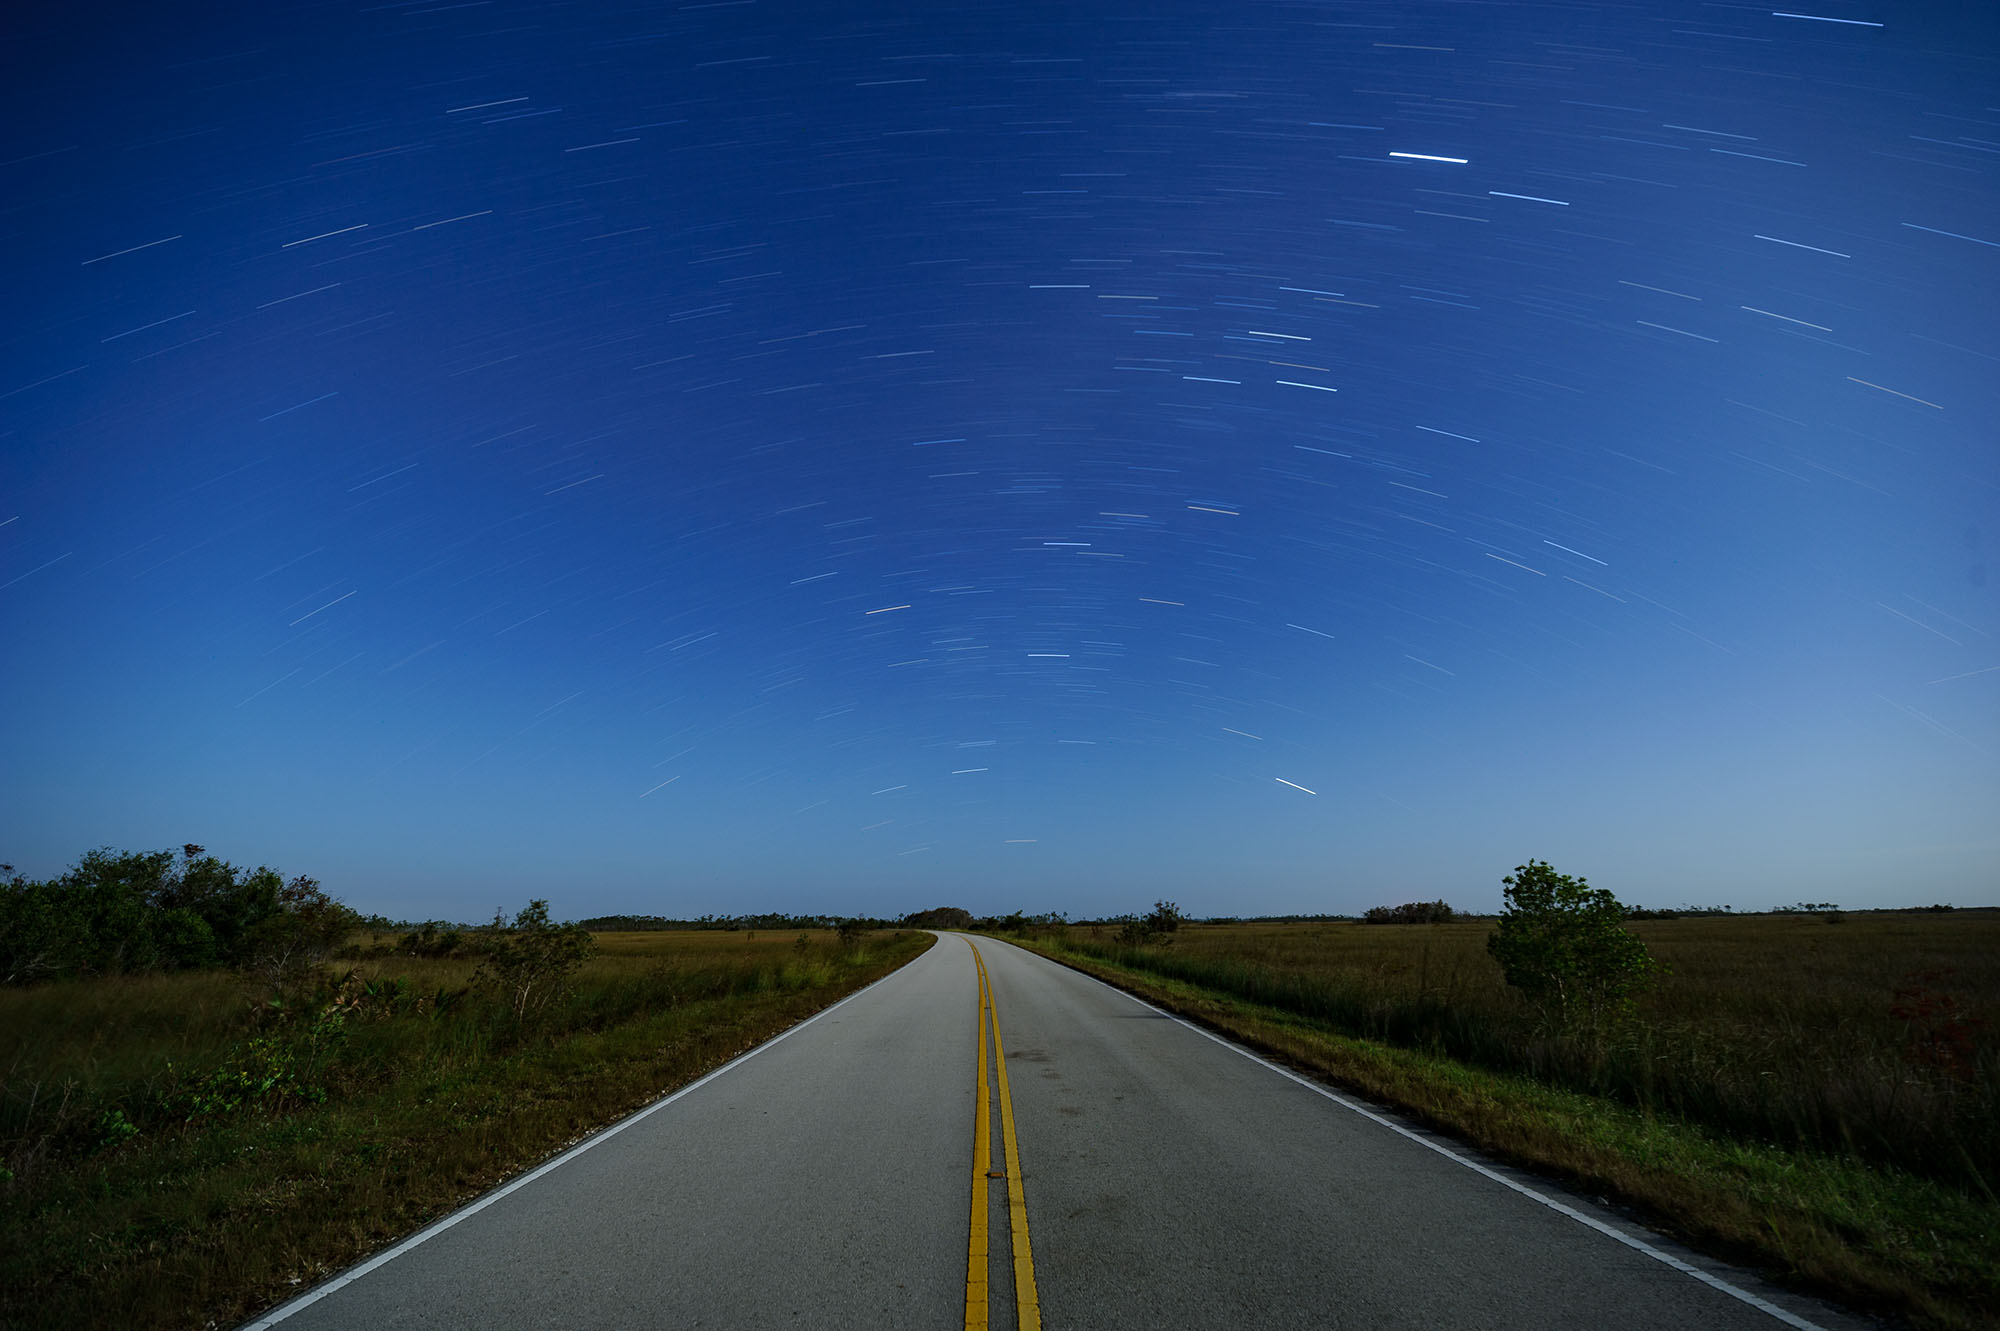
Sometimes stationary stars aren’t enough. Enter our “Star Trails” filter, which allows you to create the illusion of bending time, even with considerably short exposures.

These filters come in different star densities (low-density for fewer star trails, high-density for more), and also come in different trail lengths (4mm, 16mm and 32mm) to mimic various long-exposure times. The entire set will allow for maximum creativity, giving the option to swap in different effects for different scenes.

Star Circles Filter

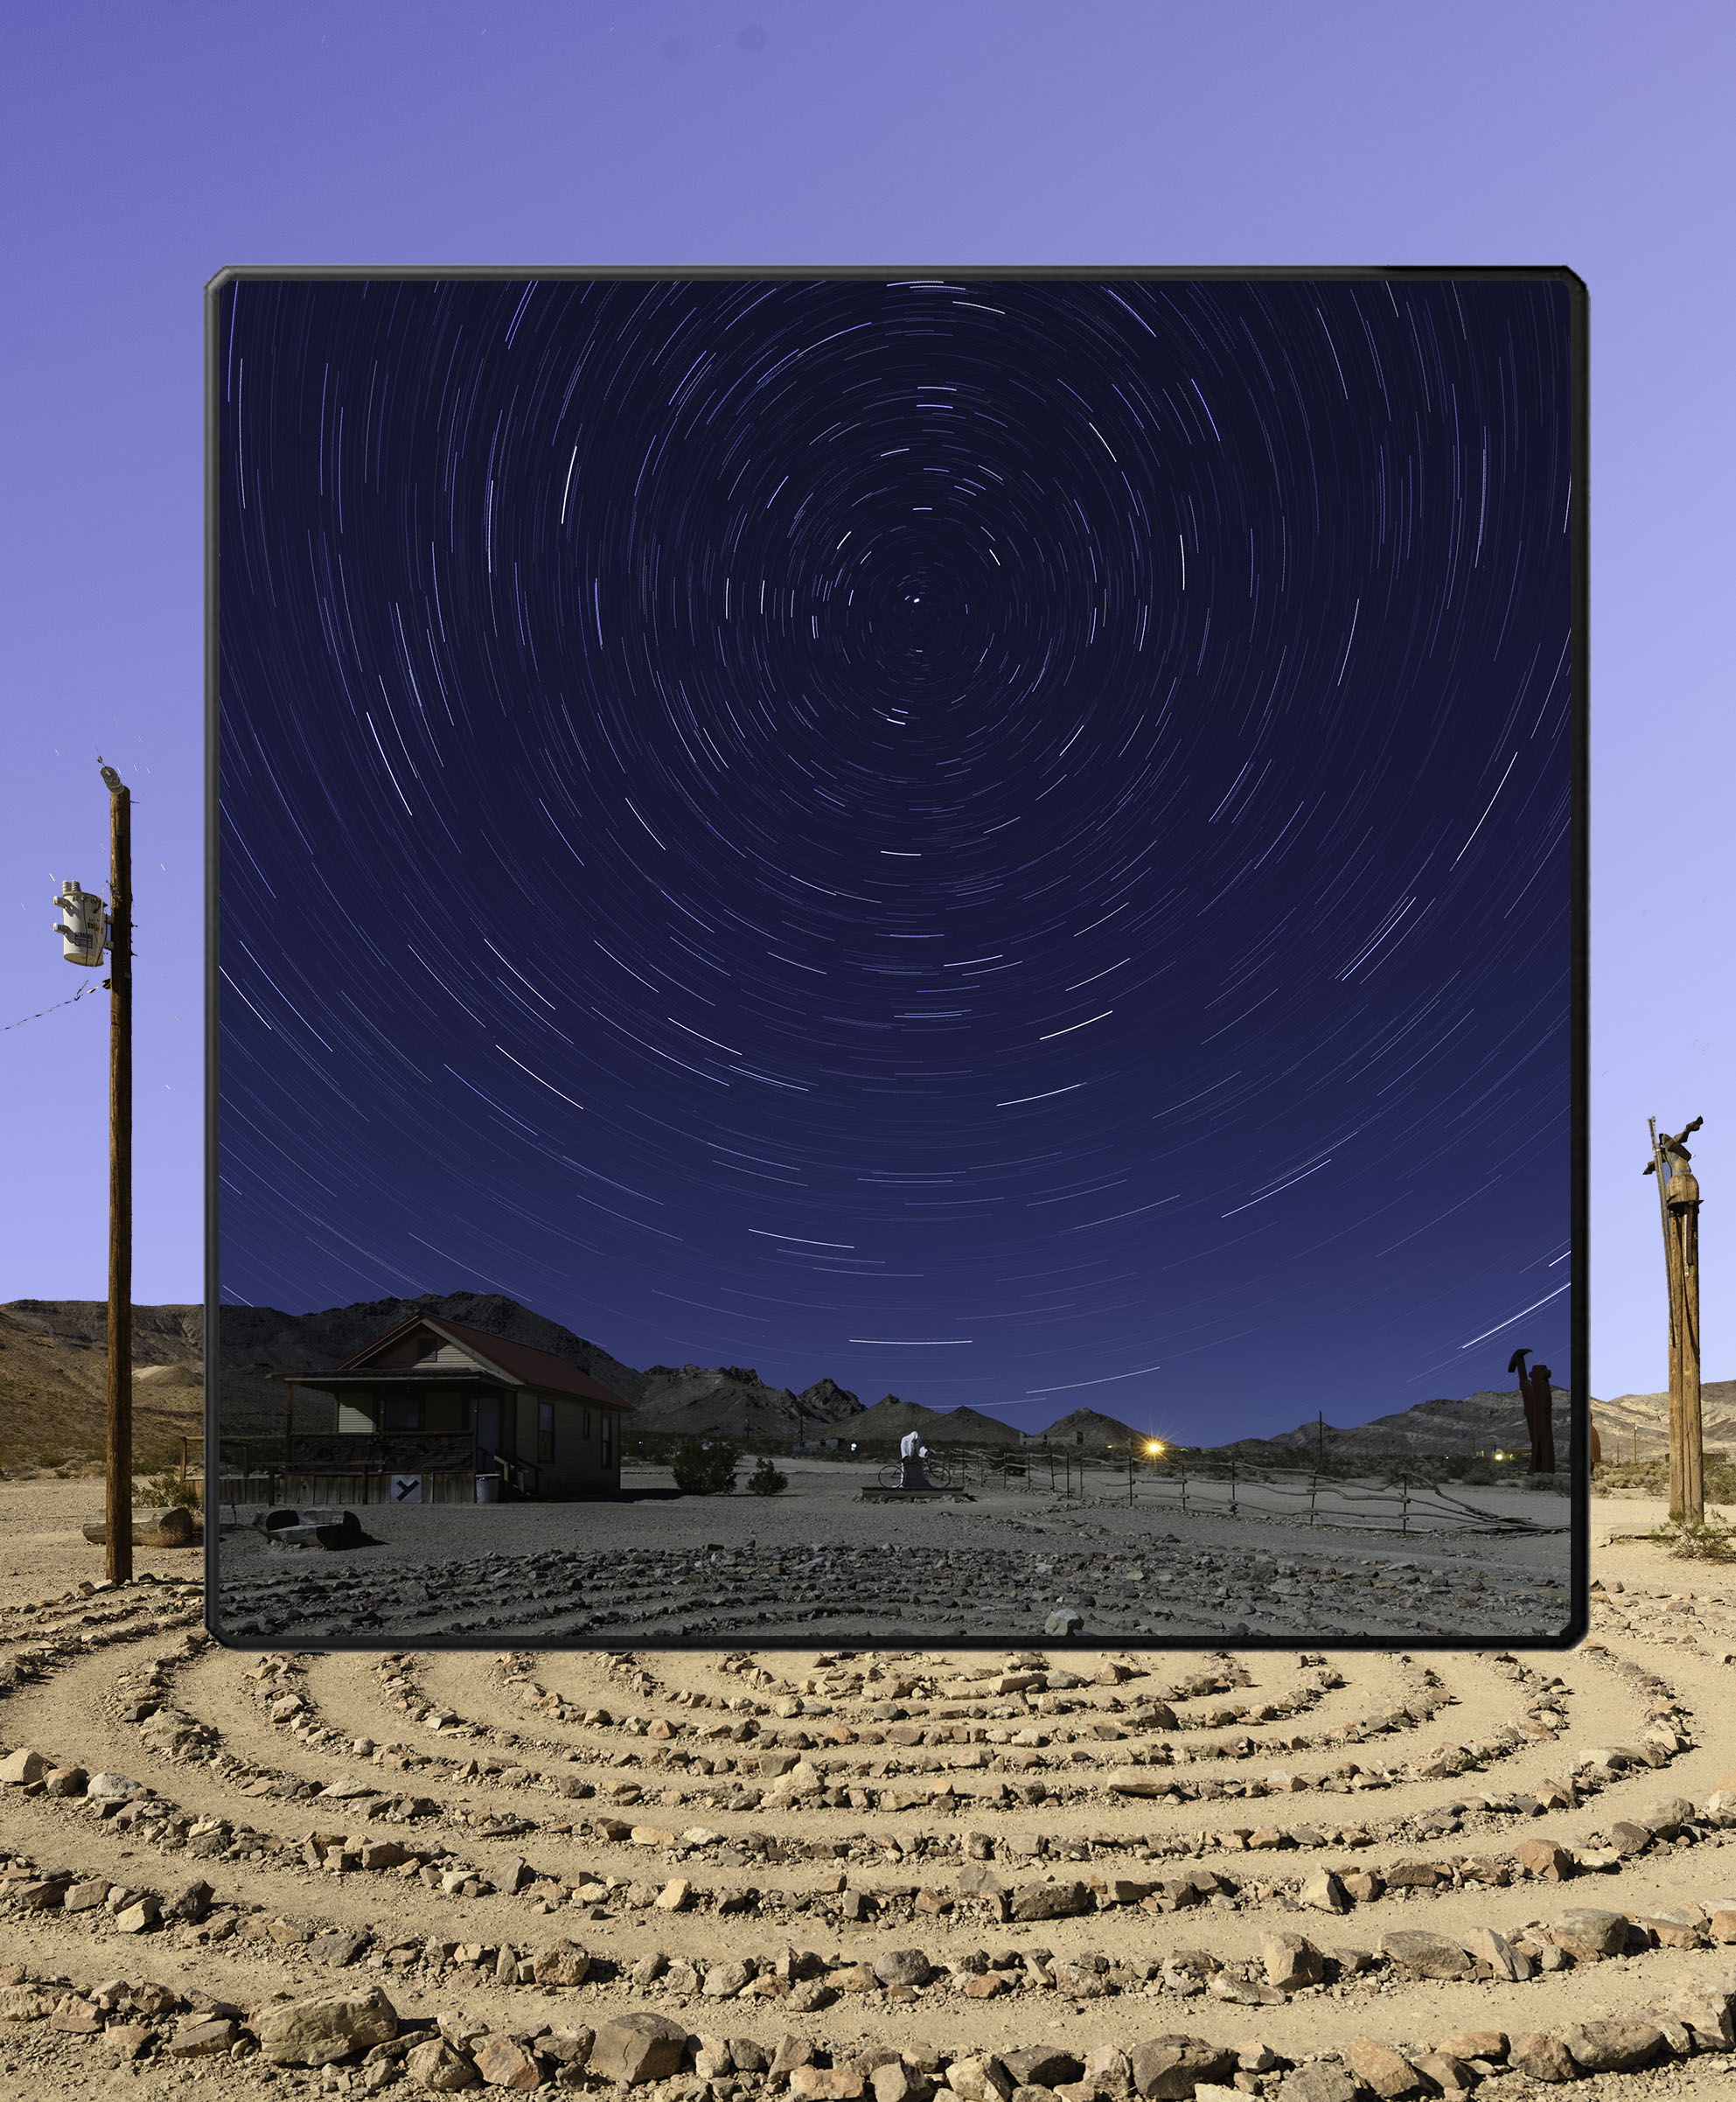
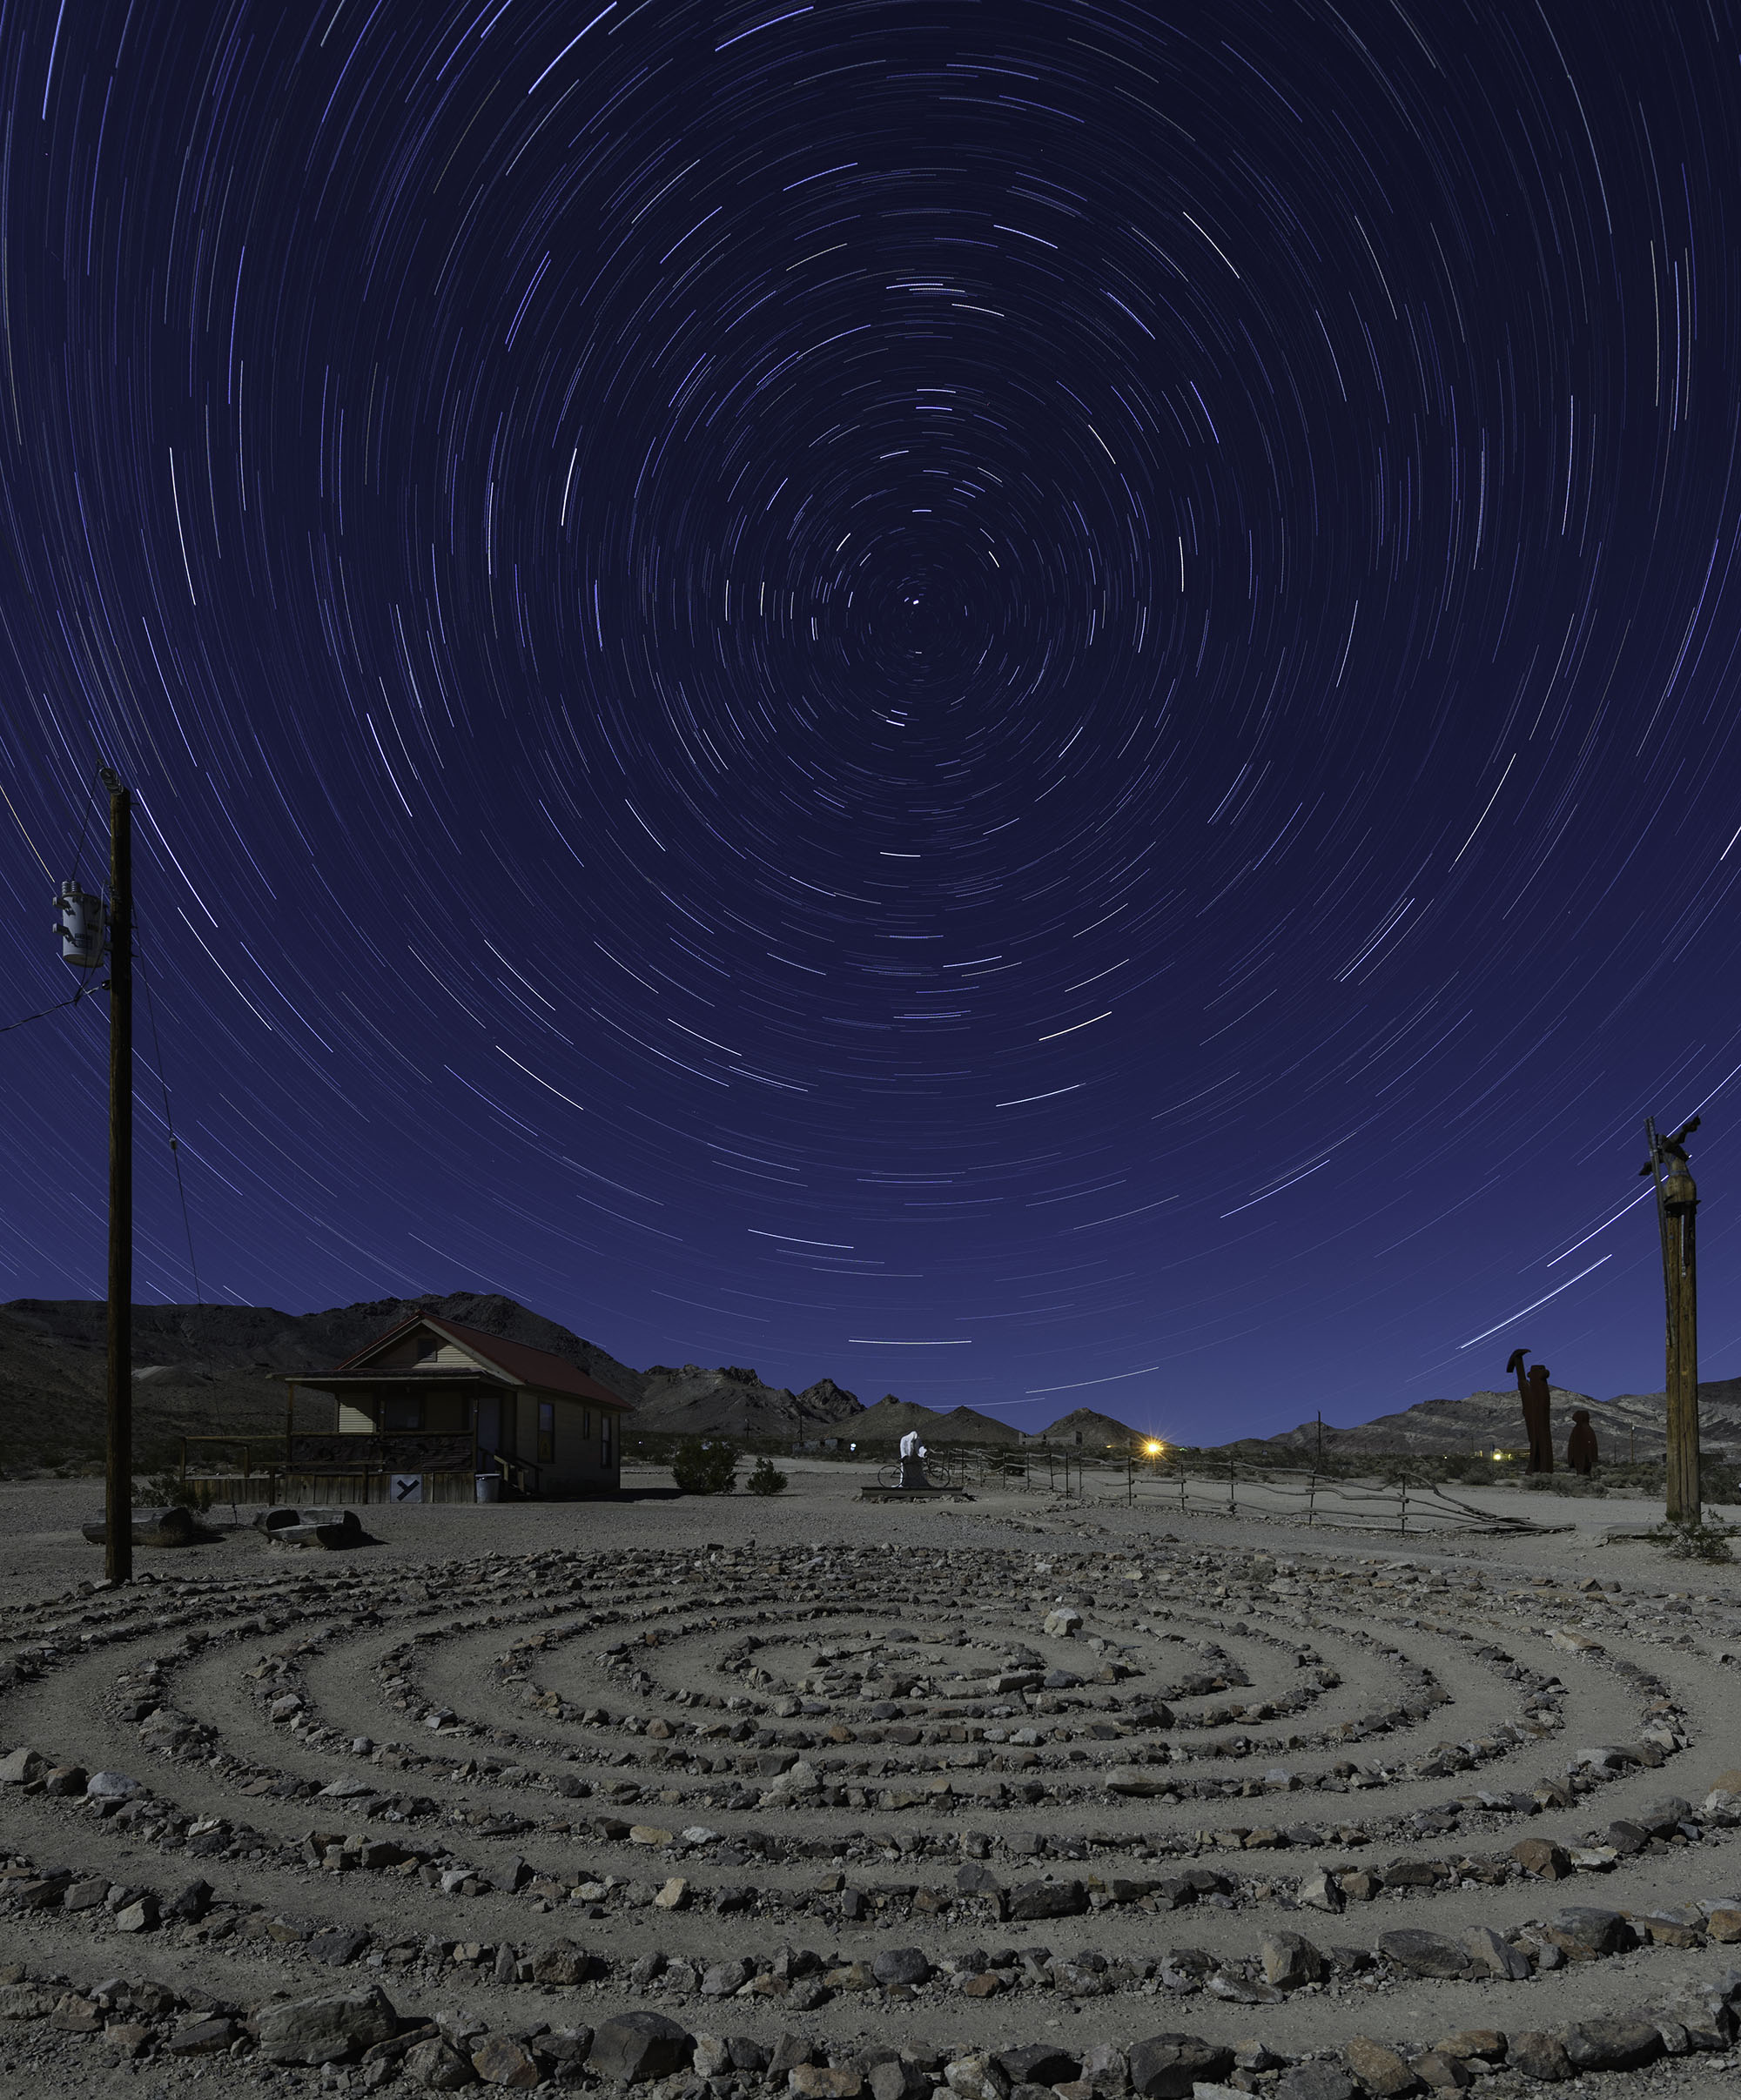
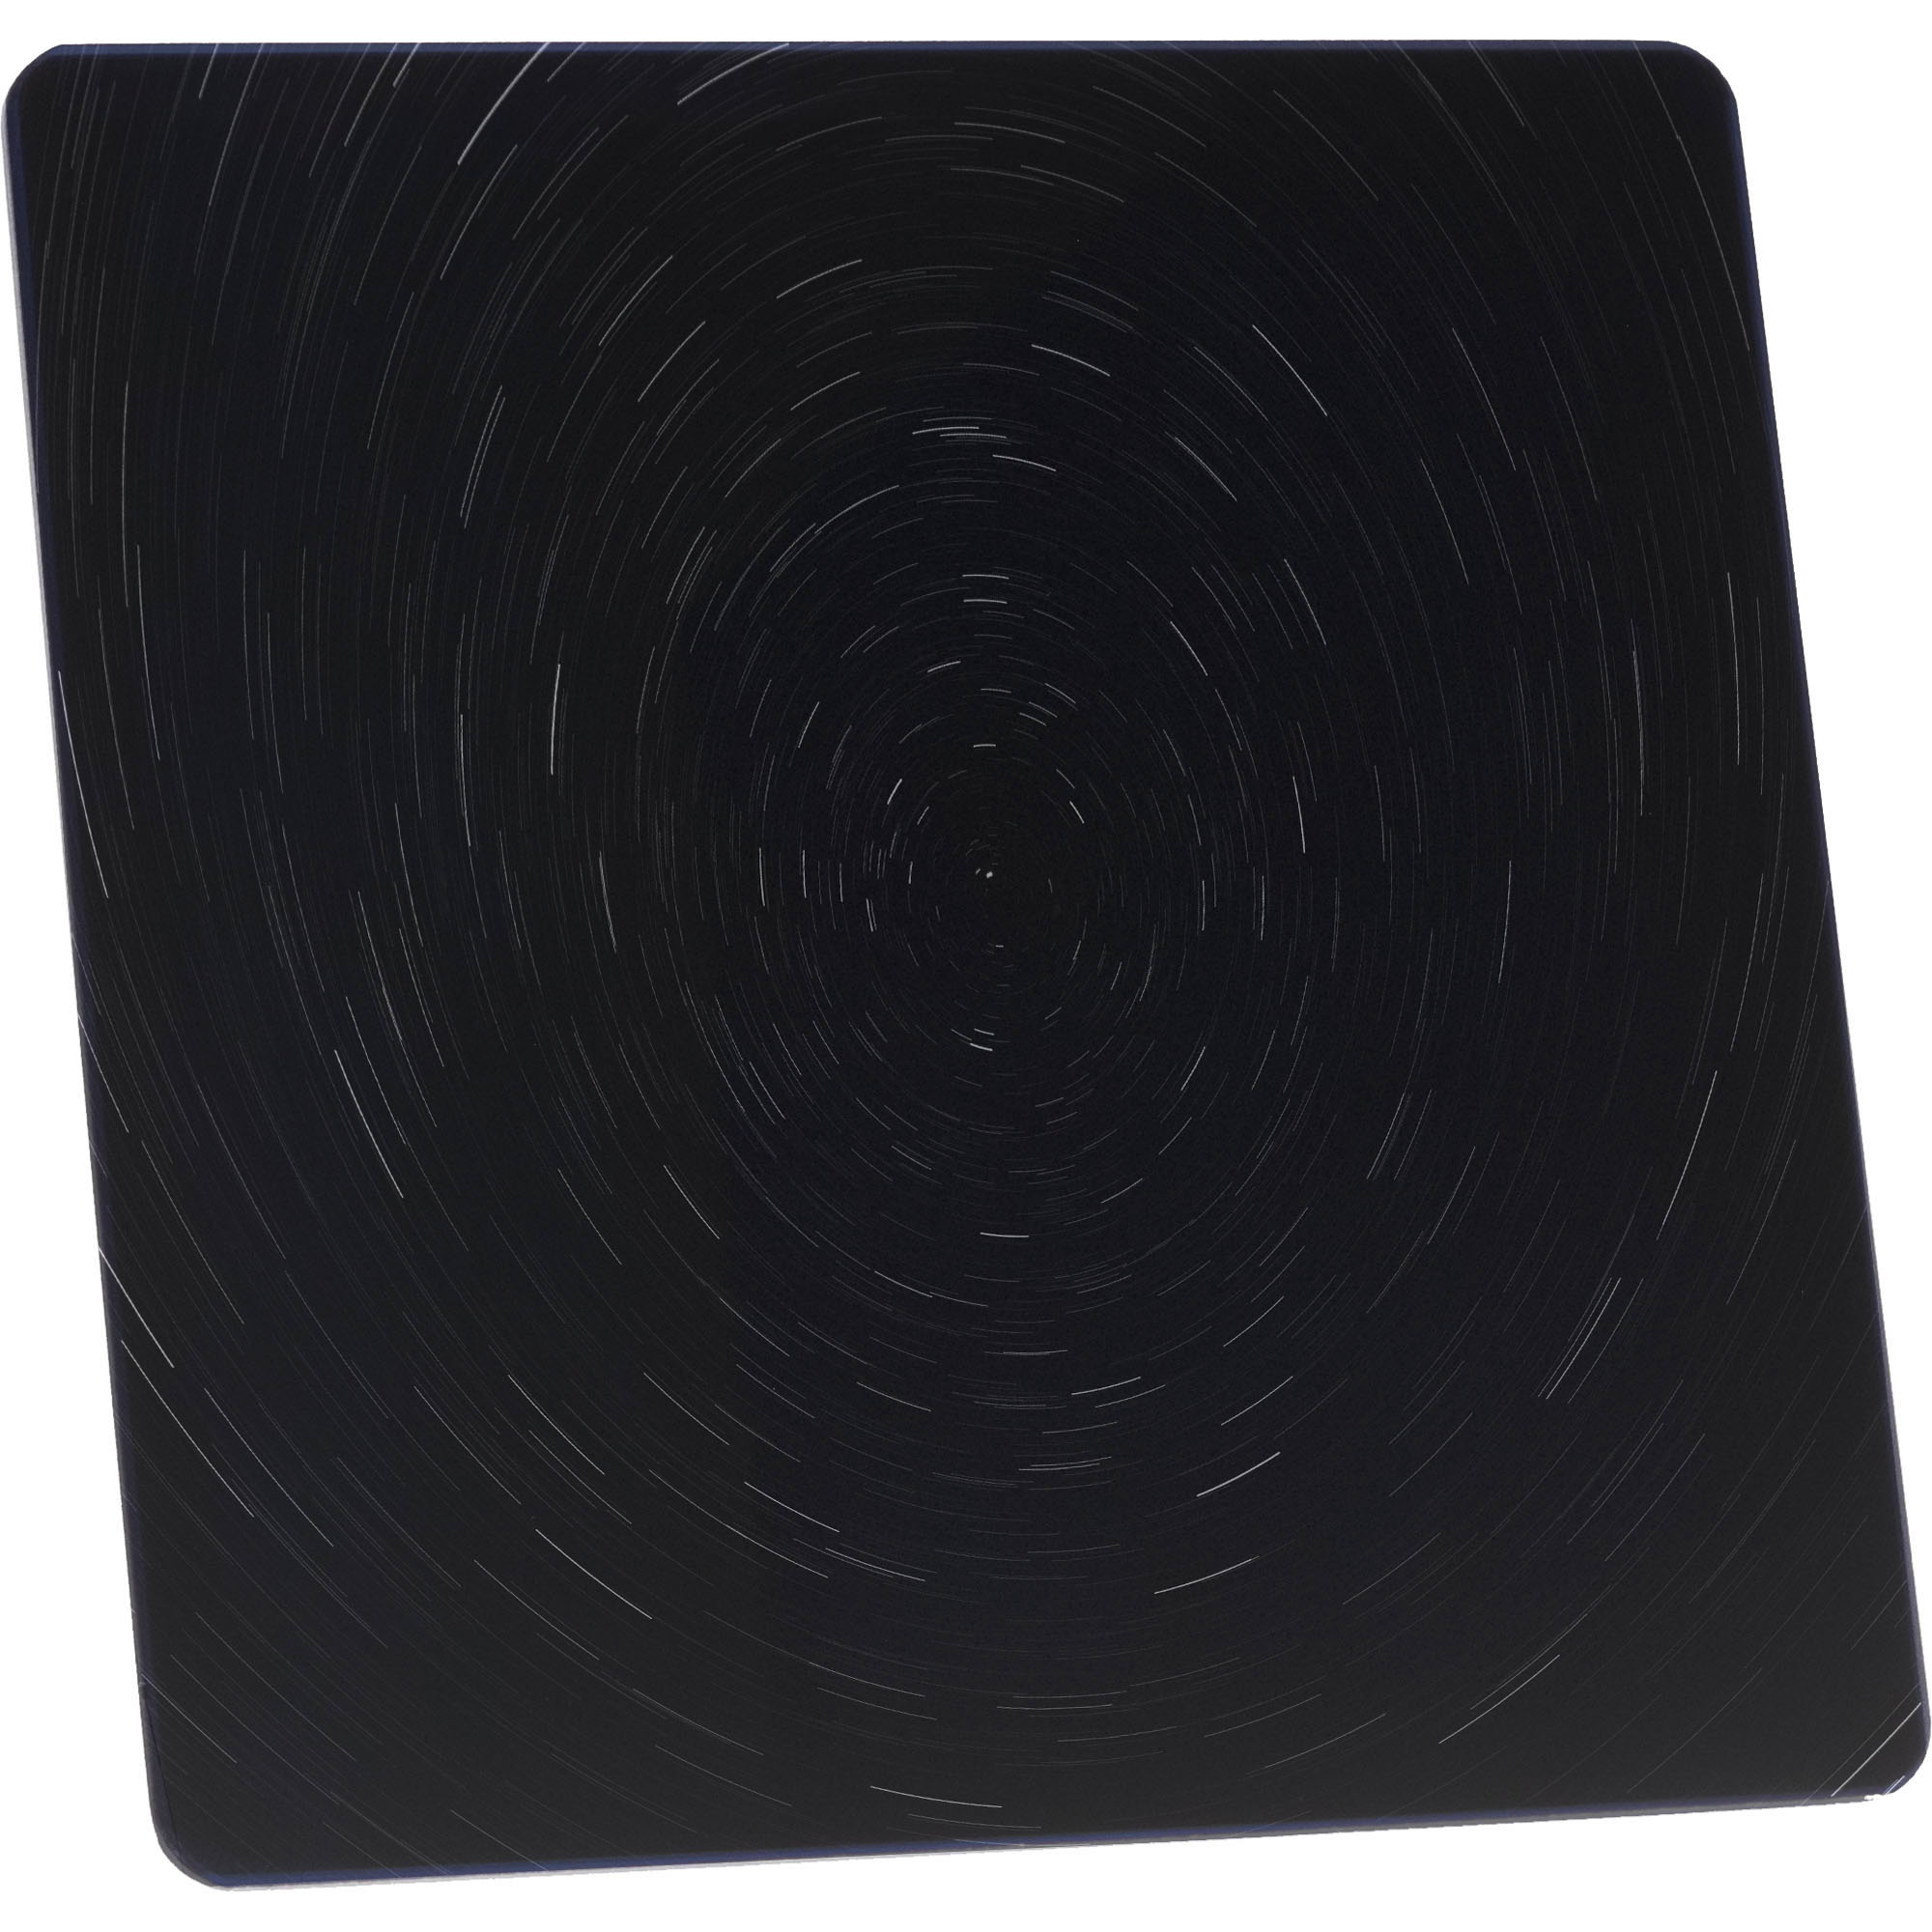
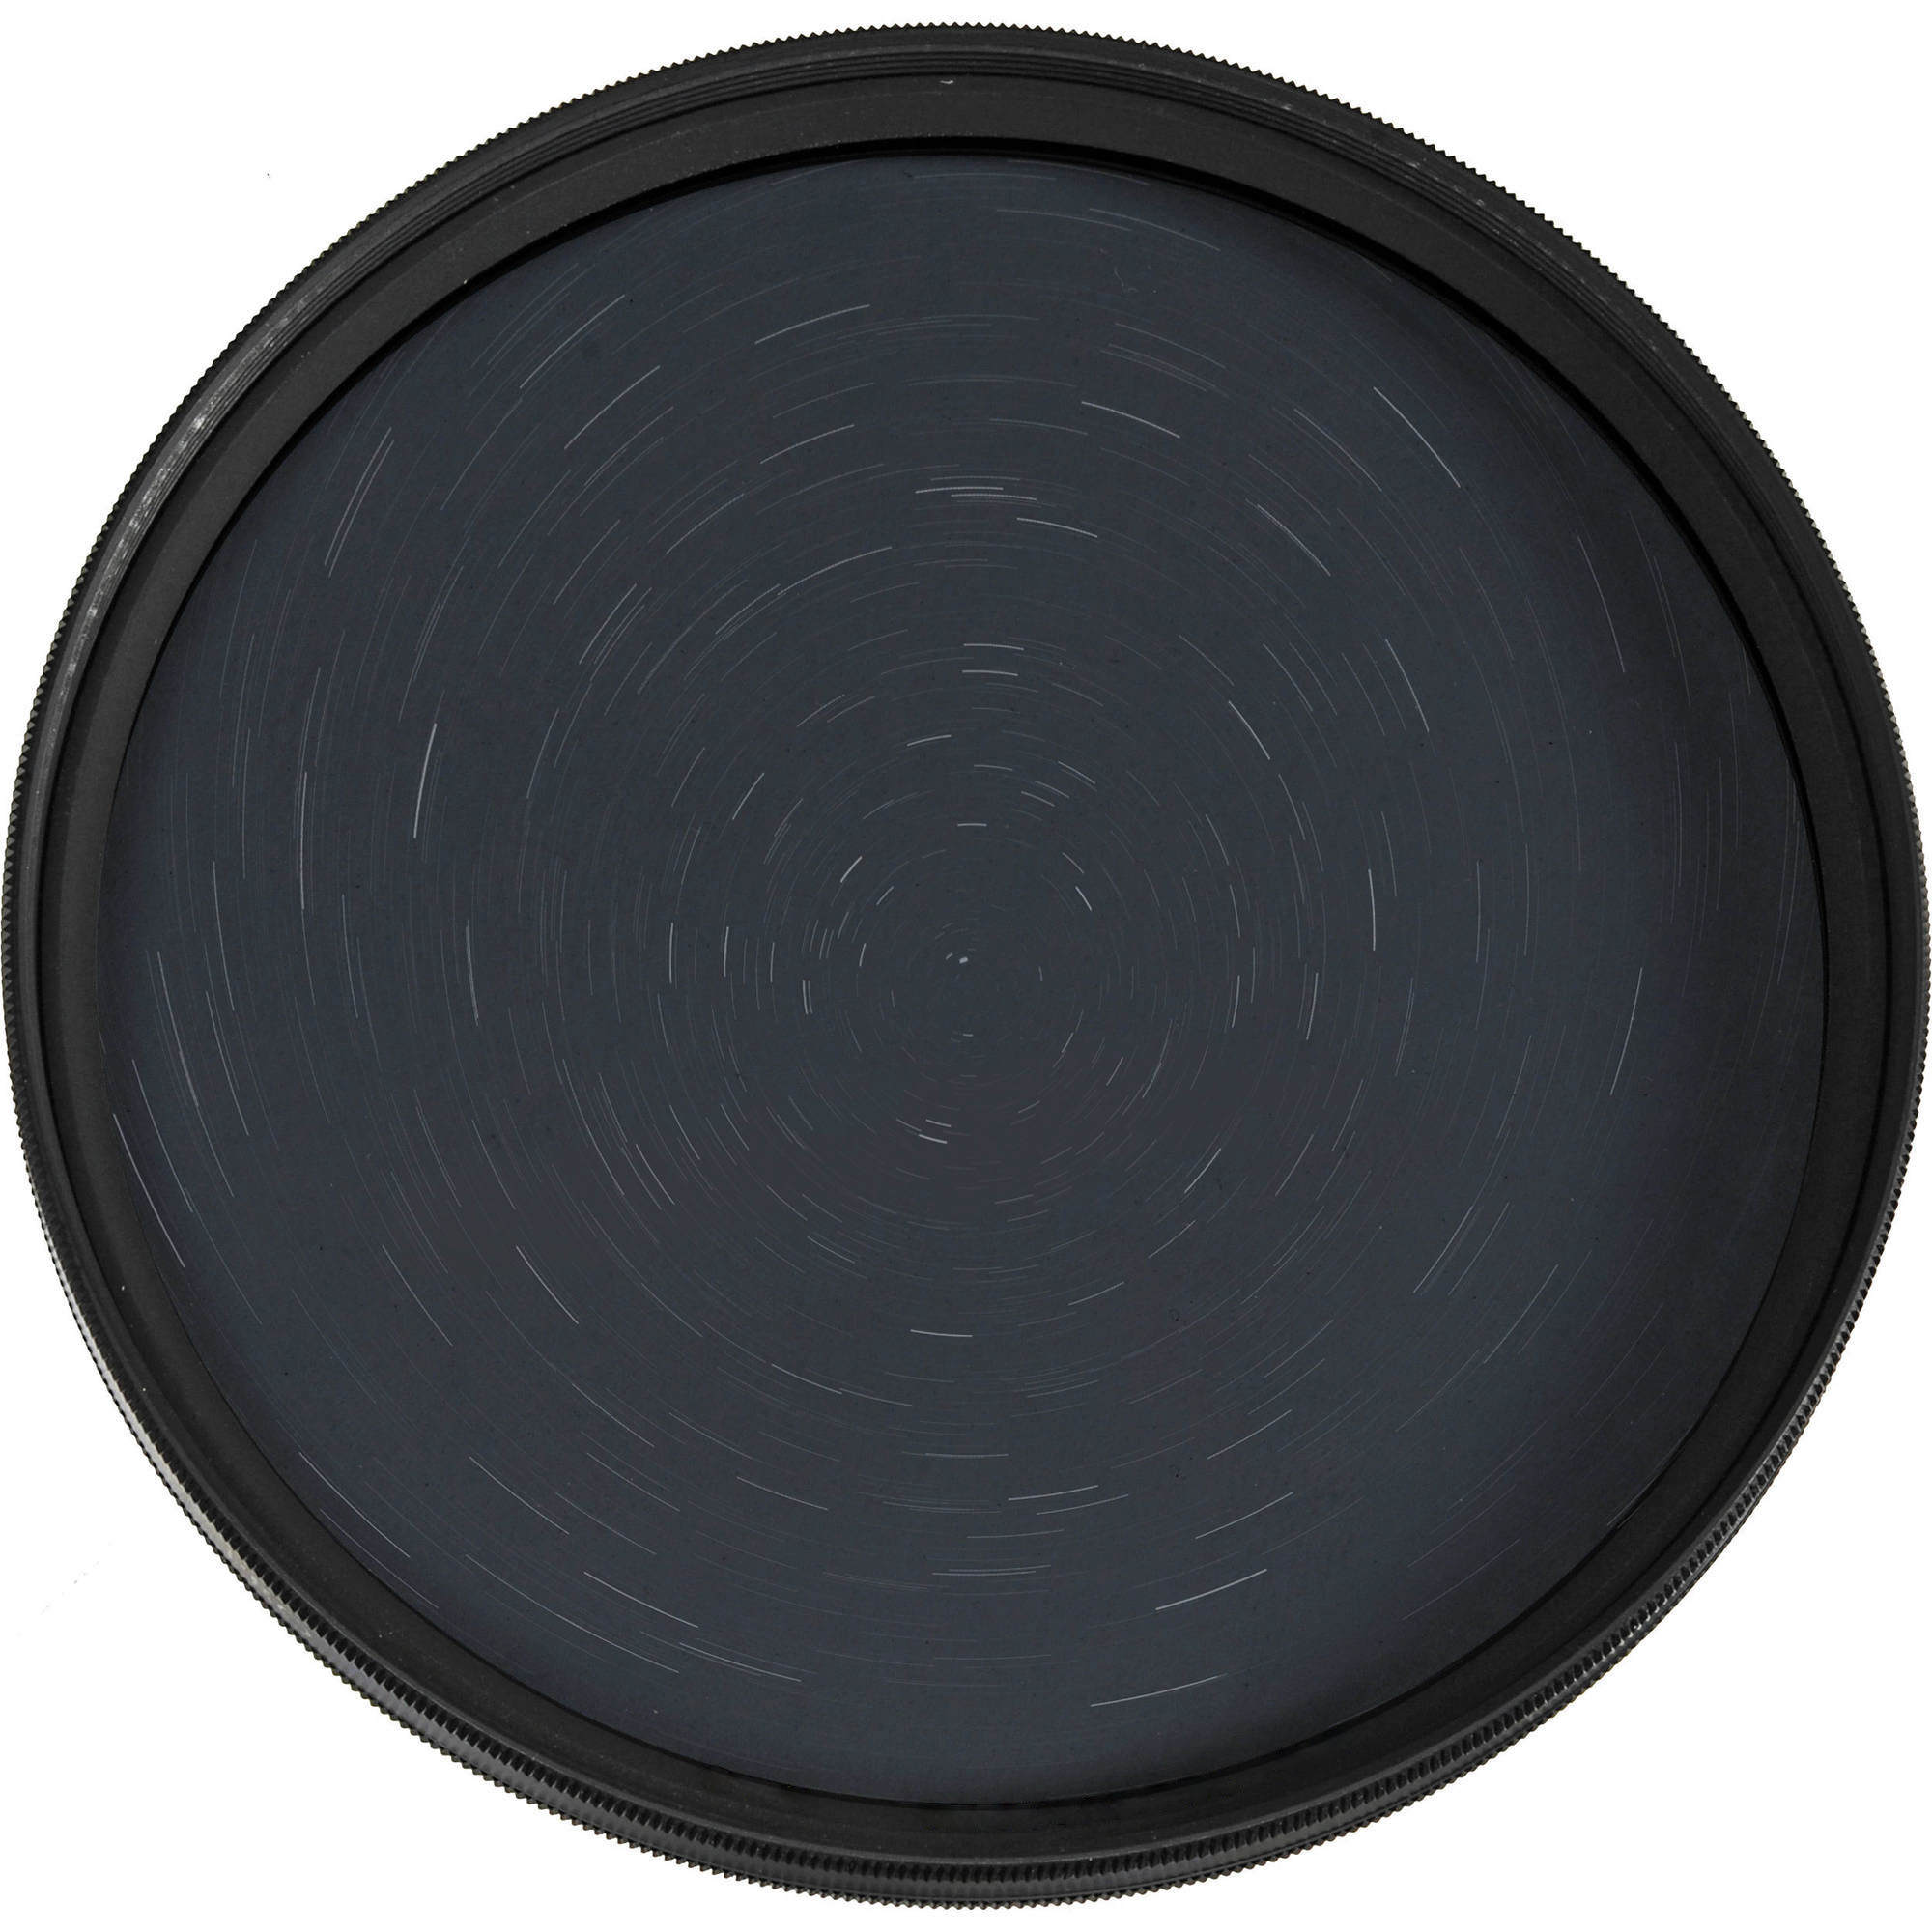
One of the coolest tricks to round out the night photographer’s repertoire is the ability to produce star circles by pointing north on a clear night and opening the shutter for a good hour or more. But now you can create the same effect pointing in any direction (opening up many more possible compositions), and in much less time!

Our “Star Circles” filters come in two varieties:

Rectangular, which offers a fixed set of star circles that can be positioned to suit the composition by moving the filter up or down in the holder.

Circular, which features a rotating ring that makes the star trails shorter or longer.

Milky Way Filter

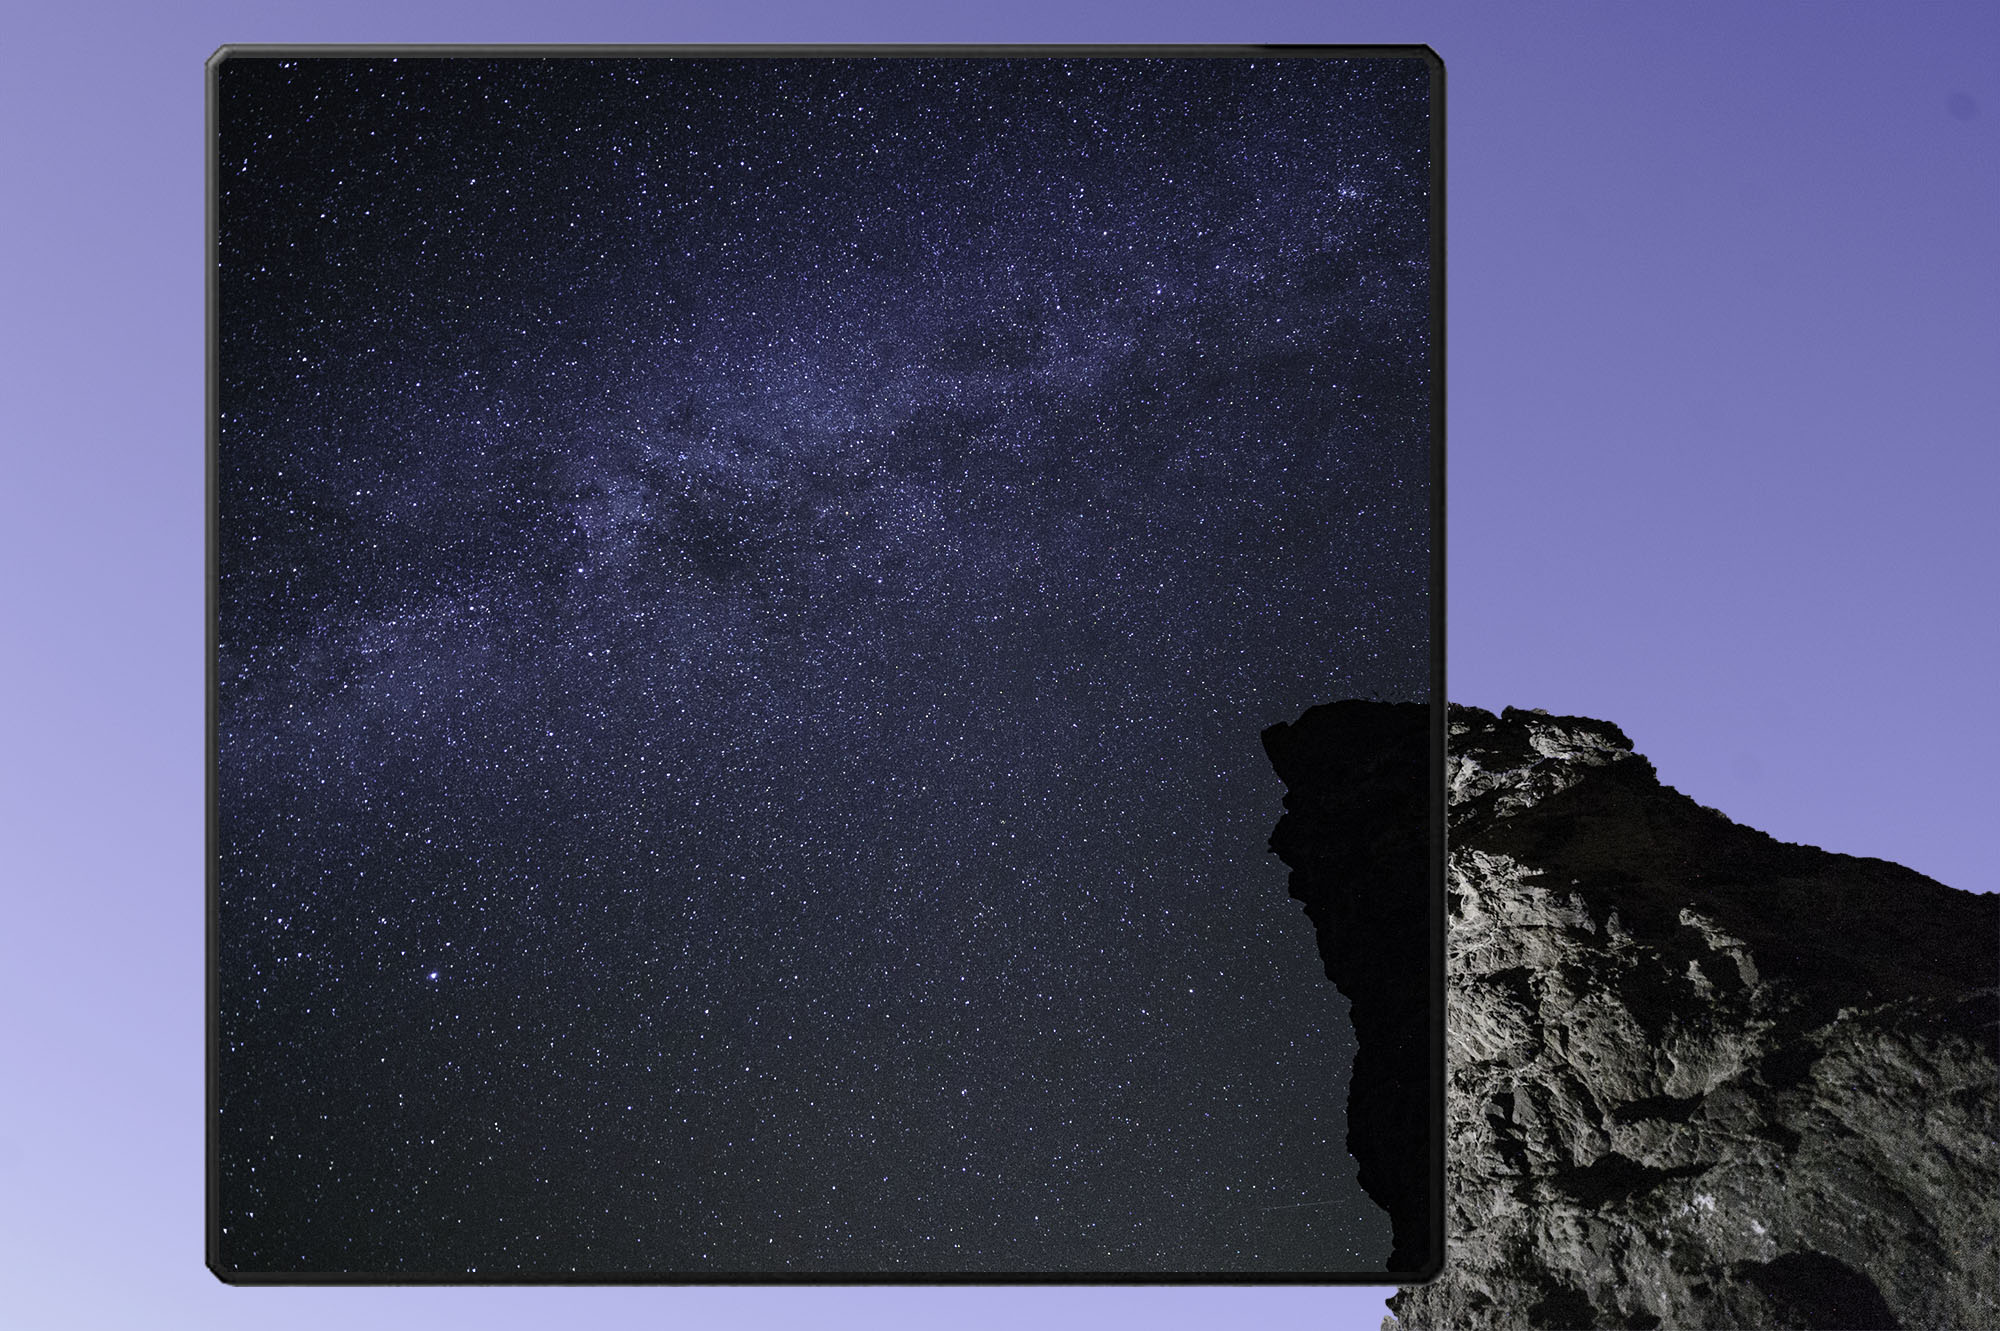
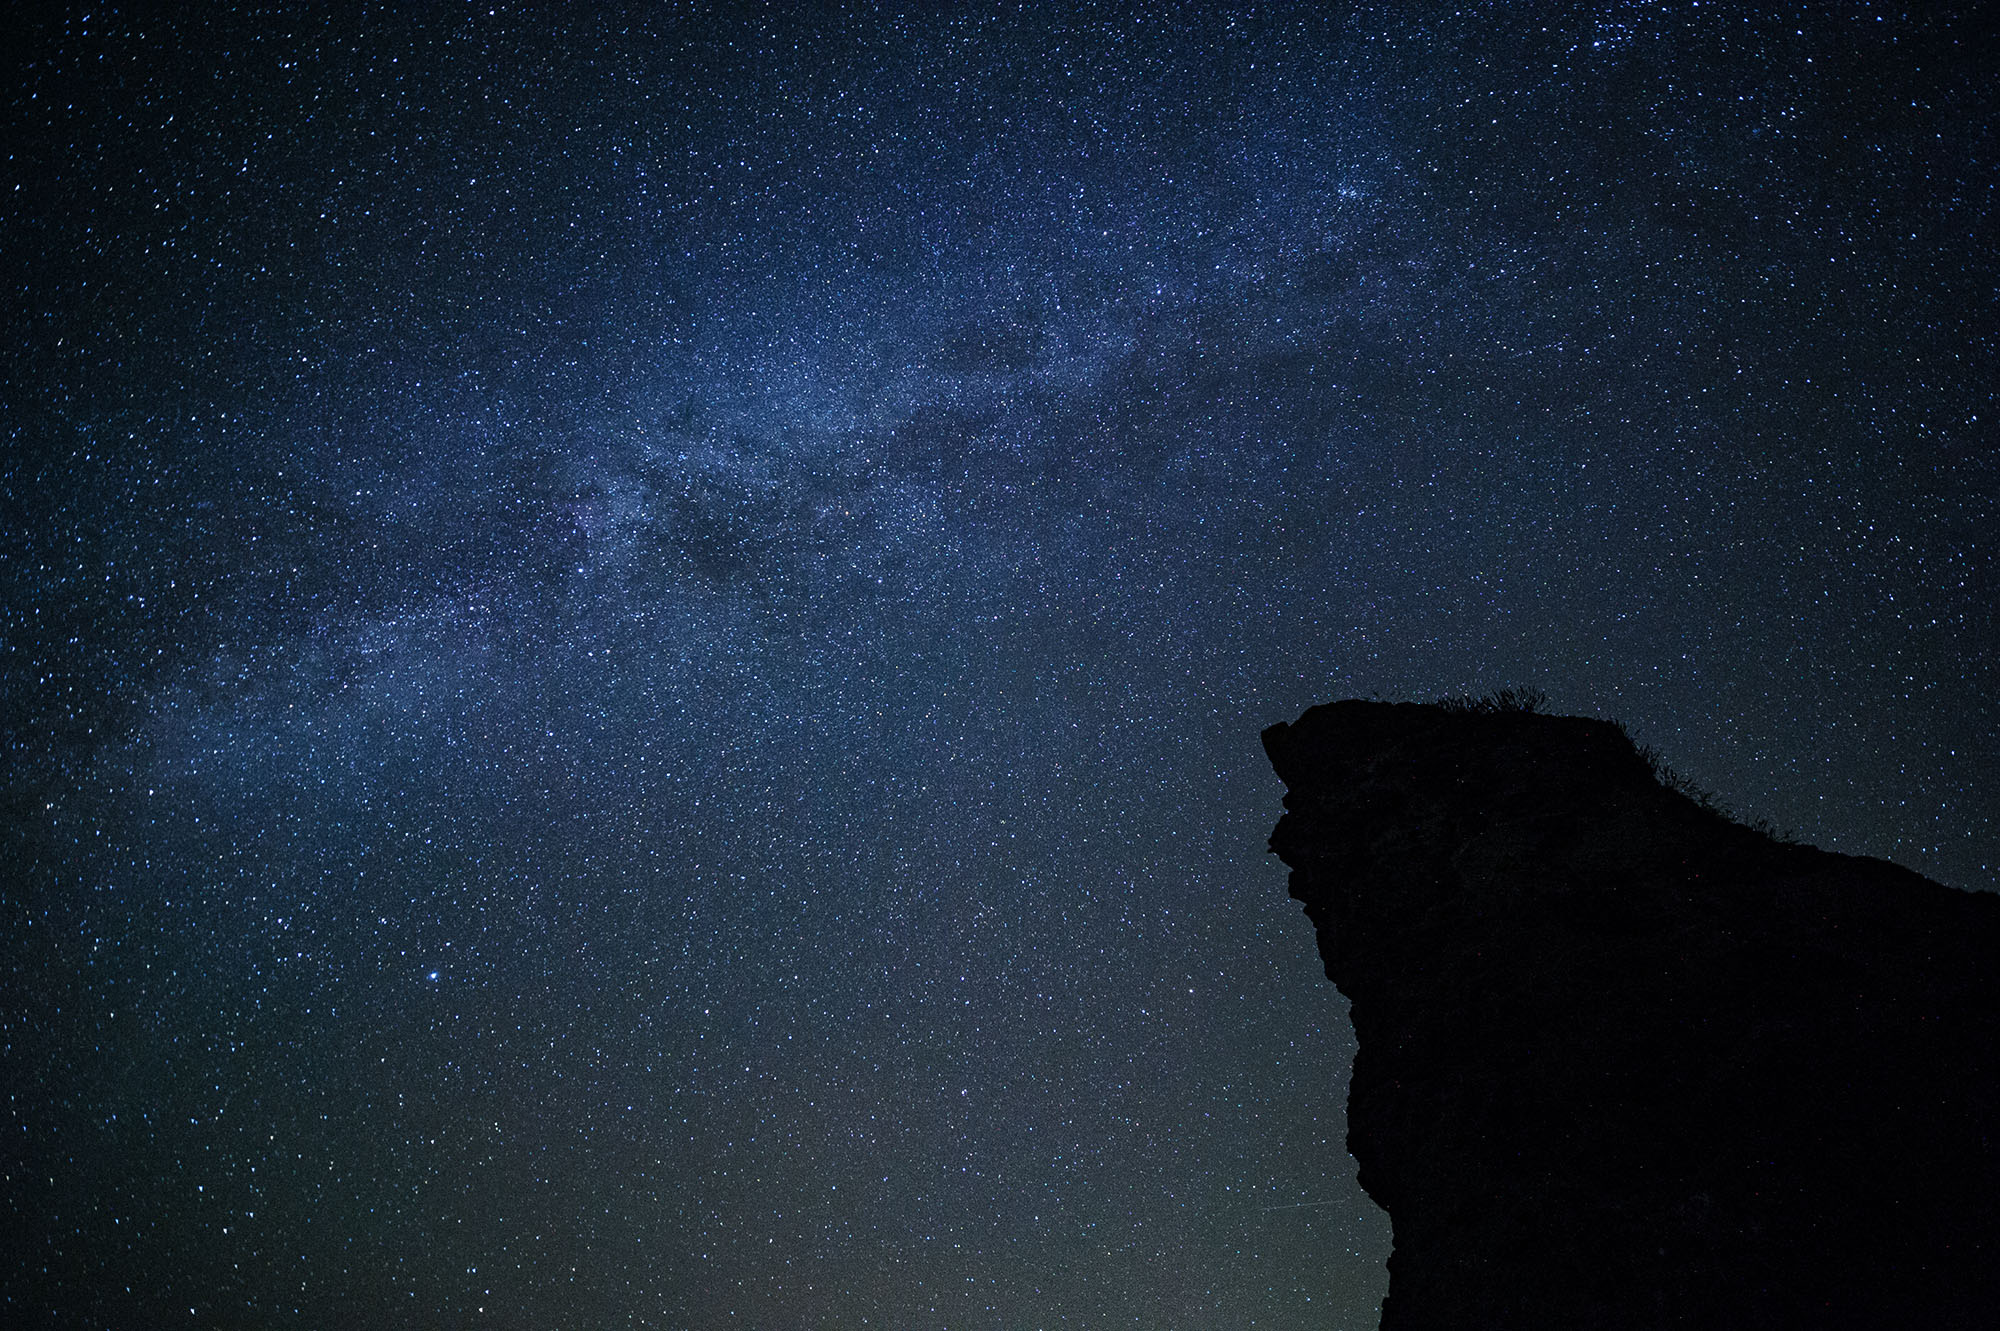
Perhaps the most popular night photography achievement of the past decade is the ability to capture the dense cluster of stars of the Milky Way. But even though modern camera technology has put our galaxy in reach of shutterbugs throughout the solar system, photographing it still comes with challenges—namely, having to wait for the right time of year to view it, the right time of night for it to appear over the horizon, and its propensity to hardly ever be hovering in a compositionally pleasing place in the scene.

All those issues are solved by using our “Milky Way” filter. It comes in a standard rectangular format, which enables you to place the galactic core anywhere you want in the sky of your composition, and you can then adjust the angle of the core by rotating your filter holder.

Moon Phases Filter Kit

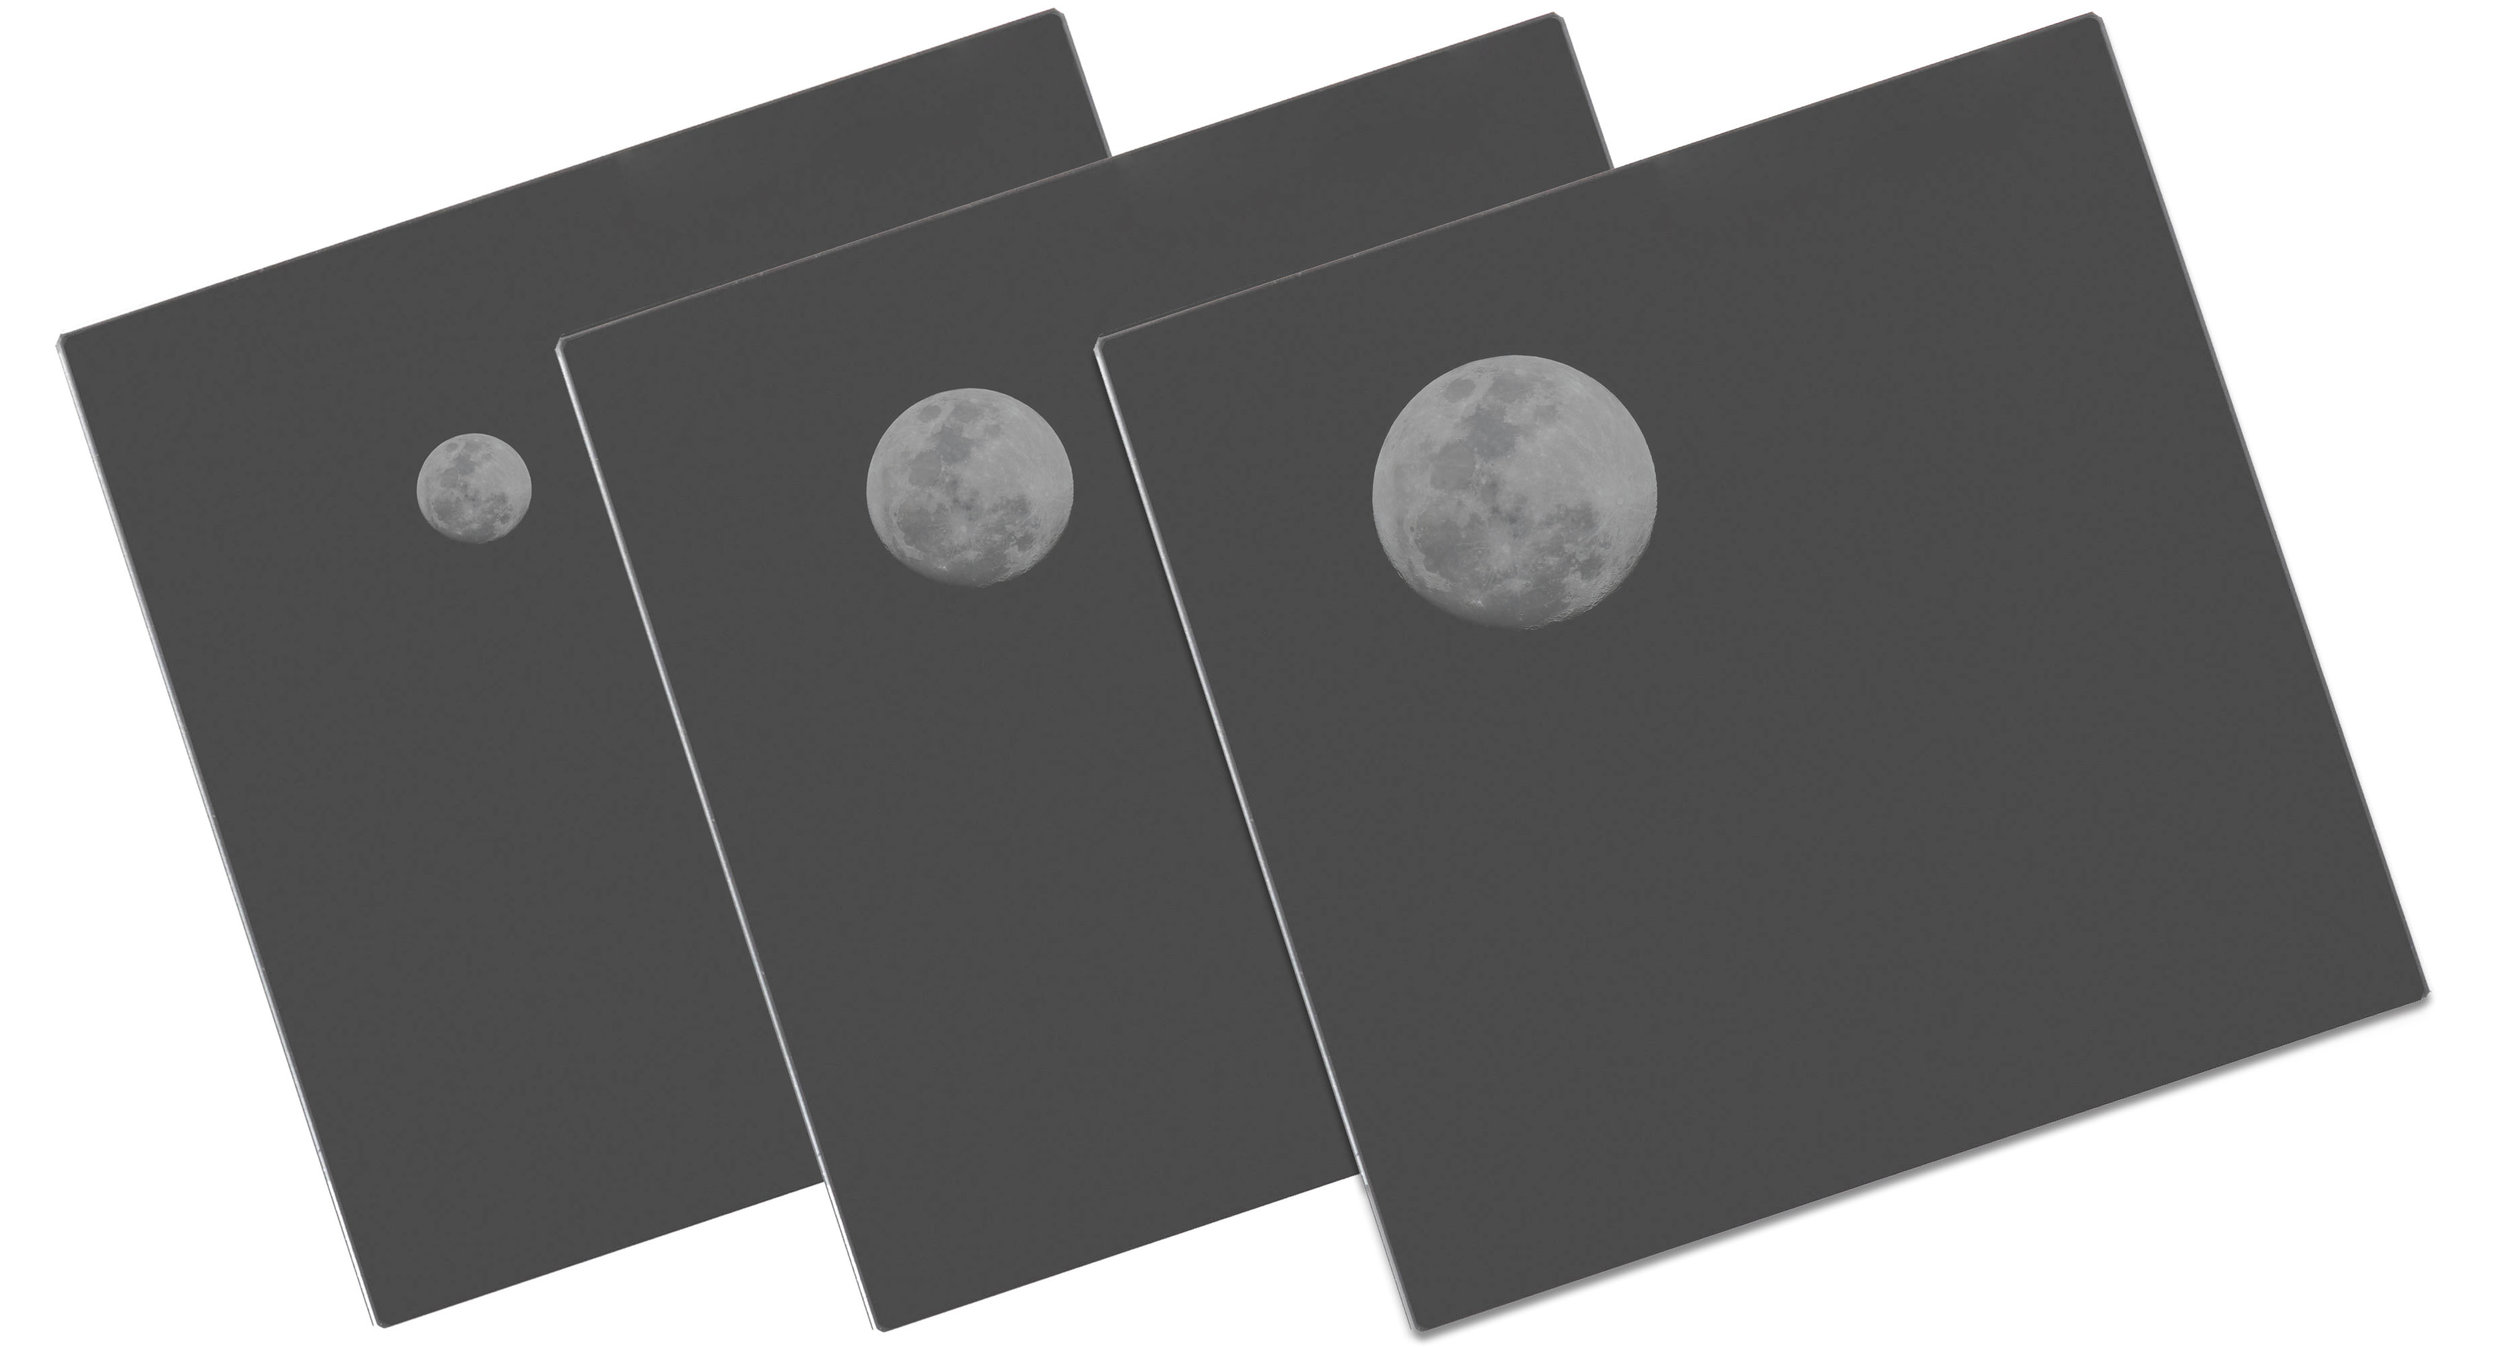
Normally, if you have a solid idea of how you want the moon to look in a scene, you need to do a lot of planning to make it happen. Earth’s only satellite floats all over the night sky, and its particular phases appear only once per month.

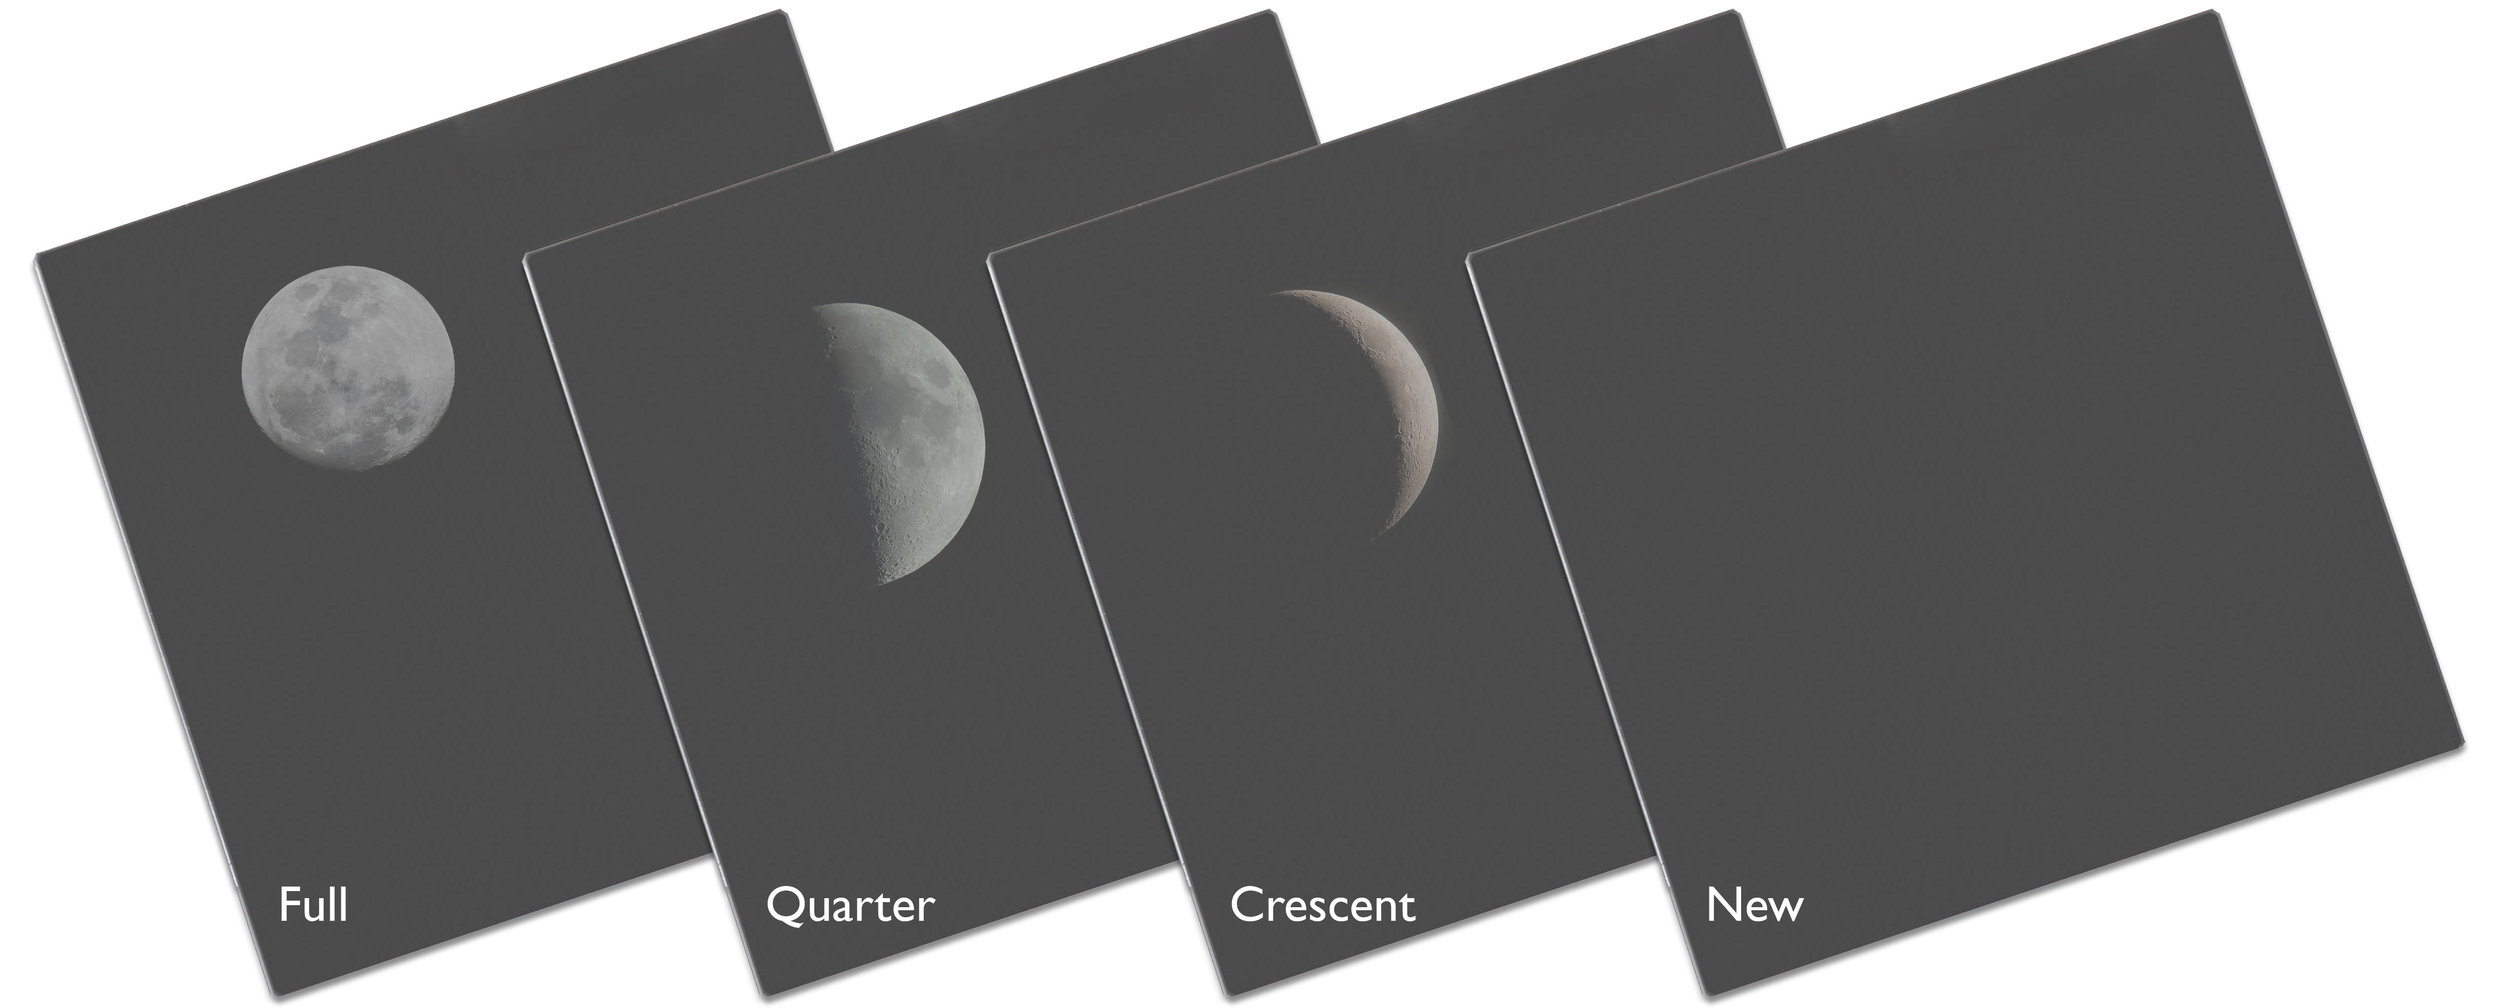
All these challenges dissipate once you begin using our “Moon” filters. A set of 10 filters allows you to add the moon to any scene, in any way you want. The entire “Moon Phases” kit features the moon in three different sizes (grande, venti and trenta) and four different phases (full, quarter, crescent and new).

Moon filters can be used alone for a clean-sky effect, or stacked with Star Point filters for a combined, starry sky effect.

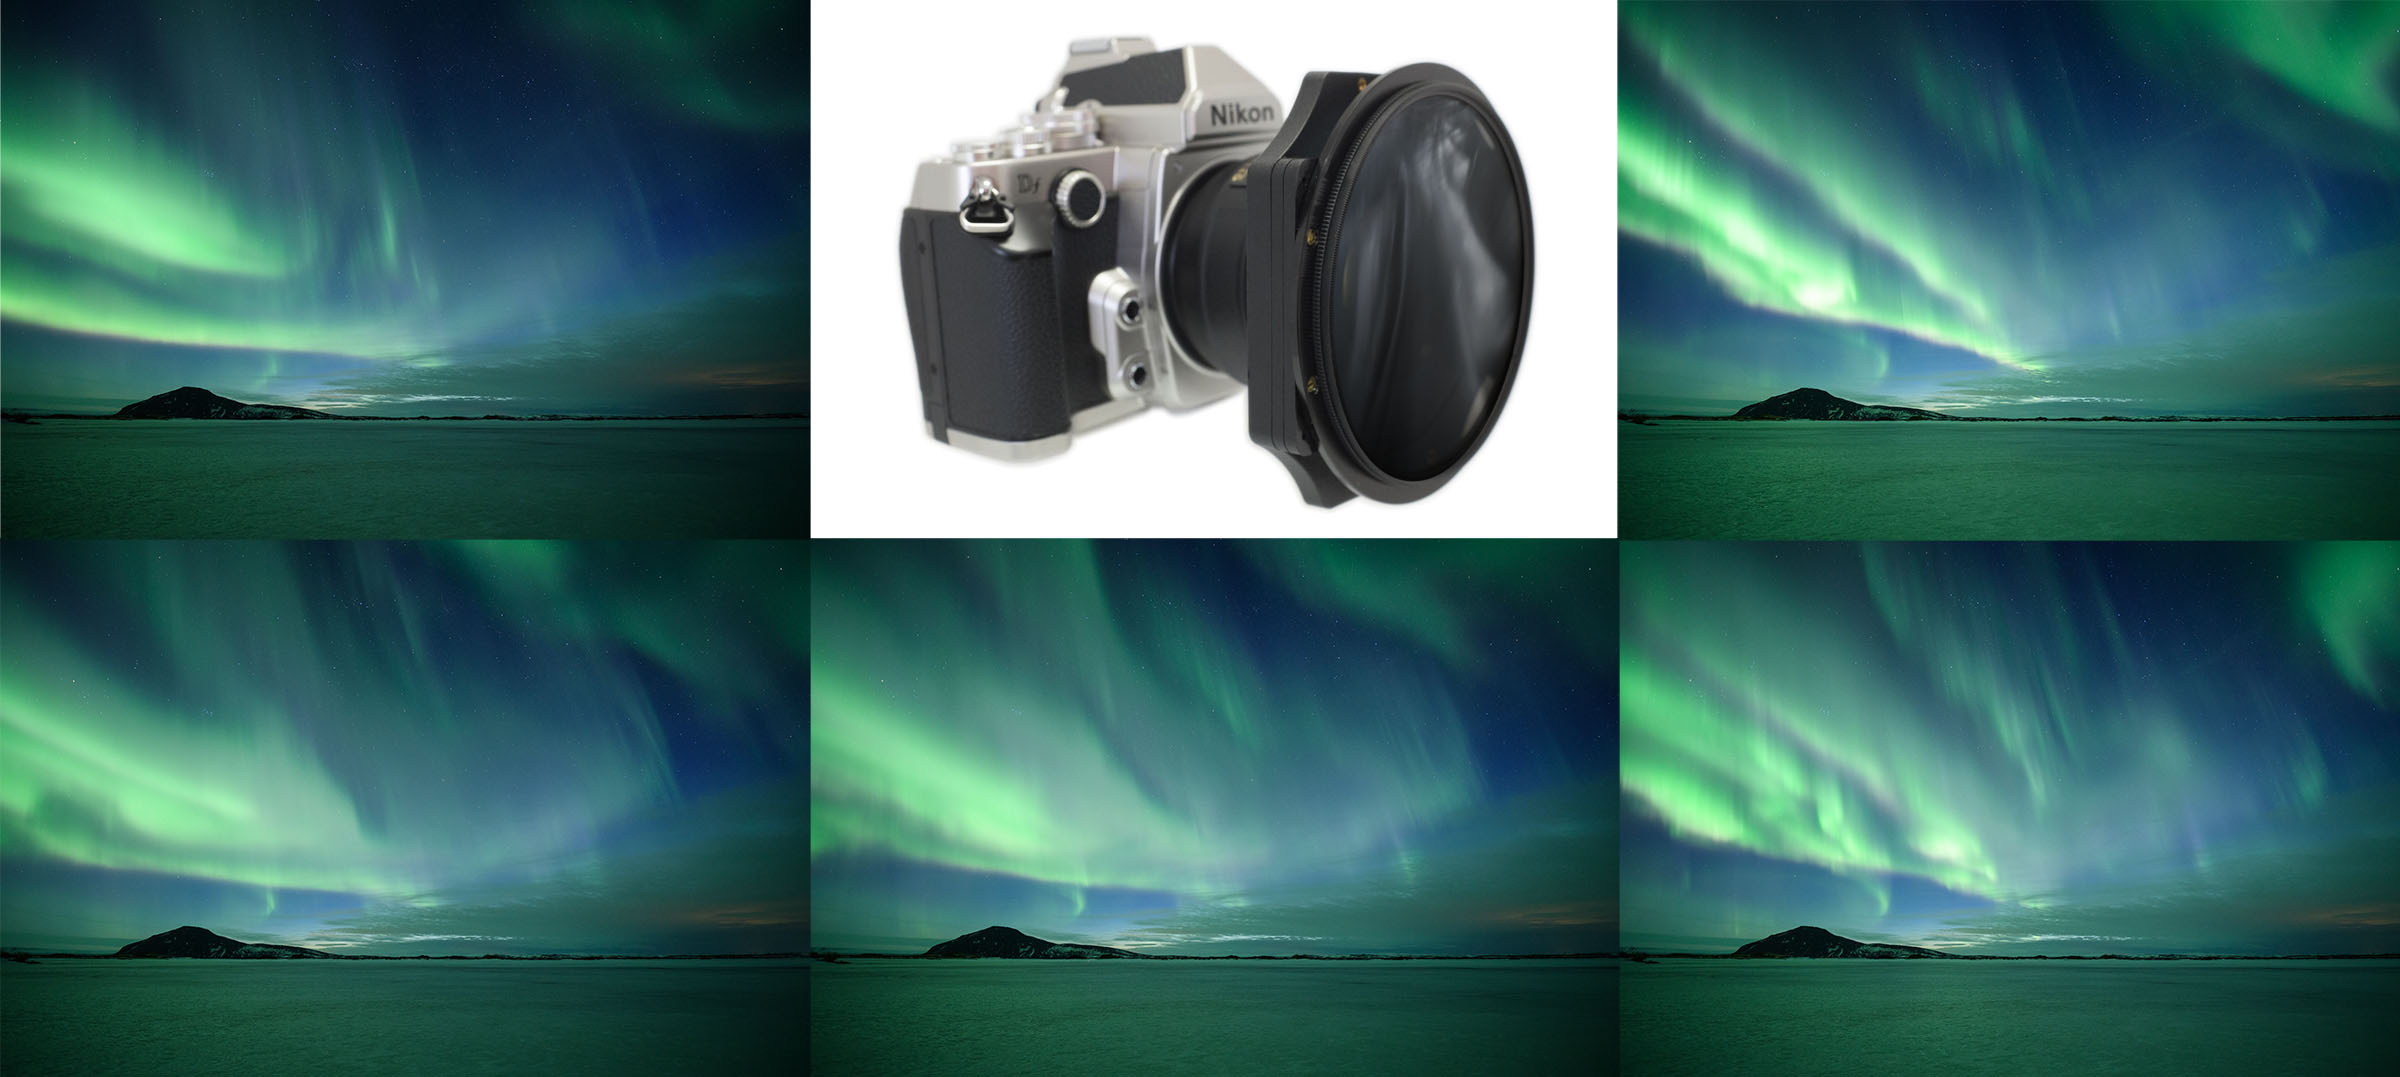
Aurora Filter

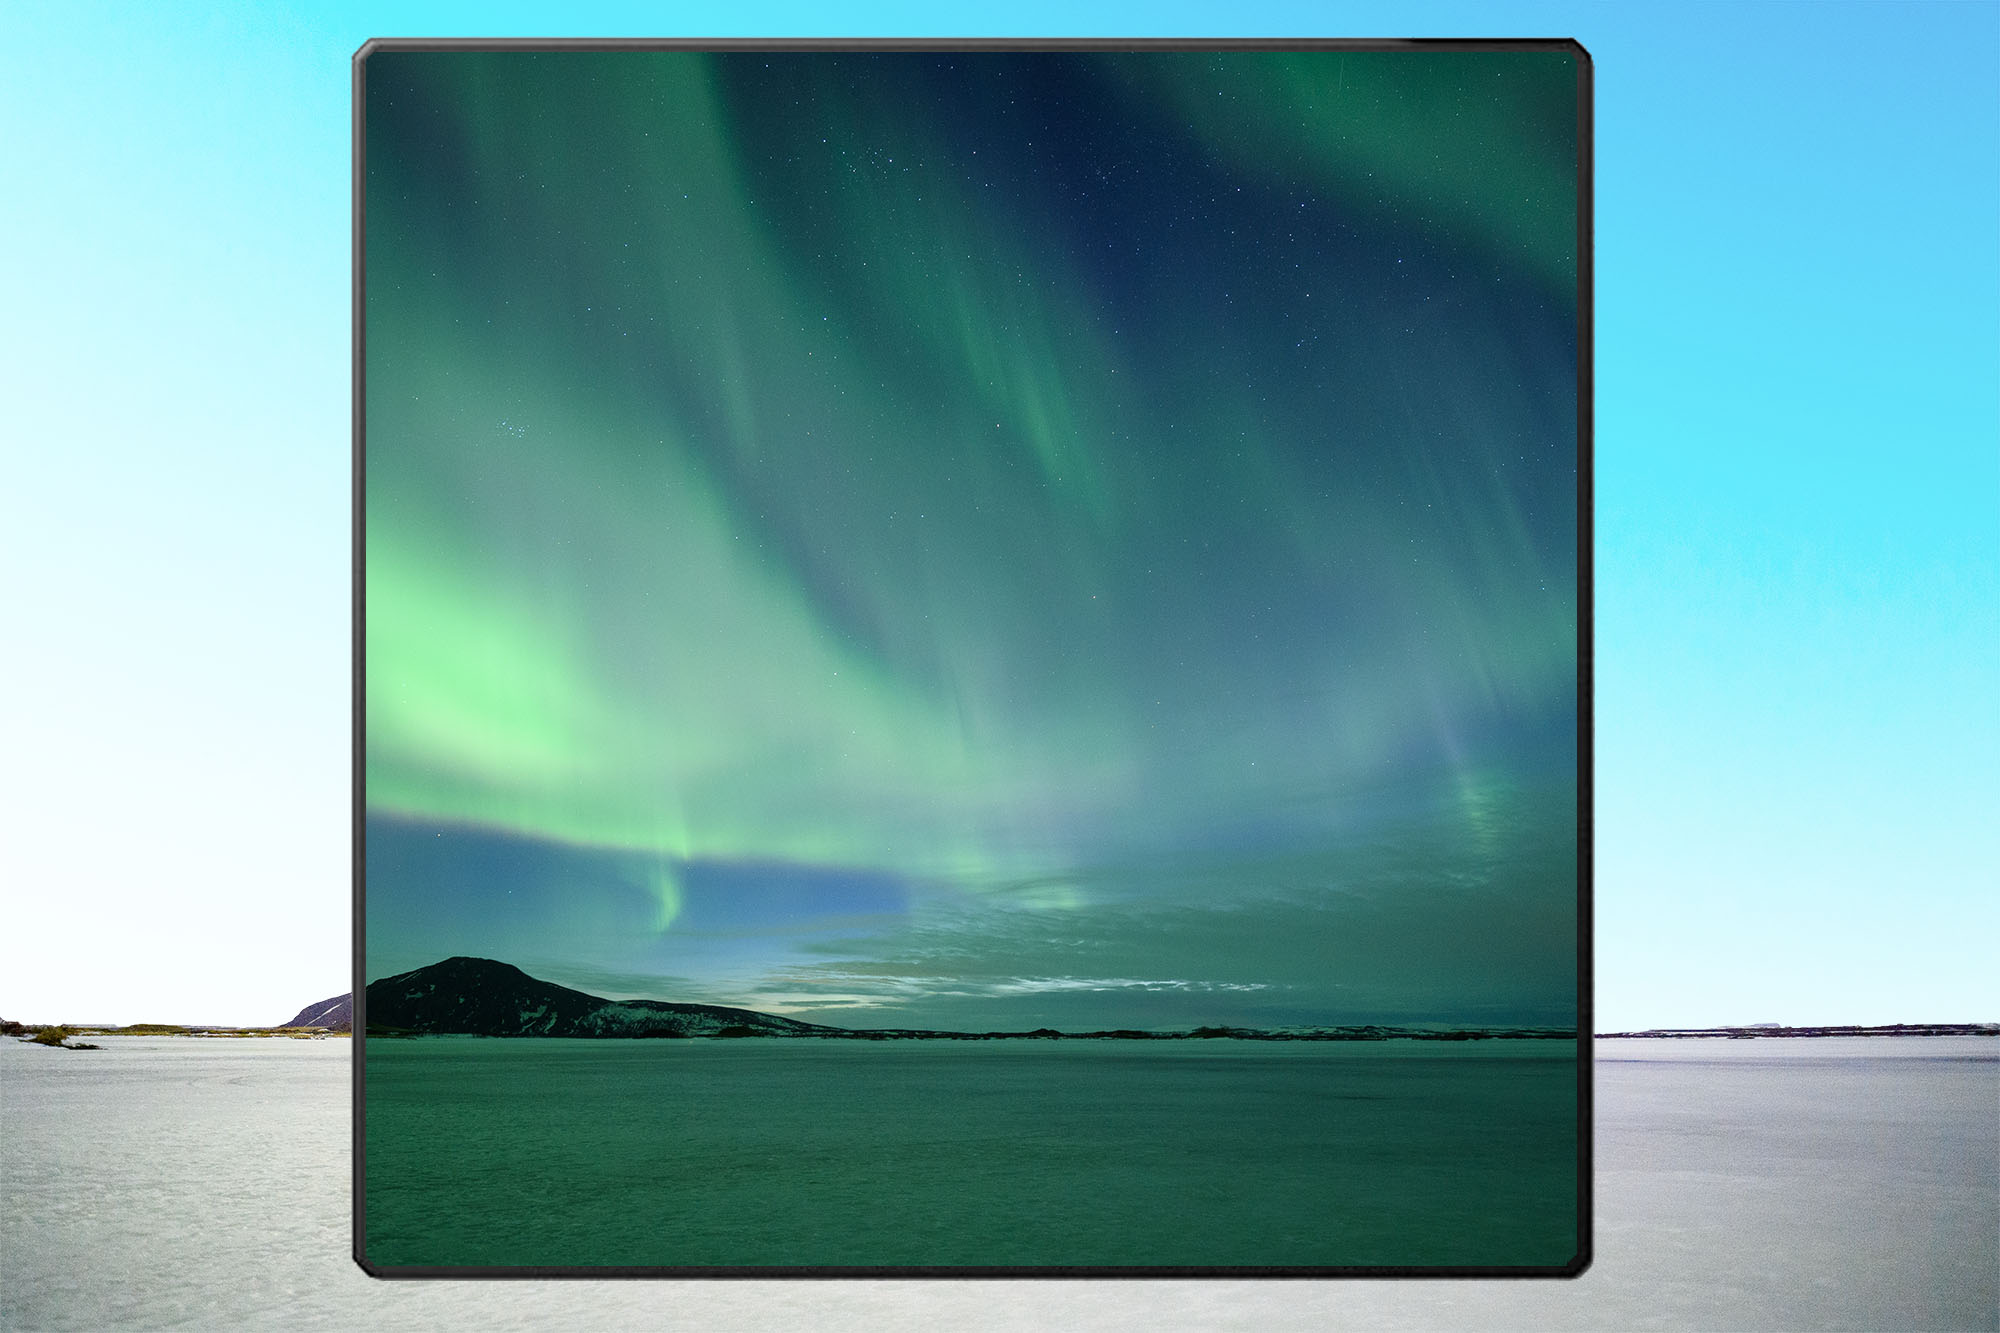
We almost didn’t manufacture this filter because of the technical complications first in manipulating the necessary technology, and then in actually constructing the glass. But to be honest, it’s the filter we’re most excited about: the “Aurora.”

Until now, photographing auroras has been the playground only of those willing to travel to far-flung polar regions, such as the popular photography destinations of Iceland, Norway and Red Dog Mine, Alaska. But if you want to shoot the northern lights from your own back yard, then this filter is all you need.

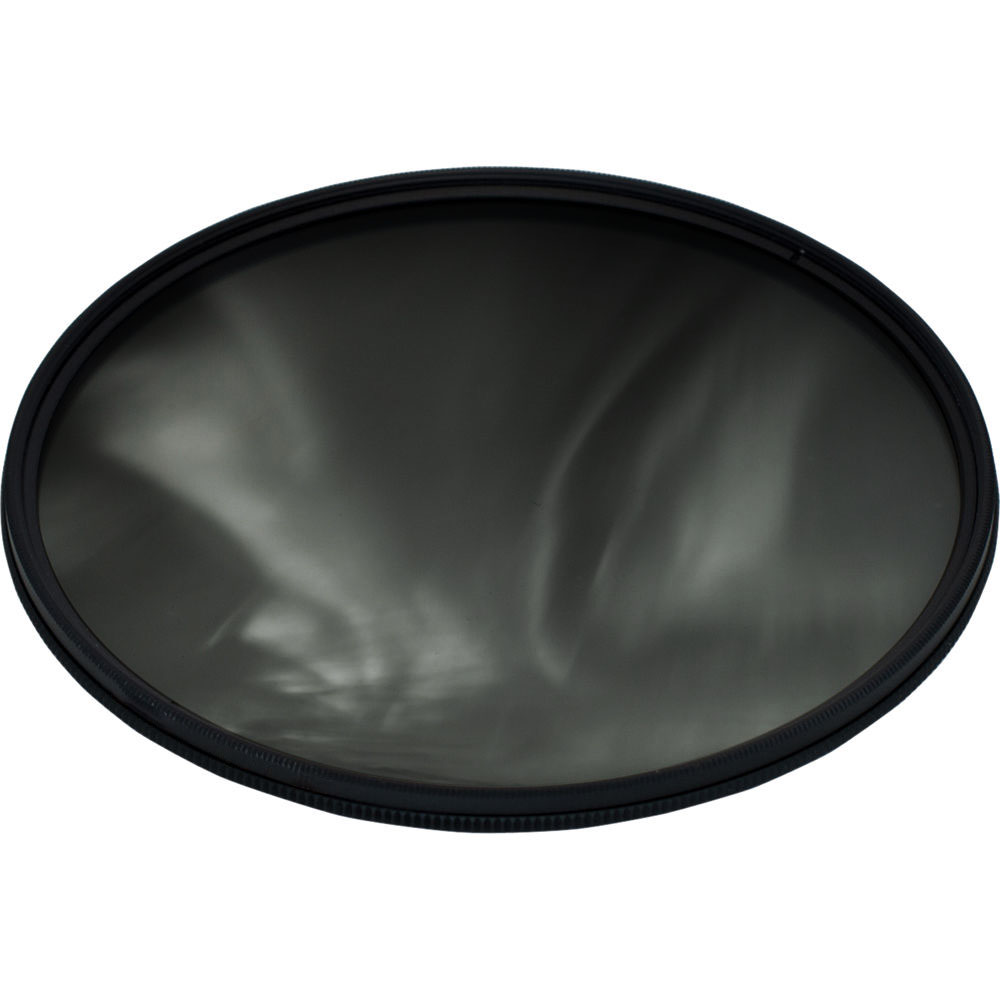
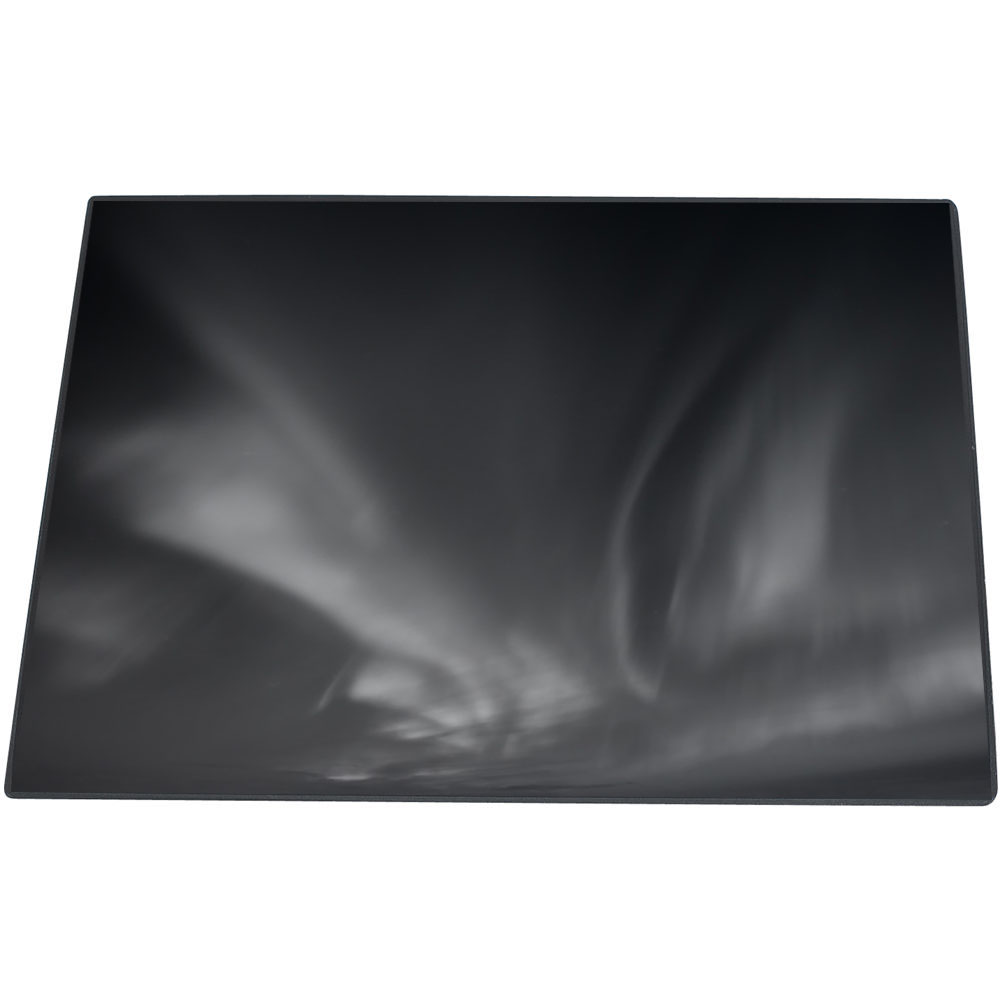
Our Aurora filters come in two varieties:

Rectangular, which offers a fixed aurora that can be positioned to suit the composition by moving the filter up or down in the holder.

Circular, which features a rotating ring that changes the shape of the aurora!

(If you live in the Southern Hemisphere, please be sure to order the “Southern Lights” filter for the most accurate results.)

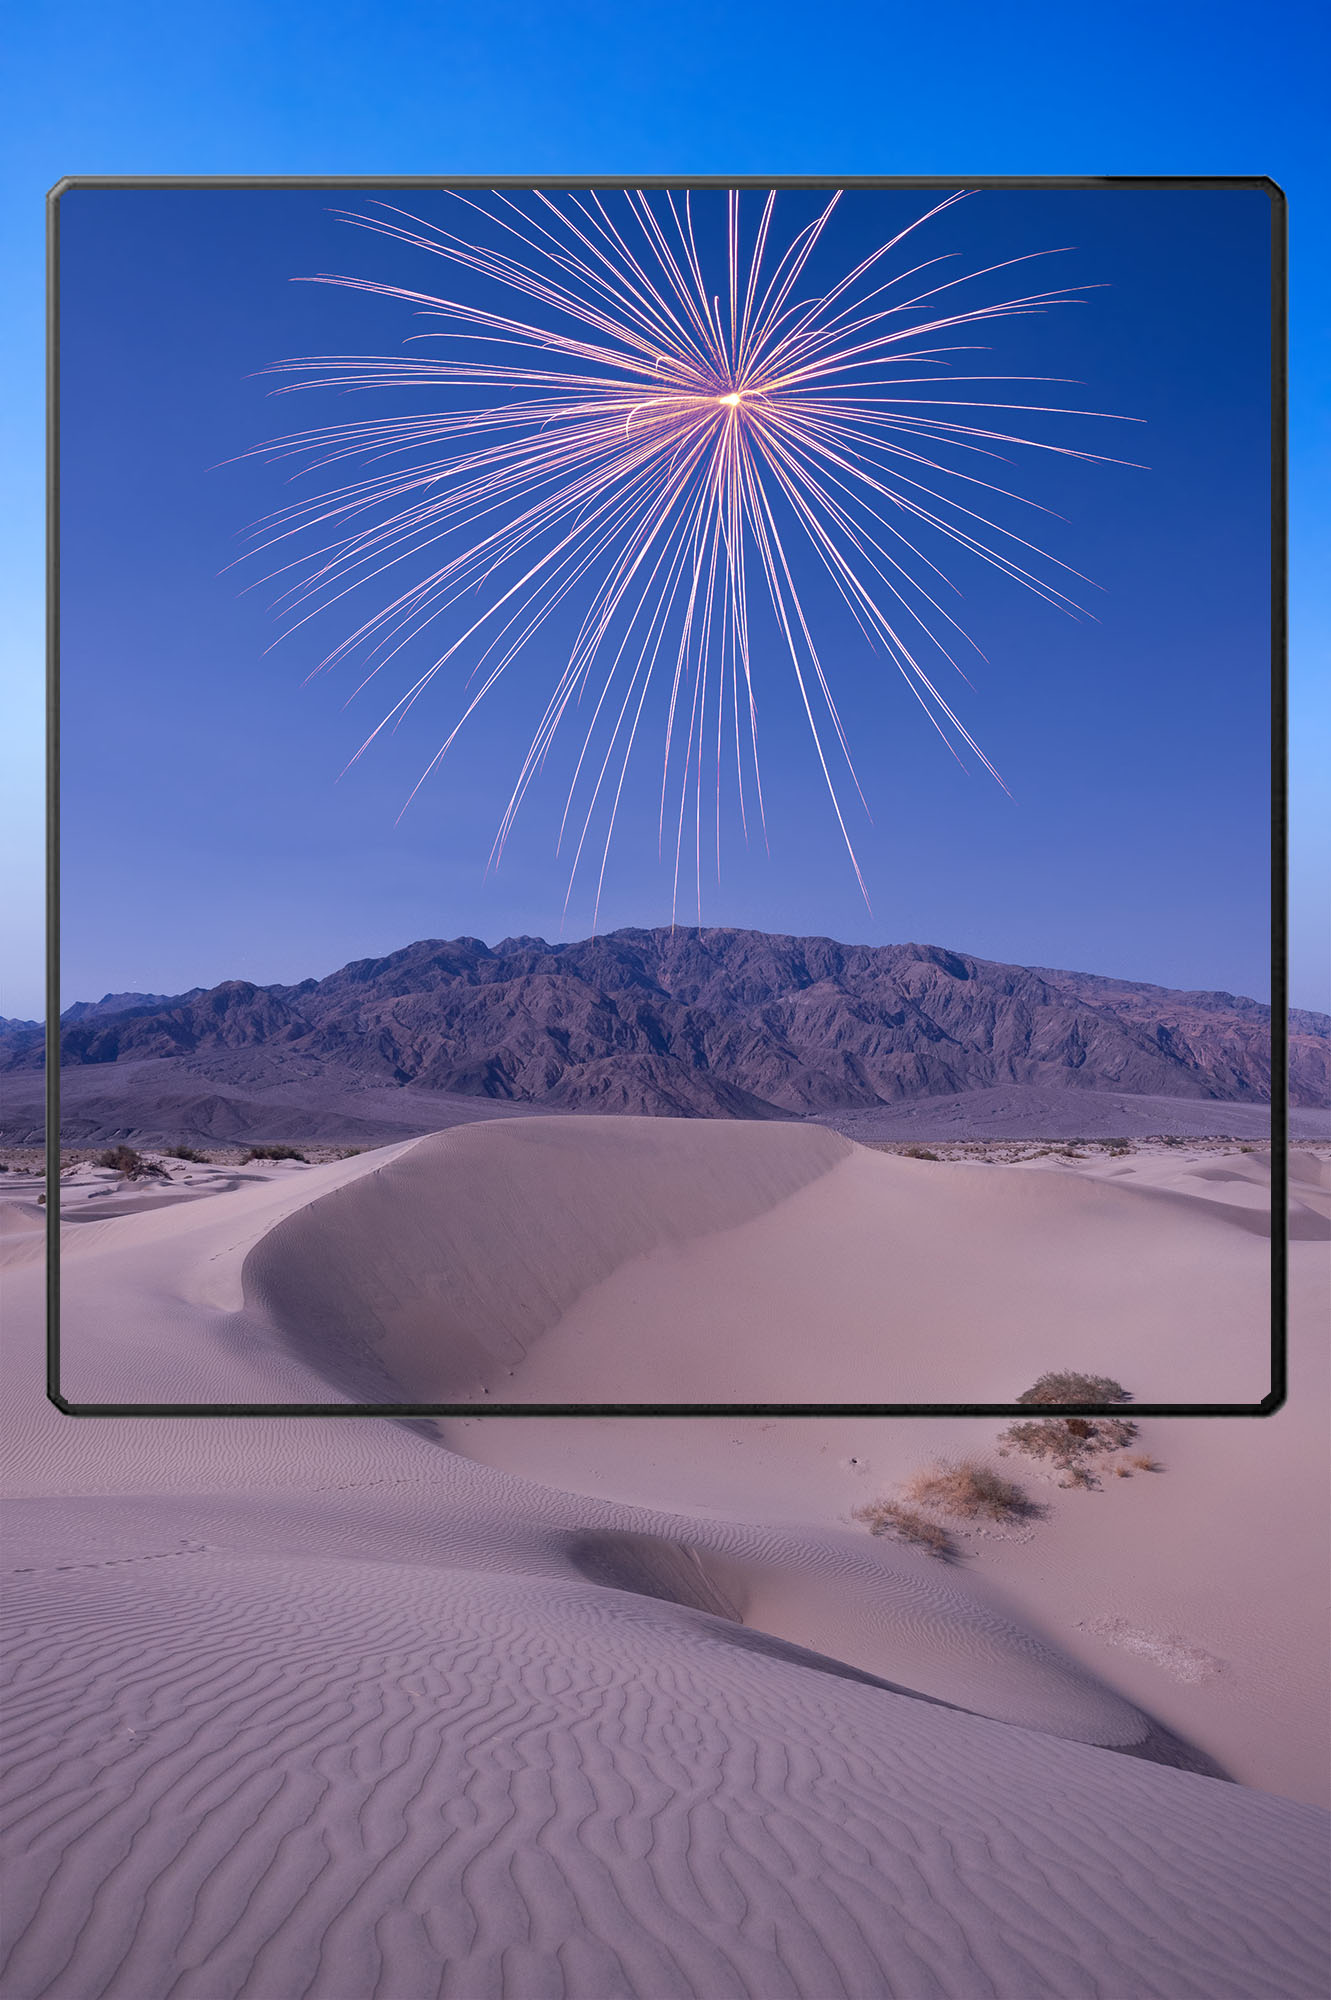
BONUS! — The Keimig Firework Filter

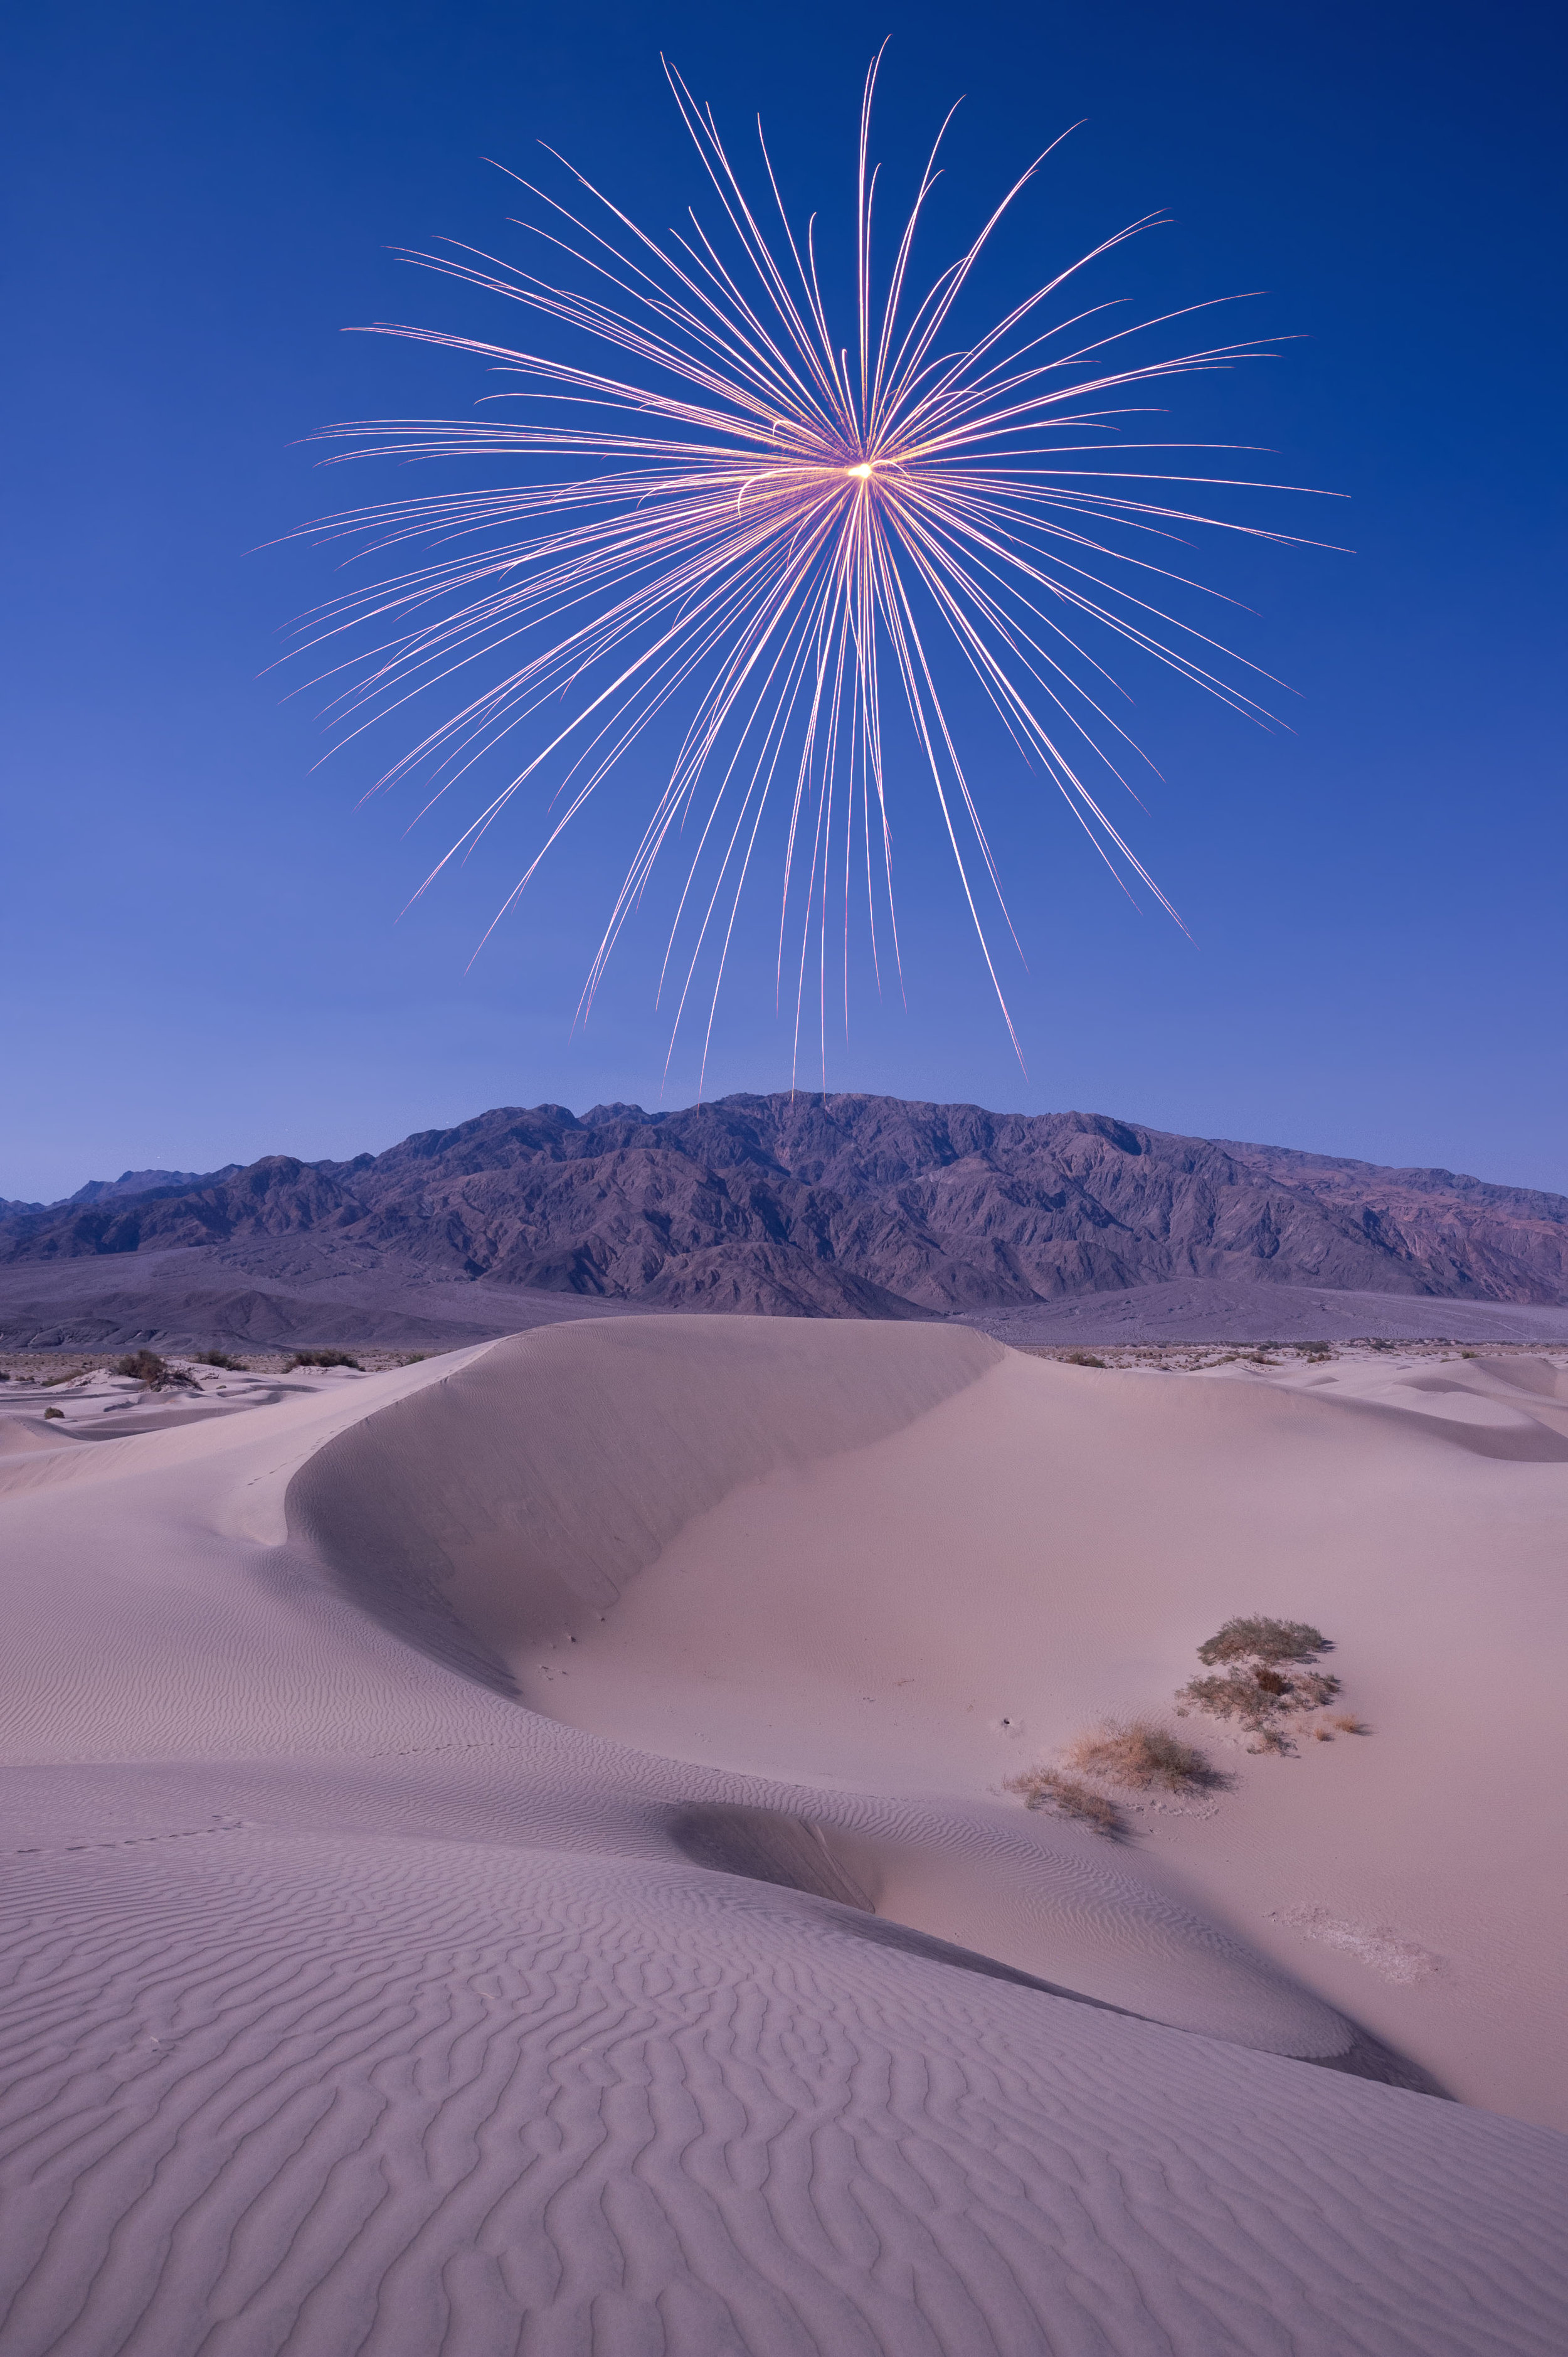
For a limited time only, free with any purchase of three or more filters is an out-of-the box idea from National Parks at Night partner and instructor Lance Keimig, whose motto is, “There’s no night landscape that doesn’t look better with fireworks!”

The “Keimig Firework Filter” is rectangular, making it positionable so that you can place the firework where it serves the composition best. Now any day (or night) can be the 4th of July or New Year’s.

(Coming this December, be sure to look out for our “Keimig Kristmas Lights” filter set, which will accomplish similar results. Decorate the rim of the Grand Canyon!)

Filters That Solve Problems

We’re confident that our Day For Night filters will solve many of the entry barriers to nocturnal photography, and will also help ease the burdens of experienced night photographers. Quite simply, night photography is hard, and these filters make it easier.

  • No more need to wait for Milky Way season.

  • No more need to travel to aurora “destinations.”

  • No more in-the-dark focusing hassles.

  • No more looking for something to do during crazy-long exposures.

  • Get to sleep at a reasonable hour.

How to Purchase

All of our Day for Night filters are being carried exclusively by B&H Photo in New York City, as well as the camera department of the General Store in Bodie, California, and are available for purchase immediately. Please click the button below to order.

Get Creative!

The only thing that excites us more than developing and releasing these filters is that now we get to see what you do with them. We encourage you to get out into the field, use these great new night photography tools, and share your images in the comments section.

Seize the night! (Or day!)

Chris Nicholson is a partner and workshop leader with National Parks at Night, and author of Photographing National Parks (Sidelight Books, 2015). Learn more about national parks as photography destinations, subscribe to Chris' free e-newsletter, and more at www.PhotographingNationalParks.com.

UPCOMING WORKSHOPS FROM NATIONAL PARKS AT NIGHT

Expose to the Left: How to Really Maximize Image Quality at Night

Note: It has come to our attention that some readers are not seeing the photos in this post as intended. Please know you are not alone, that others have reported the same. See the Comments section below for more information.


We hear everyone in the photography industry talking about image quality, image quality, image quality. We especially hear about this in any circle of people chatting (or writing) about night photography. Conversations (and books, articles and blog posts) are rife with opinions and advice about how to push the limits of our cameras and lenses in order to get the best image quality in low-light situations.

But at what cost? We get so caught up in capturing all this dim light that we don’t notice that we’re making decisions that in every other photography situation are actually detrimental to image quality:

  • opening the aperture as wide as it will go
  • leaving the shutter open for long periods of time
  • jacking up the ISO to numbers far beyond what the photographers of yesteryear would even believe as factual

Ideally, night photographers need to be thinking the other way around: How do we improve our low-light photos in a way that capitalizes on everything we know about shooting in daylight? The answer is straightforward, and it all boils down to shooting with this philosophy, with this technique: Expose To The Left, otherwise known as ETTL.

What is ETTL?

Like its fraternal twin ETTR (Expose To The Right), ETTL is a way to maximize image quality, except while ETTR is used in daylight, ETTL is used at night.

How does it work? It’s simple. With your camera set to Matrix metering, shoot a test exposure that’s probably a couple of stops darker than the meter reading. You can just guess—accuracy doesn’t matter, kind of like with print film. Looking at your histogram, adjust the exposure downward and keep firing test frames until all the data is crammed up against the left side, or the “shady side,” of the graph. We push that histogram over by using a smaller aperture, a faster shutter speed, a lower ISO.

A perfect example is a photo I made in Gates of the Arctic National Park, of the wingless bats that live in Inverted Canyon. I was shooting under a new moon. My first-guess exposure was 20 seconds, f/2.8, ISO 6400, which resulted in a rather “traditional” histogram, as seen in Figure 1.

Figure 1. Initial, best-guess test exposure.

Figure 1. Initial, best-guess test exposure.

But I didn’t want traditional—I wanted ETTL and all the advantages that come with it. So I closed down the aperture to f/5.6 and dropped the ISO to 1600. That gave me a better ETTL histogram (Figure 2), but still not good enough.

Figure 2. The histogram of the same scene, stopped down quite a bit.

Figure 2. The histogram of the same scene, stopped down quite a bit.

So I cut another two stops of light by dropping my ISO again, to 800, and increasing the shutter speed to 10 seconds. The resulting histogram (Figure 3) was certainly close—close enough to be effective, in fact. But it resulted in what I call a “Thick Shady” histogram, wherein you can see that all the image data is pushed to the left, but you can still make out a slope of data curving up on that left side. By increasing my shutter speed to 2 seconds, I was able to narrow that to a slim line of histogram data (Figure 4)—or what’s known as “Slim Shady.”

Figure 3. My third exposure—not a bad one for ETTL, but we can get it even better. …

Figure 3. My third exposure—not a bad one for ETTL, but we can get it even better. …

Figure 4. Histogram of my final “Slim Shady” exposure. Perfect ETTL.

Figure 4. Histogram of my final “Slim Shady” exposure. Perfect ETTL.

What did I gain by doing this? Consider my initial, traditional-histogram exposure of 20 seconds, f/2.8, ISO 6400:

  • That 20 seconds introduced long-exposure noise.
  • That f/2.8 gave me paper-thin depth of field.
  • That ISO gave me high ISO noise.

All of which are bad for image quality.

However, my ETTL exposure was 2 seconds, f/5.6, ISO 800, which fixed every one of the dire consequences of that first exposure. You can see how sharp the final image is in Figure 5; no long-exposure noise, adequate depth of field, no high ISO noise. Moreover, f/5.6 is the sharpest aperture for the Nikon lens I was using, which further improved the final image. Click/tap to see the photo at full size. Not a blurry pixel in sight. Not a spot of noise. The image quality is perfect.

Figure 5. Wingless bats in Inverted Canyon, Gates of the Arctic National Park. 2 seconds, f/5.6, ISO 800. (Click/tap for larger view.)

Ancillary Advantages of ETTL

In addition to image quality, ETTL has other advantages.

As crazy as it sounds, you can “freeze” action even in the dark. Because you’re not worried about all the tedious challenges of maintaining highlights, midtones and shadow details, you can manipulate your shutter speed to almost anything you want. For example, while doing a night shoot at Upward Falls in North Cascades National Park, I didn’t want motion blur in the water. But because I was using ETTL, I was able to shoot at 1/60, f/4.5, ISO 2000. Subsequently, I got great image quality while freezing the action of the falls (Figure 6) despite the low light.

Figure 6. Upward Falls, North Cascades National Park. 1/60, f/4.5, ISO 2000. (Click/tap for larger view.)

Another side benefit of ETTL is that you can hand-hold your camera when making night images. Even under the new moon! Because you can shoot at those higher shutter speeds, you don’t really need to carry a tripod into the field with you. However, all five of us at National Parks at Night are Manfrotto Ambassadors, so we avidly recommend that you carry one anyway.

Drawbacks of ETTL

As great as ETTL is for improving image quality in night photography, there are some obstacles to work around.

For one, this exposure technique gets trickier when you’re light painting. It’s especially troubleshome when you’re using a sunbeam-like flashlight such as the Coast HP7R, because it completely ruins your hard-achieved left-biased exposure. How? By adding light. But don’t fretthere’s an easy solution.

Figure 7. Coast HP7R flashlight with snoot by Light Painting Brushes, modified for ETTL light painting.

Figure 7. Coast HP7R flashlight with snoot by Light Painting Brushes, modified for ETTL light painting.

If you’re using ETTL to determine exposure for a scene you need to light-paint, then get a snoot that fits onto the end of your flashlight, such as the Universal Connector made by Light Painting Brushes. Cover the far opening of your flashlight with a thick and subsequently expensive layering of gaffer’s tape (Figure 7, above). With this modified snoot on your flashlight, you won’t impair your ETTL exposure. This is exactly what I did to light-paint a night wildlife scene in Voyageurs National Park (Figure 8).

Figure 8. In Voyageurs National Park I got an opportunity to photograph these greater horned marmots. Unfortunately the moon was new, and it was winter in northern latitudes, so I needed to light-paint my subject—obviously quite cautiously. The need for light painting introduced a further obstacle to achieving a good ETTL exposure, which I circumvented by using the snoot method described above. (Click/tap for larger view.)

Another option is to apply a thick layer of black paint over the front of the flashlight lens. Just be sure to use removable paint, so you can peel it off, lest you have to head back down the trail in the dark. 

Along the same lines, a strobe is even more detrimental to ETTL, because even though that light burst comes and goes in a flash, it’s really bright. For this situation, I suggest foraging your closet for the case your strobe came in when you bought it. Then put the strobe in that case before firing it. Even better, see if you can buy an extra case and put the flash in both. Extras are pretty easy to find on eBay. (Well, maybe not now that I’m sharing this tip.)

Lastly, pixel-peepers will notice that the ETTL approach diminishes highlights a bit. But don’t worry about it. Just like Meghan Trainor sings in her catchy pop song—“It’s all about that bass, about that bass, no treble”—it’s similar for night photography. It’s all about the shadows, about the shadows, no highlights. After all, night photography is all about photographing within the biggest shadow in the whole world. Seize the shadow.

A Final Note on ETTL

Some photographers accomplish the ETTL effect solely in post-production. In other words, they photograph the scene with a “traditional” exposure. Then they import the photo to Lightroom, pull the Exposure slider all the way to the left, and then reduce the Shadows setting a tad. But the effect just isn’t the same. Get it right in-camera.

I suspect that the ETTL technique will be new to many people reading this, but I promise two things: 1) It will result in better image quality in your night photos. 2) It’s easy to learn, and fun!

If you decide to experiment with ETTL, please do come back and share your results in the Comments section.

Note: It has come to our attention that some readers are not seeing the photos in this post as intended. Please know you are not alone, that others have reported the same. See the Comments section below for more information.

Chris Nicholson is the author of Photographing National Parks (Sidelight Books, 2015). Learn more about national parks as photography destinations, subscribe to Chris' free e-newsletter, and more at www.PhotographingNationalParks.com.

UPCOMING WORKSHOPS FROM NATIONAL PARKS AT NIGHT