Zion

Five Questions: Great Smoky Mountains, Zion, Bryce, Black and White Printing, and More

You ask questions, we give answers. (And then you ask more questions, and we give more answers. Let’s keep the conversation rollin’!)

This installment of our “Five Questions” series features inquiries about camera choice, Lightroom’s Dehaze feature, file settings for black and white printing, and location info at Great Smoky Mountains, Bryce Canyon and Zion national parks.

If you have any questions you would like to throw our way, please contact us anytime. Questions could be about gear, national parks or other photo locations, post-processing techniques, field etiquette, or anything else related to night photography. #SeizeTheNight!


1. Great Smoky Mountains Closed at Night?

Cades Cove, Great Smoky Mountains National Park. Nikon D850 with a Sigma 35mm f/1.4 Art lens. 30 seconds, f/5.6, ISO 64. © 2018 Matt Hill.

Q: Your Smoky Mountains National Park workshop looks interesting, but isn’t the park closed at night? I once tried to get in before dawn and the gate was locked. — Linda

A: Yes, the workshop will be both interesting and fun. (Promise!)

Great Smoky Mountains is usually open 24/7/365.25. But there’s a caveat. You may have been trying to enter Cades Cove—one of the most popular destinations at GSM. The gates at the beginning of that 11-mile loop road are closed at dusk and opened at dawn. But that is only to keep motorvehicles out; visitors can park nearby and walk or bike through Cades Cove anytime.

In fact, we will be going into Cades Cove twice during our workshop. The first time will be on foot. We’ll saunter a comfortable walking distance, which still offers plenty of shooting opportunities, such as the horse meadow, Sparks Lane, the Carter Shields Cabin and the Oliver Cabin. Our second jaunt into Cades Cove will be as an add-on opportunity that will avail the entire loop road to us.

Night photography in Cades Cove can be a blast, and is worth venturing into for sure. You’ll find amazing sky views, as well as loads to light paint. — Matt

Note: We still have a few spots open for our Great Smoky Mountains workshop this spring. Interested? Click here!

2. Missing dehaze

Q: How come my Lightroom 6 does not have the Dehaze slider? Are there any add-ons to LR that have the same quality Dehaze function that I can use?  — Bailing L.

A: The reason Dehaze slider isn't showing up for you in Lightroom 6 is because the feature wasn't added until the next version of the software, which was when the subscription-only model of Lightroom Creative Cloud was launched. In fact, Dehaze was the major feature added to the program right after launch to entice more people to sign up.

And I gotta say, while I’m not a fan of the subscription-only model, there’s an argument to be made that the Dehaze feature alone is worth the upgrade. It's an amazing tool with a lot of ancillary uses. One such application is to make starry skies and the Milky Way “pop,” as can be seen in this blog post by Tim.

If you don’t want to upgrade, there is one alternative that I’ve heard about, but I’ve never tested it: Prolost Dehaze. If you take it for a spin, please let us know how it works out for you. — Chris

3. Things to Shoot in Zion and Bryce

The Amphitheater at dusk, Bryce Canyon National Park. Fuji X-T2 with a 10-24mm f/4 lens at 10mm. 3 seconds, f/7.1, ISO 200. © 2018 Tim Cooper.

Q: I’ve already booked hotels for your Valley of Fire and Grand Canyon workshops. So excited! While in the region, I'm thinking about hitting Bryce Canyon and Zion. Do you have any advice about good areas to shoot without 4-mile hikes? — Julianne K.

A: There’s a ton to see and shoot at both parks without having to hit long trails.

In Zion, be sure to drive into the main canyon and also up through the tunnel toward Checkerboard Mesa. Stop at any pullout along these roads and enjoy the incredible scenery! You can’t miss.

For short walks in Zion I recommend:

  • Weeping Rock and the trails around it

  • Temple of Sinawava and the trail to The Narrows (though not into The Narrows, as that’s a more serious endeavor)

  • the area near the bridge that crosses Pine Creek

At Bryce, any viewpoints along the 15-mile road offer awesome overlooks of the canyon. Think sunrise for these viewpoints (especially Sunrise Point).

Middle-of-the-day shooting is better when you hike down a bit below the rim. Check out Navajo Loop Trail and Queens Garden Trail. No need to hike the entire loop of either, but just going down a little will get you into some terrific scenery! — Tim

Note: Due to a cancellation, a spot just opened up for our Bryce Canyon workshop this summer. Interested? Click here!

4. Choice for Multipurpose Camera

Q: I have two specific photography interests—night and underwater. I’ve been using a Canon 5D Mark III for night photography and time-lapse. I also use a Nikon D7000 for underwater. I’m planning to replace the D7000 with a higher-resolution camera, hopefully one that I can use for both underwater and night photography. My options are to buy an underwater housing and lenses for the 5D Mark II, or stay with a DX-format (Nikon D500) with a new housing, or go with something else like a Nikon D850. I would like to get to the point where I am using Nikon or Canon, not both. Which camera would you recommend to meet my needs? — Richard R.

A: Camera choice is a personal decision, and there are lots of factors to consider. I have yet to find the perfect camera, or one that offers everything I’m looking for in one package.

Given that you have Canon glass for full-frame cameras, I’d concentrate on comparing the 5D Mark IV to the D850. I think the Mark IV is the best camera Canon has ever made, and the first one that surpasses the 6D for high ISO night photography. The D850 is an awesome camera, but if you use live view focusing at night, I’d probably go with the Mark IV, especially if you have a number of L lenses. Why not rent them both and see which feels better?

The D500 is certainly a capable camera, but if you can afford to go full-frame, I think you’ll be happier that way. If you favor wide lenses, definitely go full-frame; if you tend to shoot long, then the D500 might be a better choice. — Lance

5. Image Settings for Printing in Black and White

Q: I sent a black and white image from the Sloss Furnaces workshop to Bay Photo to have printed for the NPAN exhibit there. I converted to black and white in Lightroom, exported to Photoshop for star stacking, flattened, and then brought the file back in to Lightroom. But Bay Photo is telling me that the image is not in the correct format—that instead of grayscale it needs to be converted back to RGB to make a black and white print. So I then tried keeping the photo in color and just dropping Saturation and Hue to 0 to create a black and white image “in color,” but that washed out the shadows. I’m lost here. Any suggestions or insight? — Martha H.

A: Very cool that you’ll be participating in the exhibit! This is the third park that our workshop attendees will have a show in. It will be running April 1 to June 1 at the Sloss Furnaces visitor center.

As for your question: In short, any file that is sent to a printer should be an RGB image, not grayscale. Even if you convert an image to black and while in Lightroom, it still sends an RGB image over to Photoshop. Below is a screenshot of an image that I converted to black and white in Lightroom and then sent to Photoshop. If I go to Image > Mode, you can see that the file is a 16-bit RGB image. This is normal and the way it should be.

The difference? An RGB image can be black and white, or it can be color. A grayscale image can only be black and white. My guess is that you did something in Photoshop to convert it, intentionally or not.

To fix the problem for Bay Photo:

  1. Reopen that image in Photoshop (from Lightroom, choose Photo > Edit In > Edit in Adobe Photoshop CC 2019).

  2. Go to Image > Mode, and click on RGB Color.

  3. Save the file.

Now when you export the image from Lightroom, you will create a JPG in RGB. — Tim

Chris Nicholson is a partner and workshop leader with National Parks at Night, and author of Photographing National Parks (Sidelight Books, 2015). Learn more about national parks as photography destinations, subscribe to Chris' free e-newsletter, and more at www.PhotographingNationalParks.com.

UPCOMING WORKSHOPS FROM NATIONAL PARKS AT NIGHT

Recapping Our 1st Three Workshops: Acadia, Zion & Crater Lake

It’s hard to believe we are only 60 percent through our first year of National Parks at Night workshops. We’ve experienced some dramatic weather and forest fires, as well as gorgeous landscapes and plenty of starry night skies.

Our first year’s itinerary is about to wrap up in a few weeks when we complete our simultaneous workshops in Arches and Death Valley national parks. As we nail down our final preparations for those, we’d like to share a brief rundown of how our first three workshop went. Below you’ll find a summary of our experiences in Acadia, Zion and Crater Lake.

We appreciate the first round of students who let us guide them to some pretty amazing locations as well as sharpen their night visions. And we look forward to working with you all again, along with new participants, on our 2017 workshops and beyond!

Acadia National Park

May 2-6, 2016,
by Chris Nicholson

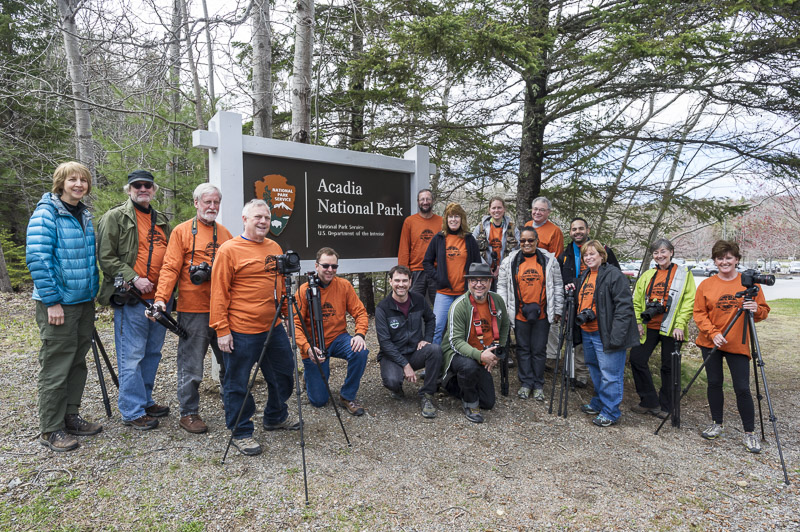
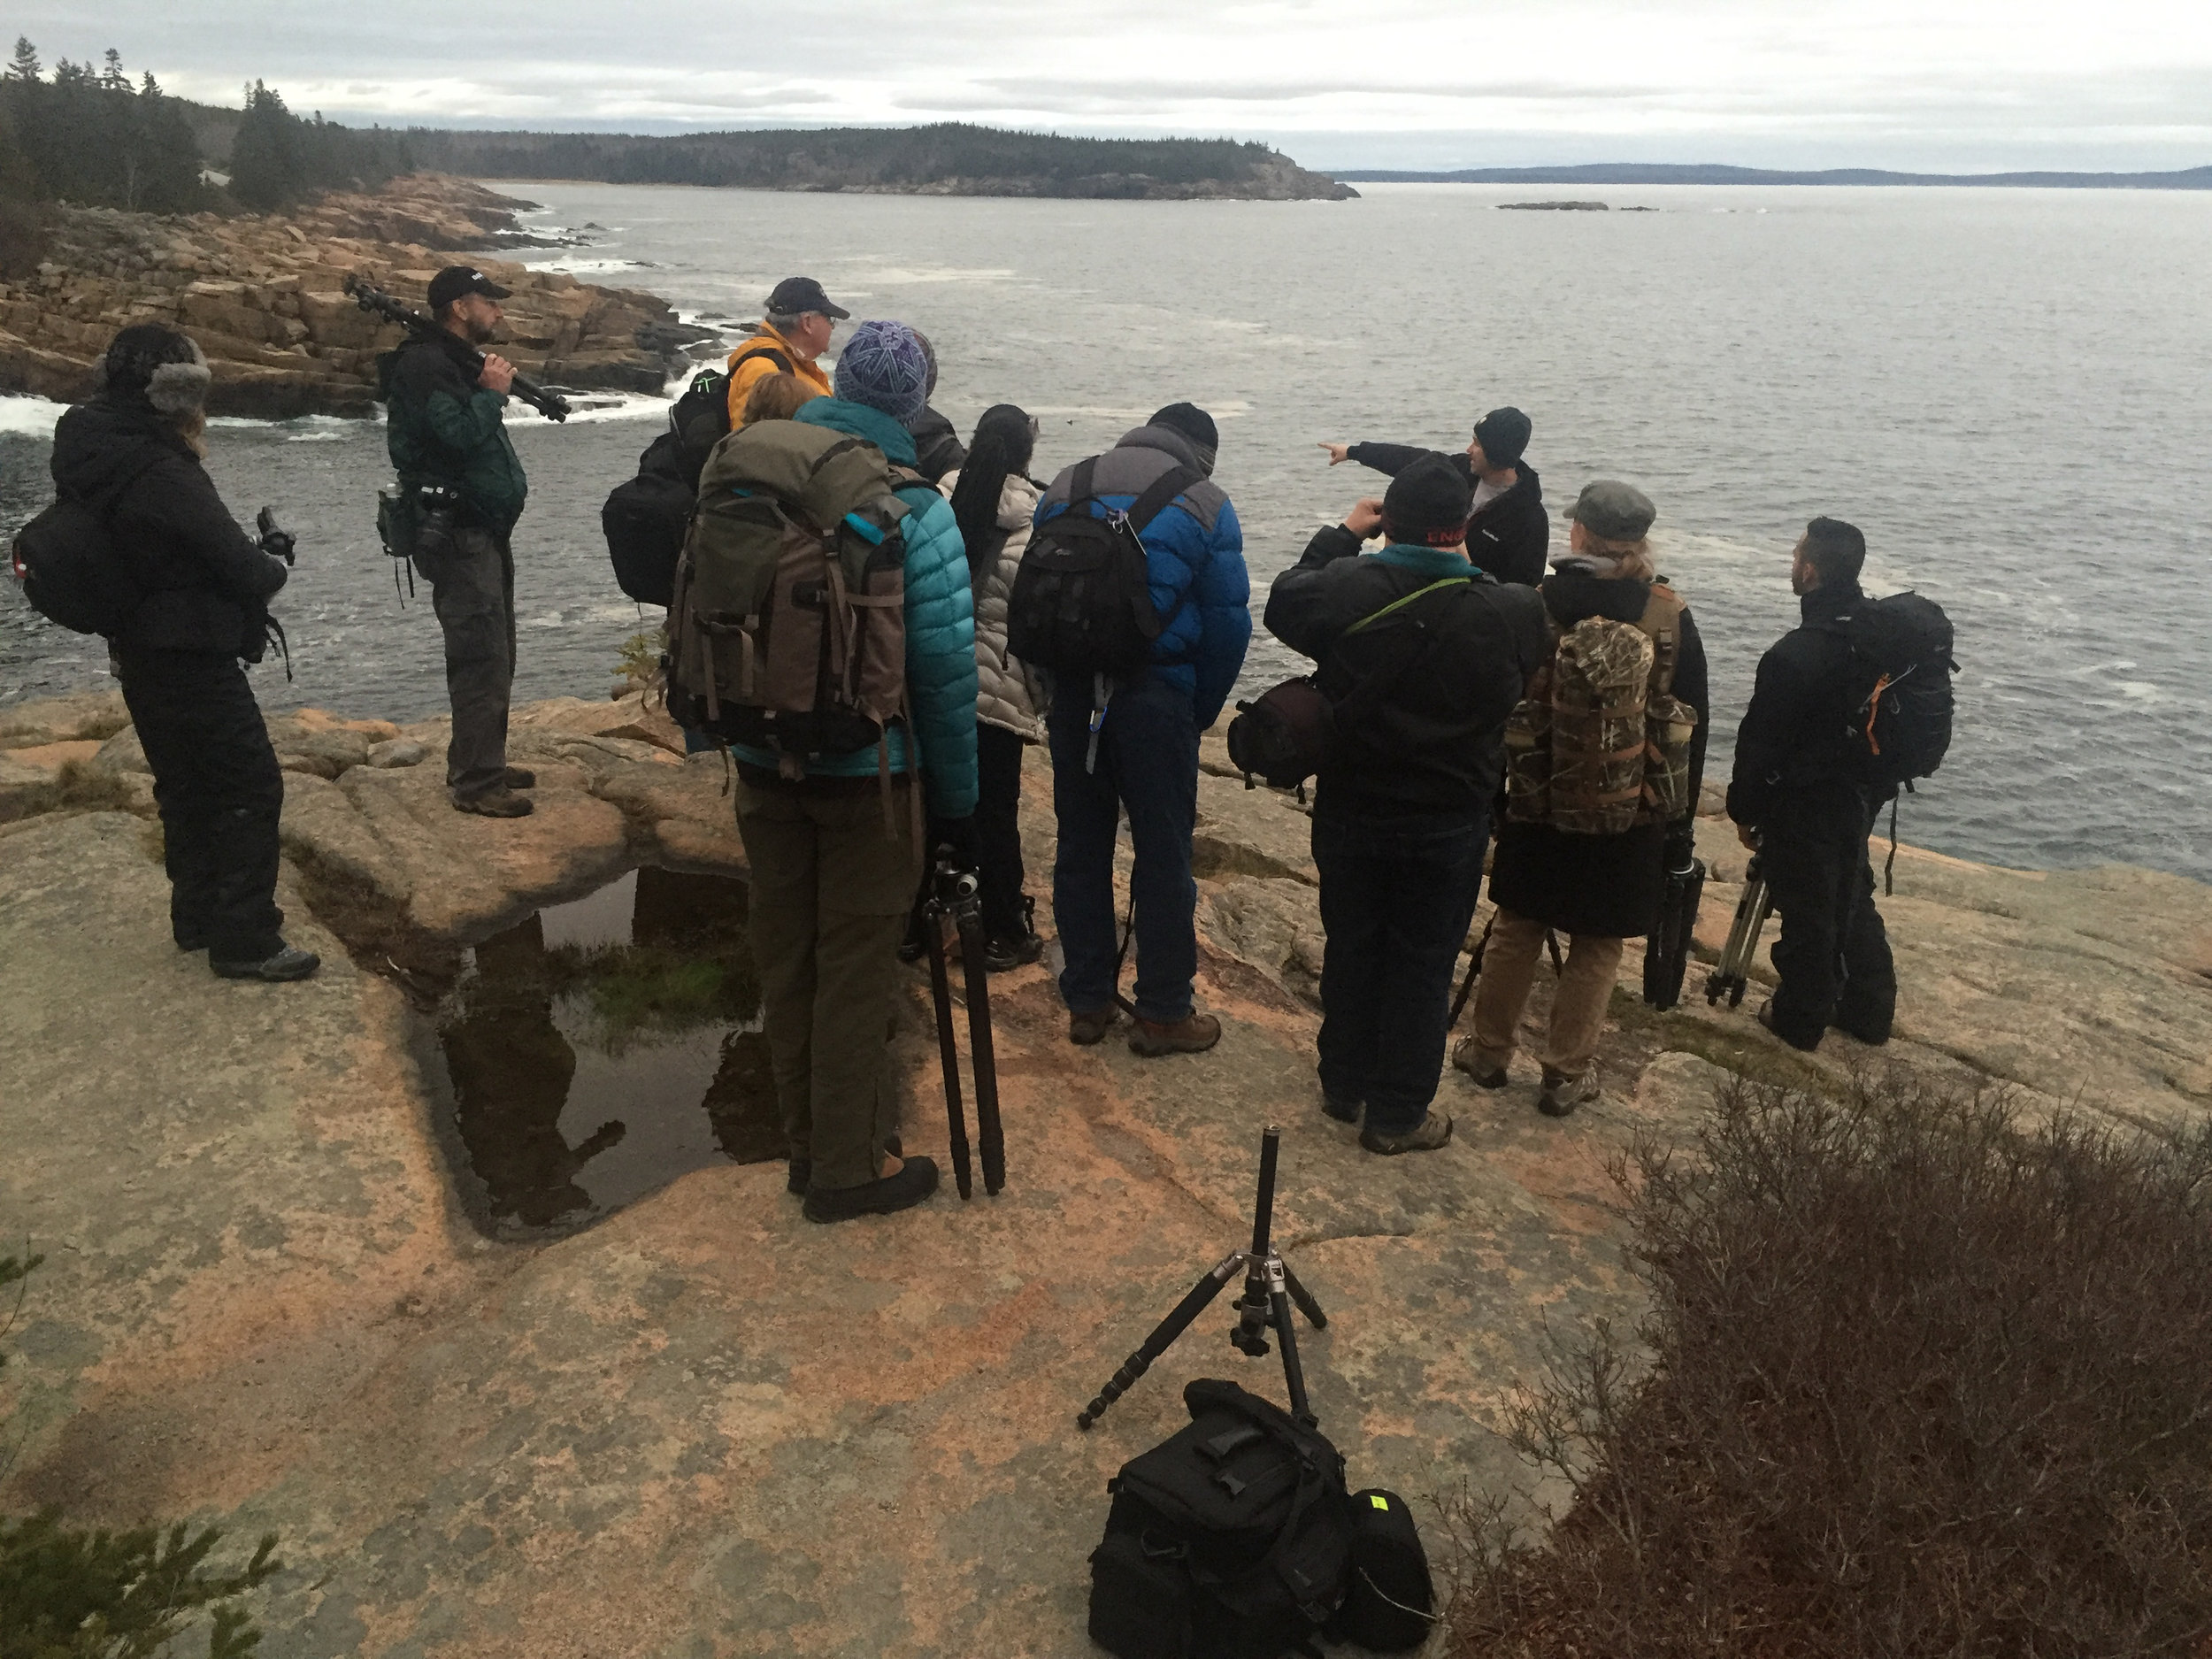
I don’t remember the first time I ever saw Acadia’s coastline, but I’ll never forget watching our workshop students descend upon that rocky shore. For many of them, it was their first glimpse of the finest shores in not only the entire national park system, but in the entire United States. I could see in their eyes that maybe they needed a few minutes to enjoy the view before we jumped into scouting for our night photos.

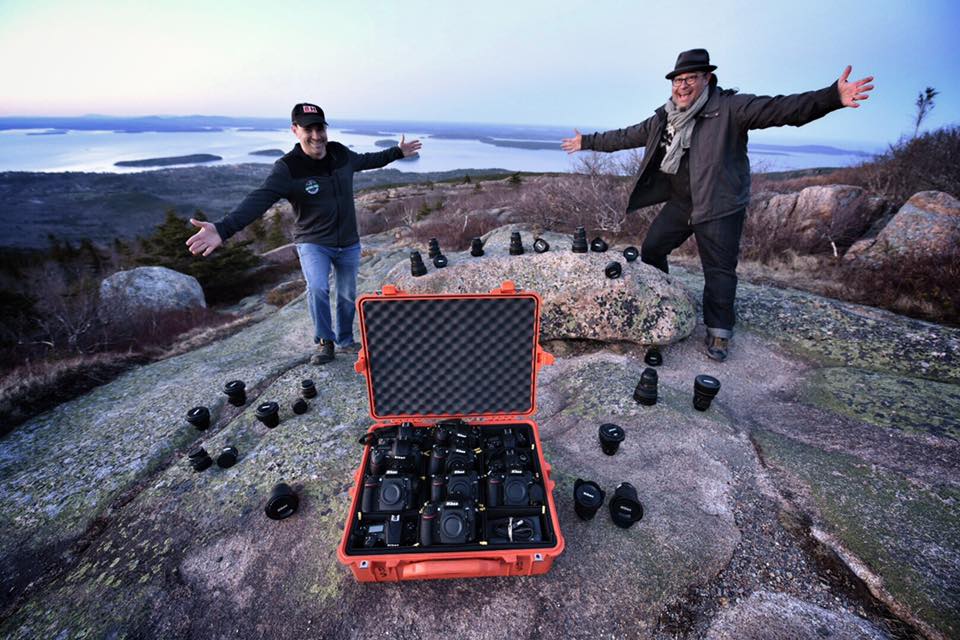
Co-leading this workshop with me was Gabe Biderman. We all spent the first morning and afternoon in our meeting space at the local branch of Machias Savings Bank, which hosted us in their beautiful and spacious meeting room on the second floor all week. Being right in downtown Bar Harbor gave us easy access to coffee, supplies, and breakfast and lunch. (Blueberry pancakes at Jordan’s, anyone?!) We handed out some goodies, including gift flashlights from Coast, complimentary artisan coffee from our friends at Brooklyn-based Oslo Coffee Roasters, and some great gear that Nikon sent the students to try out, including D810’s, and fisheye, 14mm and 20mm lenses!

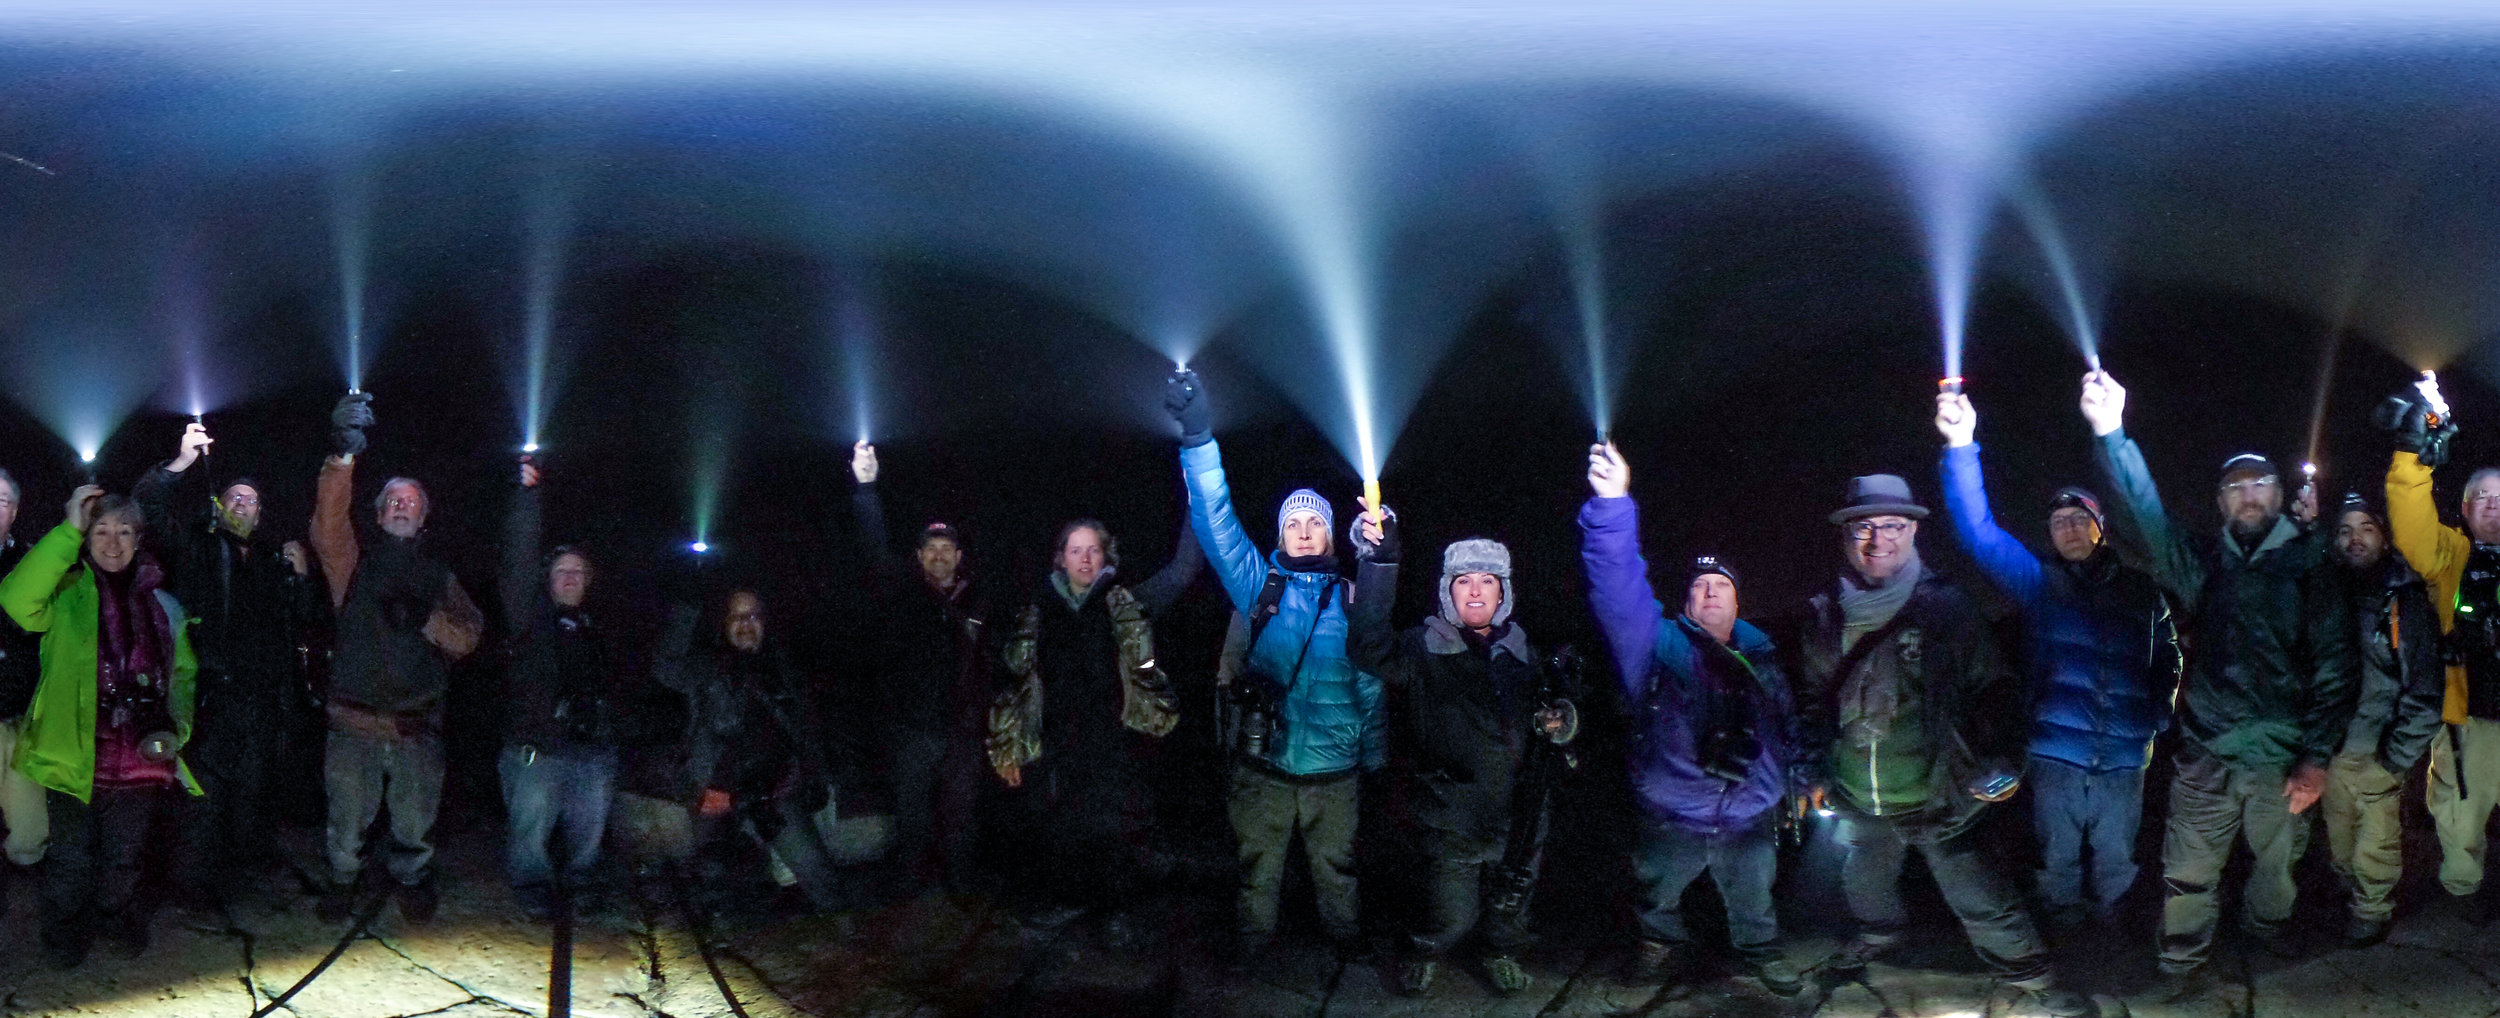
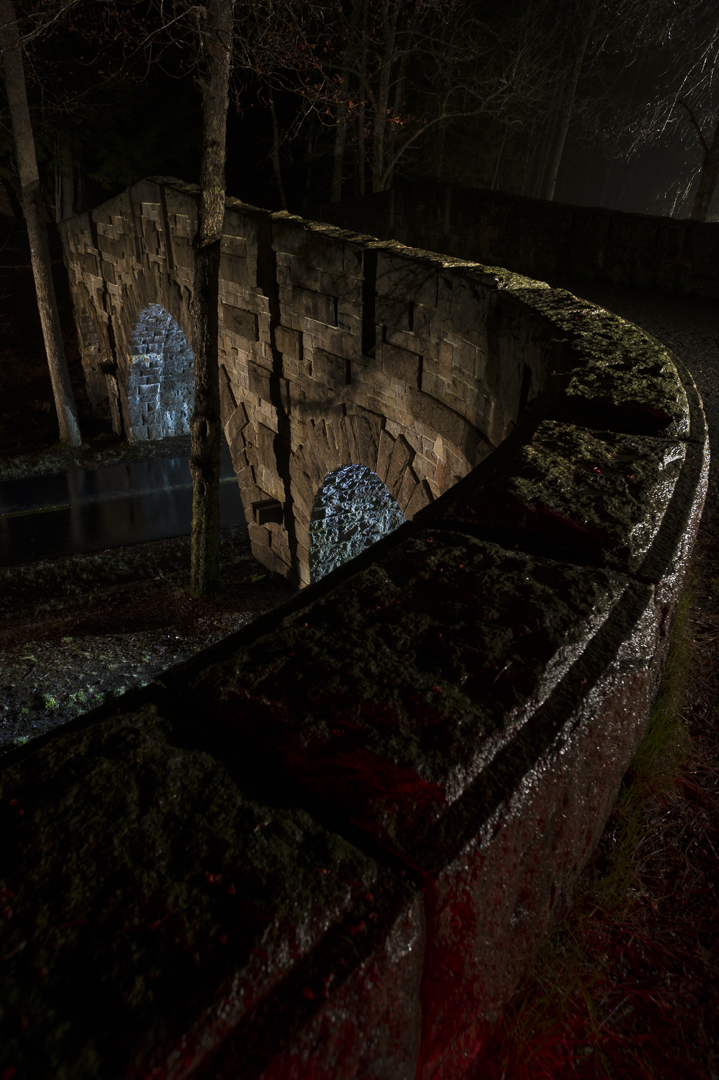
Clouds had been creeping in that first day, and they lingered for most of the workshop. In fact, four of the five nights were overcast. That kept us from seeing and shooting the stars most nights, but gave us opportunities for creative workarounds. We did a light-painting primer at Stanley Brook Bridge, one of the 17 unique stone bridges that serve as overpasses on Acadia’s 57-mile system of carriage roads. Everyone got some great photos, many participants helped with the light painting, and then we got the Pixel Stick and other toys out to create some interesting light patterns beneath the bridge.

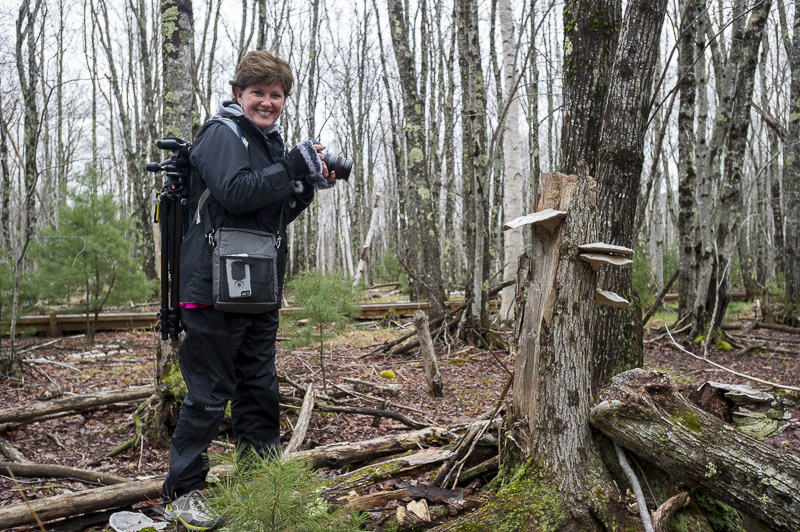
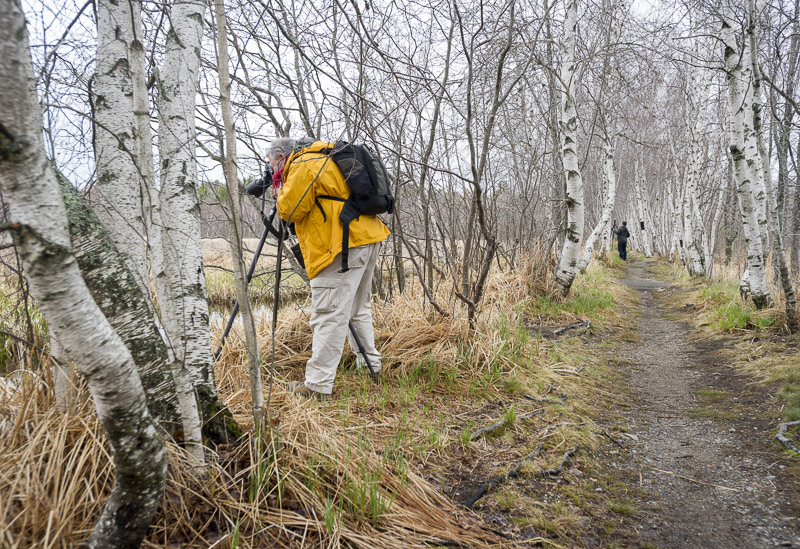
On the second night we used the rain as an opportunity to do street photography in Bar Harbor, with the wet roads providing reflections for neon signs, fountains and boat houses. Subsequent night shoots found us atop Cadillac Mountain and at Eagle Lake, among other spots, and daytime jaunts brought us to Jordan Pond, Bass Harbor Head Lighthouse and the birch groves of Sieur de Monts. We also spent a couple of hours at the park Visitor Center, where we received a private screening of the fabulous informational film, which included stunning footage of Acadia scenery.

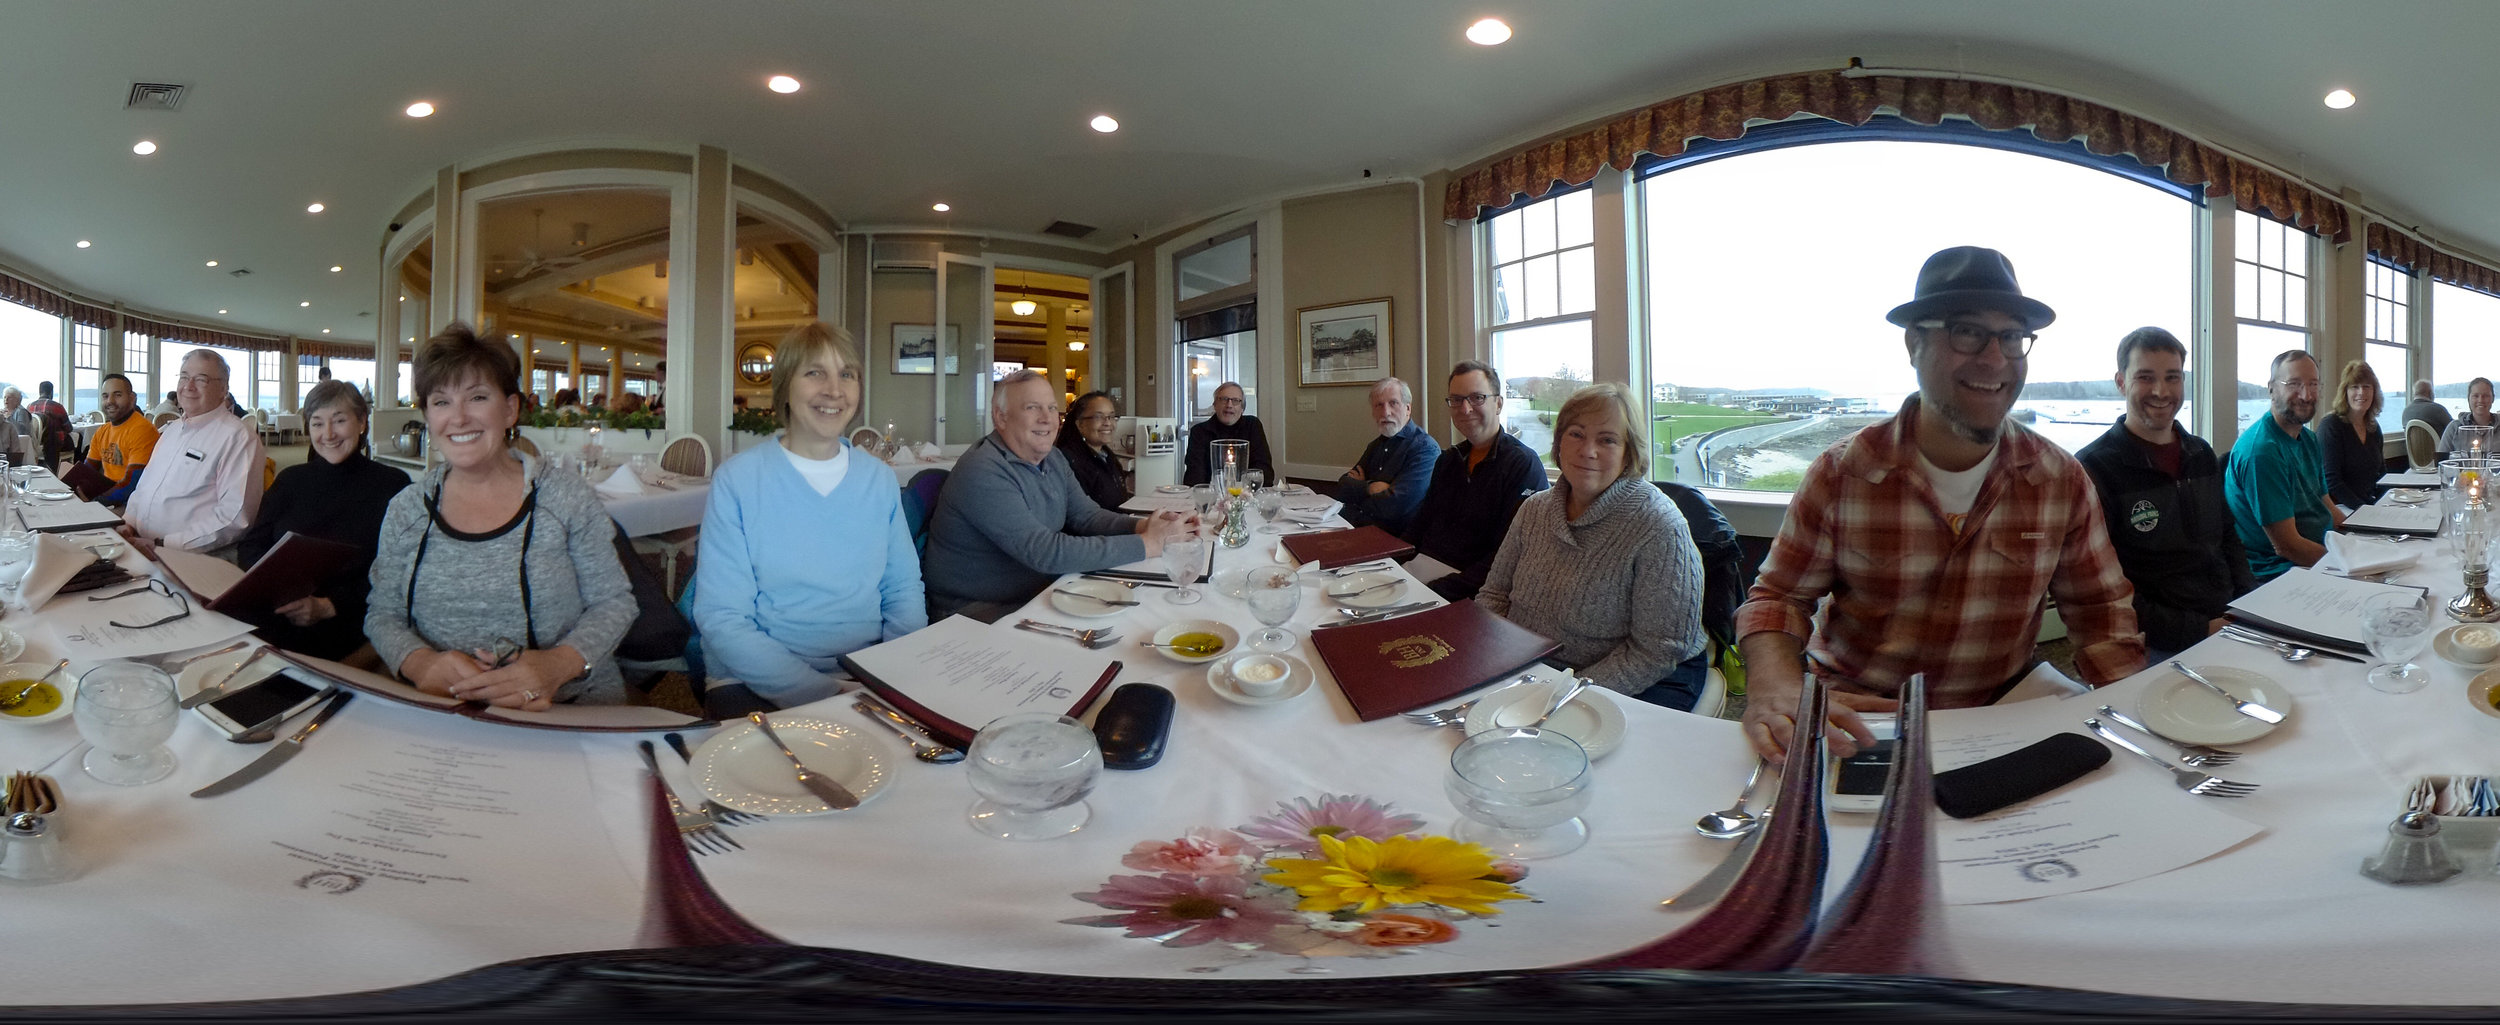
For the last day of the workshop, we headed out to Schoodic Point, first scouting locations, then sharing a dinner at the local pub in rural Birch Harbor, then photographing under the finally clear, pristine night skies of Acadia National Park. We had glorious views of the Milky Way as it moved through the southern heavens. We didn’t see a lot of stars that week, but the show at the end sure made up for it.

Zion National Park

May 23-27, 2016
by Tim Cooper
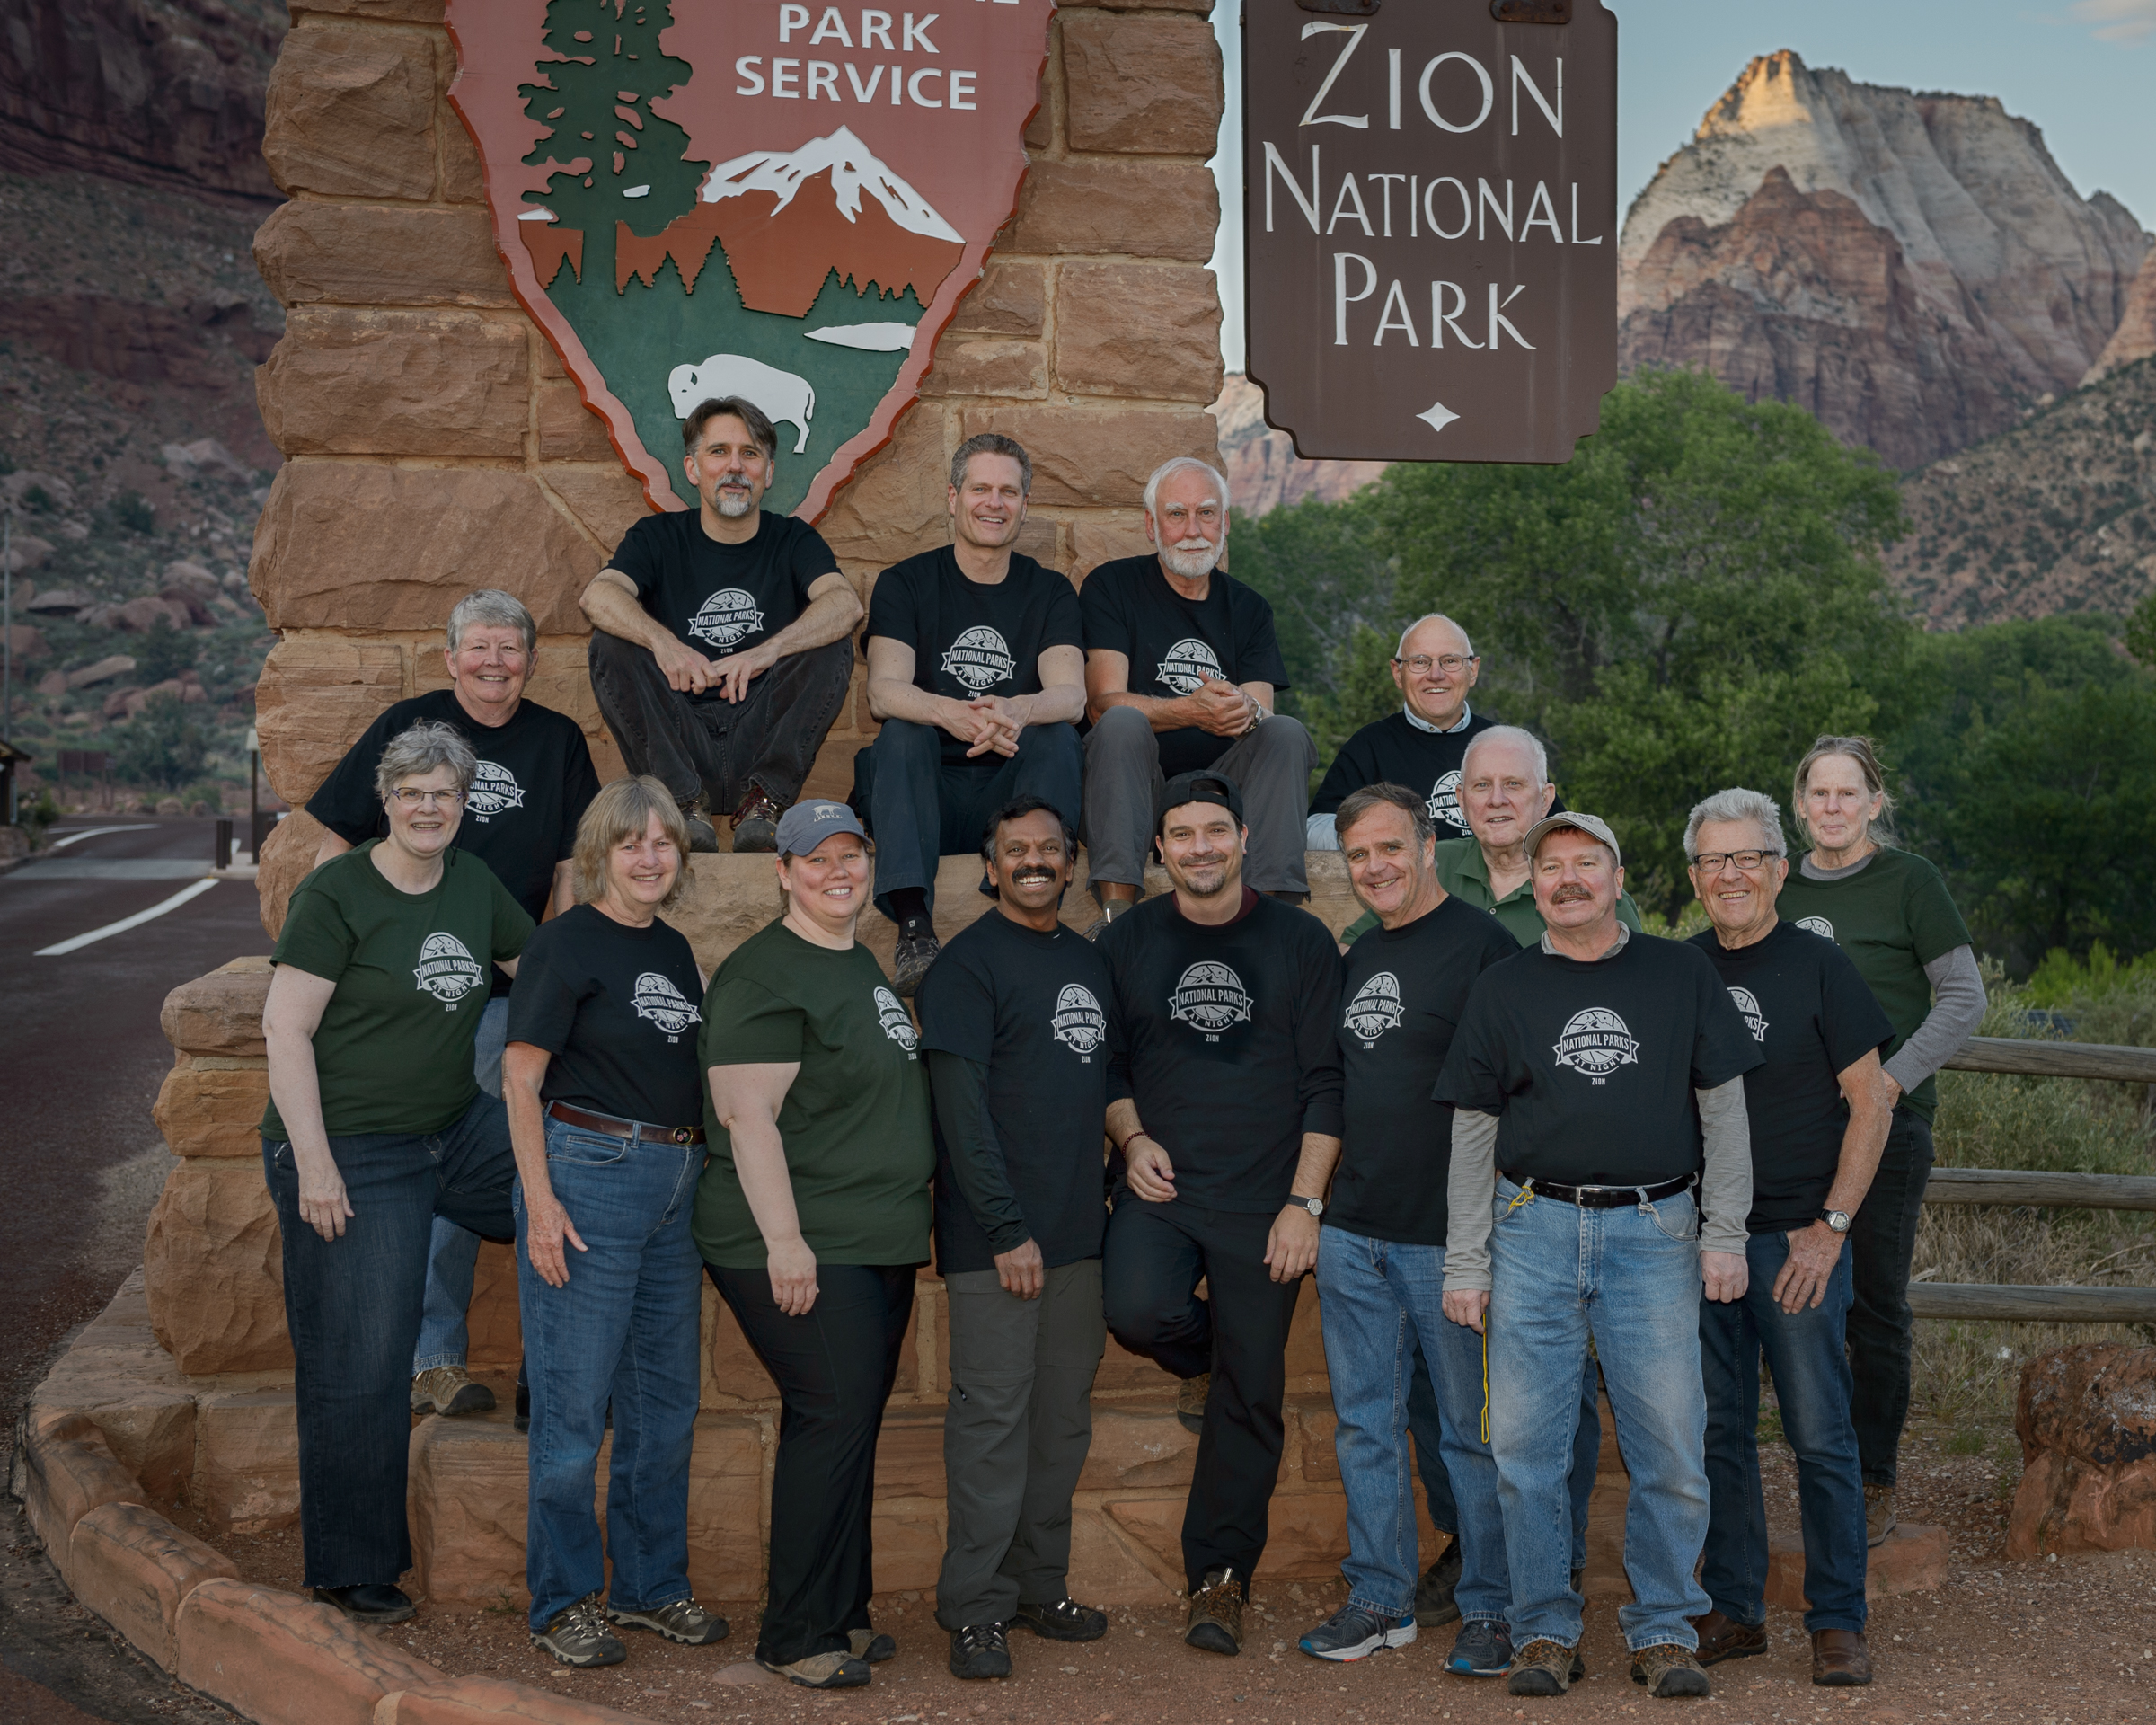
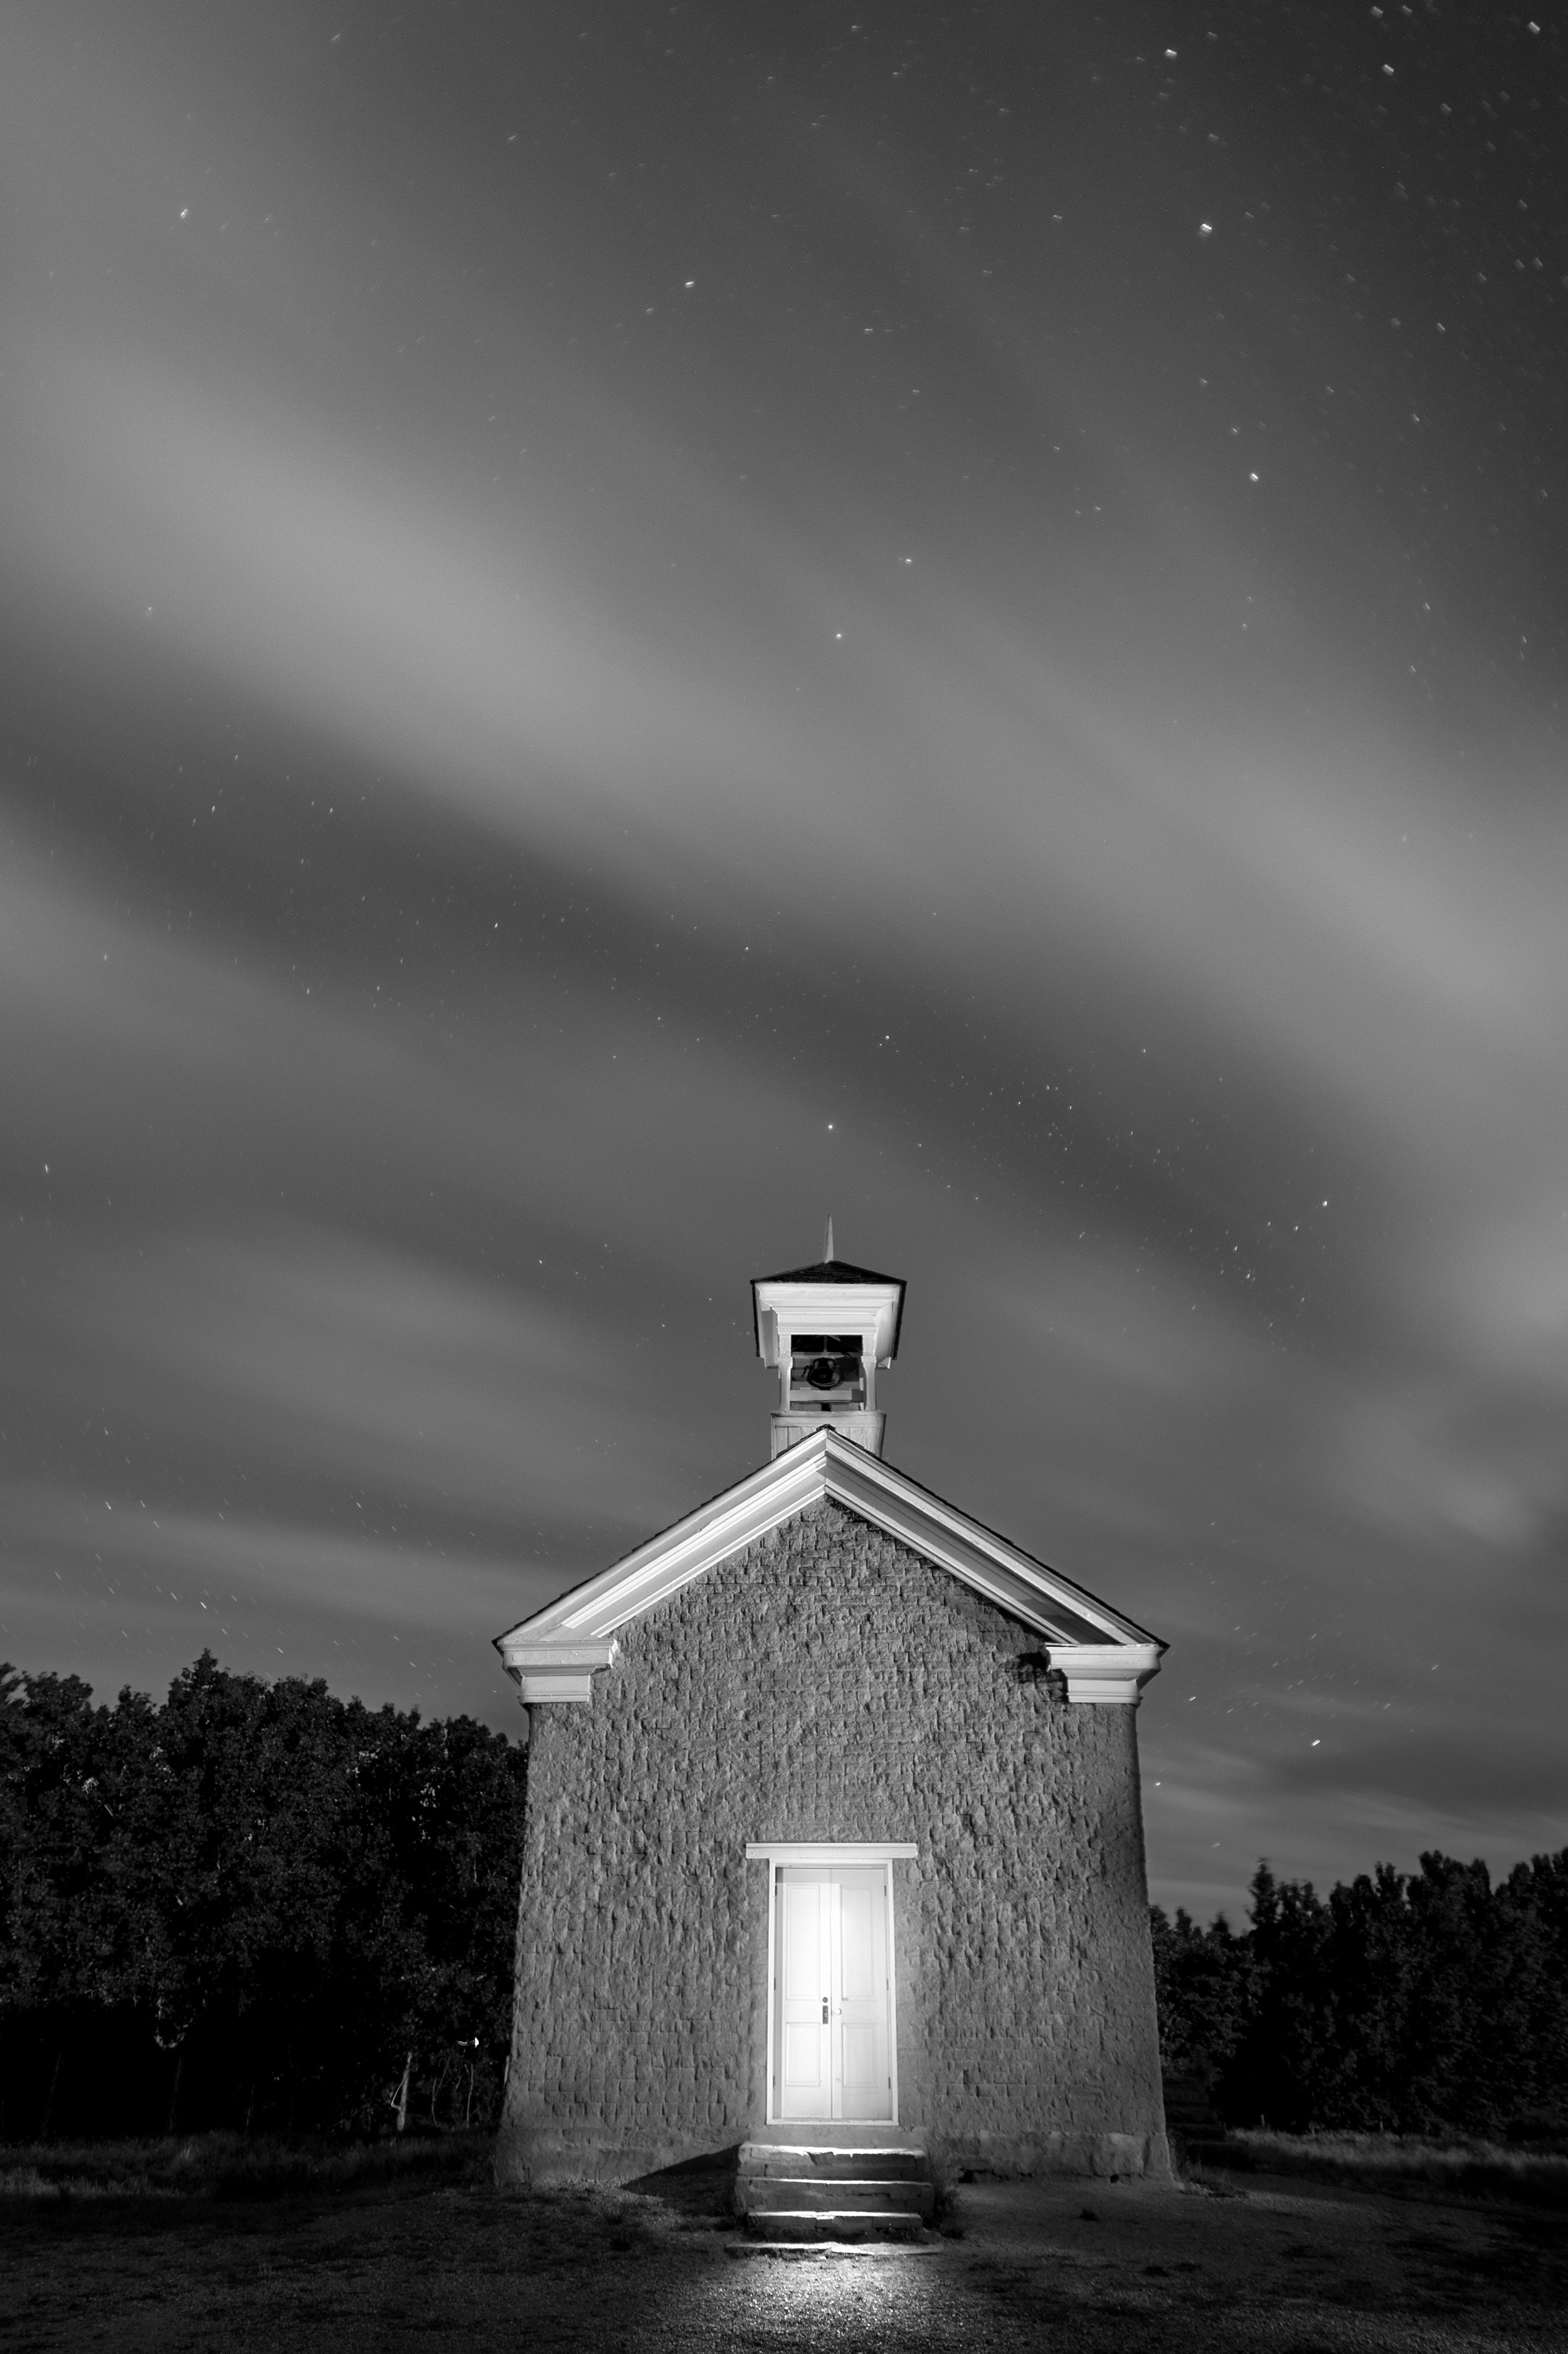
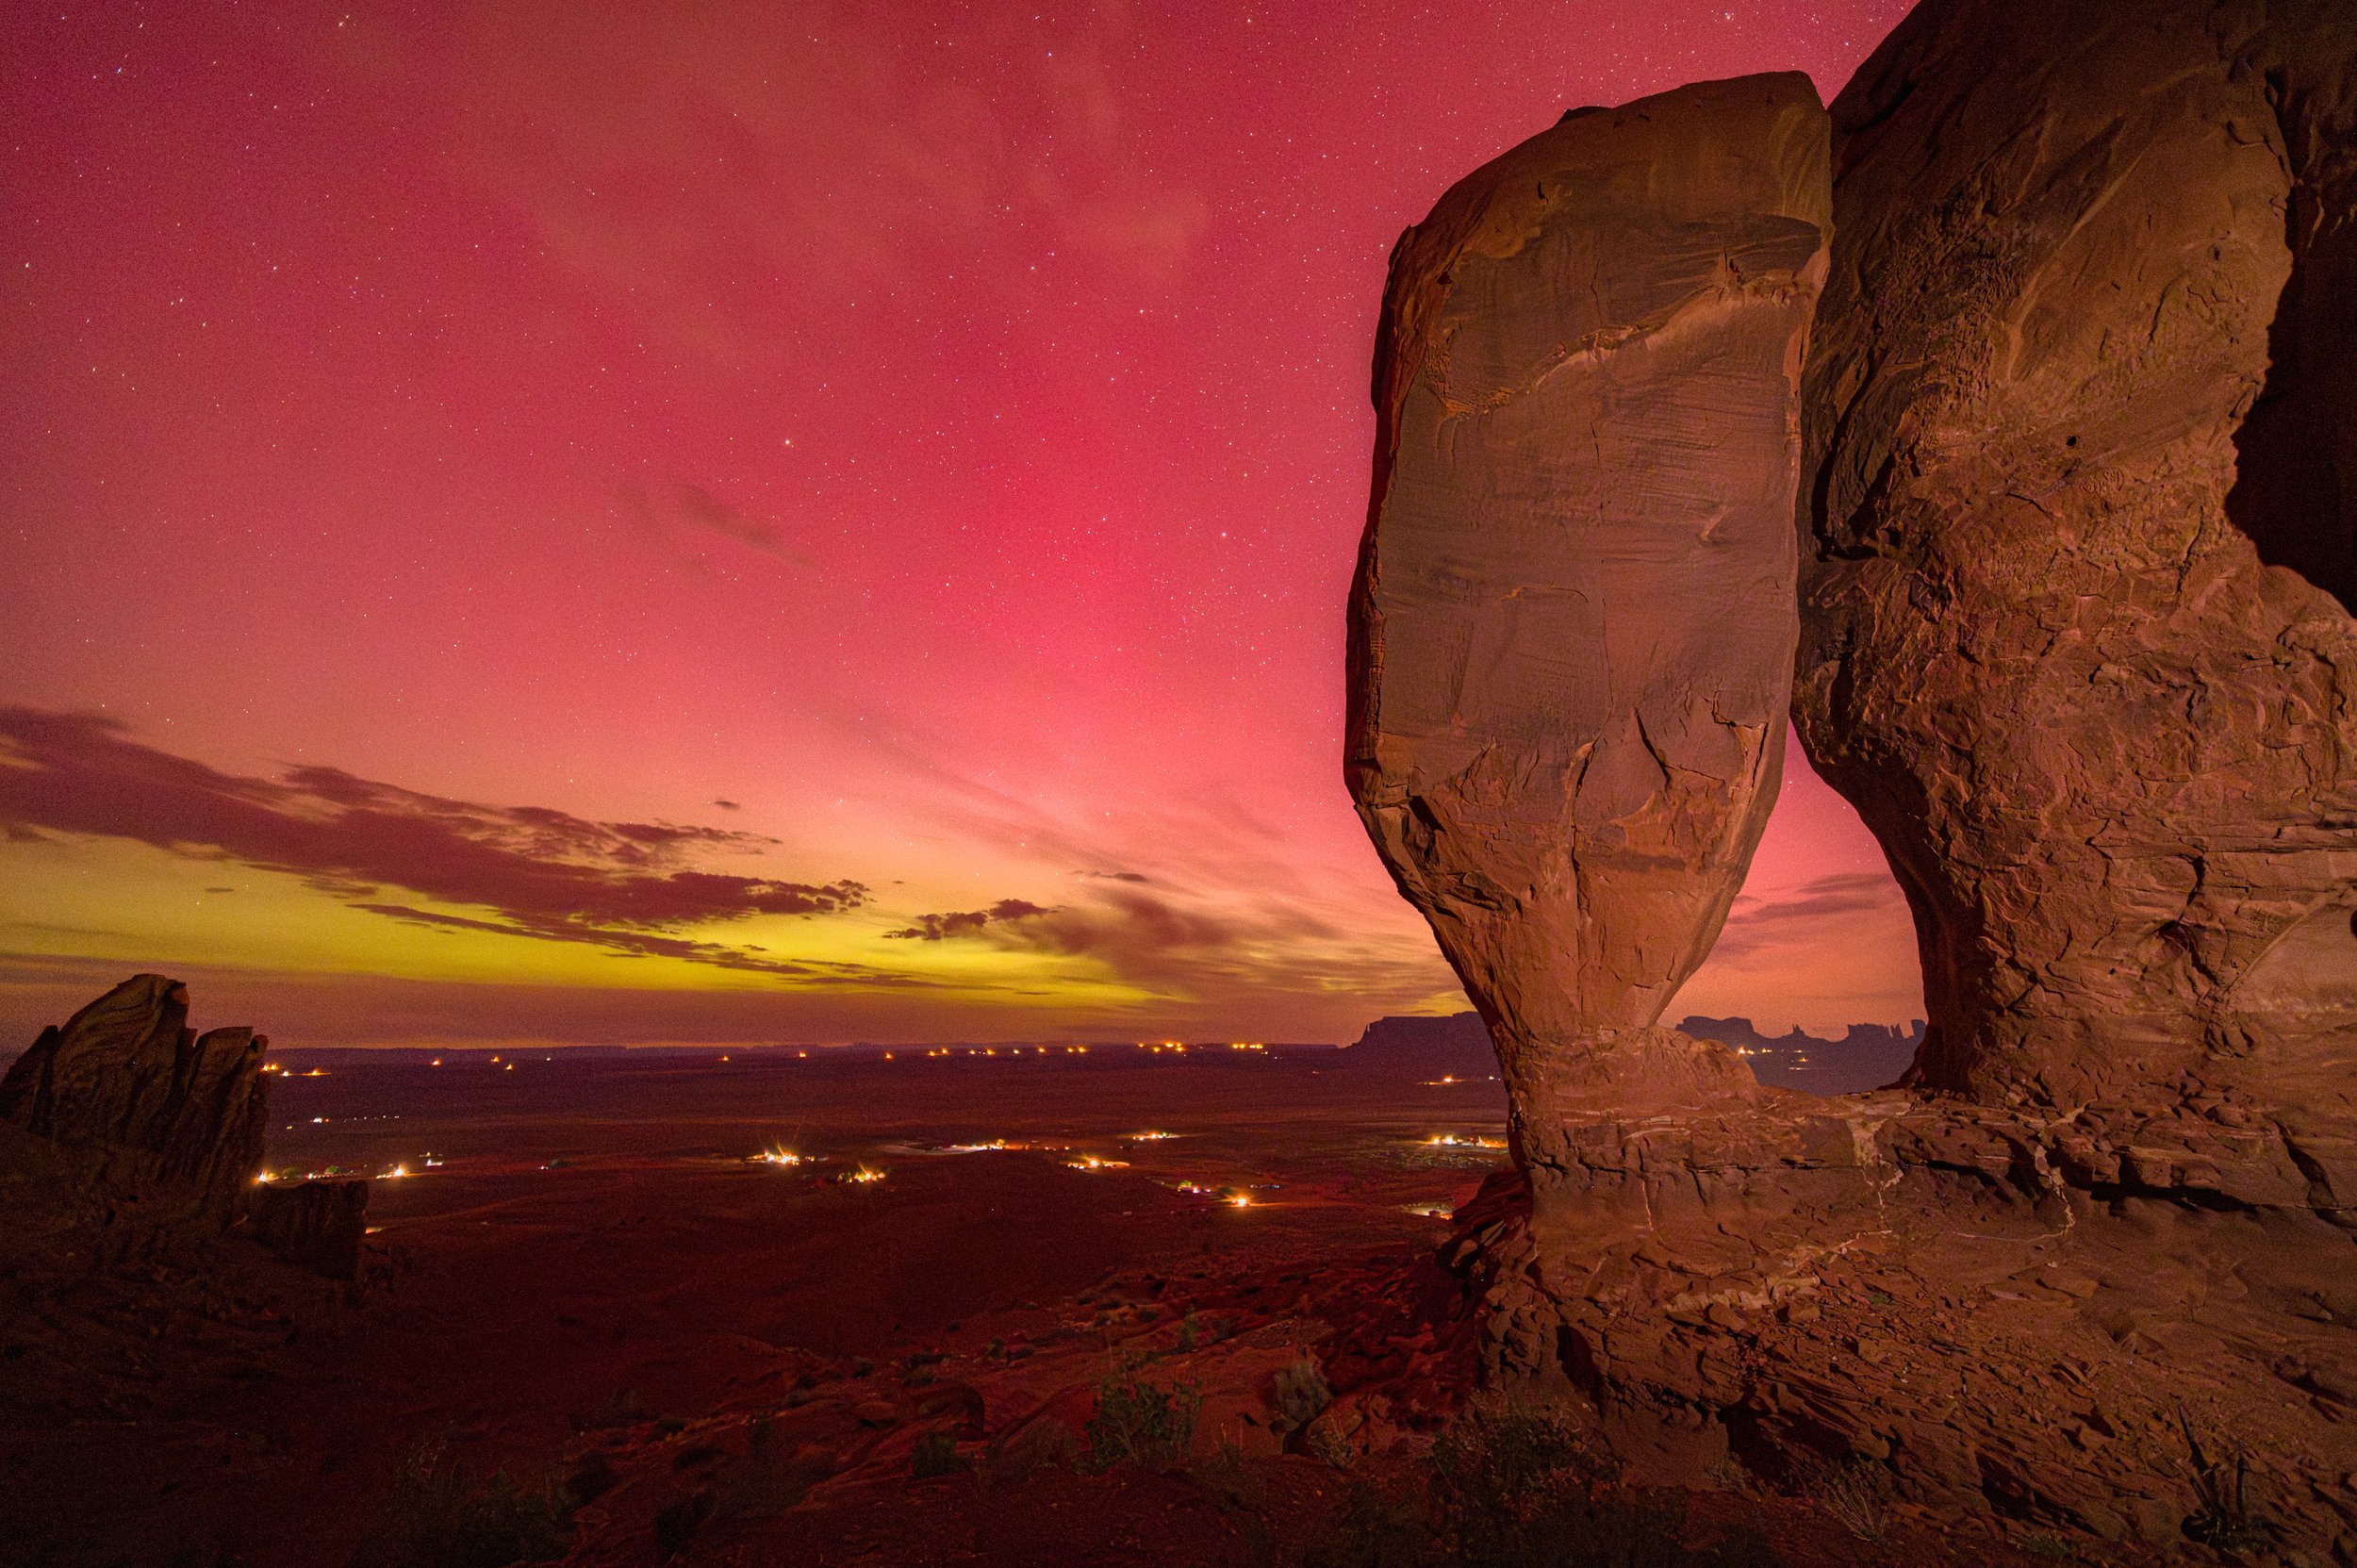
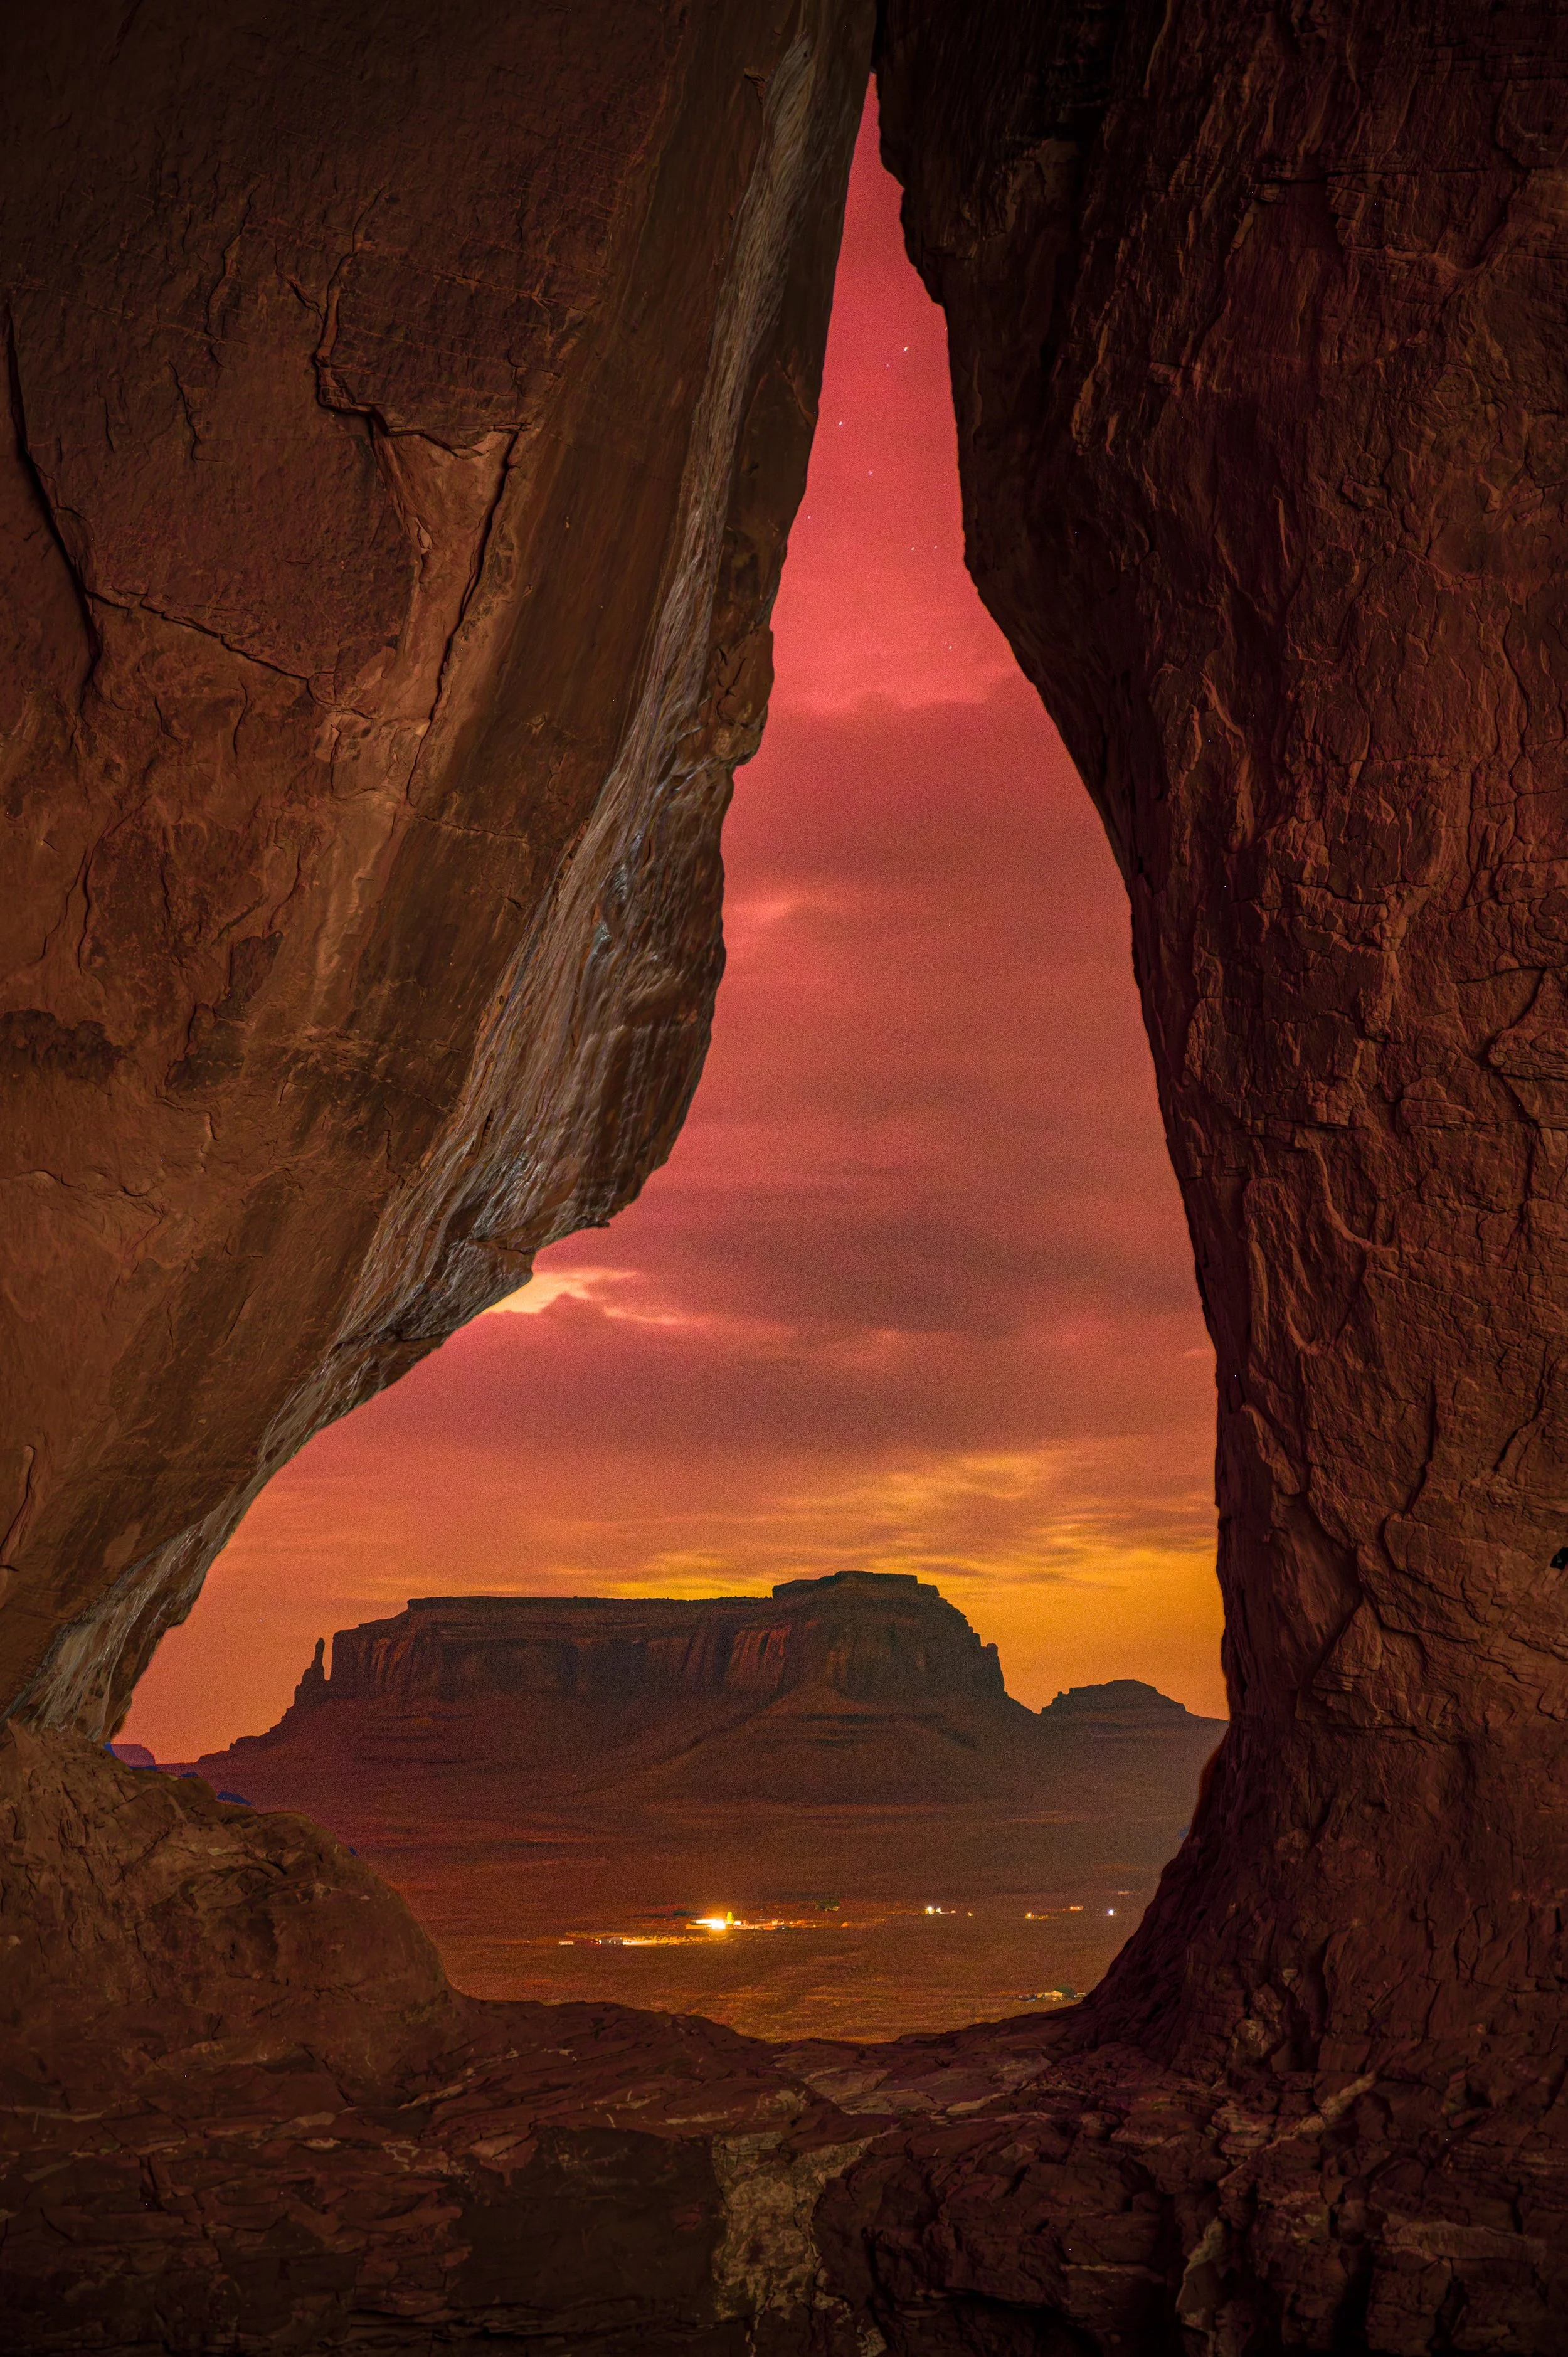
Zion was one of the first parks that I came to know intimately back in the early 1990s. I still remember my first visit like it was yesterday. Living in Montana I was accustomed to the mountainous topography of both Yellowstone and Glacier, but nothing in my experience prepared me for the sheer diversity and unique land forms of the Desert Southwest. When we were deciding which parks we should visit during our inaugural year, I leaped at the chance to return to Zion.

This of course was not the first time I had done night photography in Zion, but it was the first time I was able to fully focus an entire week on the venture. I was not only getting to revisit one of my favorite parks, but I was looking forward to working with my colleague Lance Keimig for the first time. It was going to be a great week!

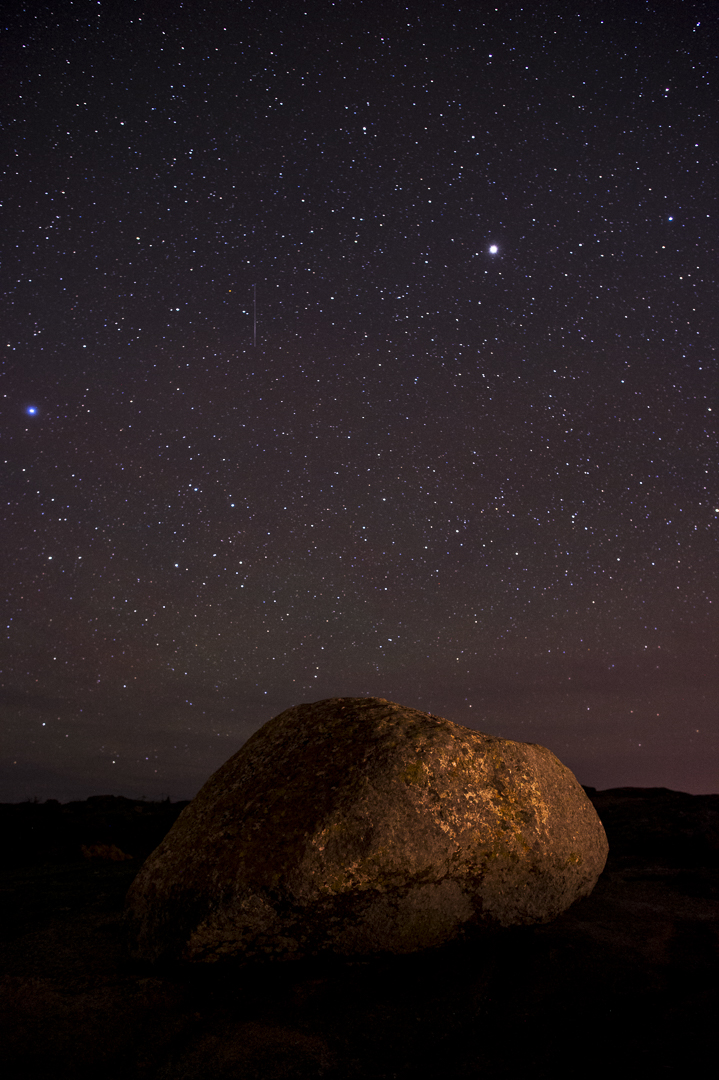
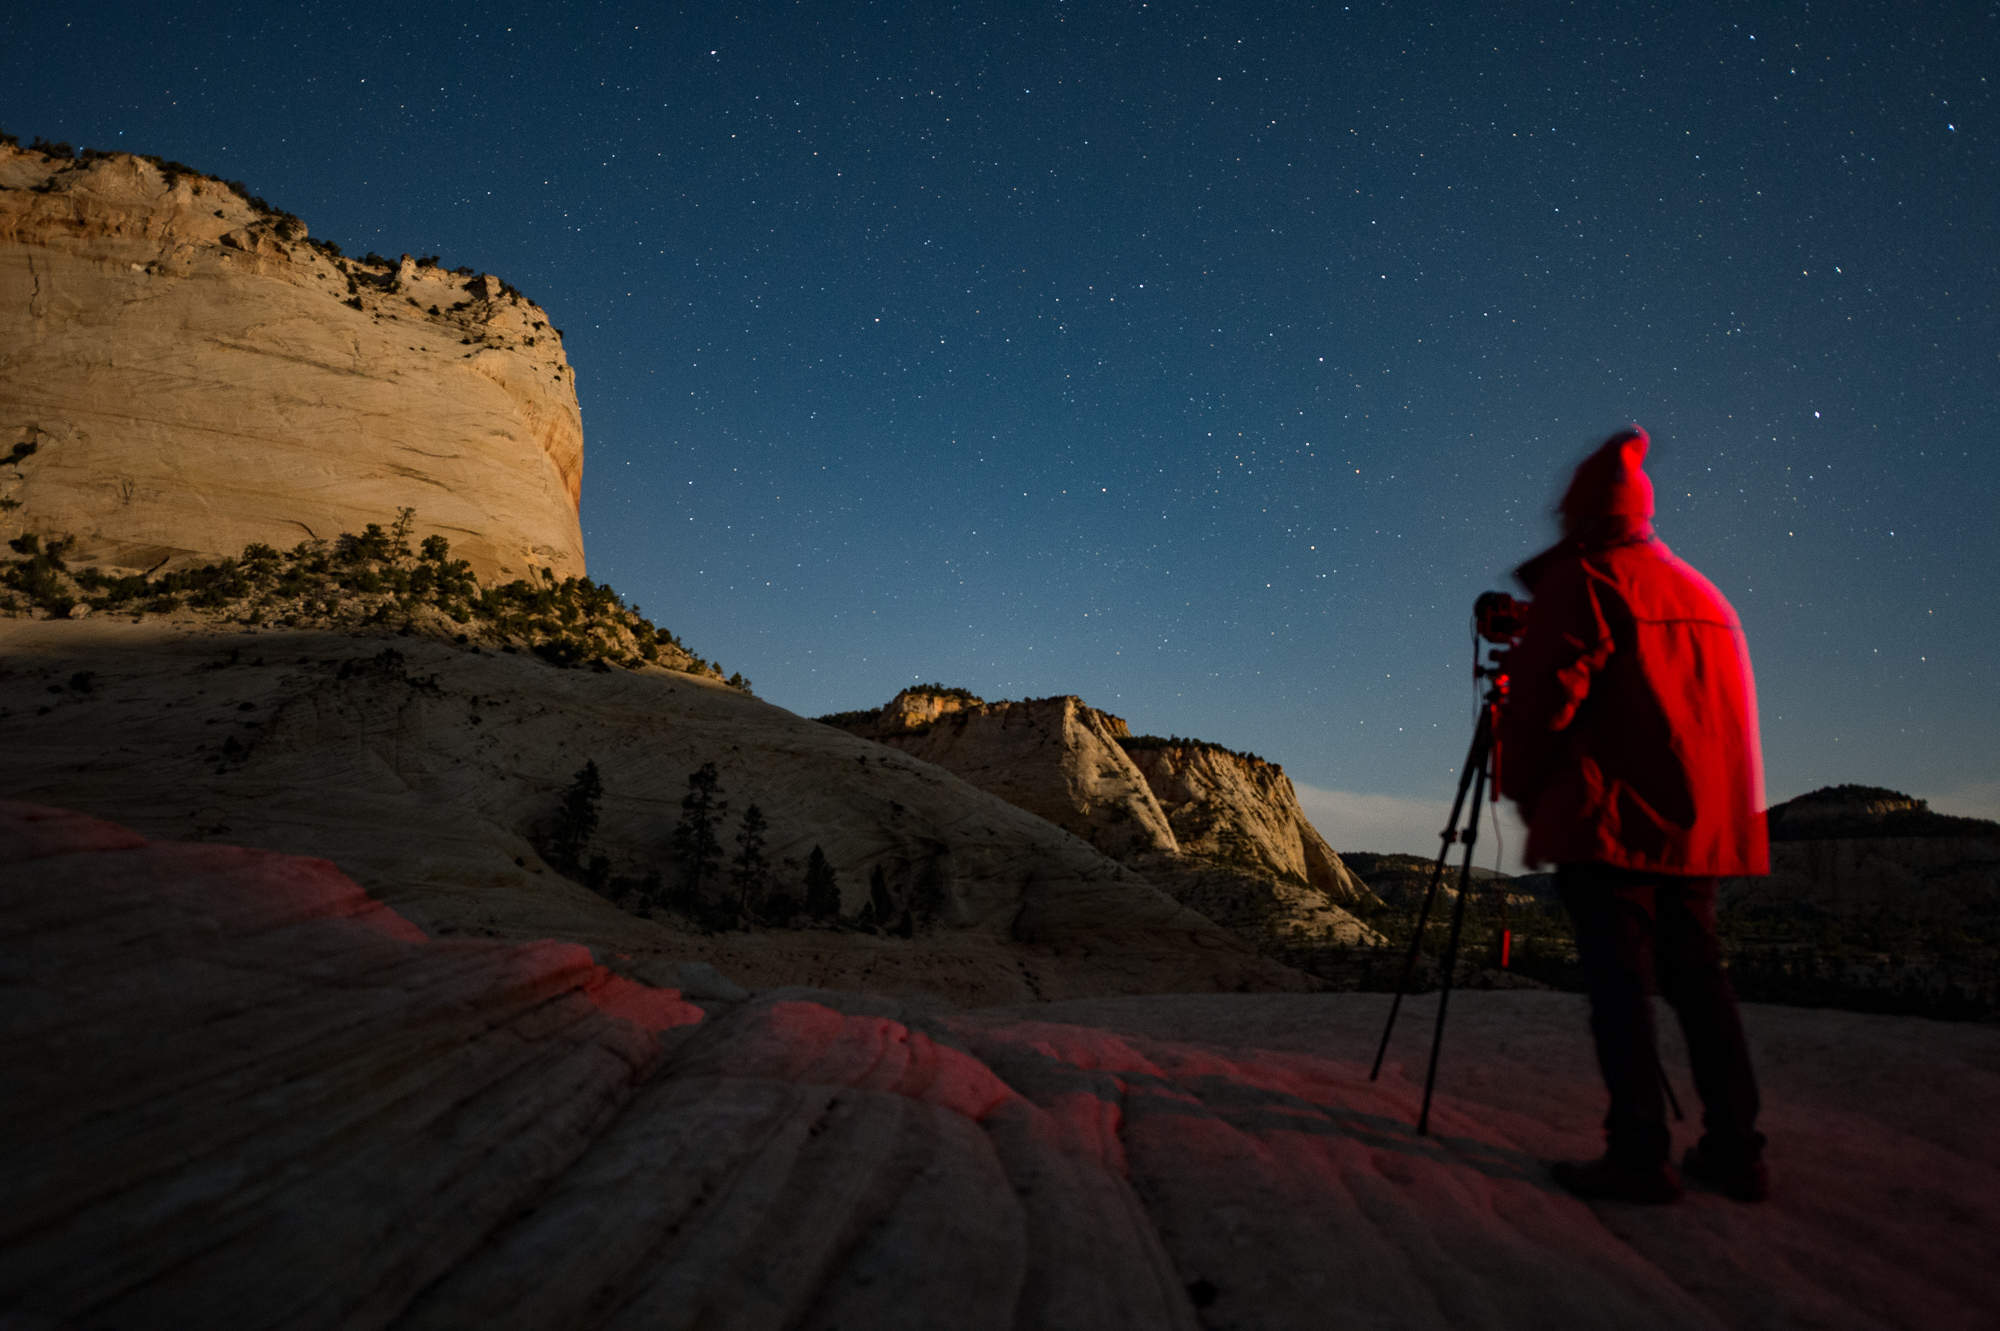
And it was. The weather in May is typically very nice, but this week it was perfect. A welcome mix of clear skies, clouds and moonlight. Lance and I had planned out a variety of different locations matching the moonrise times with appropriate subject matter. Due to the sheer beauty of Zion under the moon, Lance and I were eager to balance the workshop with a nice mix of dark sky nights for star trails and moonlit landscapes to highlight Zion’s natural beauty. Starting the workshop just after the full moon provided just the right combination.

The first night we struck out to the Checkerboard Mesa area on the east side of the park. The group was in great spirits as we navigated the sandy hillside to get to our location. We had scouted a great spot that provided a view of the moonlit scene while our foreground remained in the shade of a nearby mountain. A perfect combination for light painting! Everyone came away with great imagery as they became accustomed to working in the dark and illuminating their subjects with flashlights.

Over the next several nights we continued to explore the areas in and around the park. Lone pine trees, petroglyphs, sandstone walls, canyons, ghost towns and desert flora all provided a wealth of subject matter. Moonlit sandstone, starry skies and streaking clouds supplied a variety of aesthetic conditions. Camaraderie, enthusiasm and a sense of adventure among the group was the icing on the cake.

For the participants, Lance and myself, Zion at night was a wonderful first NPAN adventure. I am now just counting the days until the next one!

Crater Lake National Park

August 4-6, 2016,
by Gabriel Biderman

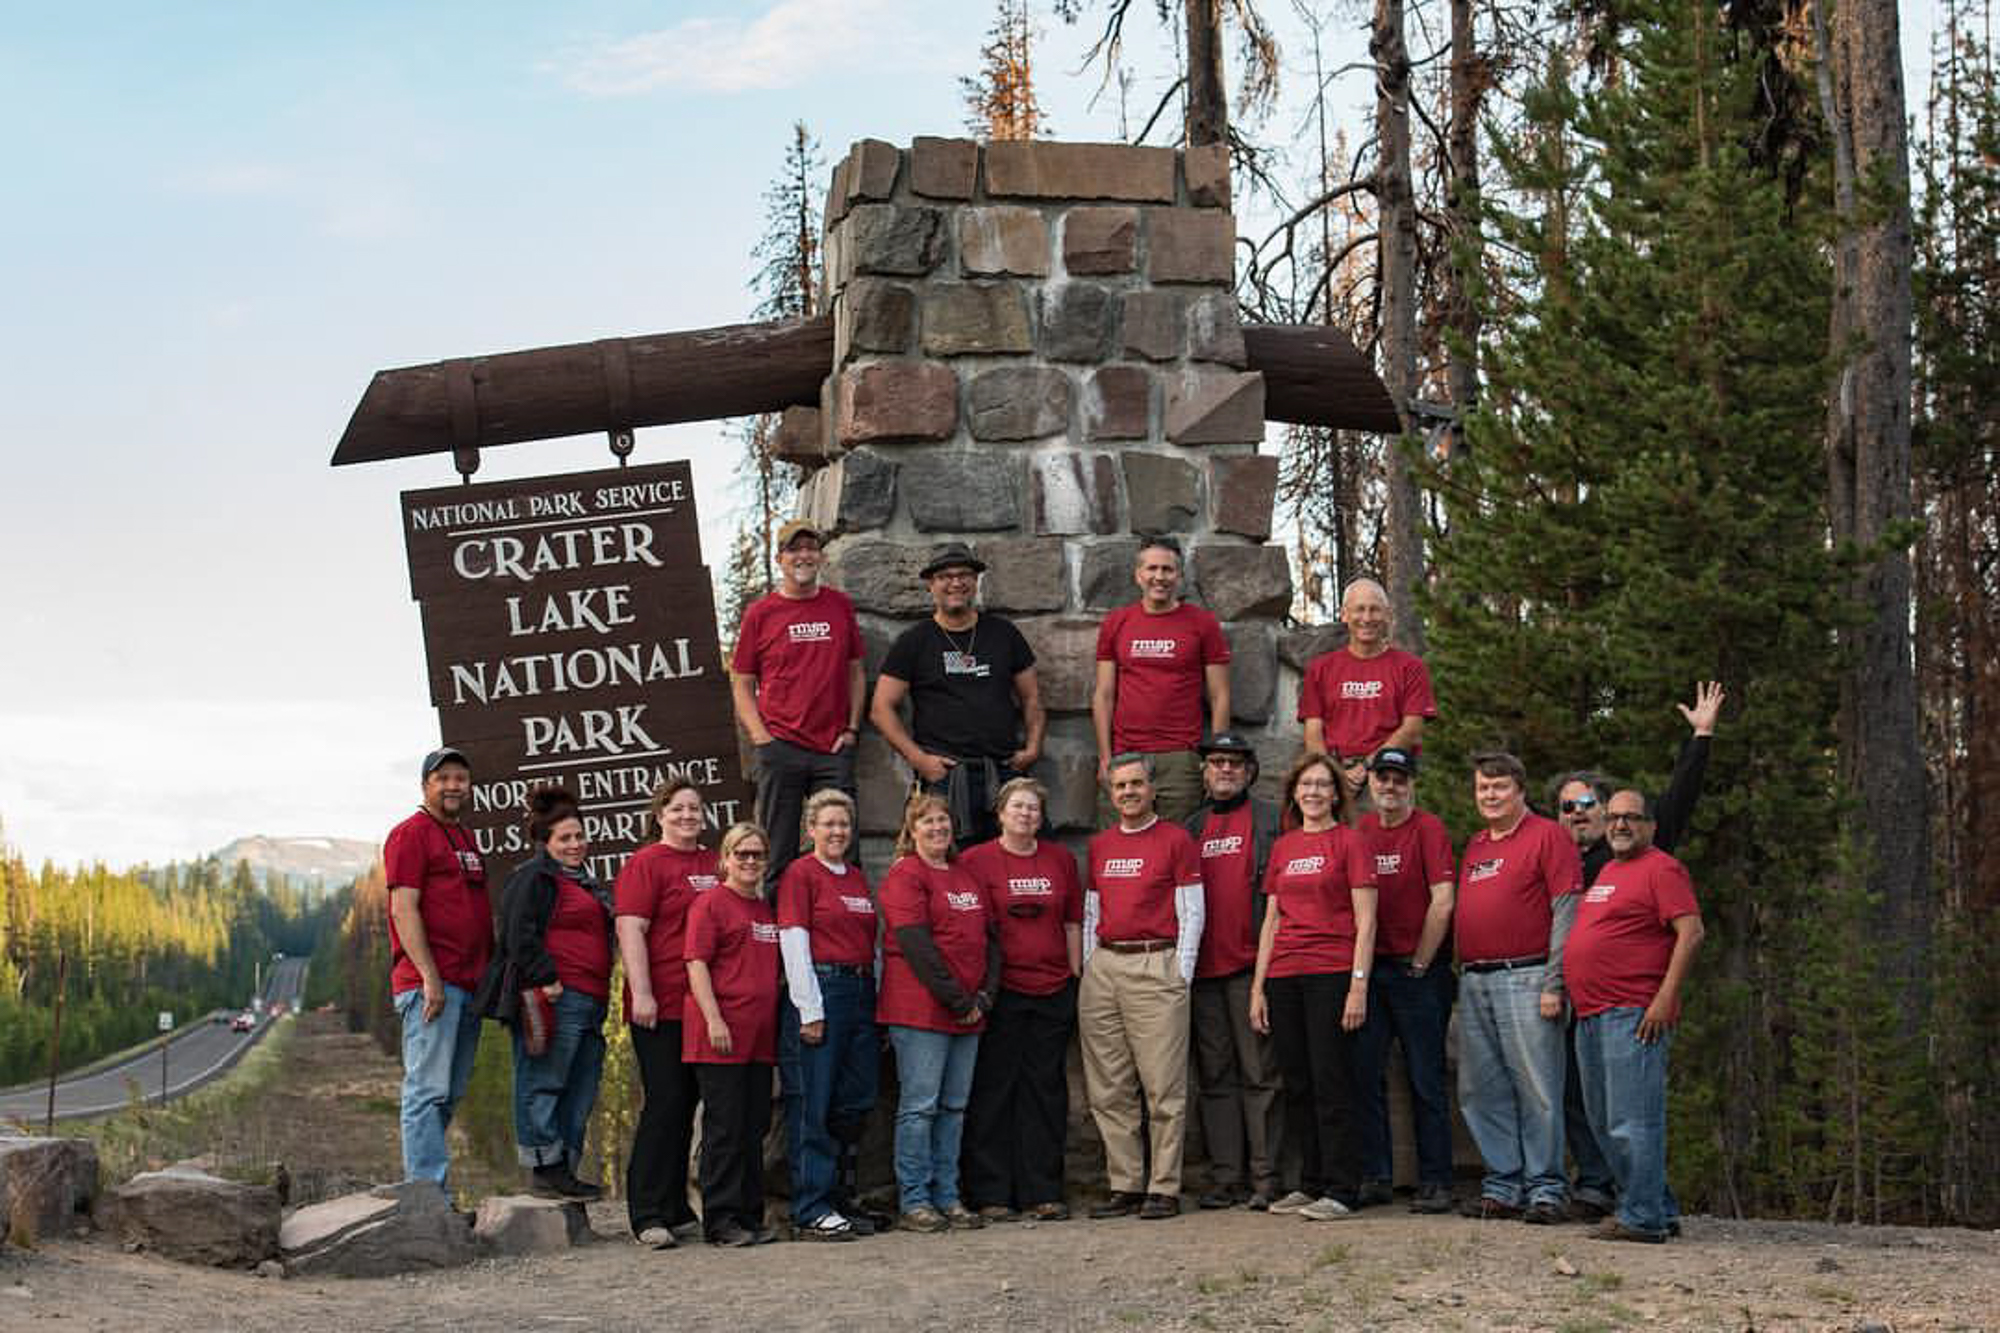
On the day that Matt Hill and I were about to drive from Portland, Oregon, to Crater Lake, we received word that a fire—a big forest fire—had just started at the southwest rim of the park. We kept monitoring the situation and kept in constant communication with the rangers as well as the students. Things seemed to be somewhat under control, thanks to the quick action of the firefighters, but the possibility remained that a big wind could change it all very quickly.

When Matt and I arrived, the rim road leading to the south was closed and would remain so for the next week. But there was a bright side: The smoke from the fire was staying clear of the caldera and actually added a nice complementary warm light when shooting from the north. The weather was absolutely perfect for the workshop; we enjoyed warm 80-degree temperatures during the late-summer days. And the temperatures quickly dipped each evening to a sensor-cooling mid-40’s, with incredibly clear skies—every night!
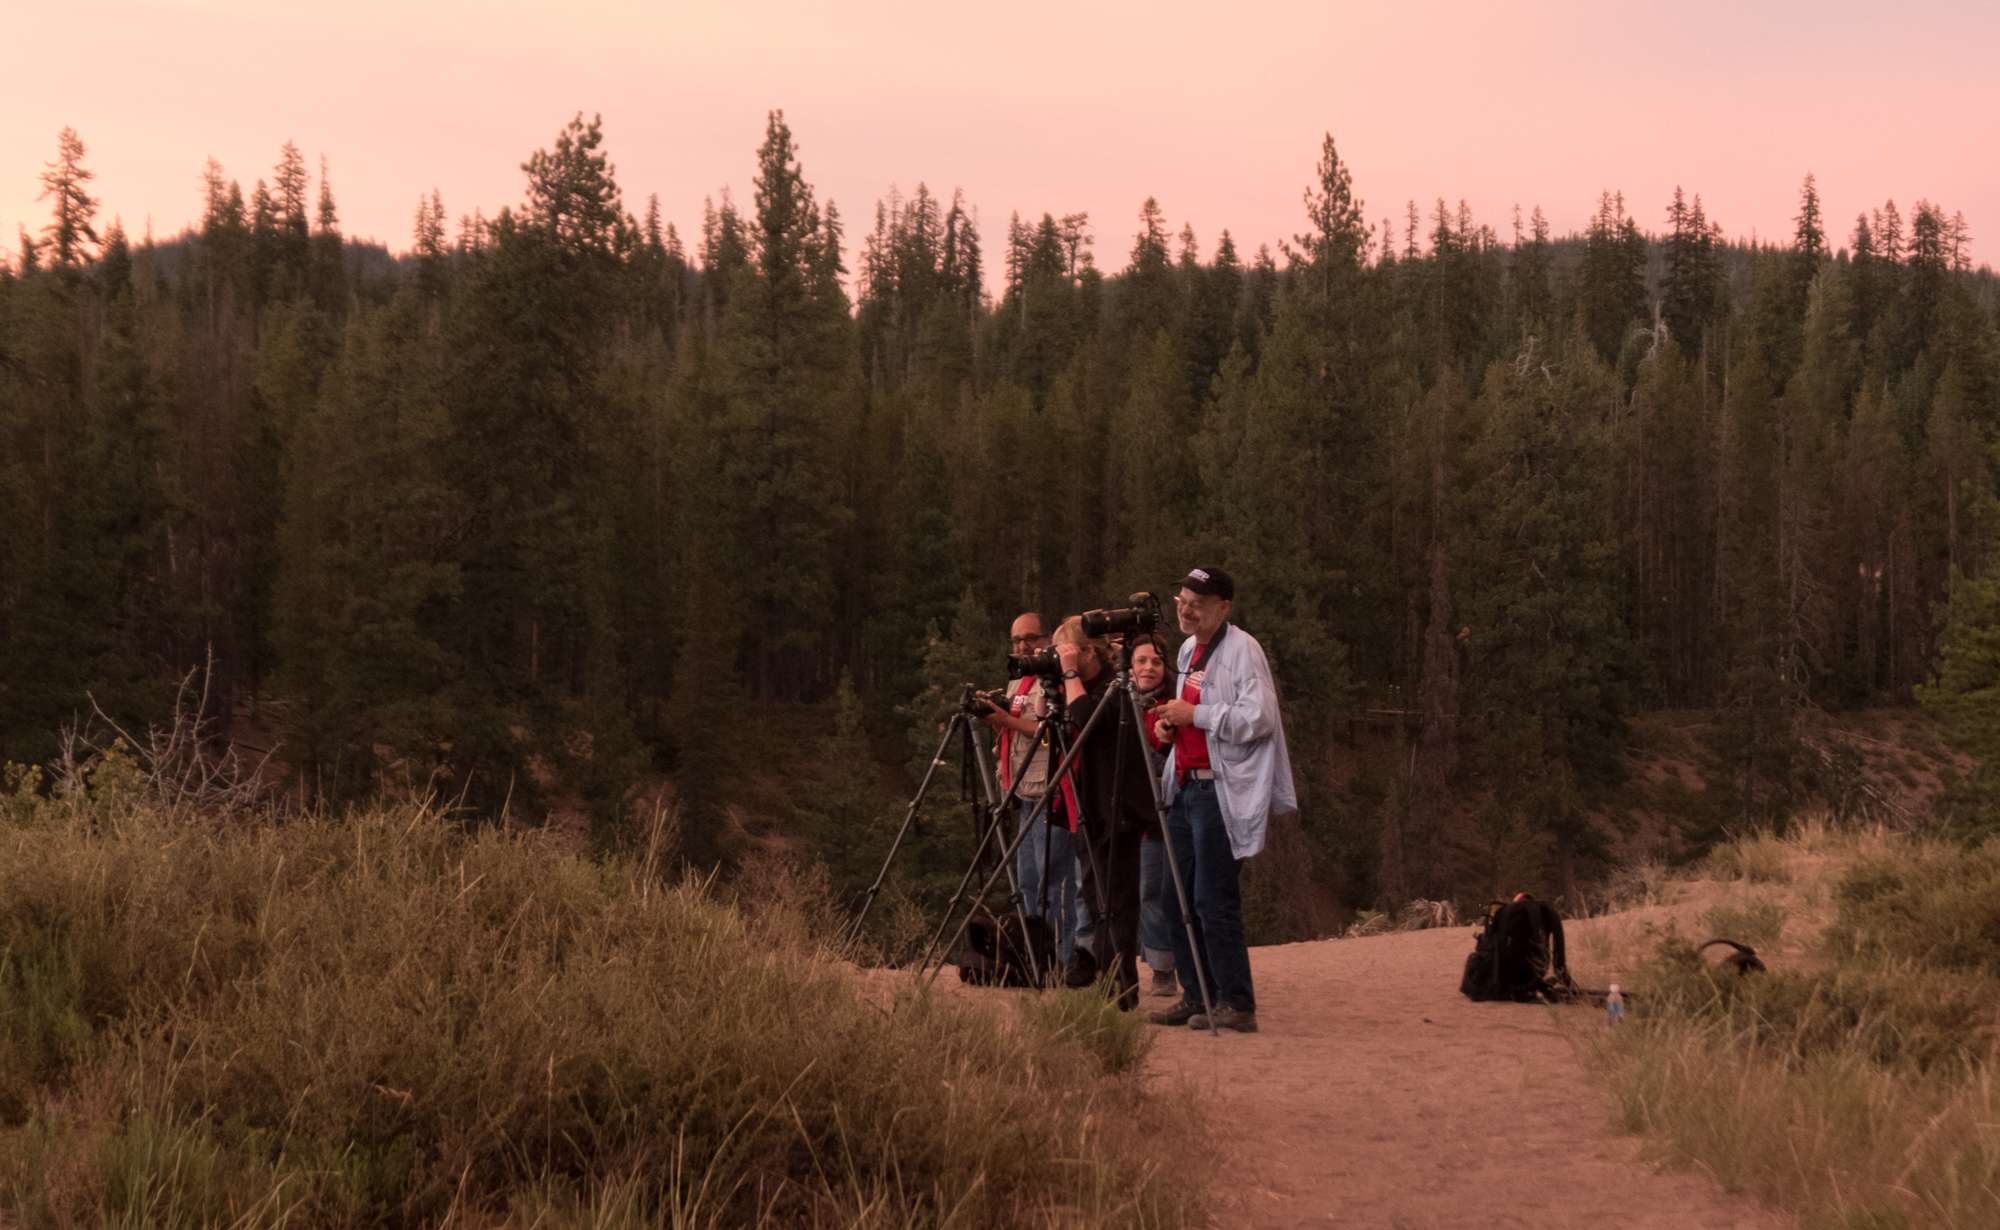
Each day began with a hearty and late breakfast at the Diamond Lake Resort followed with lecture and image reviews. We made sure to visit and experience the park during the day, as well as the night. Scouting is such an essential part of night photography and is best done while the sun is up. So we spent a couple of afternoons leading the participants as we scouted the rim, filled the theater at the visitor center, and ran briefly from the twilight mosquitoes.

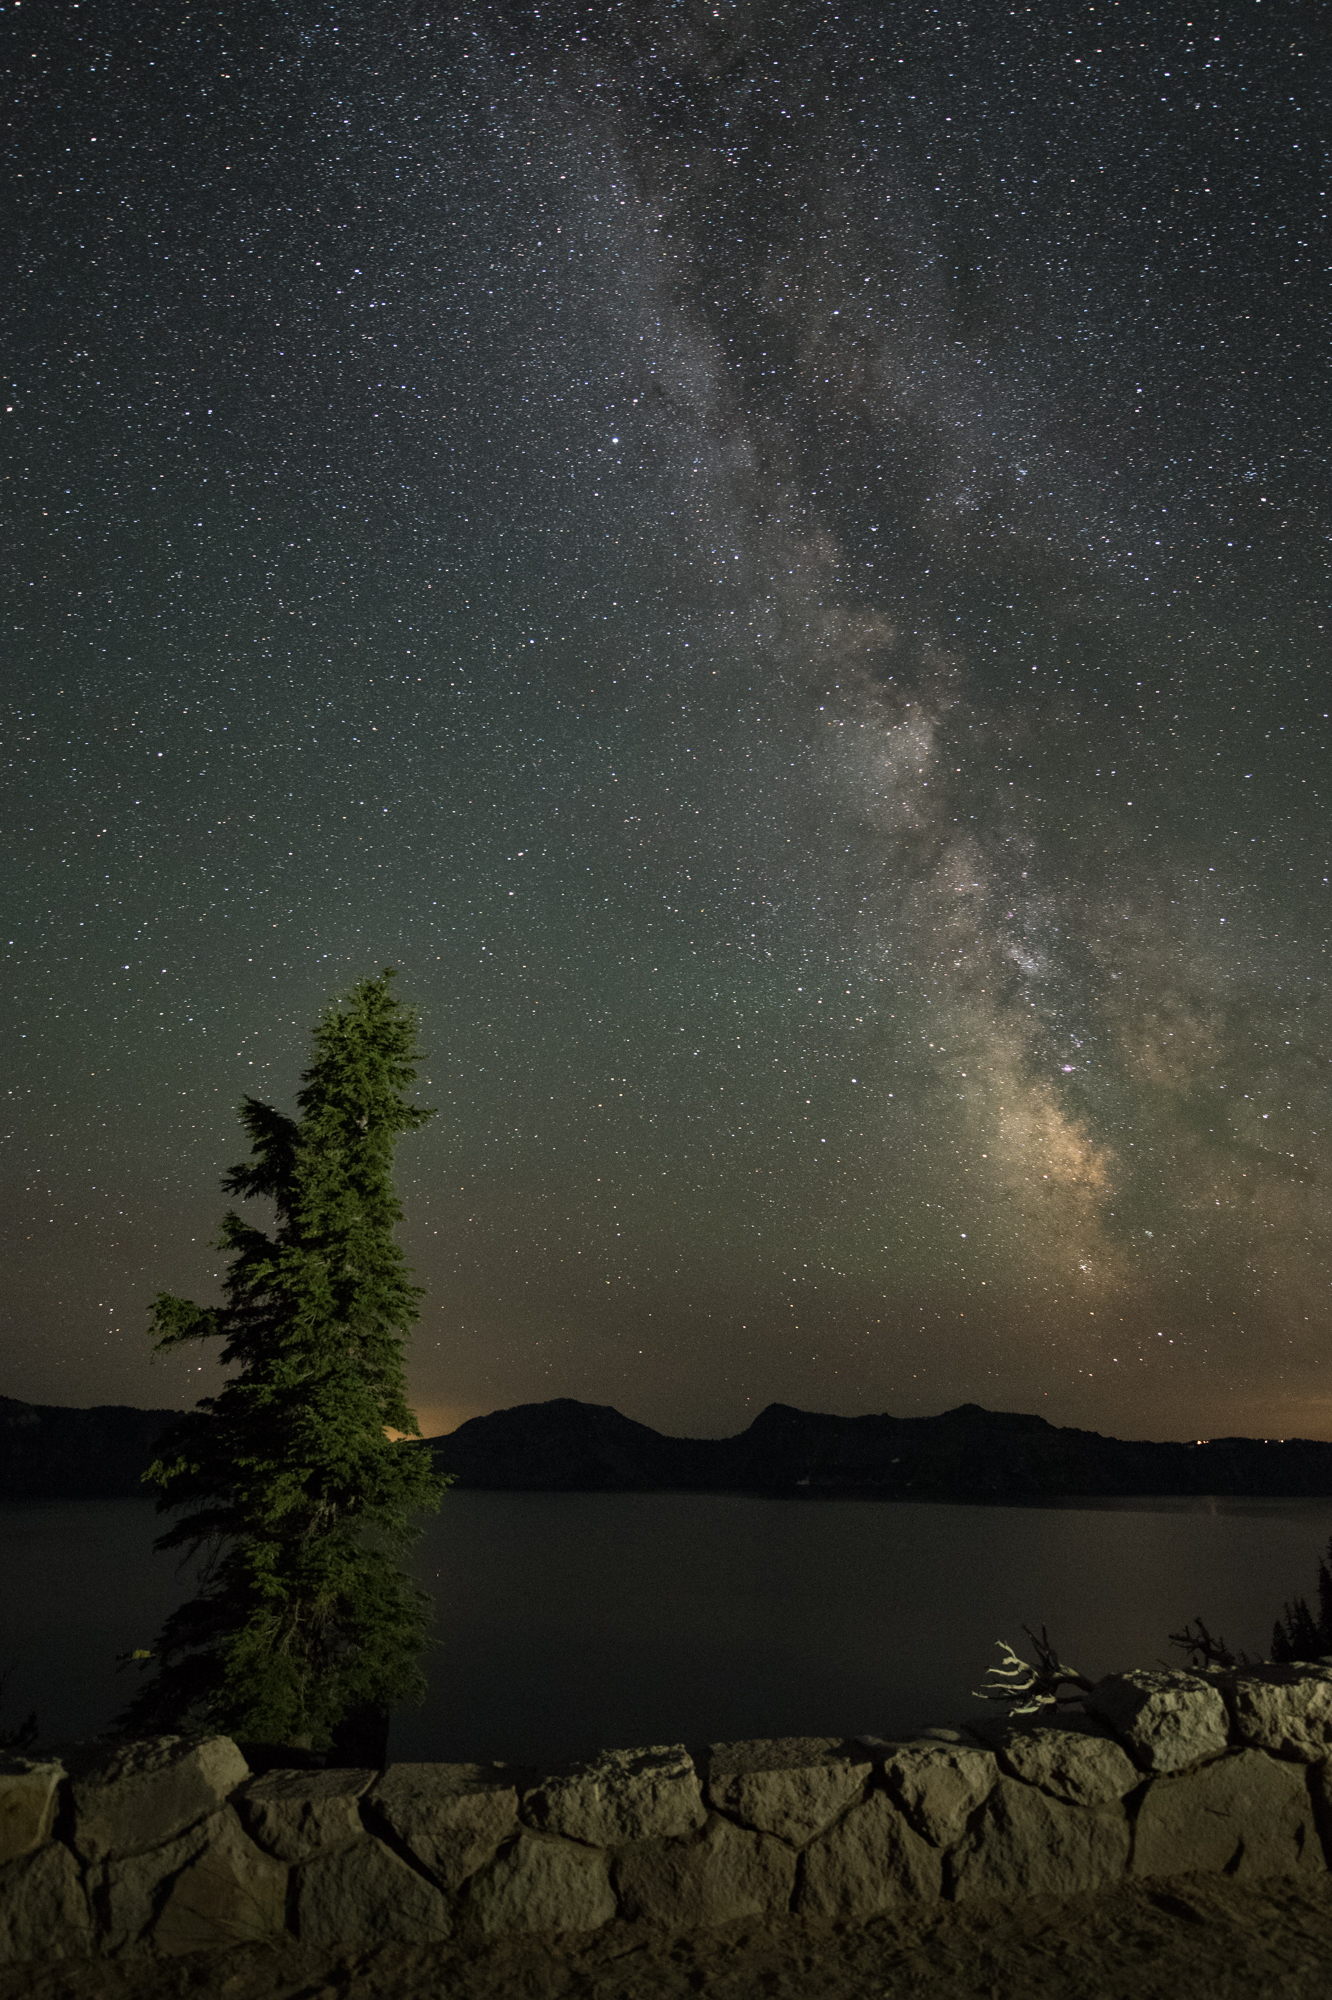
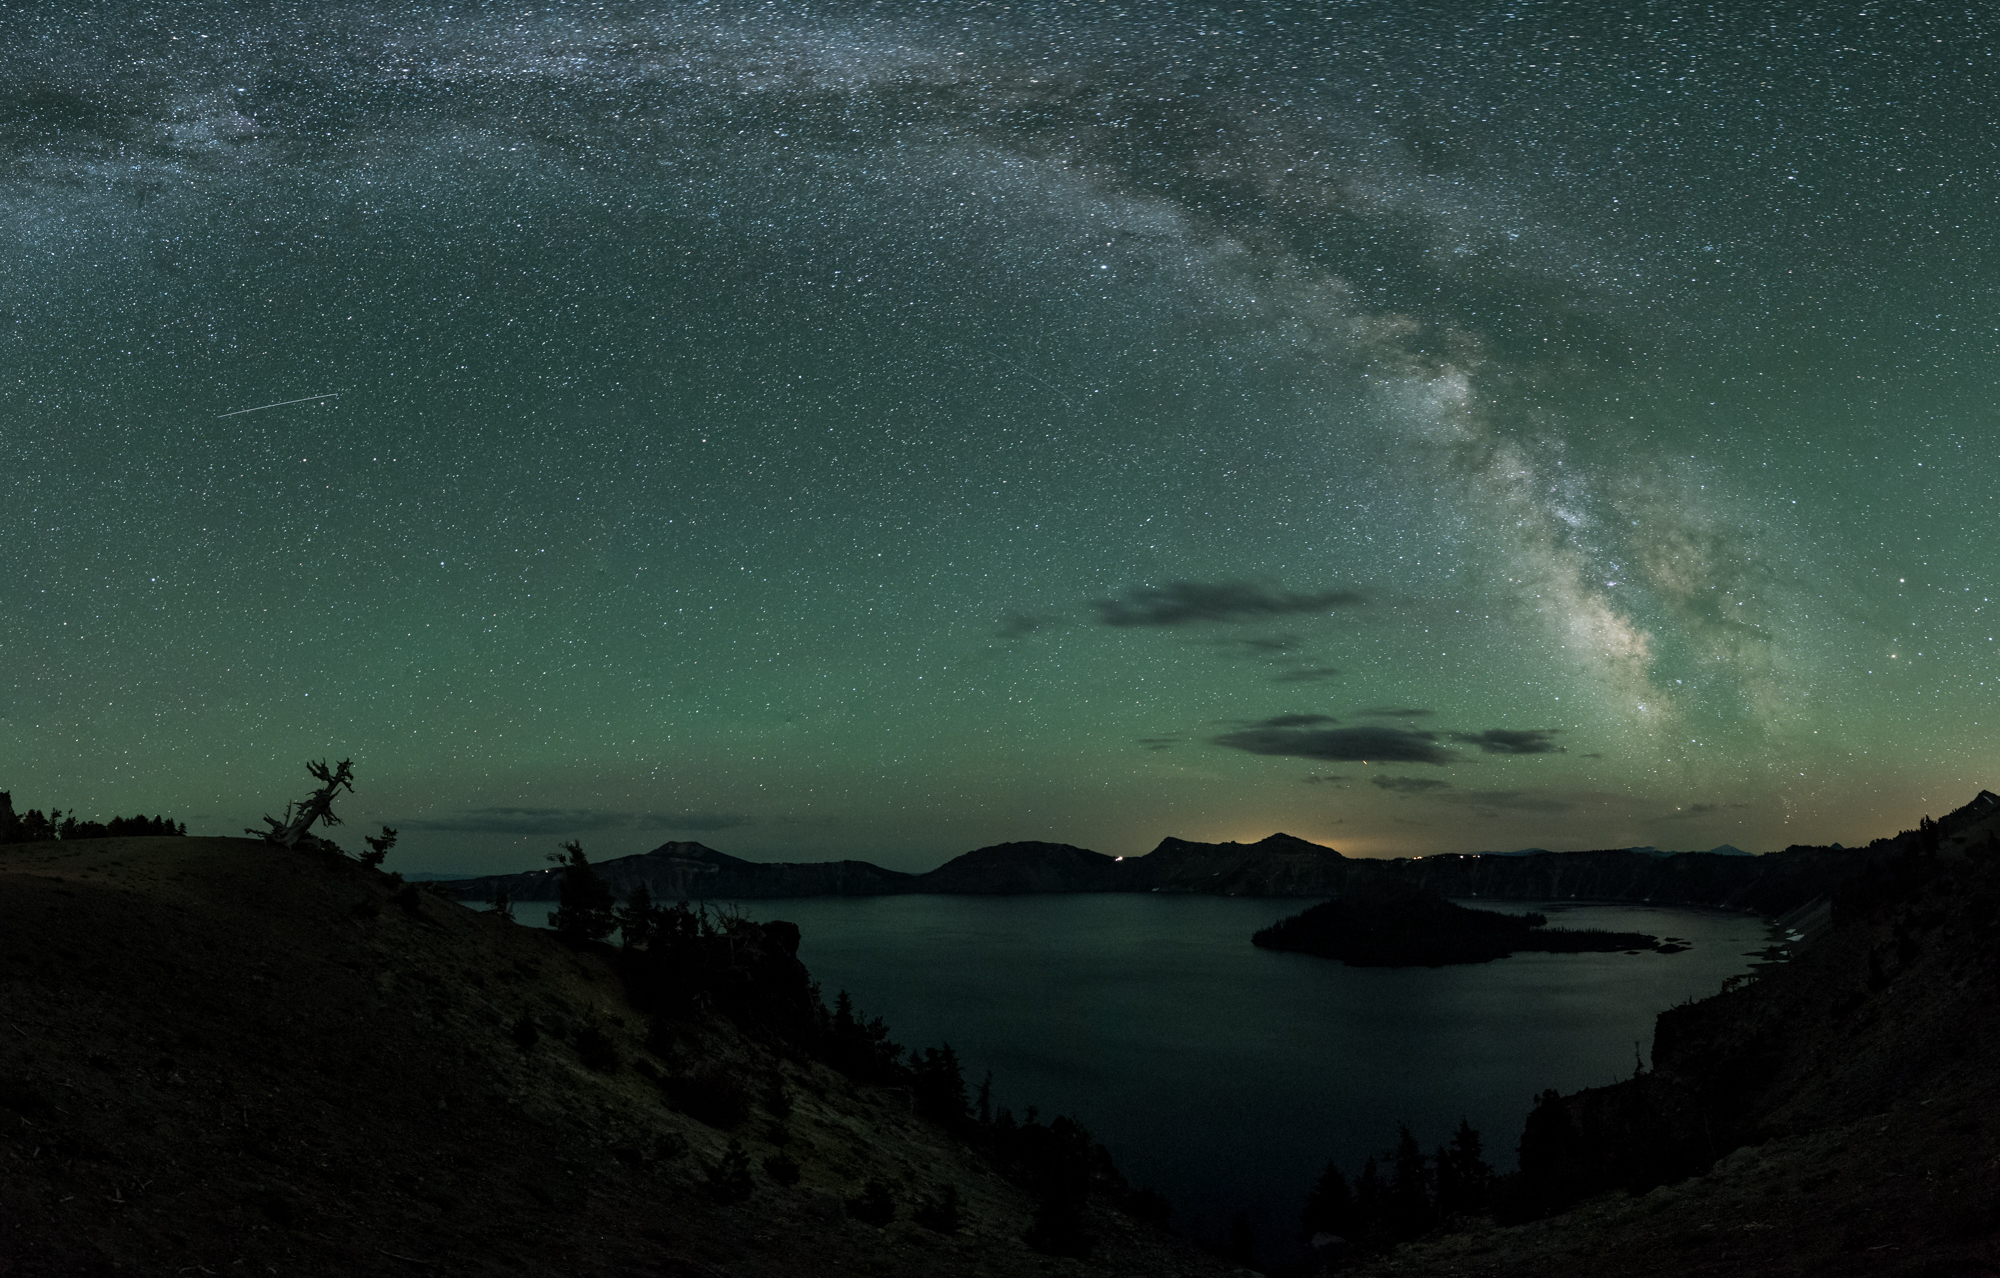
When we asked the students what they were looking forward to doing at the workshop, each replied, “Capture the Milky Way!” About 75 percent of the class had never even seen our galaxy in all its glory. We ecstatically checked that off our list half way through the first night.

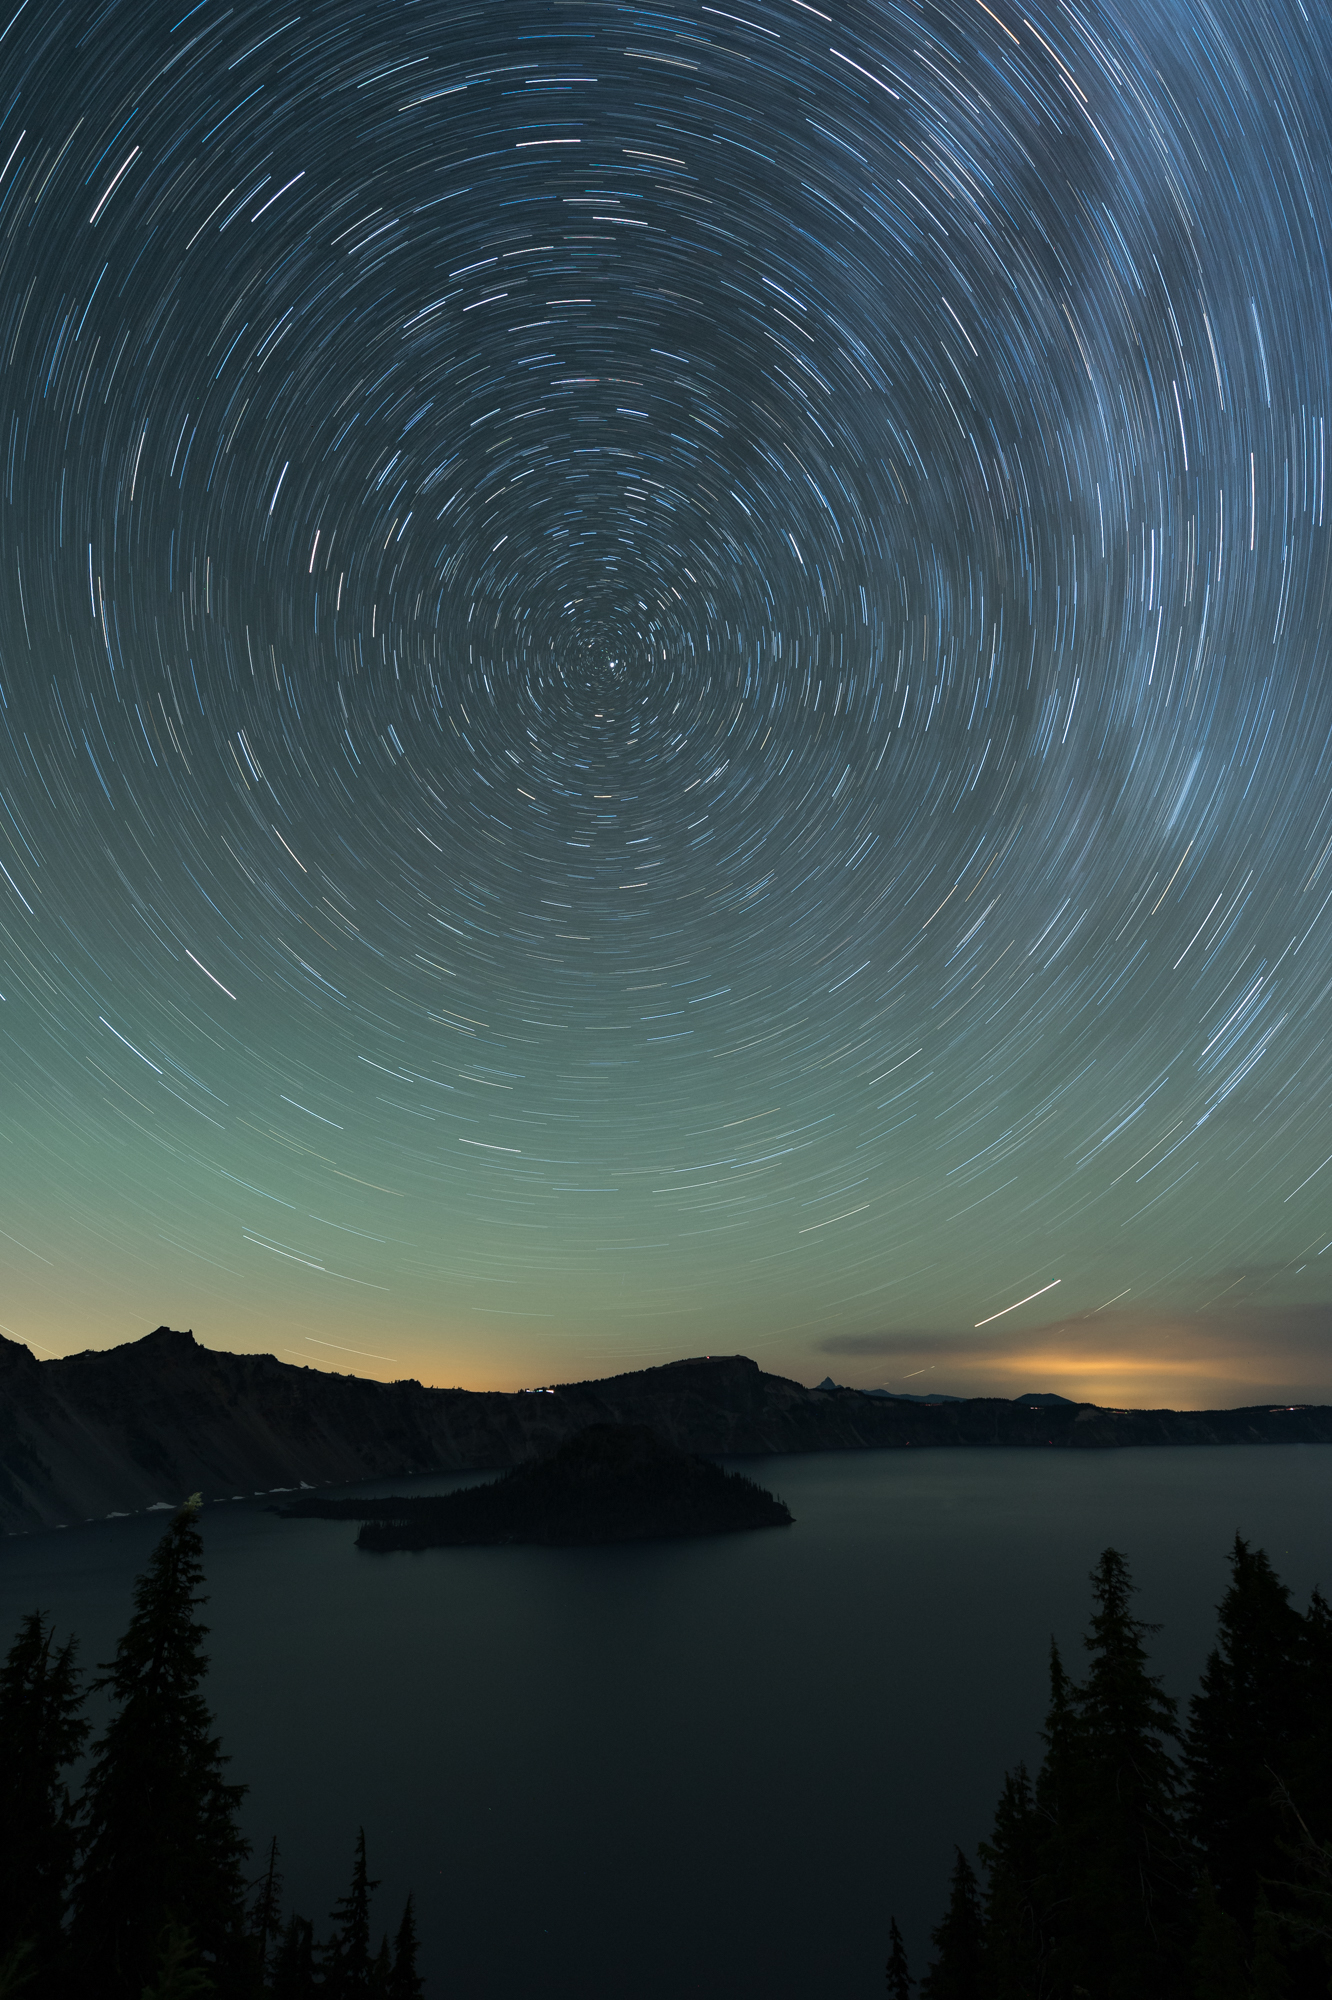
Over the next three nights we explored the Crater Lake caldera to the fullest. We nailed focusing in the dark, star points, star trails, light painting, and capturing and processing night-sky panoramas. The Milky Way greeted us each evening and stood high with the galactic core gliding along the horizon.

It was a real joy to share this experience with everyone—I’ve never seen so many people so excited to be under the Milky Way as well as go home with a wonderful portfolio of images of Crater Lake at night.


UPCOMING WORKSHOPS FROM NATIONAL PARKS AT NIGHT