Blue Ridge Parkway

Five Questions: Barns, Filters with Auroras, Star Trail Settings and More

The night photography world is full of questions, and we’re happy to help with answers.

This installment of our “Five Questions” series features inquiries about photographing barns on the Blue Ridge Parkway, coma with Nikon Z lenses, moving a Lightroom catalog on a Mac, using filters when shooting auroras and settings for star trails.

If you have any questions you would like to throw our way, please contact us anytime. Questions could be about gear, national parks and other photo locations, post-processing techniques, field etiquette, or anything else related to night photography. #SeizeTheNight!


1. Clapboard on the Blue Ridge Parkway

Question:

I am thinking about traveling to the Blue Ridge Parkway to do some star photography and would love to do some light painting of old barns or structures. I am wondering if you have any locations you can recommend. — Michael S.

Mabry Mill, Blue Ridge Parkway. © 2021 Chris Nicholson. Nikon D5 with a Nikon 24-70mm f/2.8 lens, lit with four Luxli Fiddle LED panels. 30 seconds, f/2.8, ISO 6400.

Answer:

The Blue Ridge Parkway is a great place to find barns! But many are on privately owned or leased farms along the parkway; you could still shoot those, but would want to ask permission of course, especially if photographing them at night, and absolutely if you’re going to light paint them.

Sticking to barns that are not privately owned, here are some tips:

Stay north of Asheville. The section of the parkway south of Asheville (and even for a bit north) is mostly mountainous. The northern two-thirds of the parkway—perhaps safely stated as “north of the Linn Cove Viaduct”—is more rural and agricultural.

If you’re open to just historic clapboard structures that aren’t barns, you can’t drive more than a few miles without seeing some. These come to mind immediately: Mabry Mill, Puckett Cabin, Brinegar Cabin. Lots of others scattered about.

For barns in particular, off the top of my head: the Johnson Farm at Peaks of Otter (you’ll need to hike to it), Explore Park (though you’ll want to ask about access after 8 p.m., as it’s managed by the city of Roanoke) and the farm at Humpback Rocks Visitor Center. — Chris

2. Non-Coma Z Lenses

Question:

I just switched to the Nikon Z 6II and am looking for a recommendation for a lens without coma distortion. I have tried and returned two Rokinon 14mm f/2.4 lenses with severe coma. My preference would be a lens in the 14-24mm range. — Edmund

Answer:

You are going to love the Z 6II! The FTZ adapter works well, so it gives you lots of options, but both the Nikon Z 14-24mm f/2.8 and Nikon Z 24-70mm f/2.8 are among the very best lenses Nikon has ever produced. Pricey, but worth it. Another option (assuming you have the FTZ adapter) is the Nikon’s F-mount 14-24mm. There is nothing better than those three lenses at this time. — Lance

3. Moving Lightroom on a Mac

Question:

Is there a simple way to migrate Lightroom files on a Mac? I will soon have to bring in a new and larger external hard drive. — Julie P.

Answer:

Yes, and the process is actually pretty simple.

  1. With Lightroom closed, plug in the old drive and the new drive.

  2. Copy all of the information from the old drive to the new drive.

  3. Unplug your old drive and launch Lightroom. You will see question marks next to your folders, because Lightroom can no longer find your old hard drive.

  4. You need to locate the parent folder for your images. In Lightroom, navigate to the topmost folder in your Folders hierarchy. That may well be the parent folder, but it’s possible that the true parent folder is hiding above it. By right-clicking on that topmost folder, you will see an option to Show Parent Folder. This command will show the folder containing that topmost folder, if there is one.

  5. Right-click on your parent folder and choose Find Missing Folder. Lightroom will open your system’s Finder.

  6. Navigate to the new drive, then choose the matching parent folder and click Choose.

The parent folder and all of its subfolders (all on the new hard drive) will now be linked back with Lightroom. — Tim

4. Light Pollution Filters and Auroras

Question:

I just read your article on light pollution filters. Will these filters also be usable when shooting Northern Lights? — Claron K.

Answer:

Yes, I believe they would be useful for shooting Northern (or Southern) Lights when near inhabited areas. As auroras tend to be green, pink, purple and sometimes blue, the orange/yellow blocking ability would have a complementary effect. However, you could be lose up to 1 stop of light, so keep that in mind. — Matt

5. Star Trail Settings

Question:

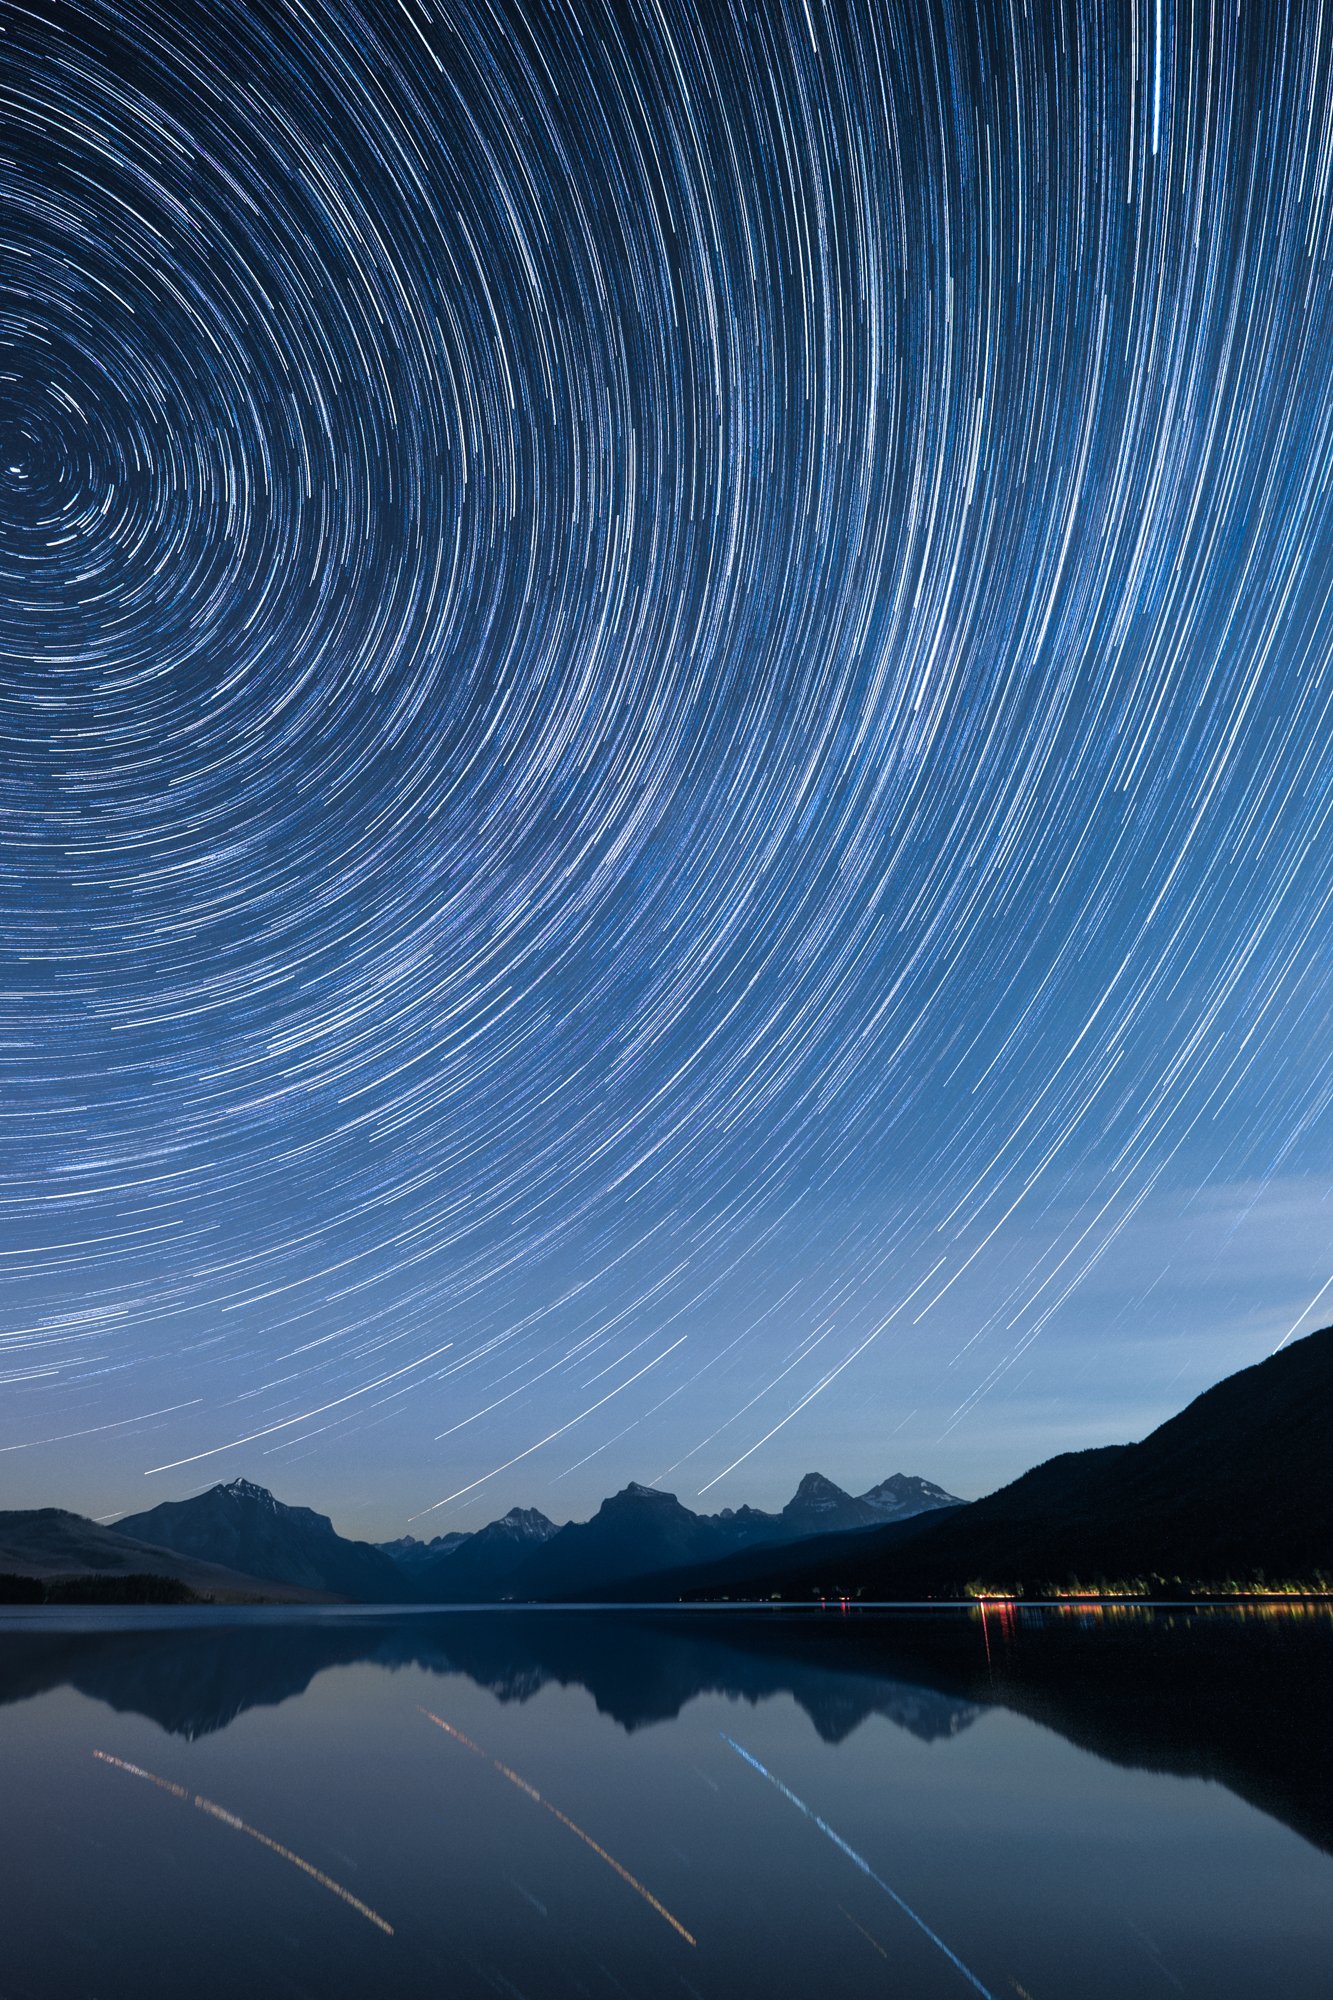
I just reviewed your “How I Got the Shot: Lake McDonald” blog post about star trails. Phenomenal image! I have done a ton of research on how to do this kind of photo, but was hoping for a simple recommendation for settings and timing. I’ll be shooting with either a Nikon D850 or a Nikon Z 6 with a 14-24mm lens. — Darlene

Star Circles Over Lake McDonald. © 2015 Gabriel Biderman. Fujifilm X-T1 with a Fujifilm 10-24mm f/4 lens. 41 stacked frames, each shot at 2 minutes, f/4, ISO 3200.

Answer:

There is no simple formula for star trails. You need to find the balance between a proper base exposure, how long you want to go, and image quality.

You can capture trails with either one long exposure or with multiple shorter exposures that you later stack in Photoshop. Single exposures are often best for up to 15-minute shots, but when you want longer trails you’ll most likely want to shoot multiple frames to stack.

Do a high ISO test shot to figure out the proper exposure. Then you want to get to a more optimal image quality setting. Lower your ISO to something you’re comfortable with in terms of noise (for example, maybe ISO 800), and then adjust your shutter speed accordingly to compensate.

Also consider apertures, in this regard: The wider the aperture, the higher number of stars will appear. While that might sound like a good thing, too many star trails could look too chaotic and distract from the rest of the scene. For example, on a dark night f/2.8 will show an overwhelming number of trails, while f/8 would create a more subtle effect. Under a full moon this isn’t so critical, as not as many stars are visible anyway. Either way, just be careful that you don’t stop down so much that you have to crank up your ISO and sacrifice image quality.

Another consideration is how long your camera’s shutter can be open without generating long-exposure noise (speckled red, blue and green confetti-like specks in your image). This noise is produced when a camera processor overheats during long exposures, but higher outdoor temperatures and lower humidity also play a factor. You have to learn what your camera can tolerate by running some tests in different conditions. For example, if the ambient temperature is 60 to 65 F or less then you can usually get away with 4- to 6-minute exposures, but if the temperatures are 80 F or higher then you might be limited to 30 seconds or 1 minute.

To counteract that effect, you might wonder about using long-exposure noise reduction (LENR). You can use that quite effectively if you’re shooting one long exposure for star trails, but it would be countereffective for stacking. The reason is that for most cameras, LENR disables the shutter after each exposure (for the same amount of time as the shutter speed), which would create breaks in your star trails.

The final decision is how long you want your star trails to be. When facing north for circumpolar trails, you want to shoot for at least 1 hour, and the longer the better. If you are facing east, west or south, you can get away with shorter total exposures—8 to 30 minutes might be sufficient. — Gabe

Chris Nicholson is a partner and workshop leader with National Parks at Night, and author of Photographing National Parks (Sidelight Books, 2015). Learn more about national parks as photography destinations, subscribe to Chris' free e-newsletter, and more at www.PhotographingNationalParks.com.

UPCOMING WORKSHOPS FROM NATIONAL PARKS AT NIGHT

Finishing What We All Started: Wrapping Our 2018 Workshops

About two weeks ago I bid farewell to eight workshop attendees in Death Valley, who were all part of National Parks at Night’s second Ambassador Series adventure with Atlas Obscura. Why do I mention this? What’s the significance? Because those farewells marked the end of our 2018 campaign of leading eager night photographers into some of the most fantastic and fascinating destinations in the U.S. and abroad.

Over the past 12 months we’ve led workshops in six national parks, two national historical parks, a national scenic byway, a western outdoor art garden, and three countries. Back in June we recapped the adventures from the first half of our year in the blog post “So Far, So Good.” Now, to round out our coverage, we recap our second half. Below you’ll find words, images and videos that reveal the journey we enjoyed with our attendees in 2018.

Capitol Reef National Park

June 17-22
by Matt Hill

Deep in southern Utah is one of the lesser-known jewels in a majestic crown of the state’s beautiful parks: Capitol Reef. Featuring gold-tier dark skies and an impressive geologic scale, it was an ideal place to host a June workshop.

Gabe and I began with our first-ever backcountry experience. A smaller group traveled out to the Temples of the Sun and Moon to camp overnight. With 4x4 high-clearance vehicles and a sense of adventure, we conquered the remote northern tip of Capitol Reef’s Cathedral Valley.
The main workshop began a day later, with a full complement of eager night photographers. It’s hard to say which location was my favorite, so check out the above slideshow with images from Sunset Point, Fruita Orchard, Chimney Rock, Capitol Gorge and more.

We covered a lot of ground, including star points, star trails, light painting, light writing and night portraiture. All in all, we had an amazing, tight group of people who came together in the desert to make beautiful images and to enjoy the natural and gargantuan scale of Capitol Reef’s features.

Redwood National and State Parks

June 25-30
by Lance Keimig

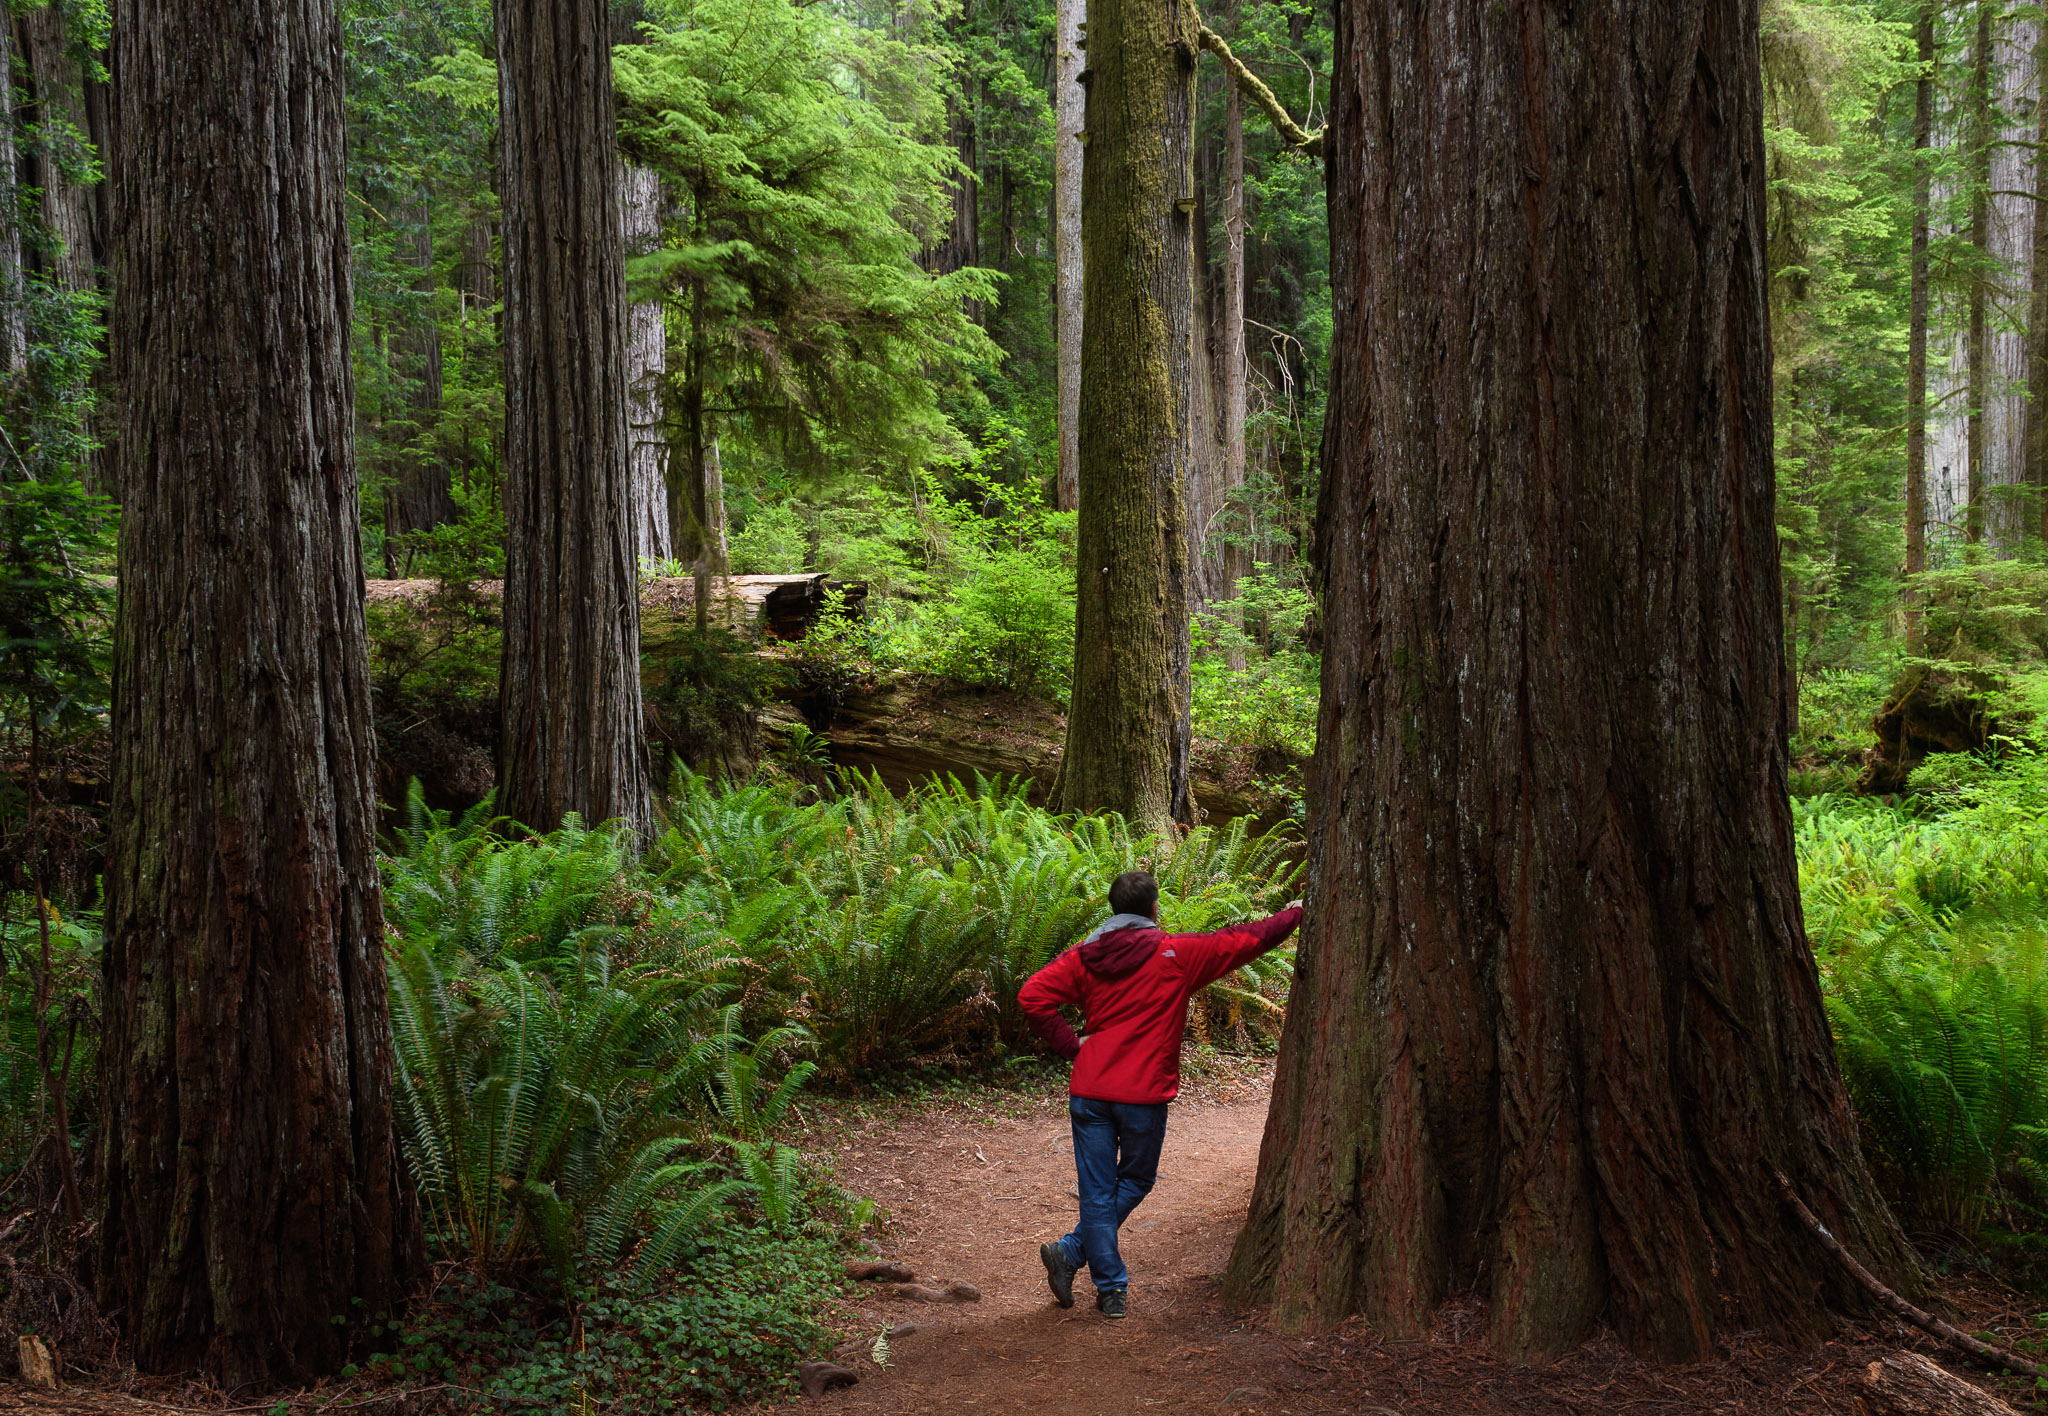
In June, we held a very special workshop at Redwood National and State Parks, which coincided with the national park’s 50th anniversary.

In 1968, Congress protected lands adjacent to three California state parks with the creation of Redwood National Park. In 1994, the California Department of Parks and Recreation and the National Park Service concluded that joint management of the four-park area would be the best way to protect the fragile resources of the Redwood Coast.
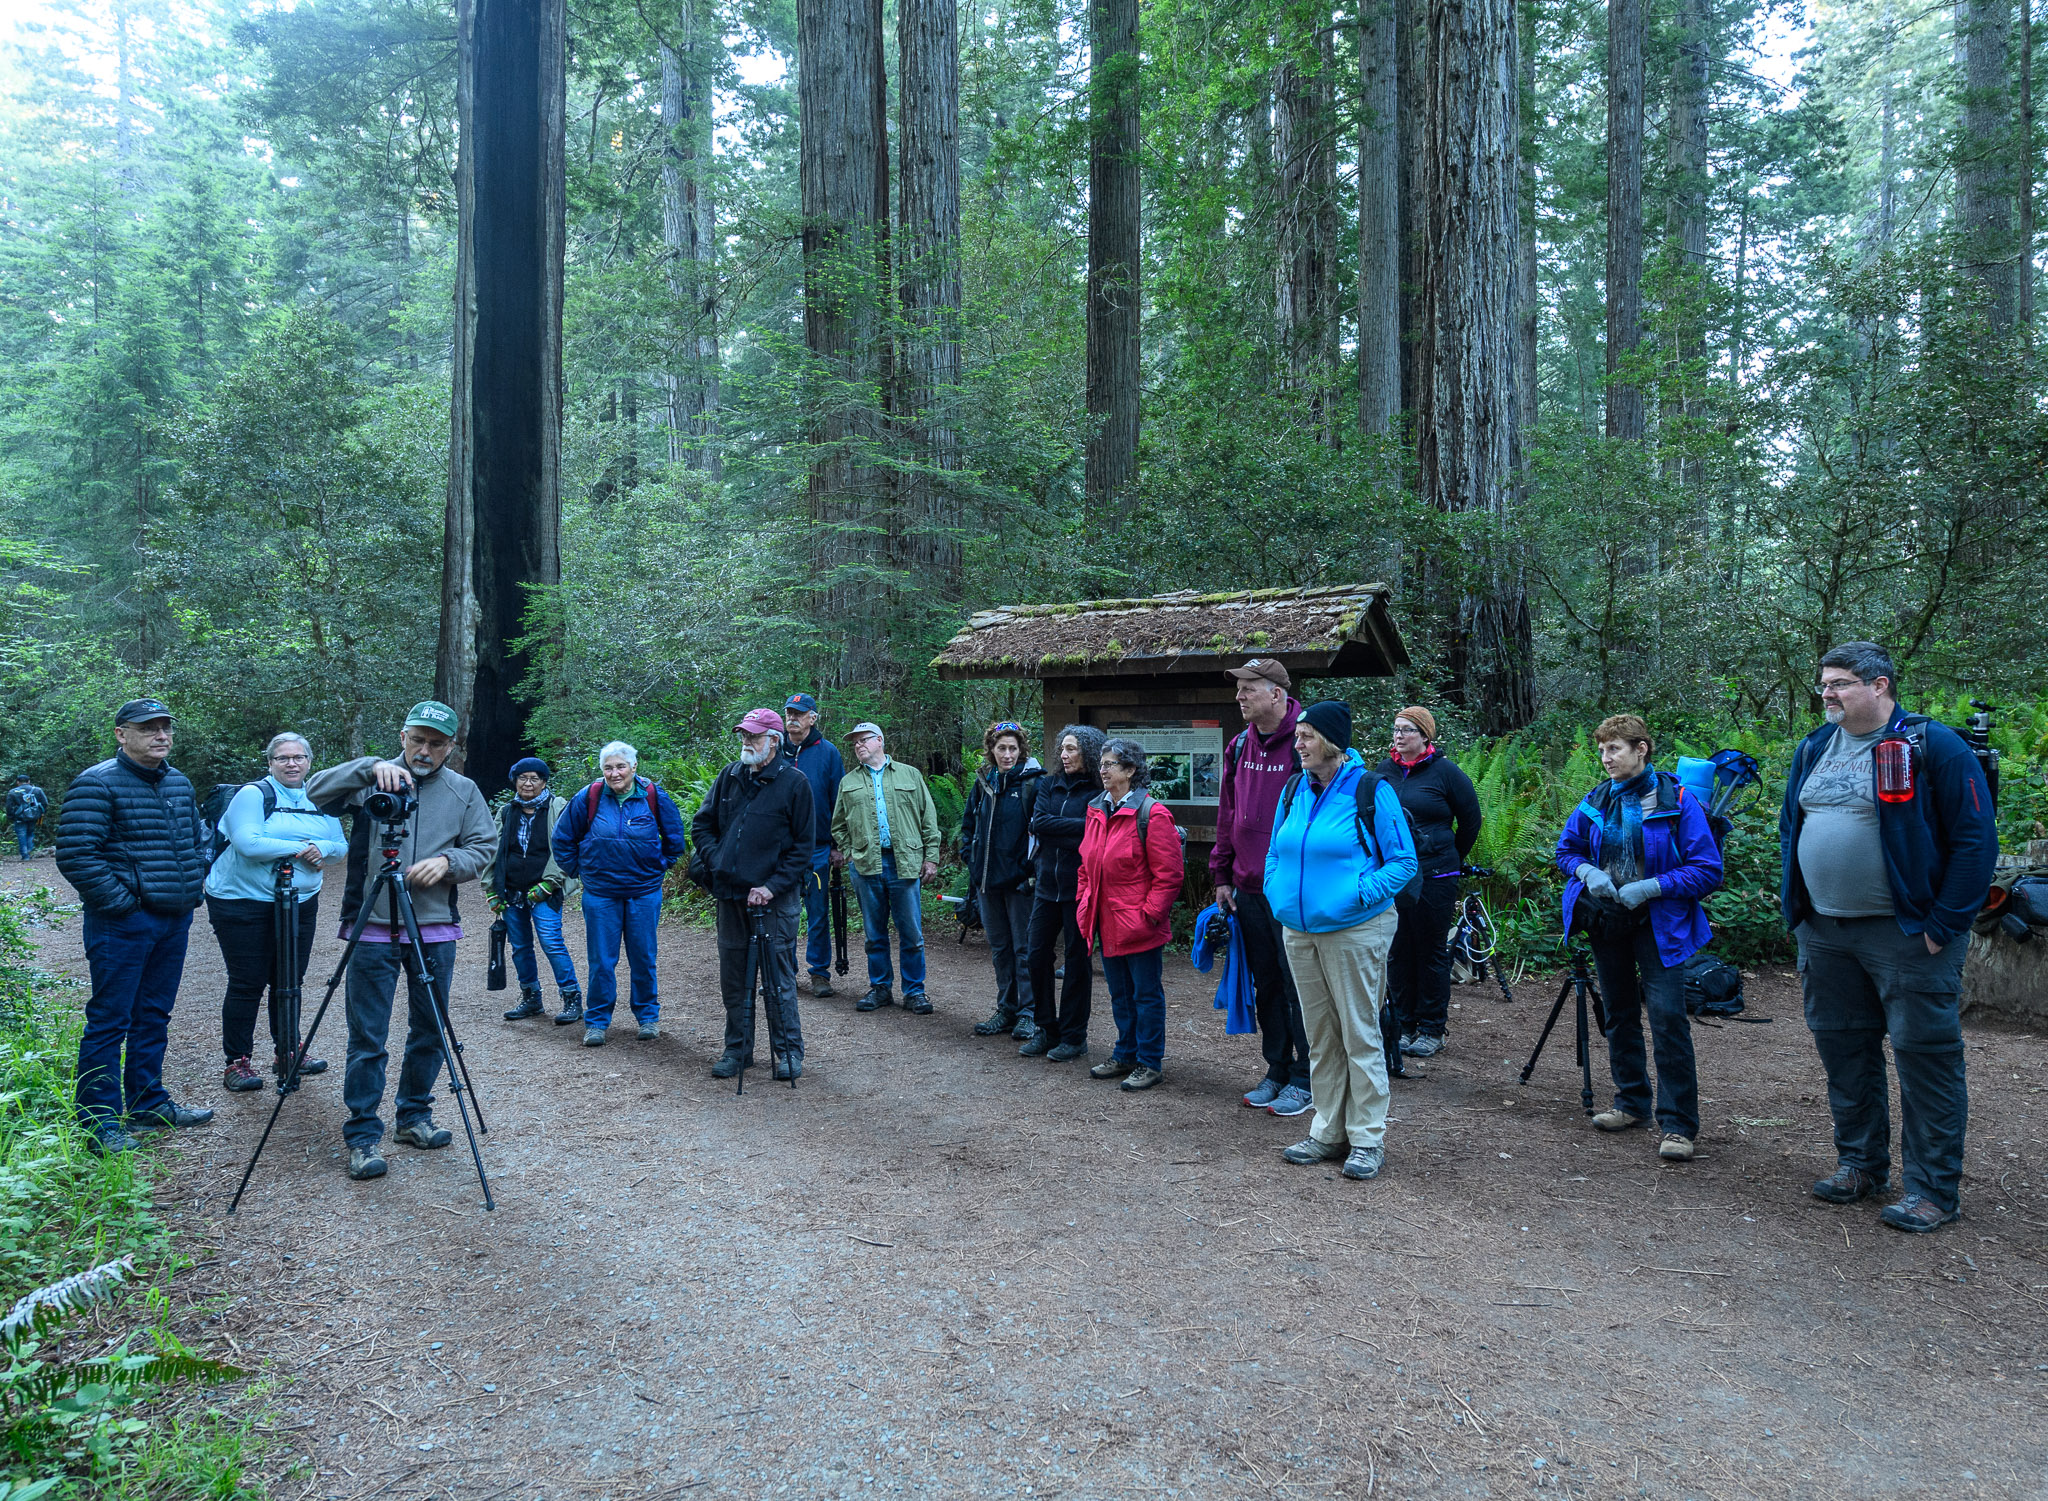
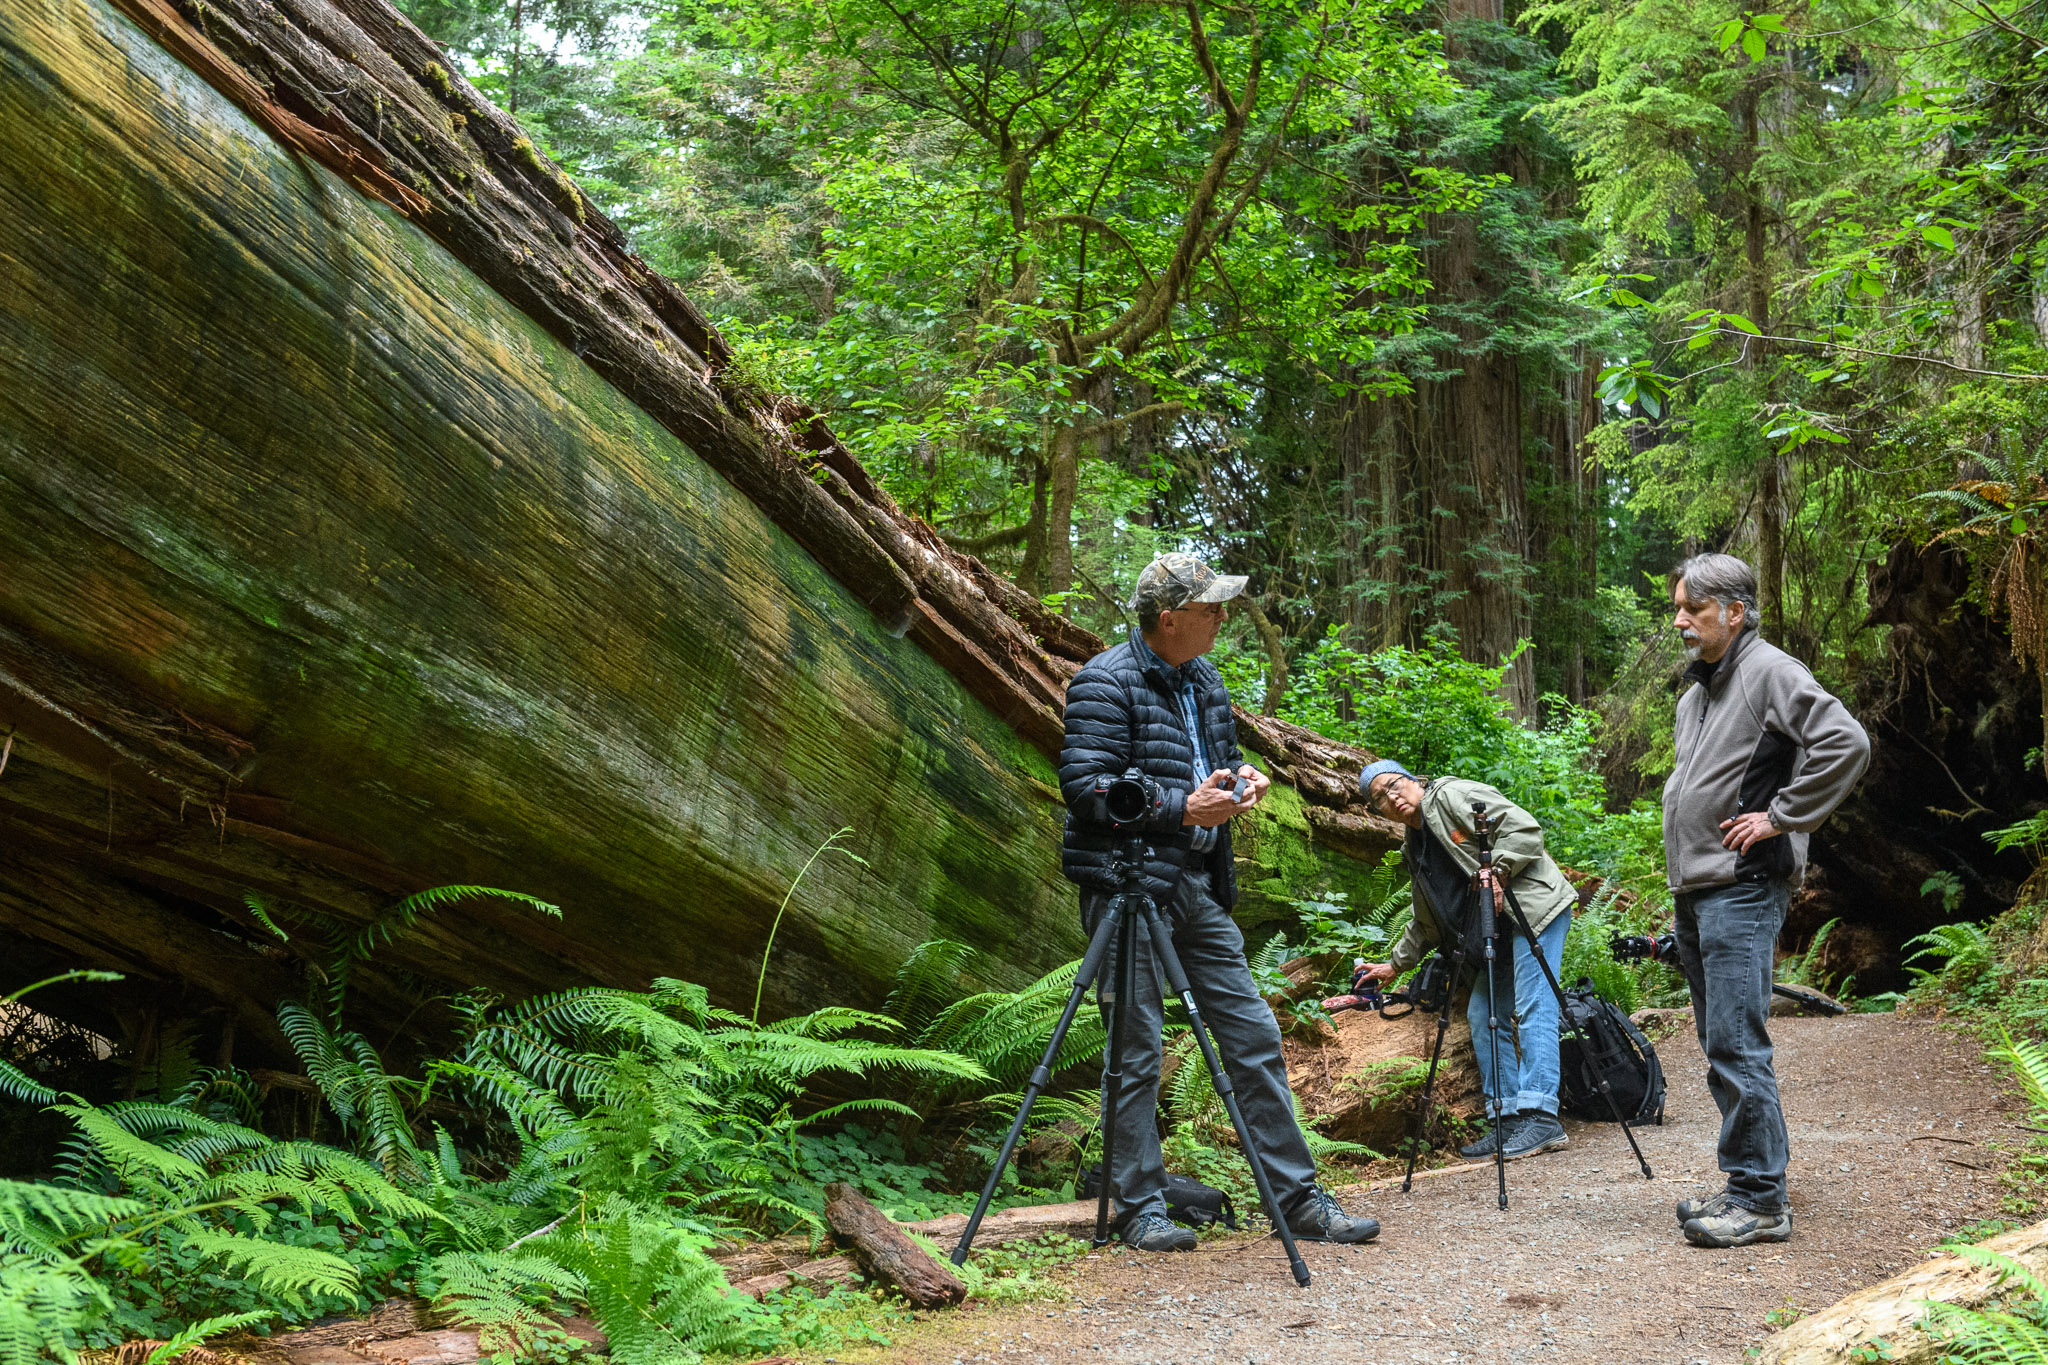
There are not many experiences that can compare to the awesomeness of walking in a redwood forest. Trees as tall as football fields are long, and sometimes 15 feet or more in diameter, have a way of clearing one’s mind and soothing one’s soul. They also tend to be rather difficult to photograph, in part due to their sheer enormity and in part because it can be difficult to work with your jaw dragging on the ground. It’s truly a breathtaking experience, similar to standing above the chasm of the Grand Canyon.

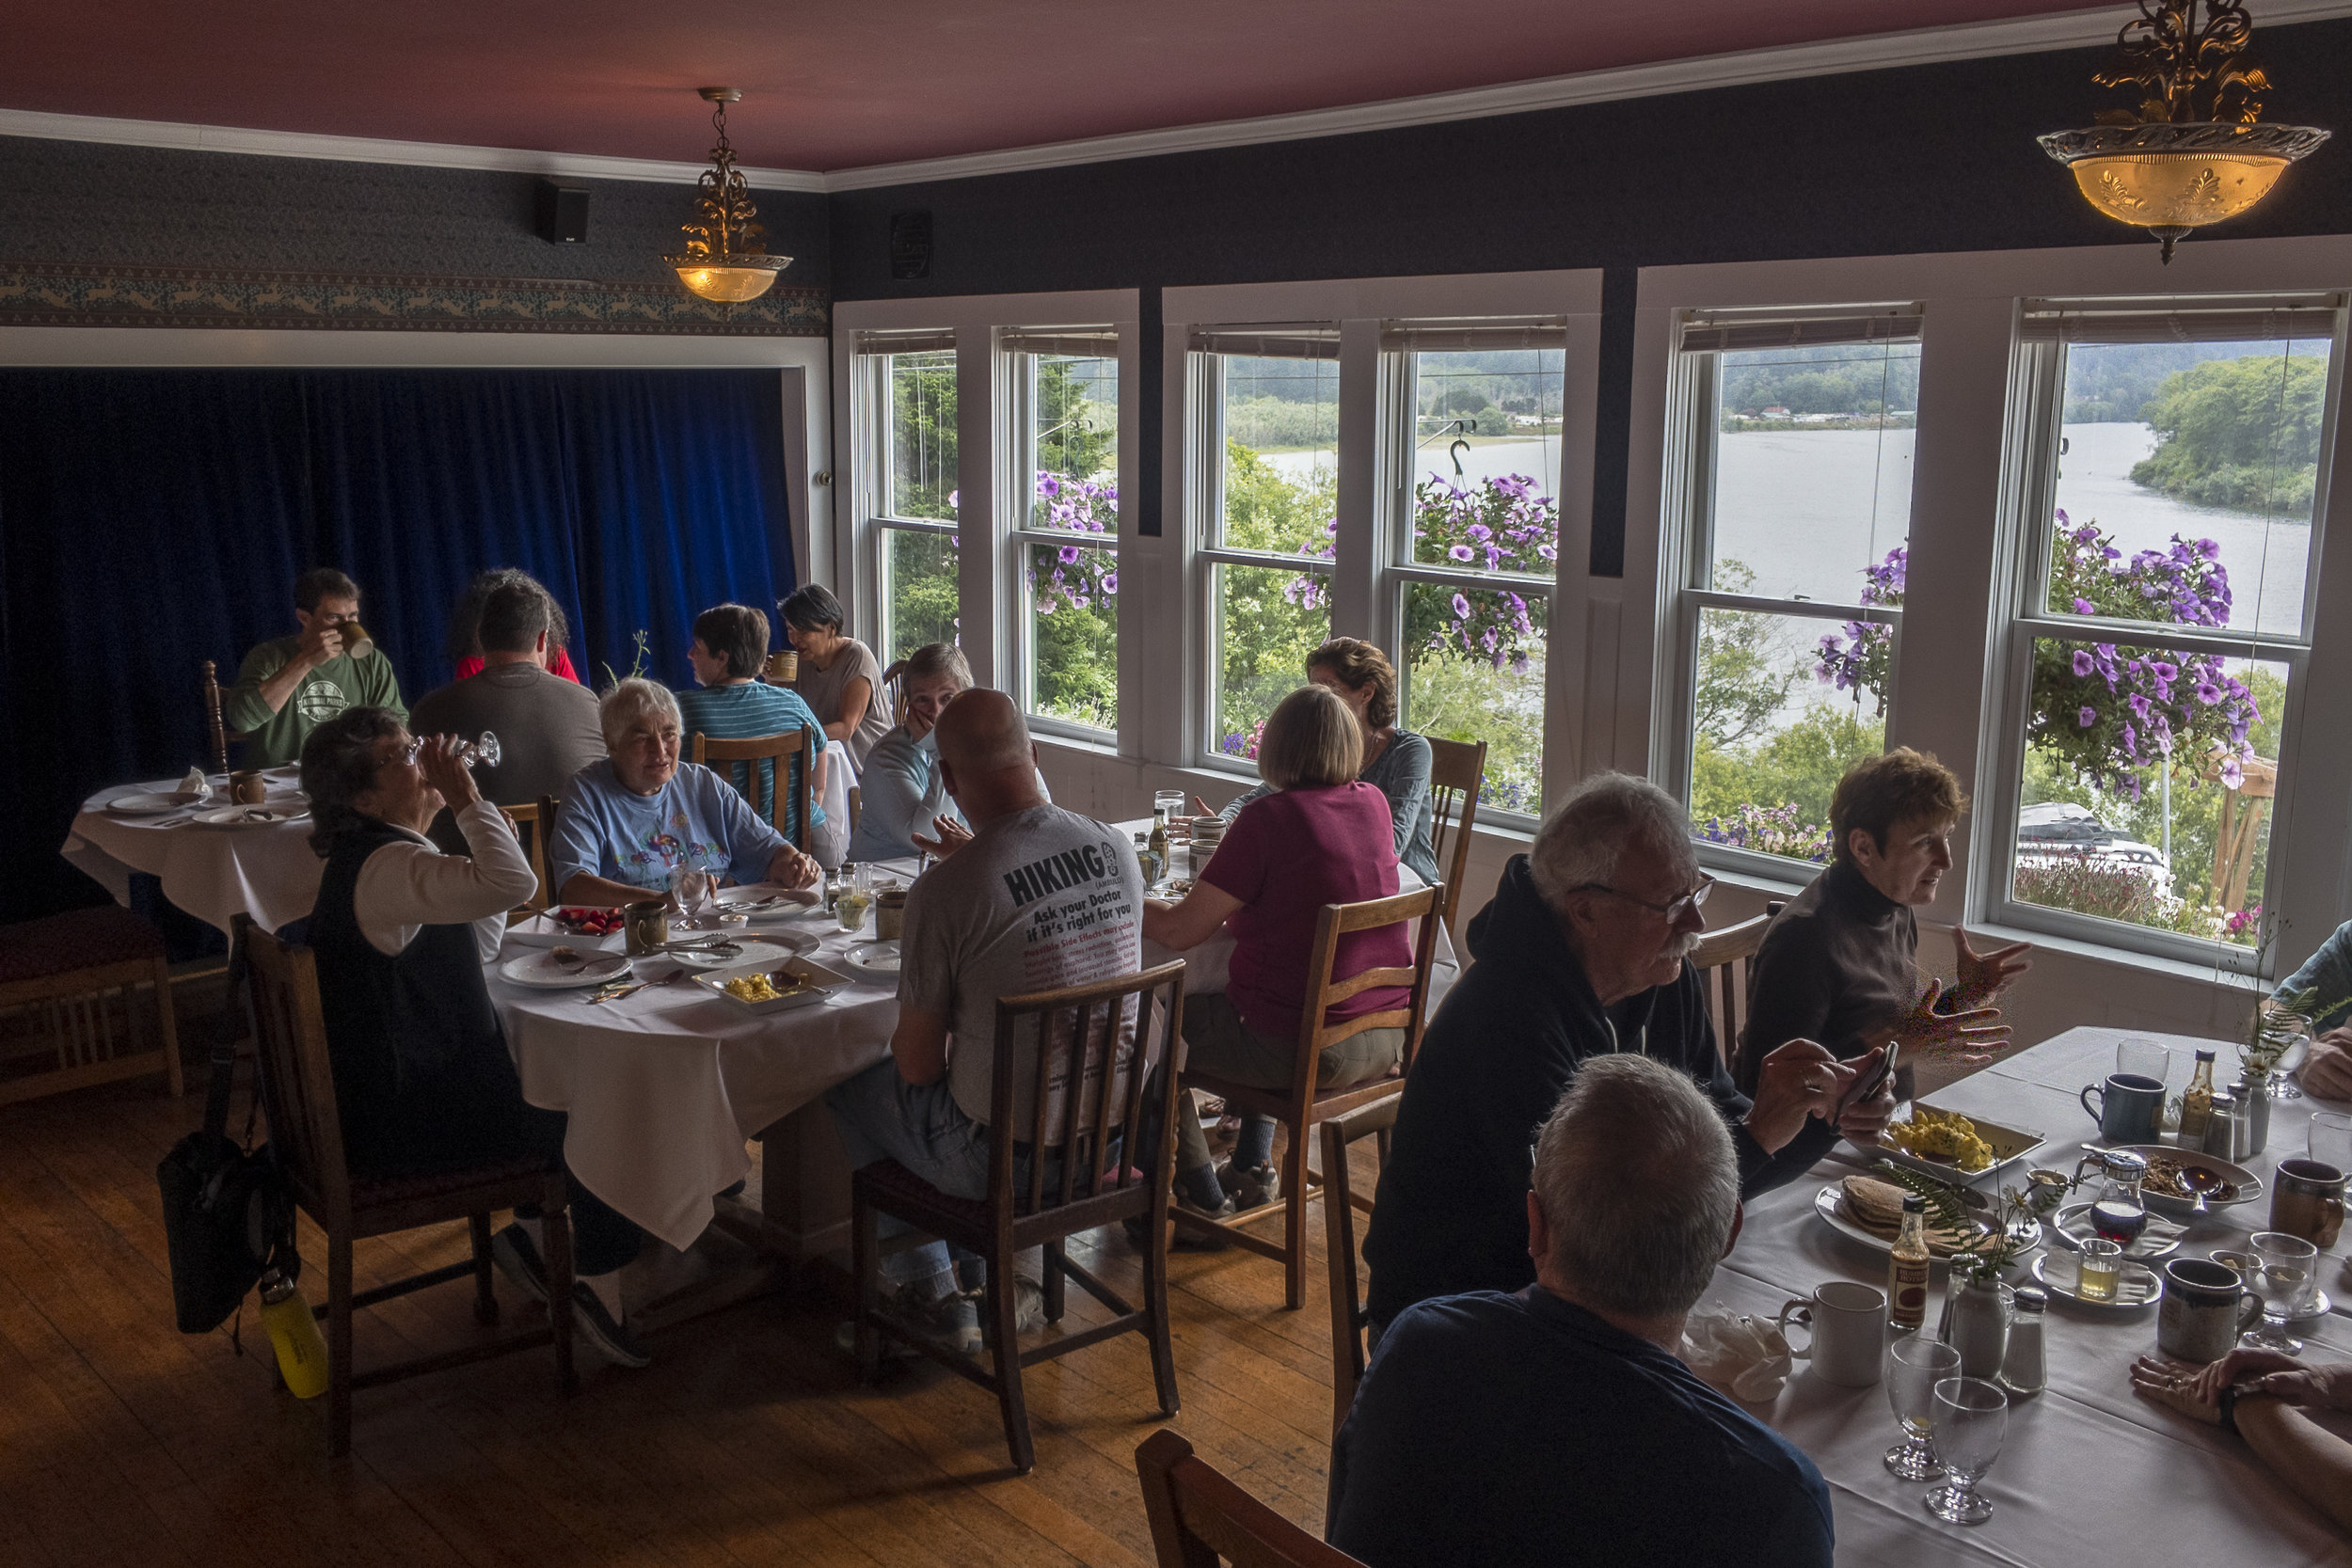
Our workshop was based at the historic Requa Inn in Klamath, California, which we had reserved in its entirety for our group. The small boutique hotel and restaurant proved to be the perfect base to explore the park––it was welcoming, comfortable and convenient, being situated more or less in the middle of the long stretch of shore that encompasses the redwoods and coastline that we were there to admire and photograph.

Because we had the run of the entire hotel, we were able to set the cooking schedule to our needs, with a late breakfast and early supper, enabling us to both sleep in and to get out into the forest to photograph while there was still some available light to work with. Did I mention it was dark in the forest? Only 3 percent of sunlight penetrates the canopy and filters down to the forest floor, so theoretically, the same goes for moonlight and starlight—so yeah, it was dark in there.

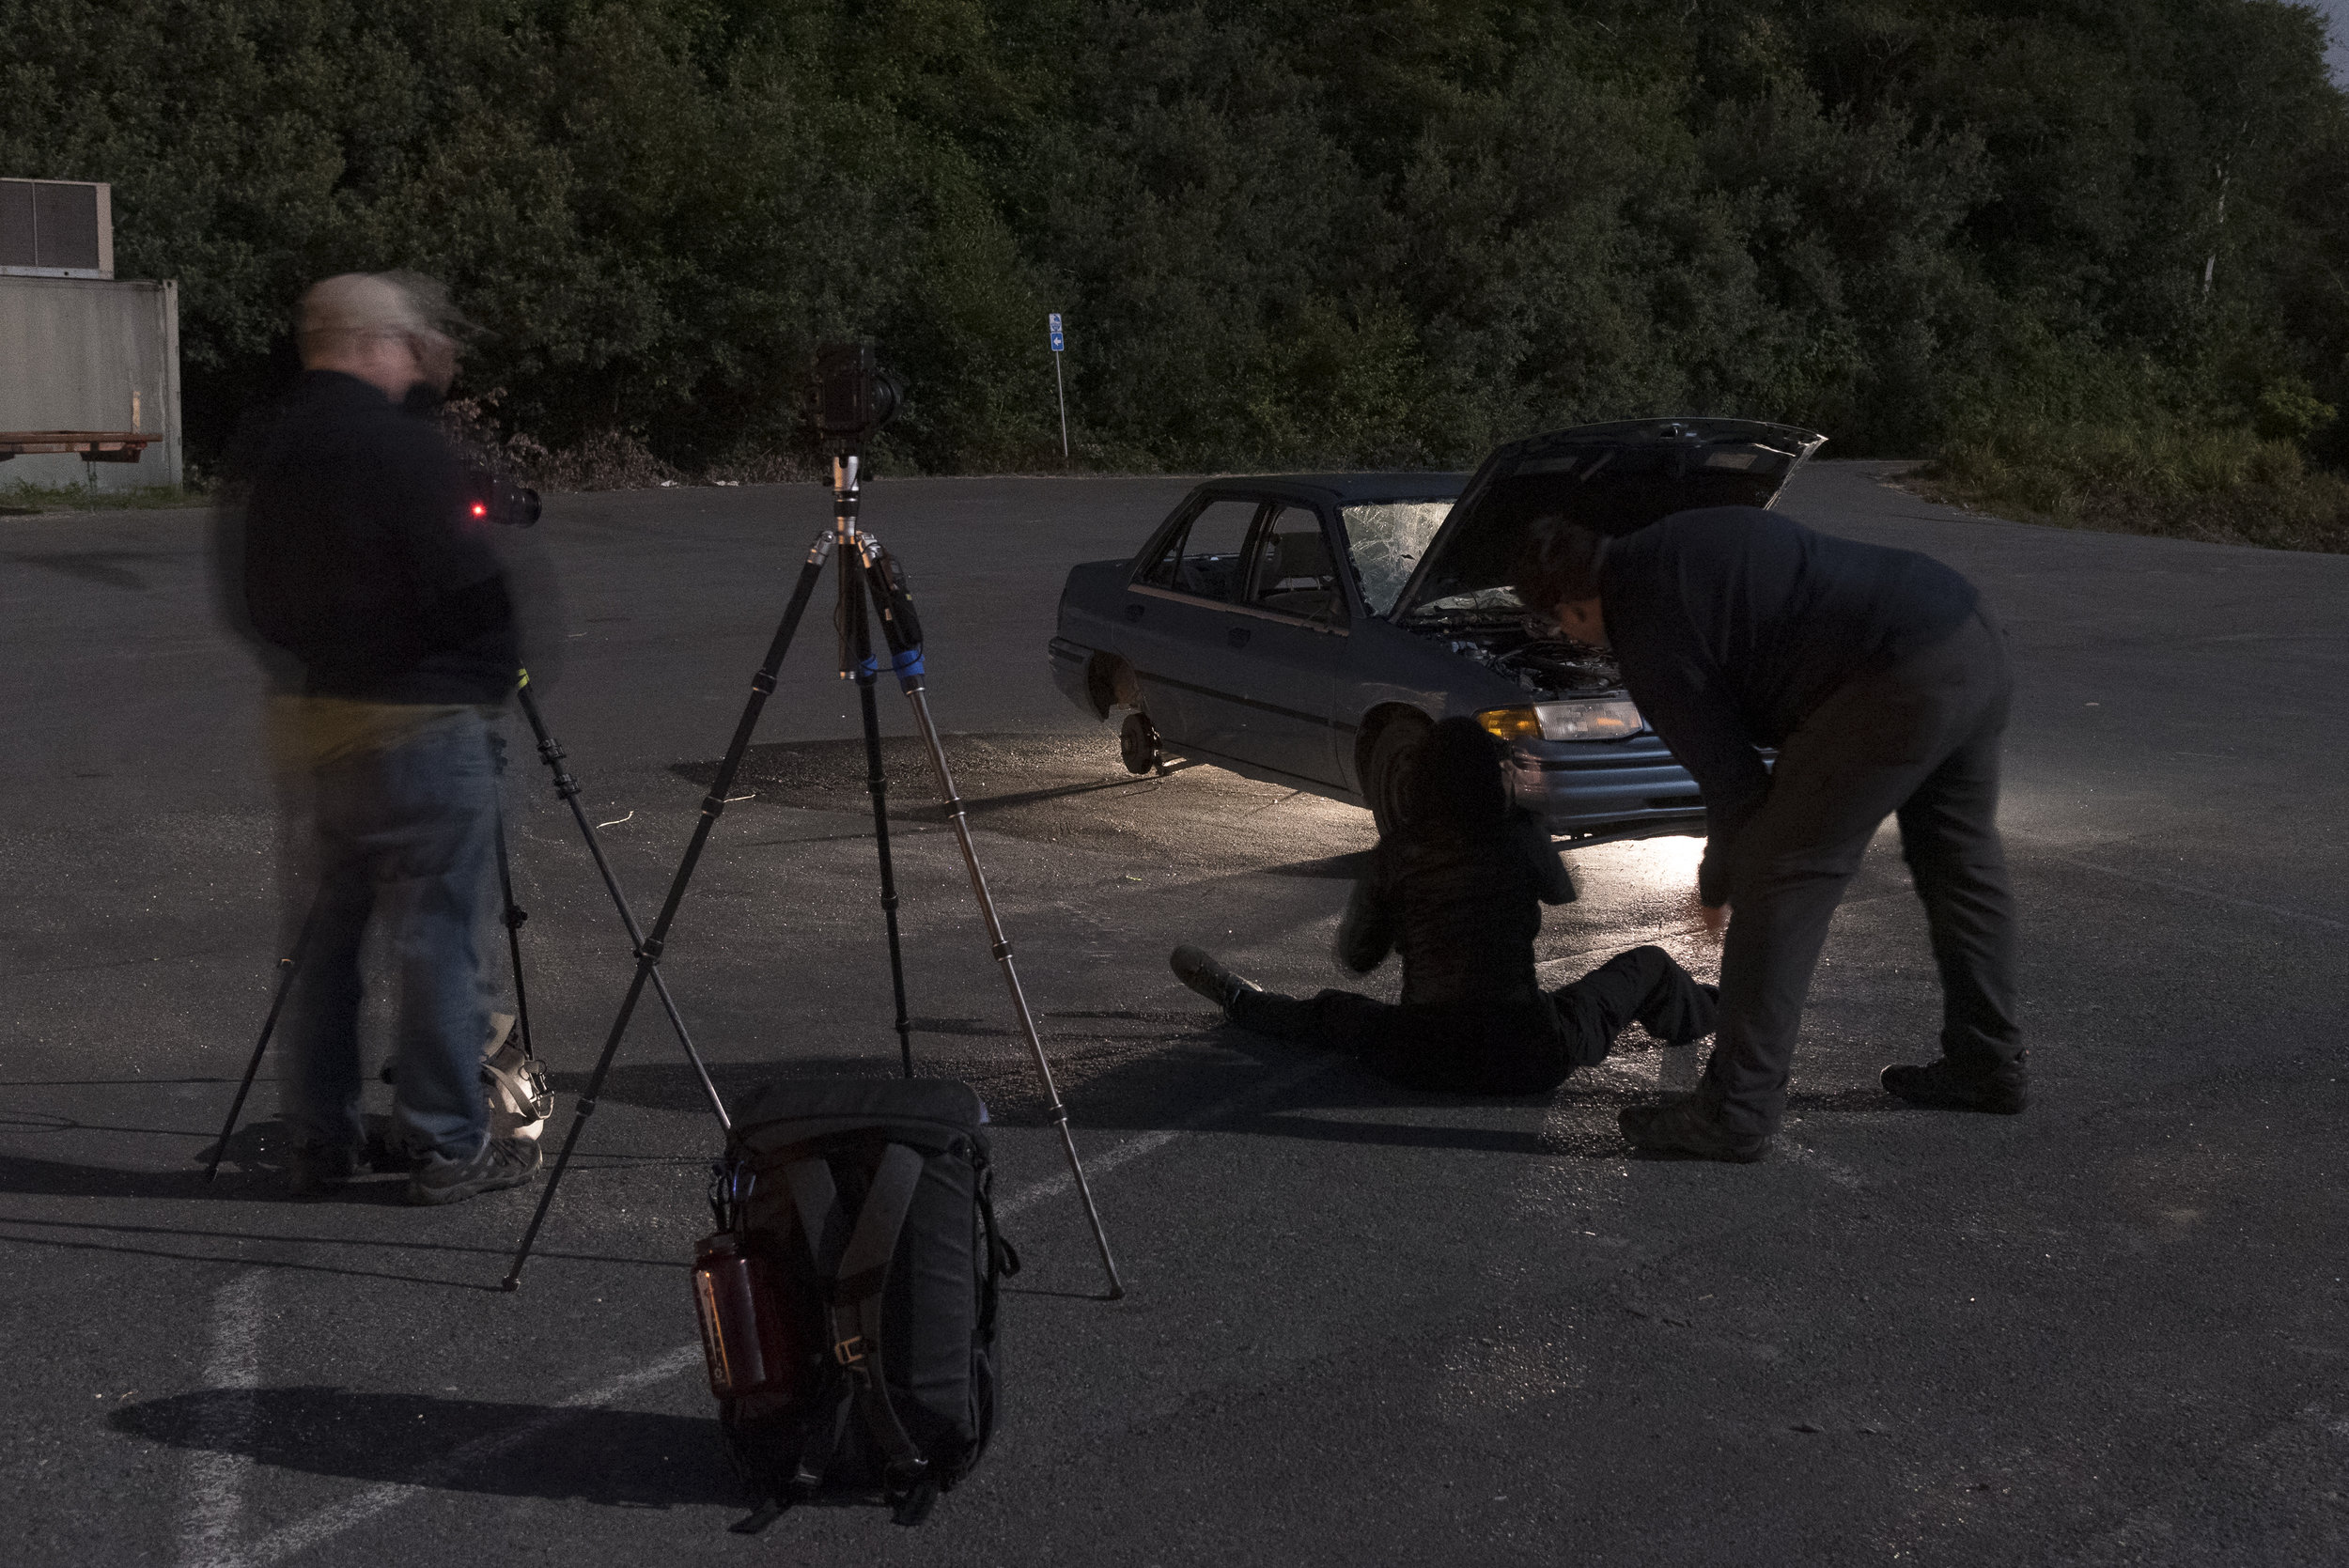
Chris and I arrived a couple of days early and determined that the best strategy for the group would be to arrive in the forest before sunset and figure out a composition or two while we could still see our cameras on the tripod in front of us. Light painting was a critical component of every shot, and workshop veterans and newbies alike were both challenged and inspired.

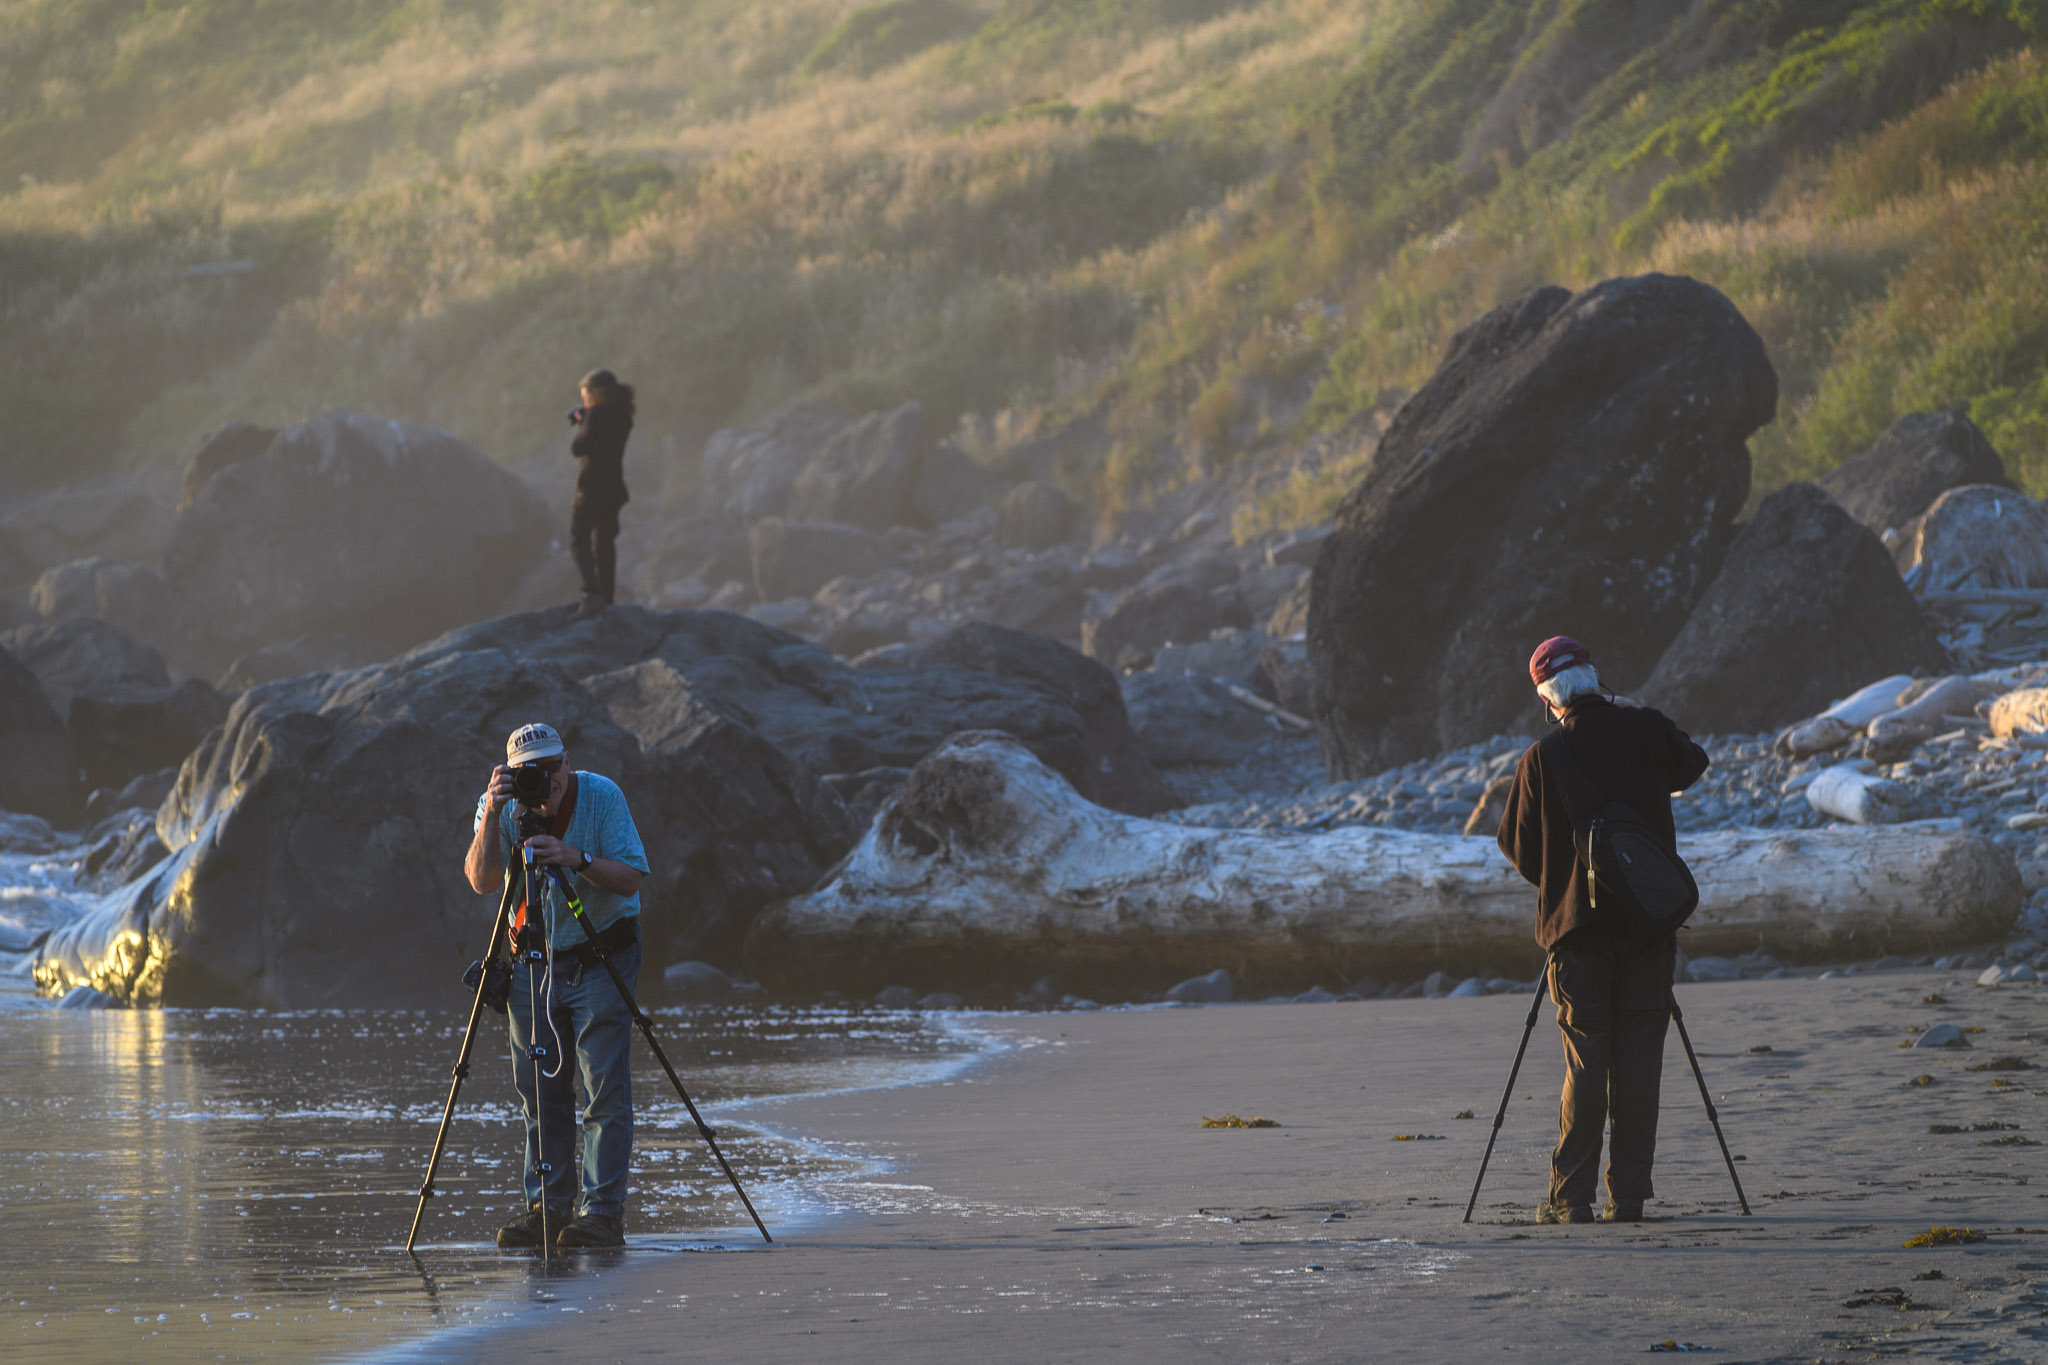
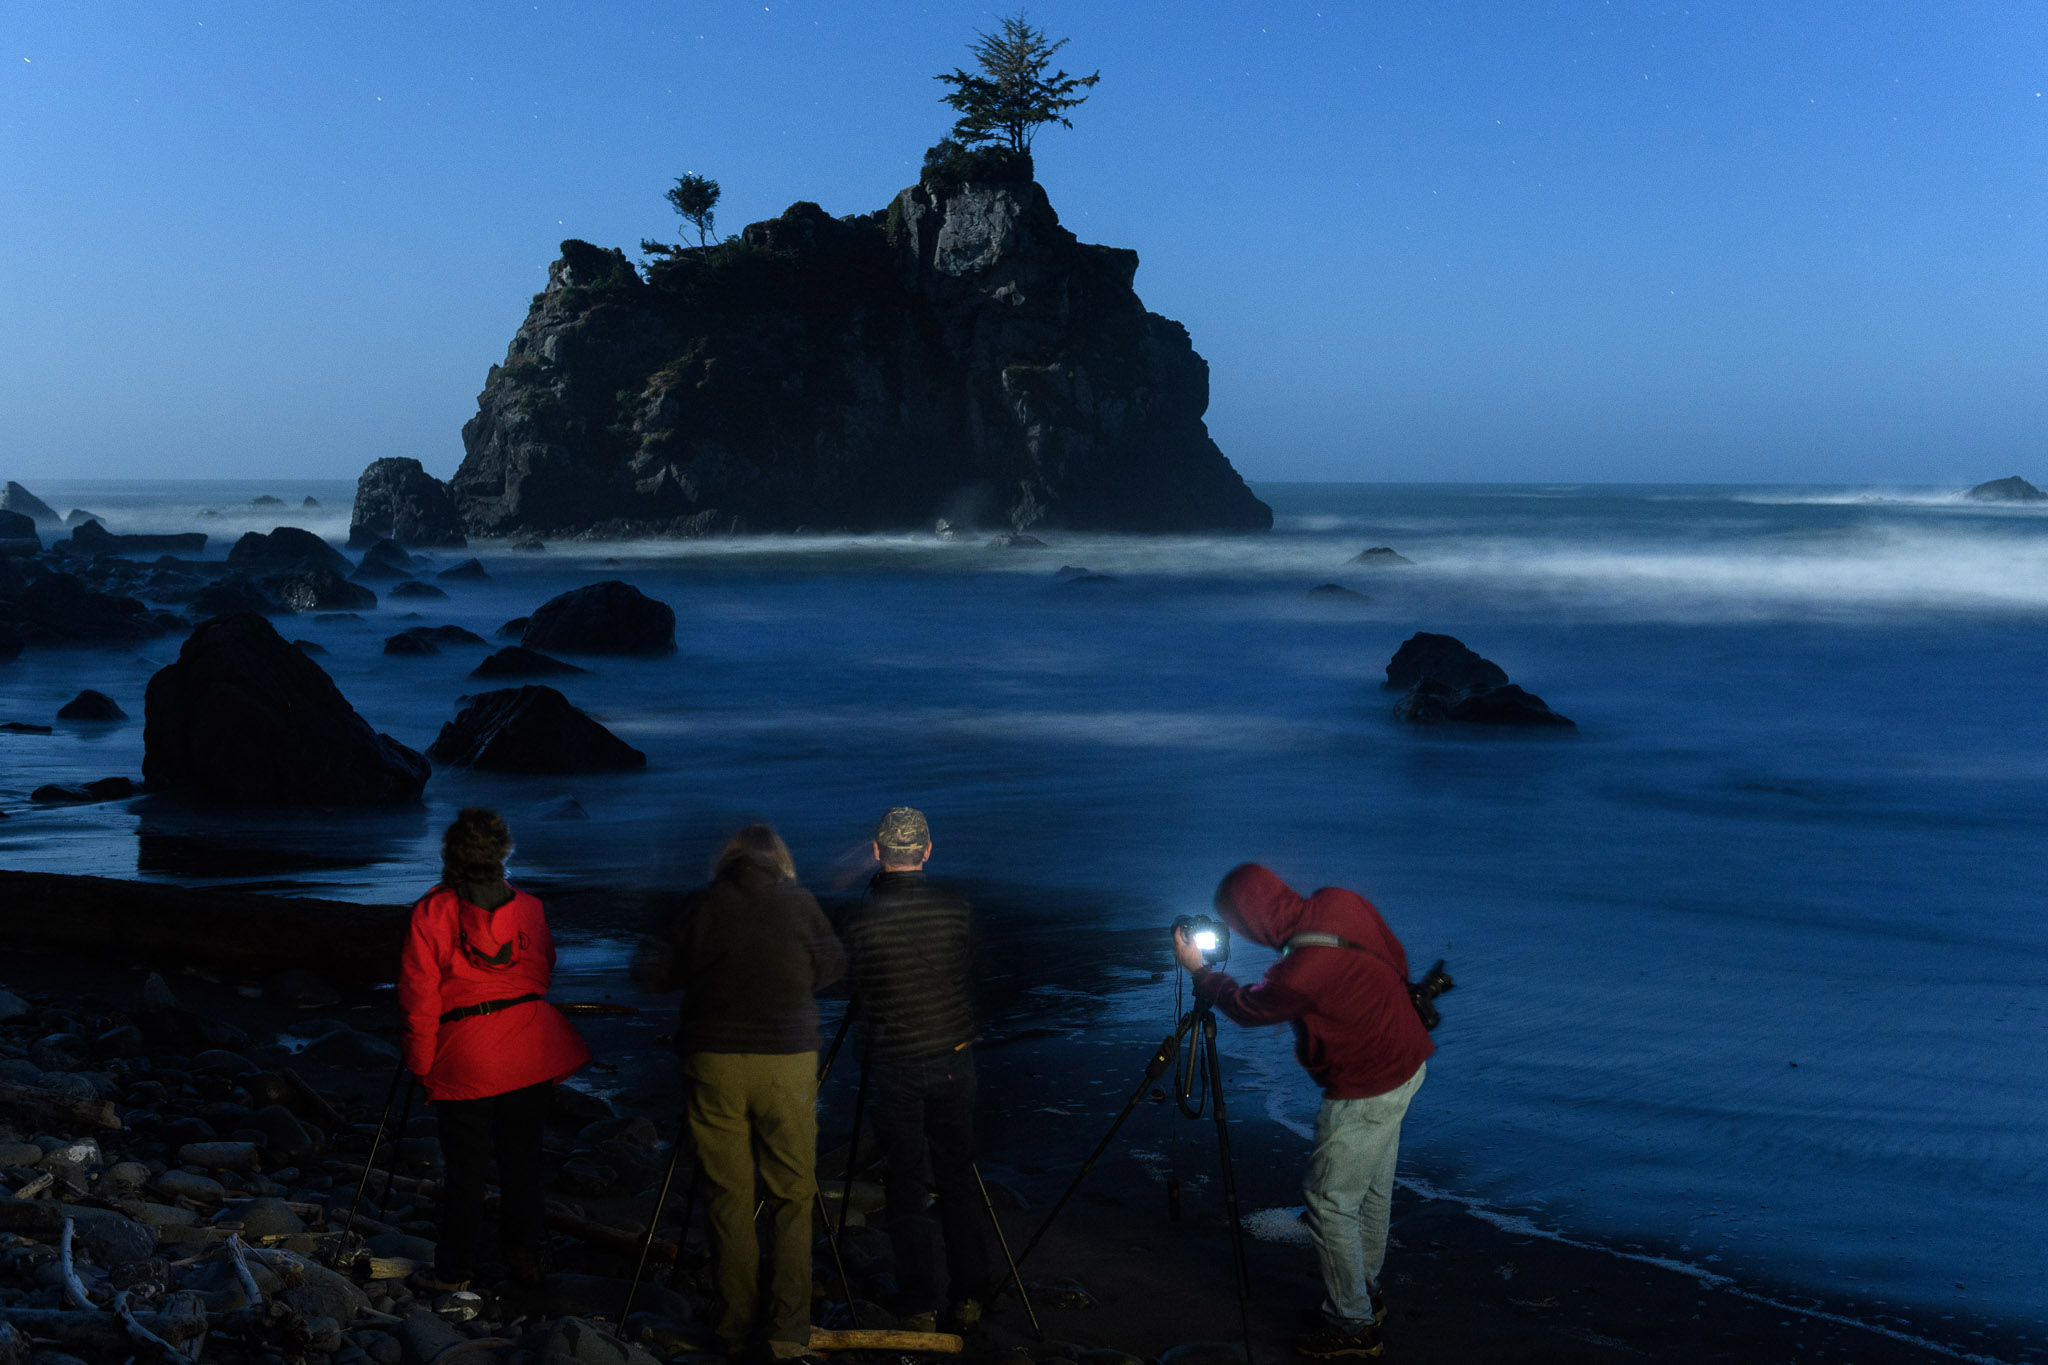
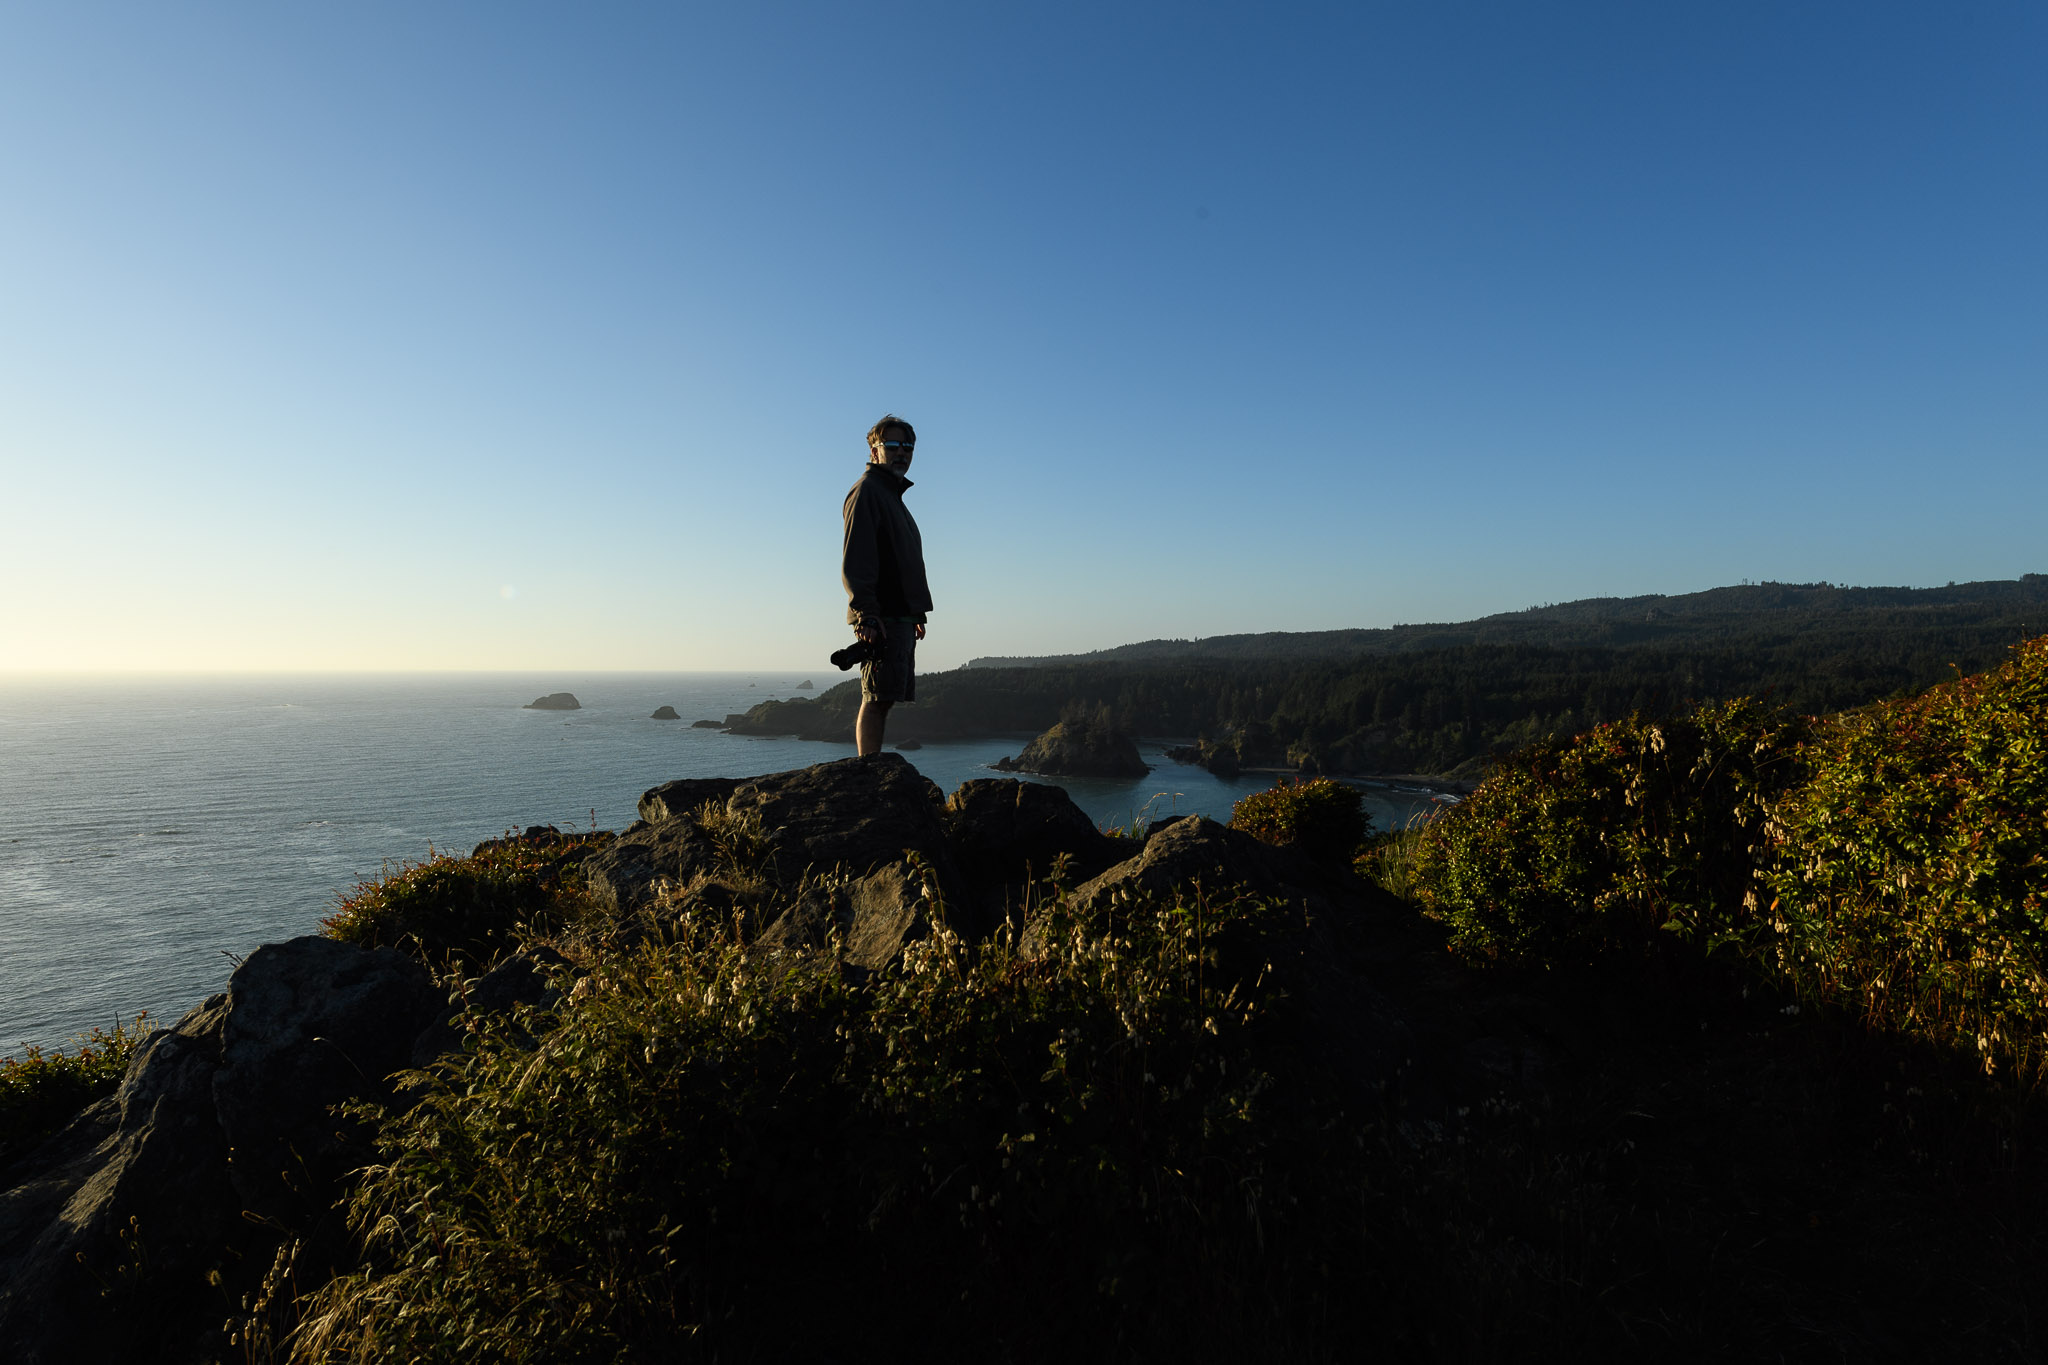
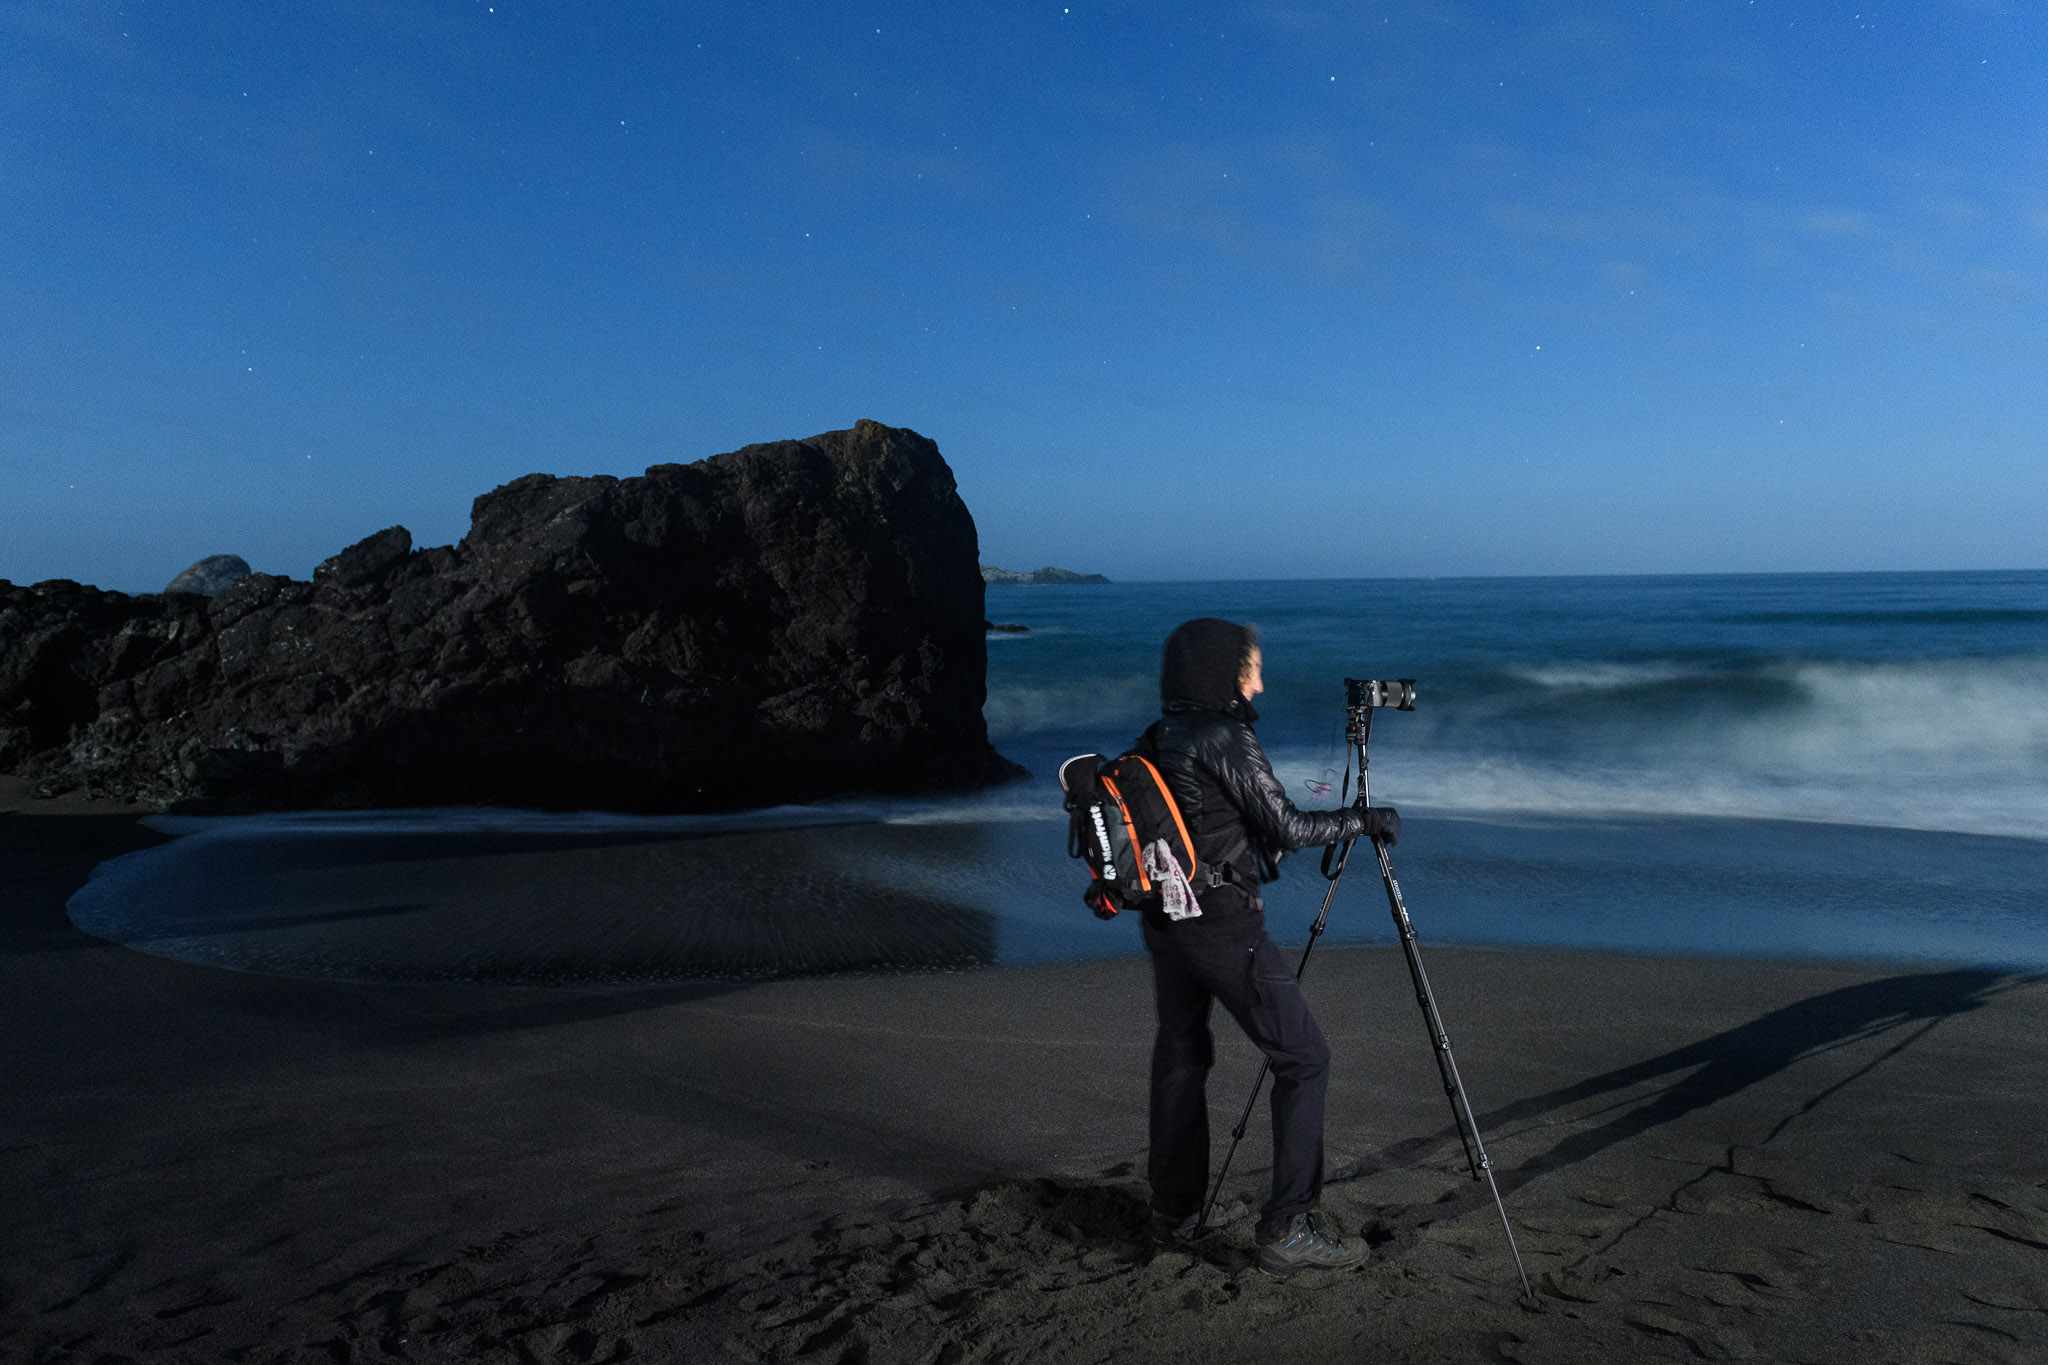
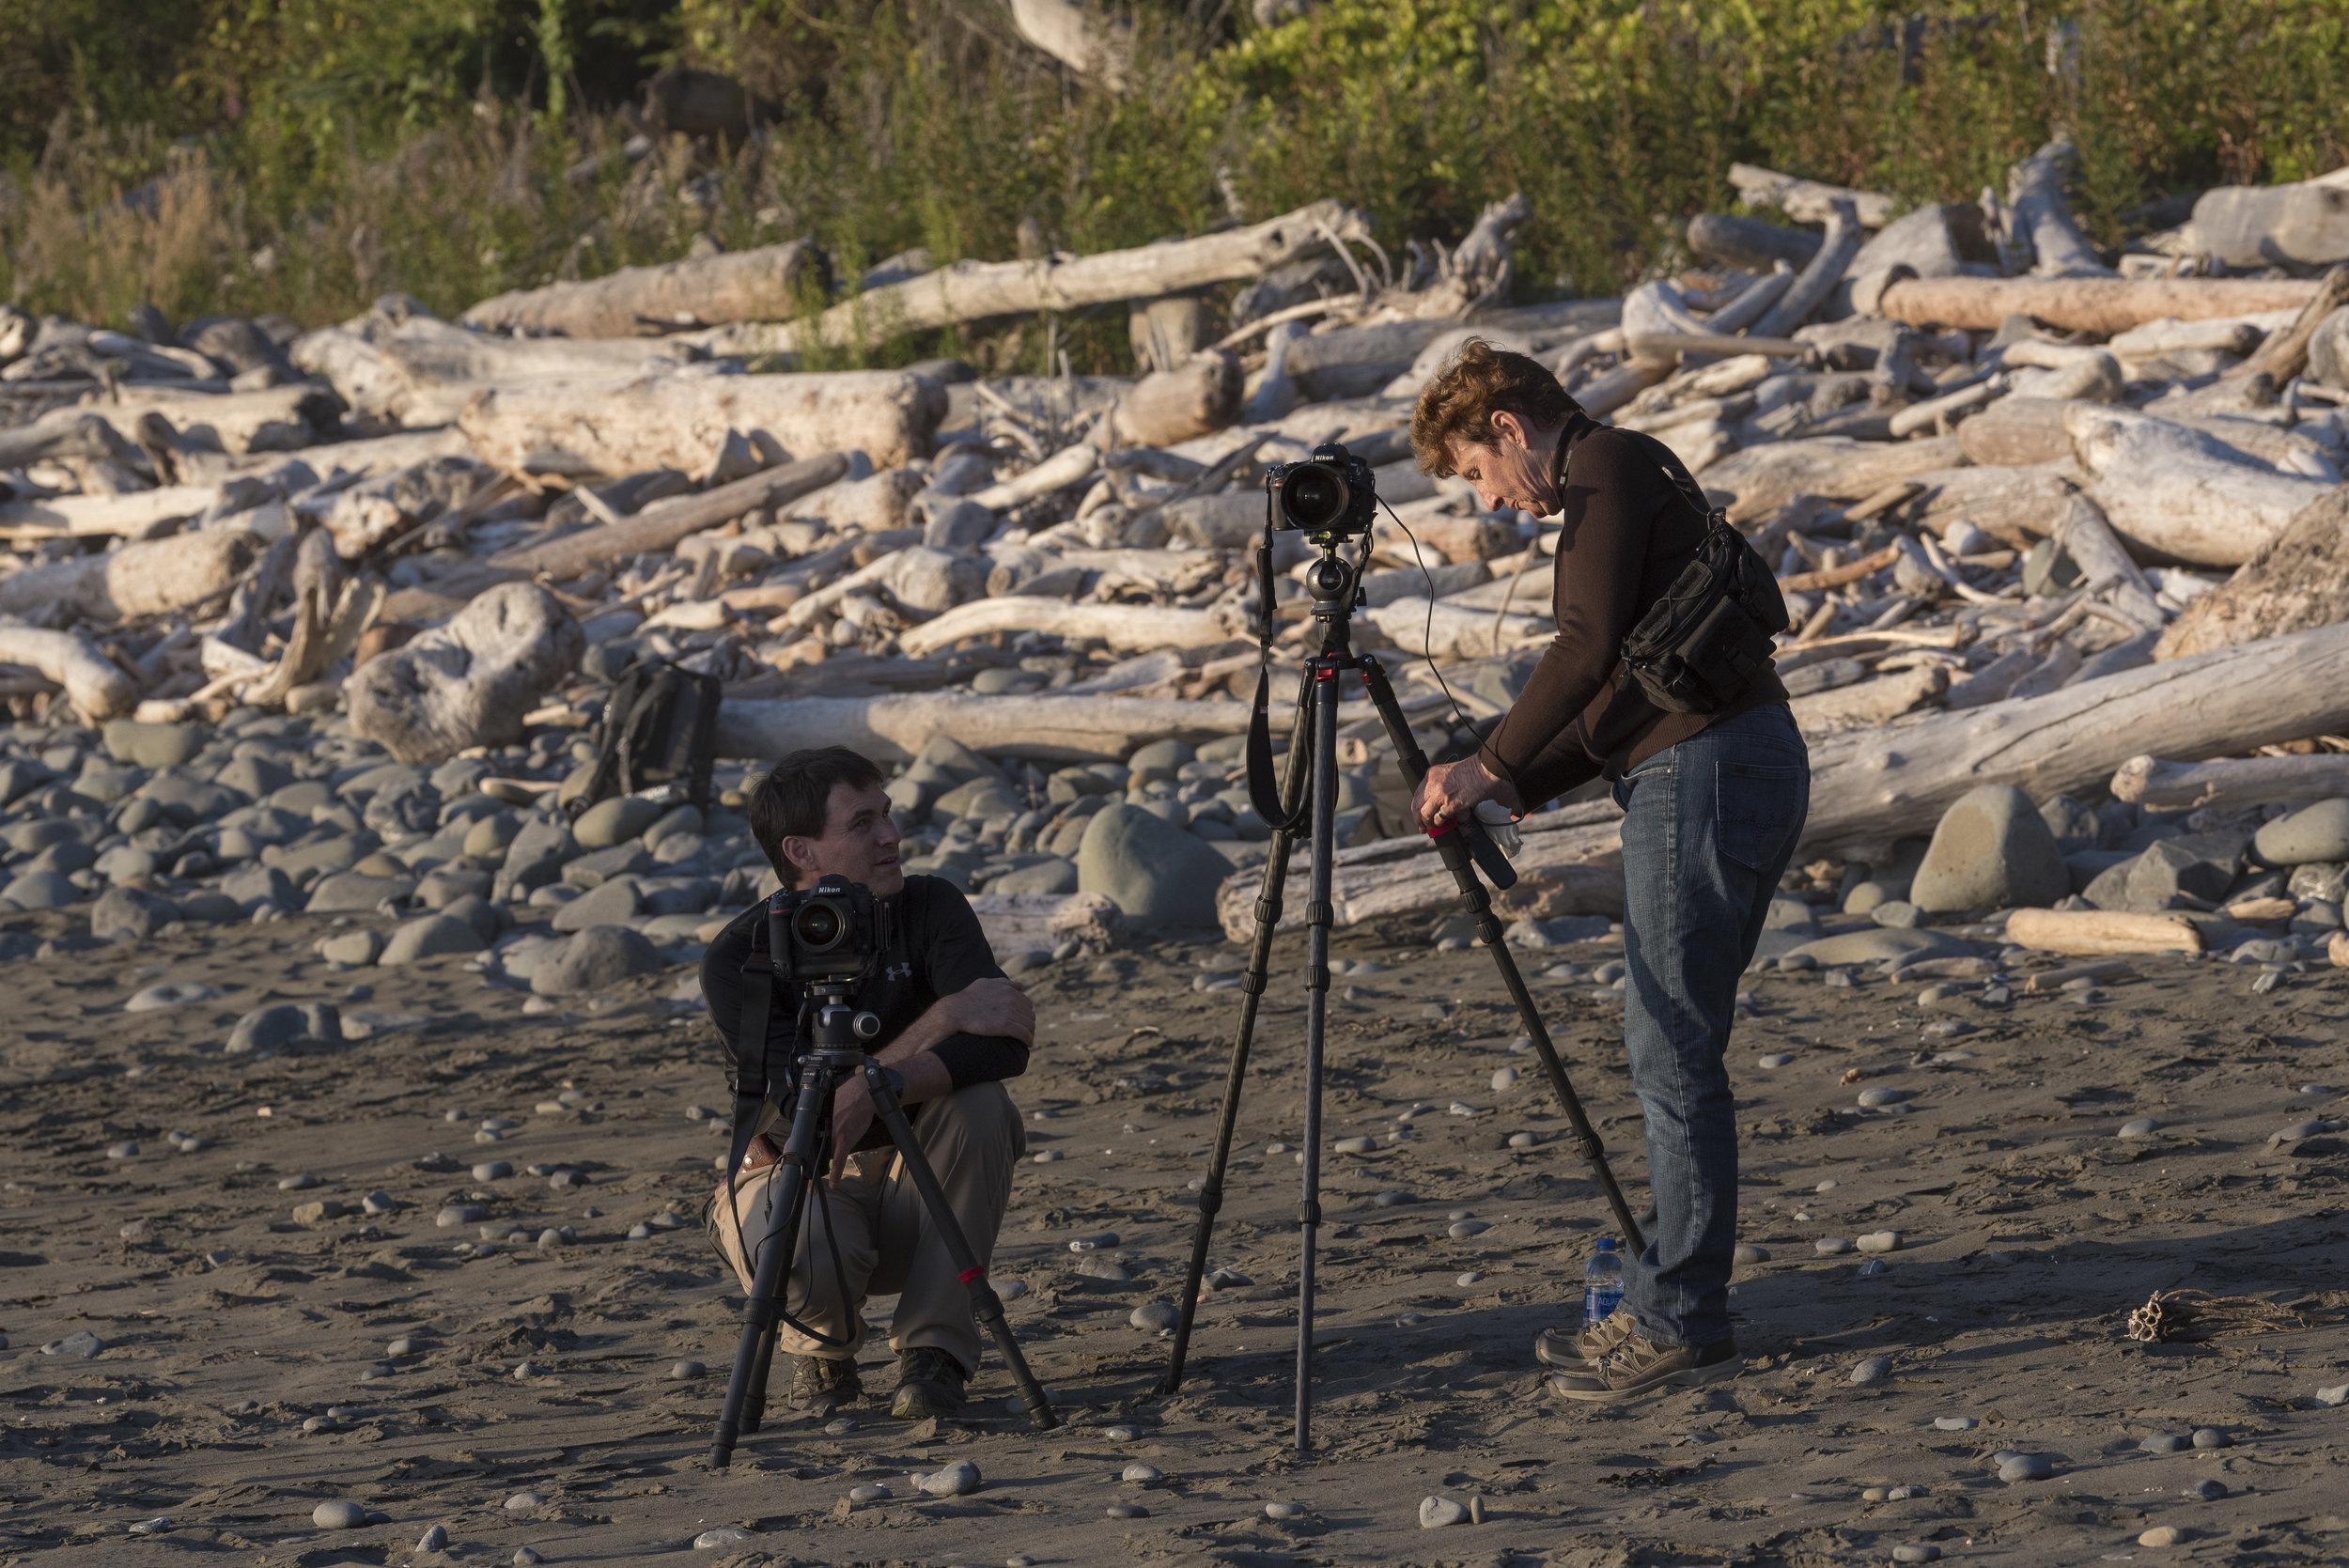
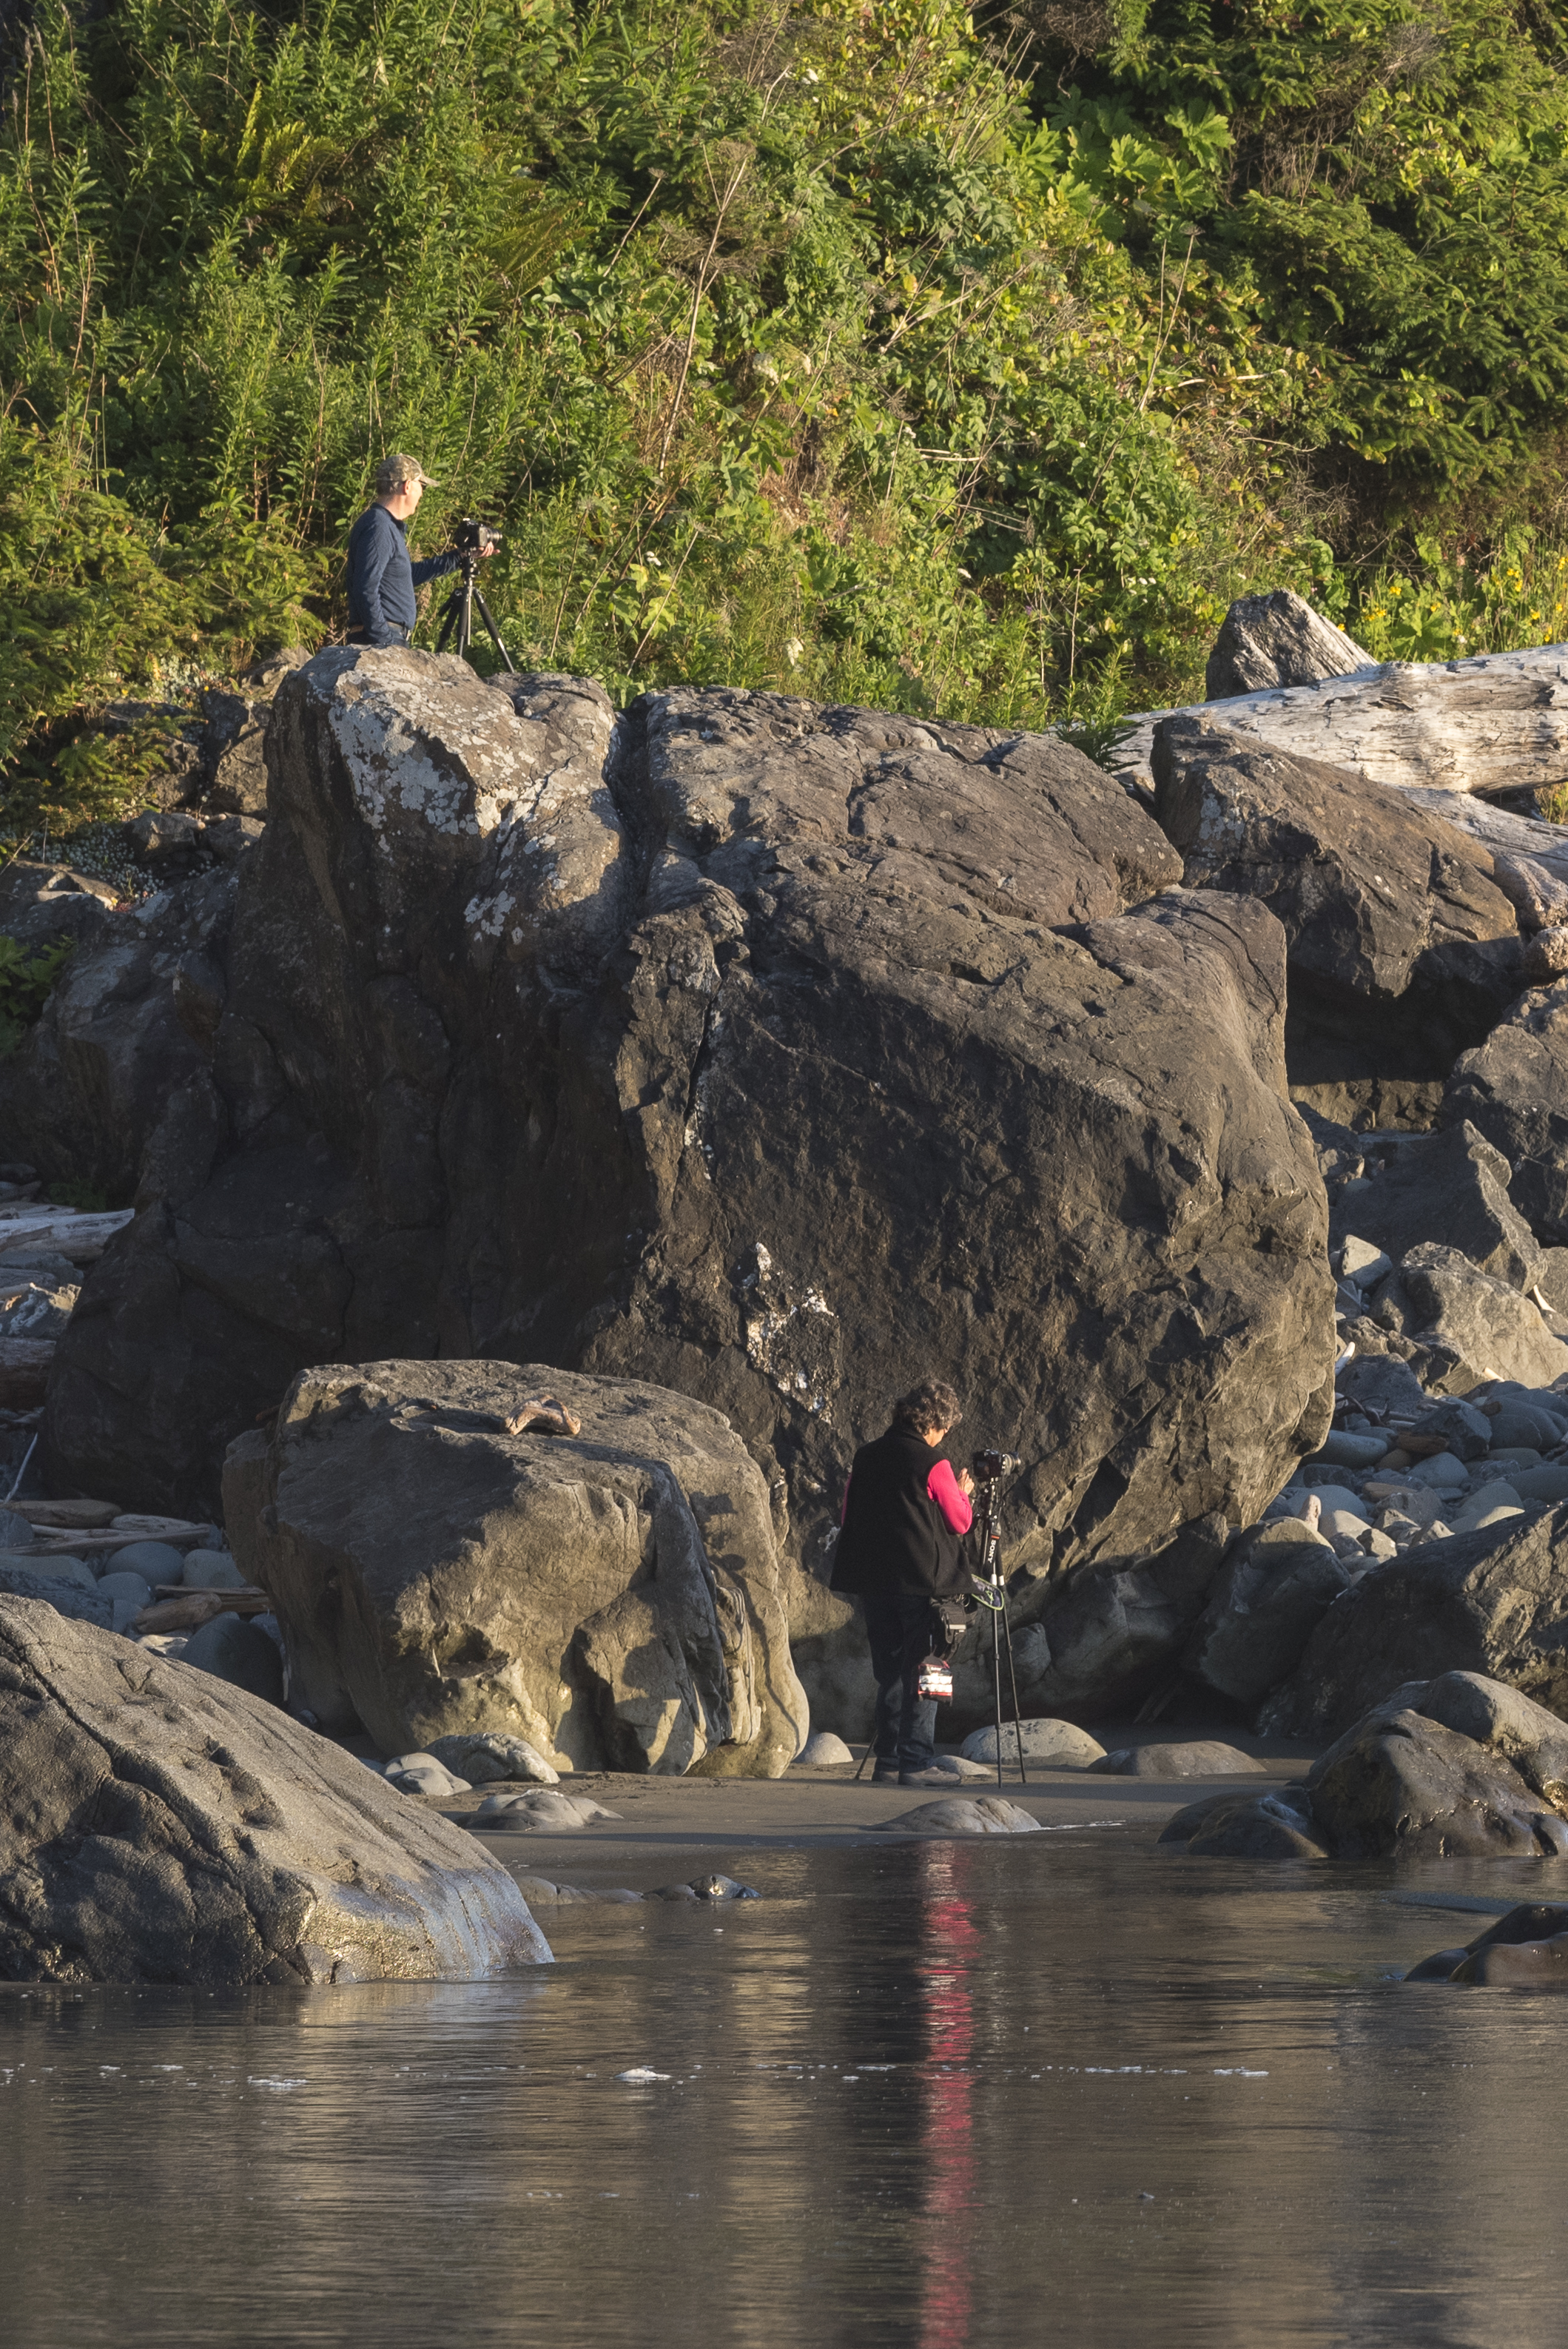
While the true stars of the park are the trees, the coastline of far-northern California is spectacular in itself, and we divided our time between the two. We spent a night outside of the park at the outstanding beach in the small town of Trinidad. And one of the highlights of the workshop occurred on the last night when two of our veteran participants led an impromptu light writing extravaganza for everyone at the aptly named Big Tree. It was a great way to end a spectacular week.

Blue Ridge Parkway

July 29-August 4
by Chris Nicholson

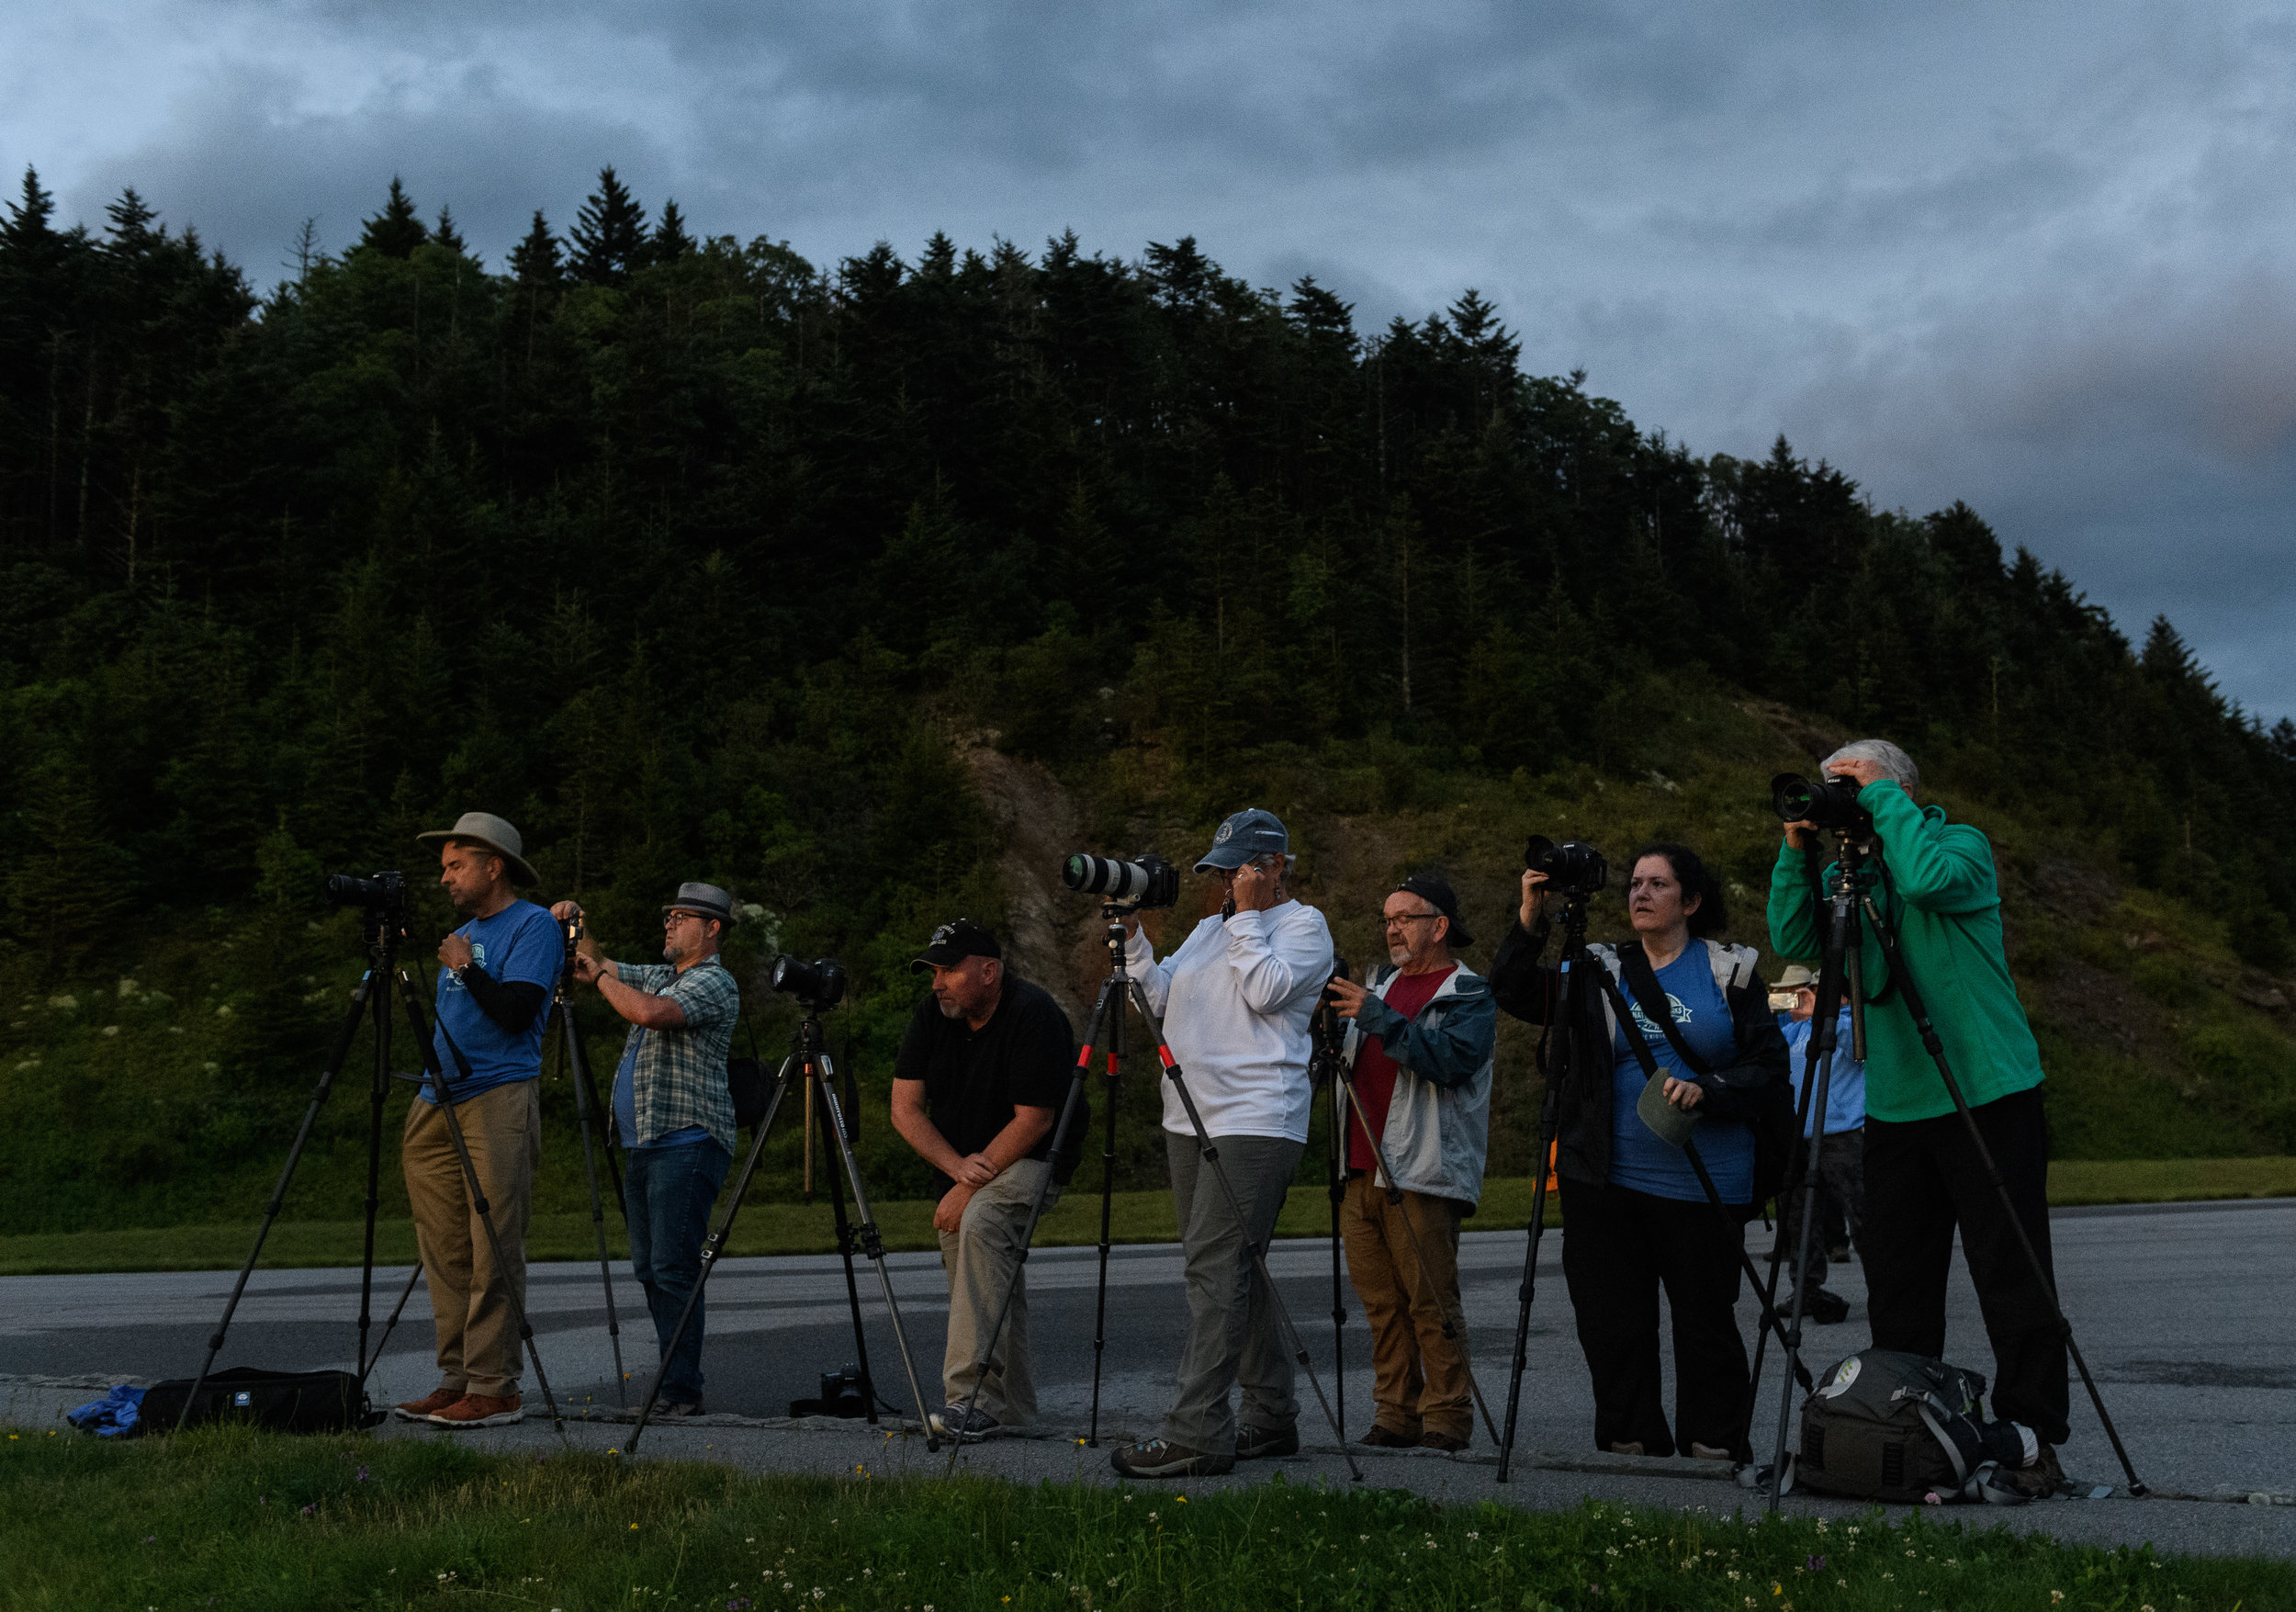
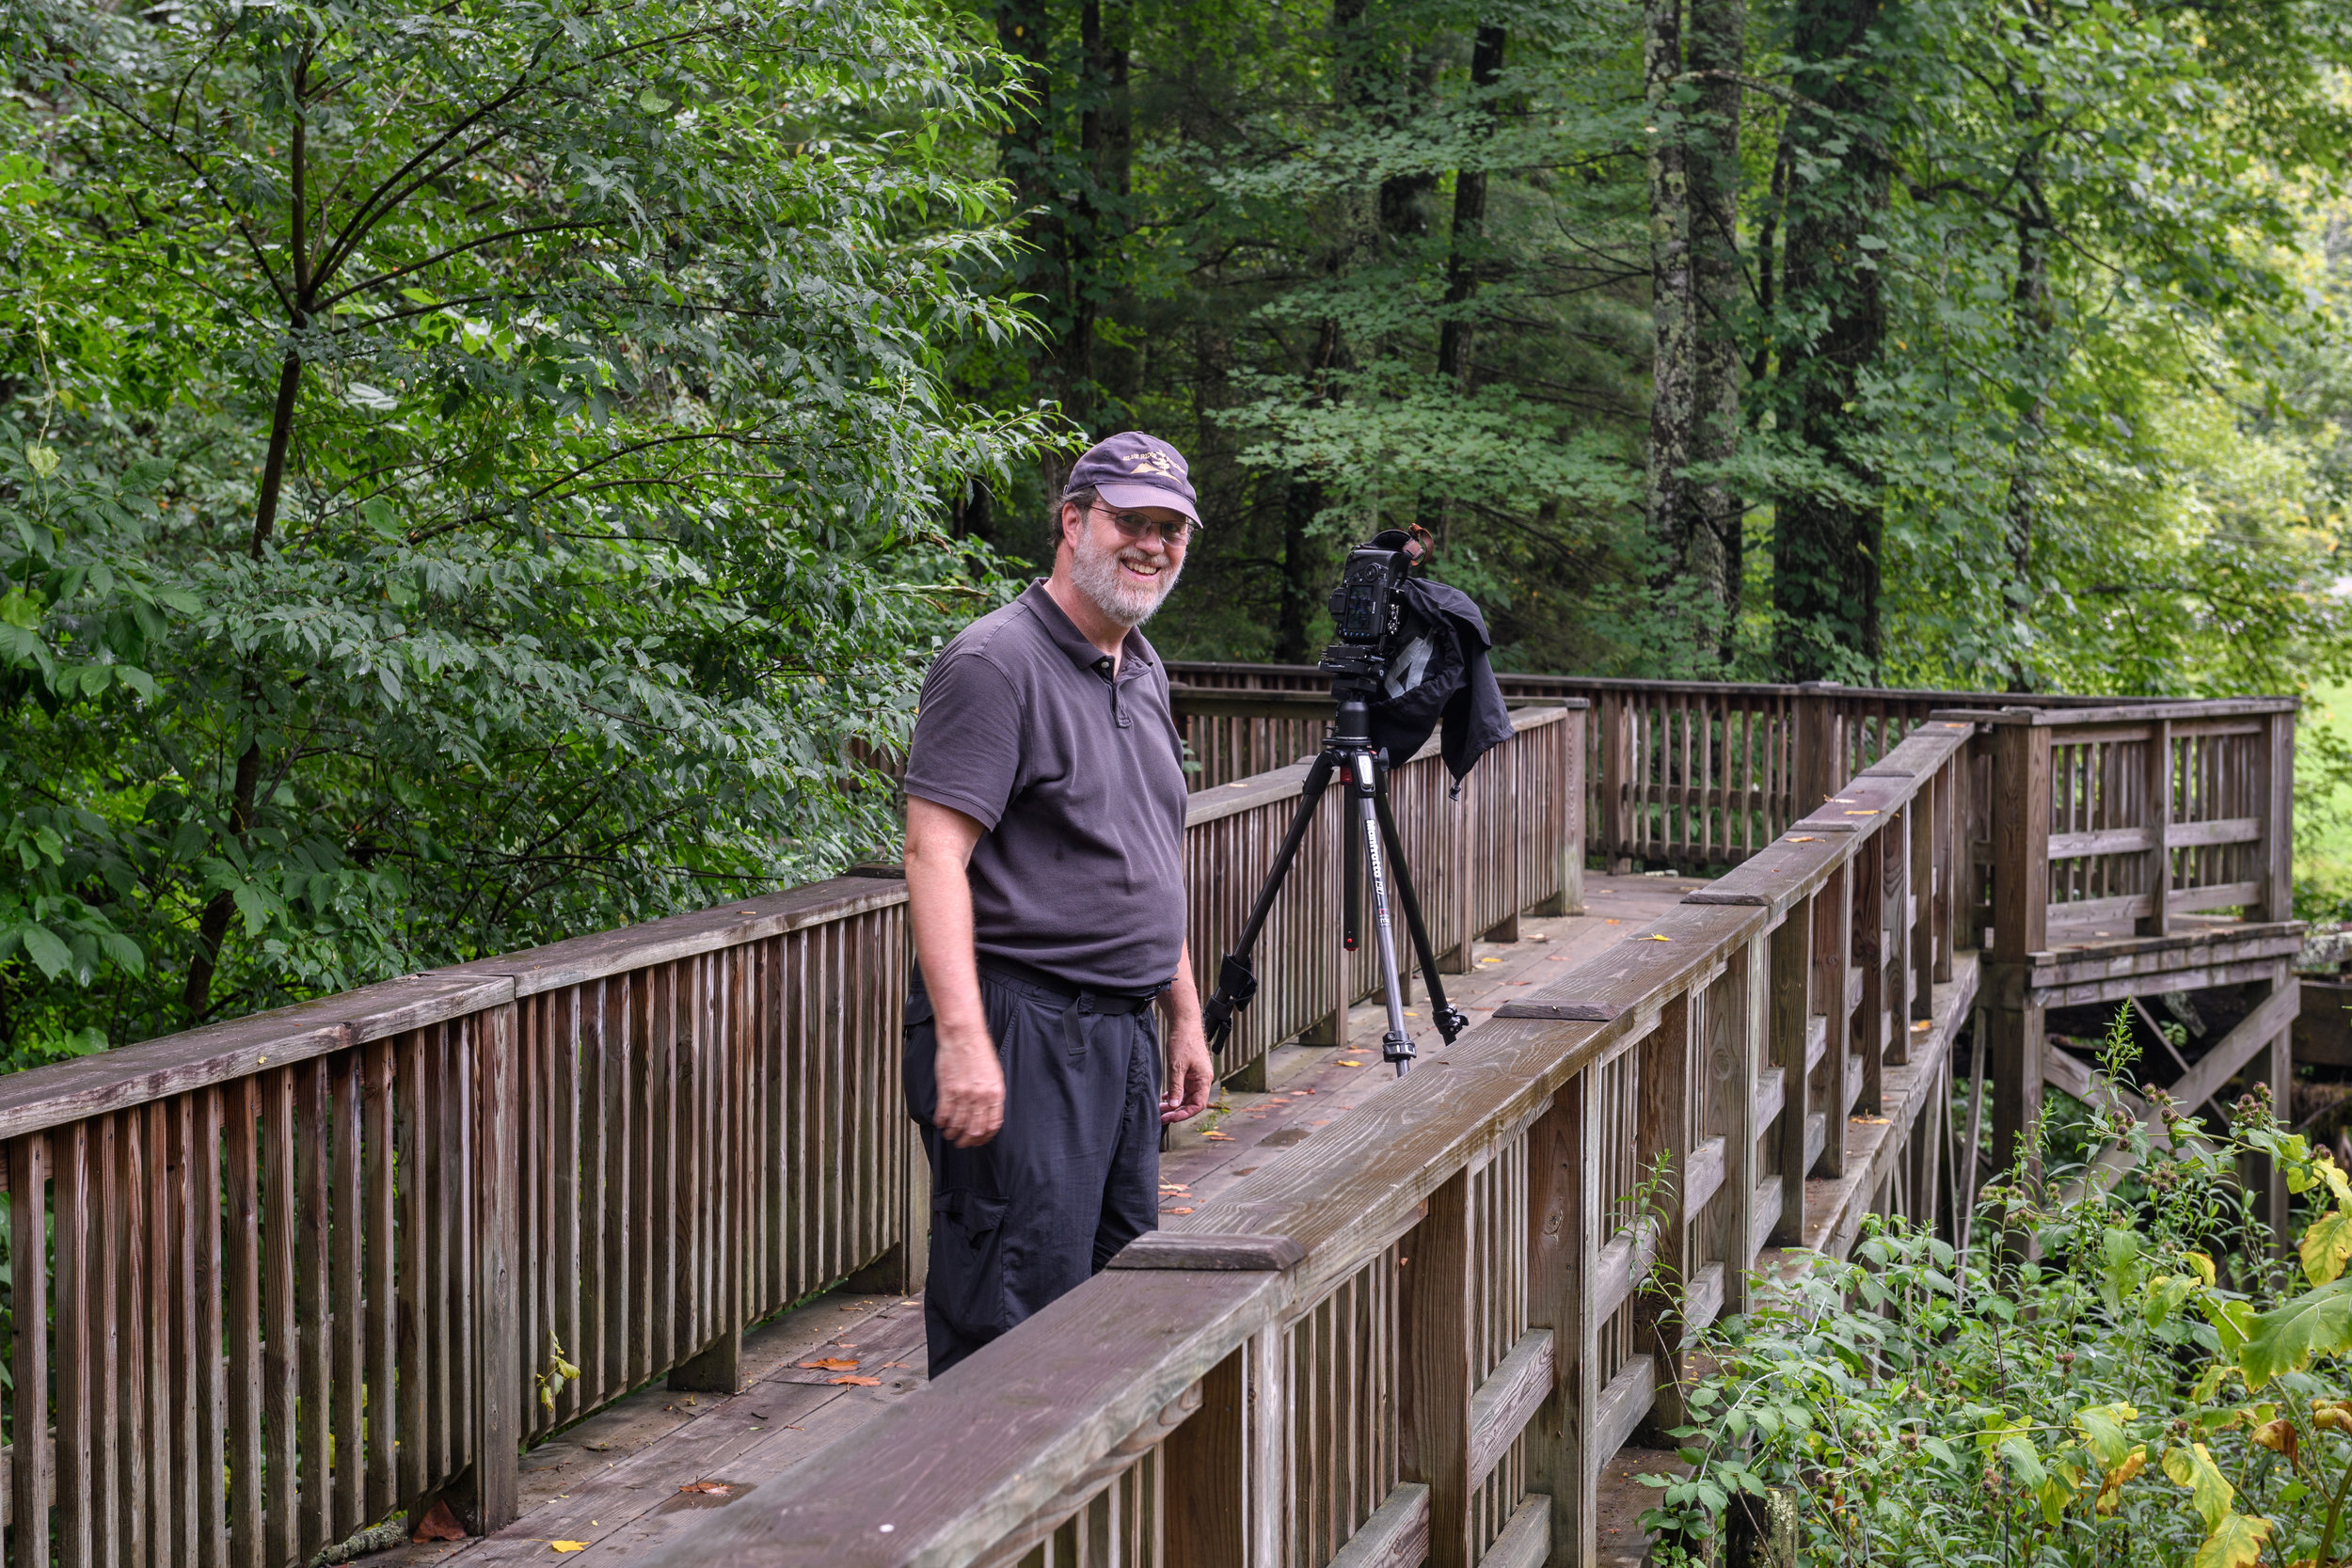
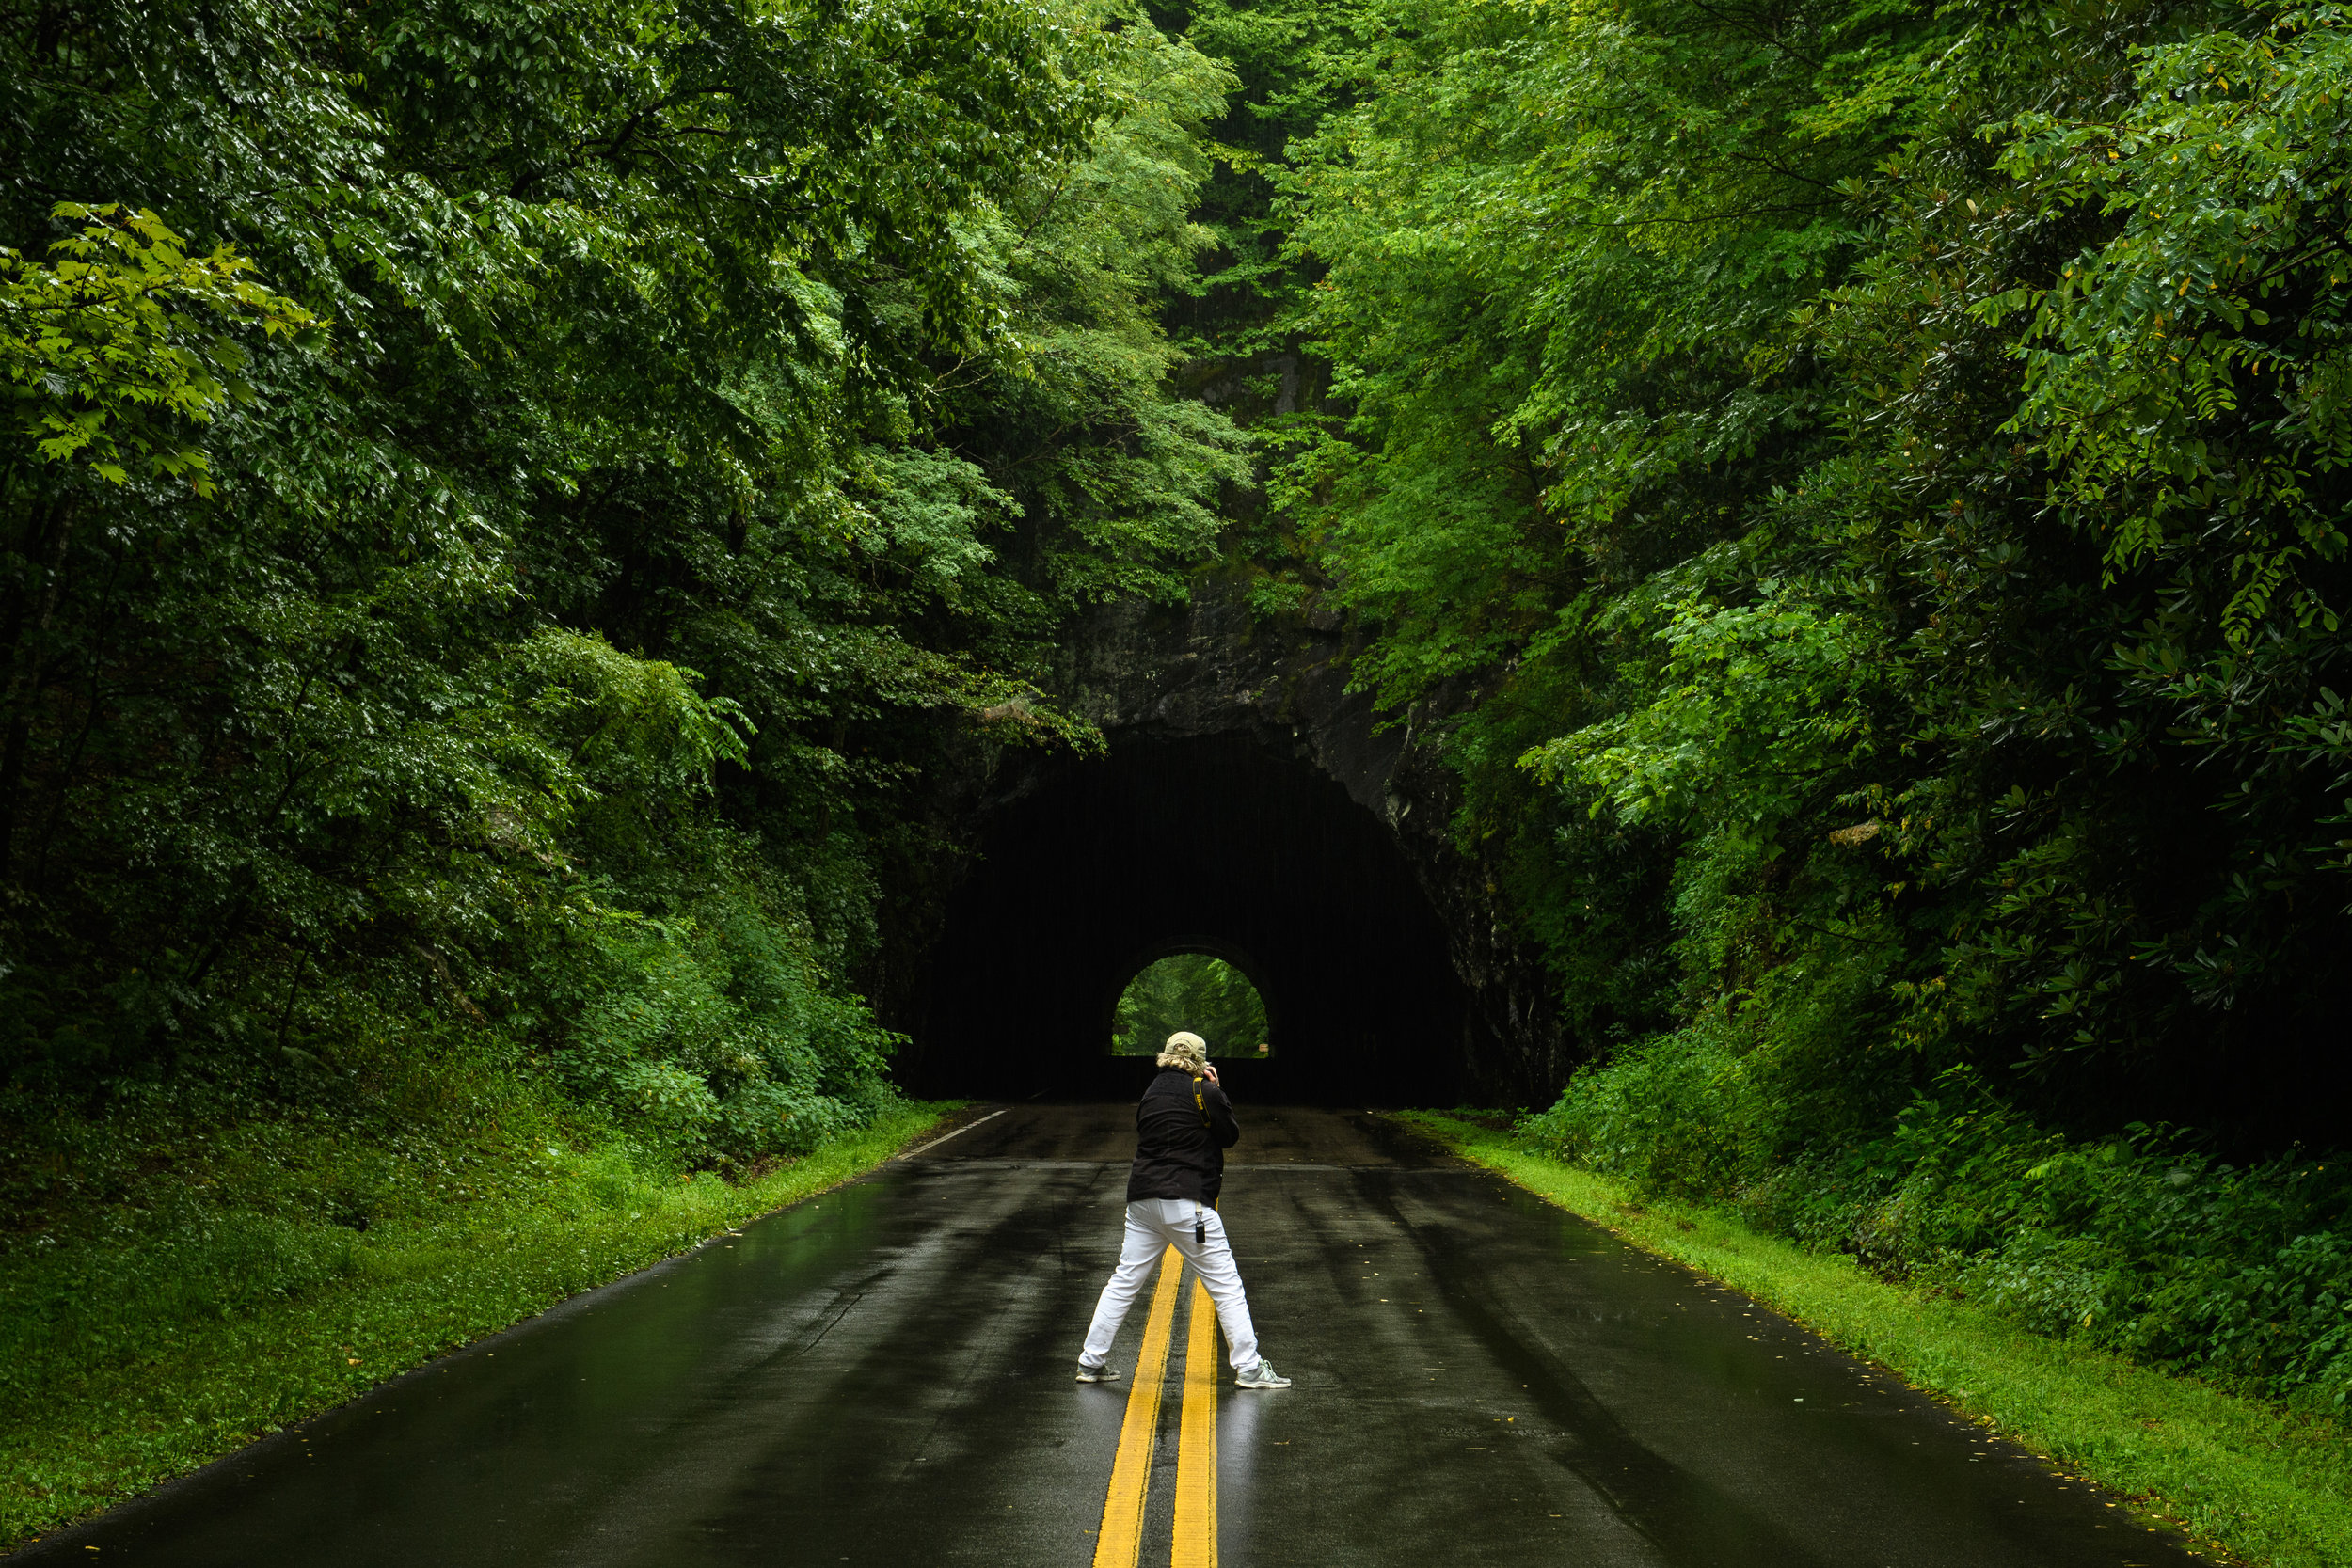
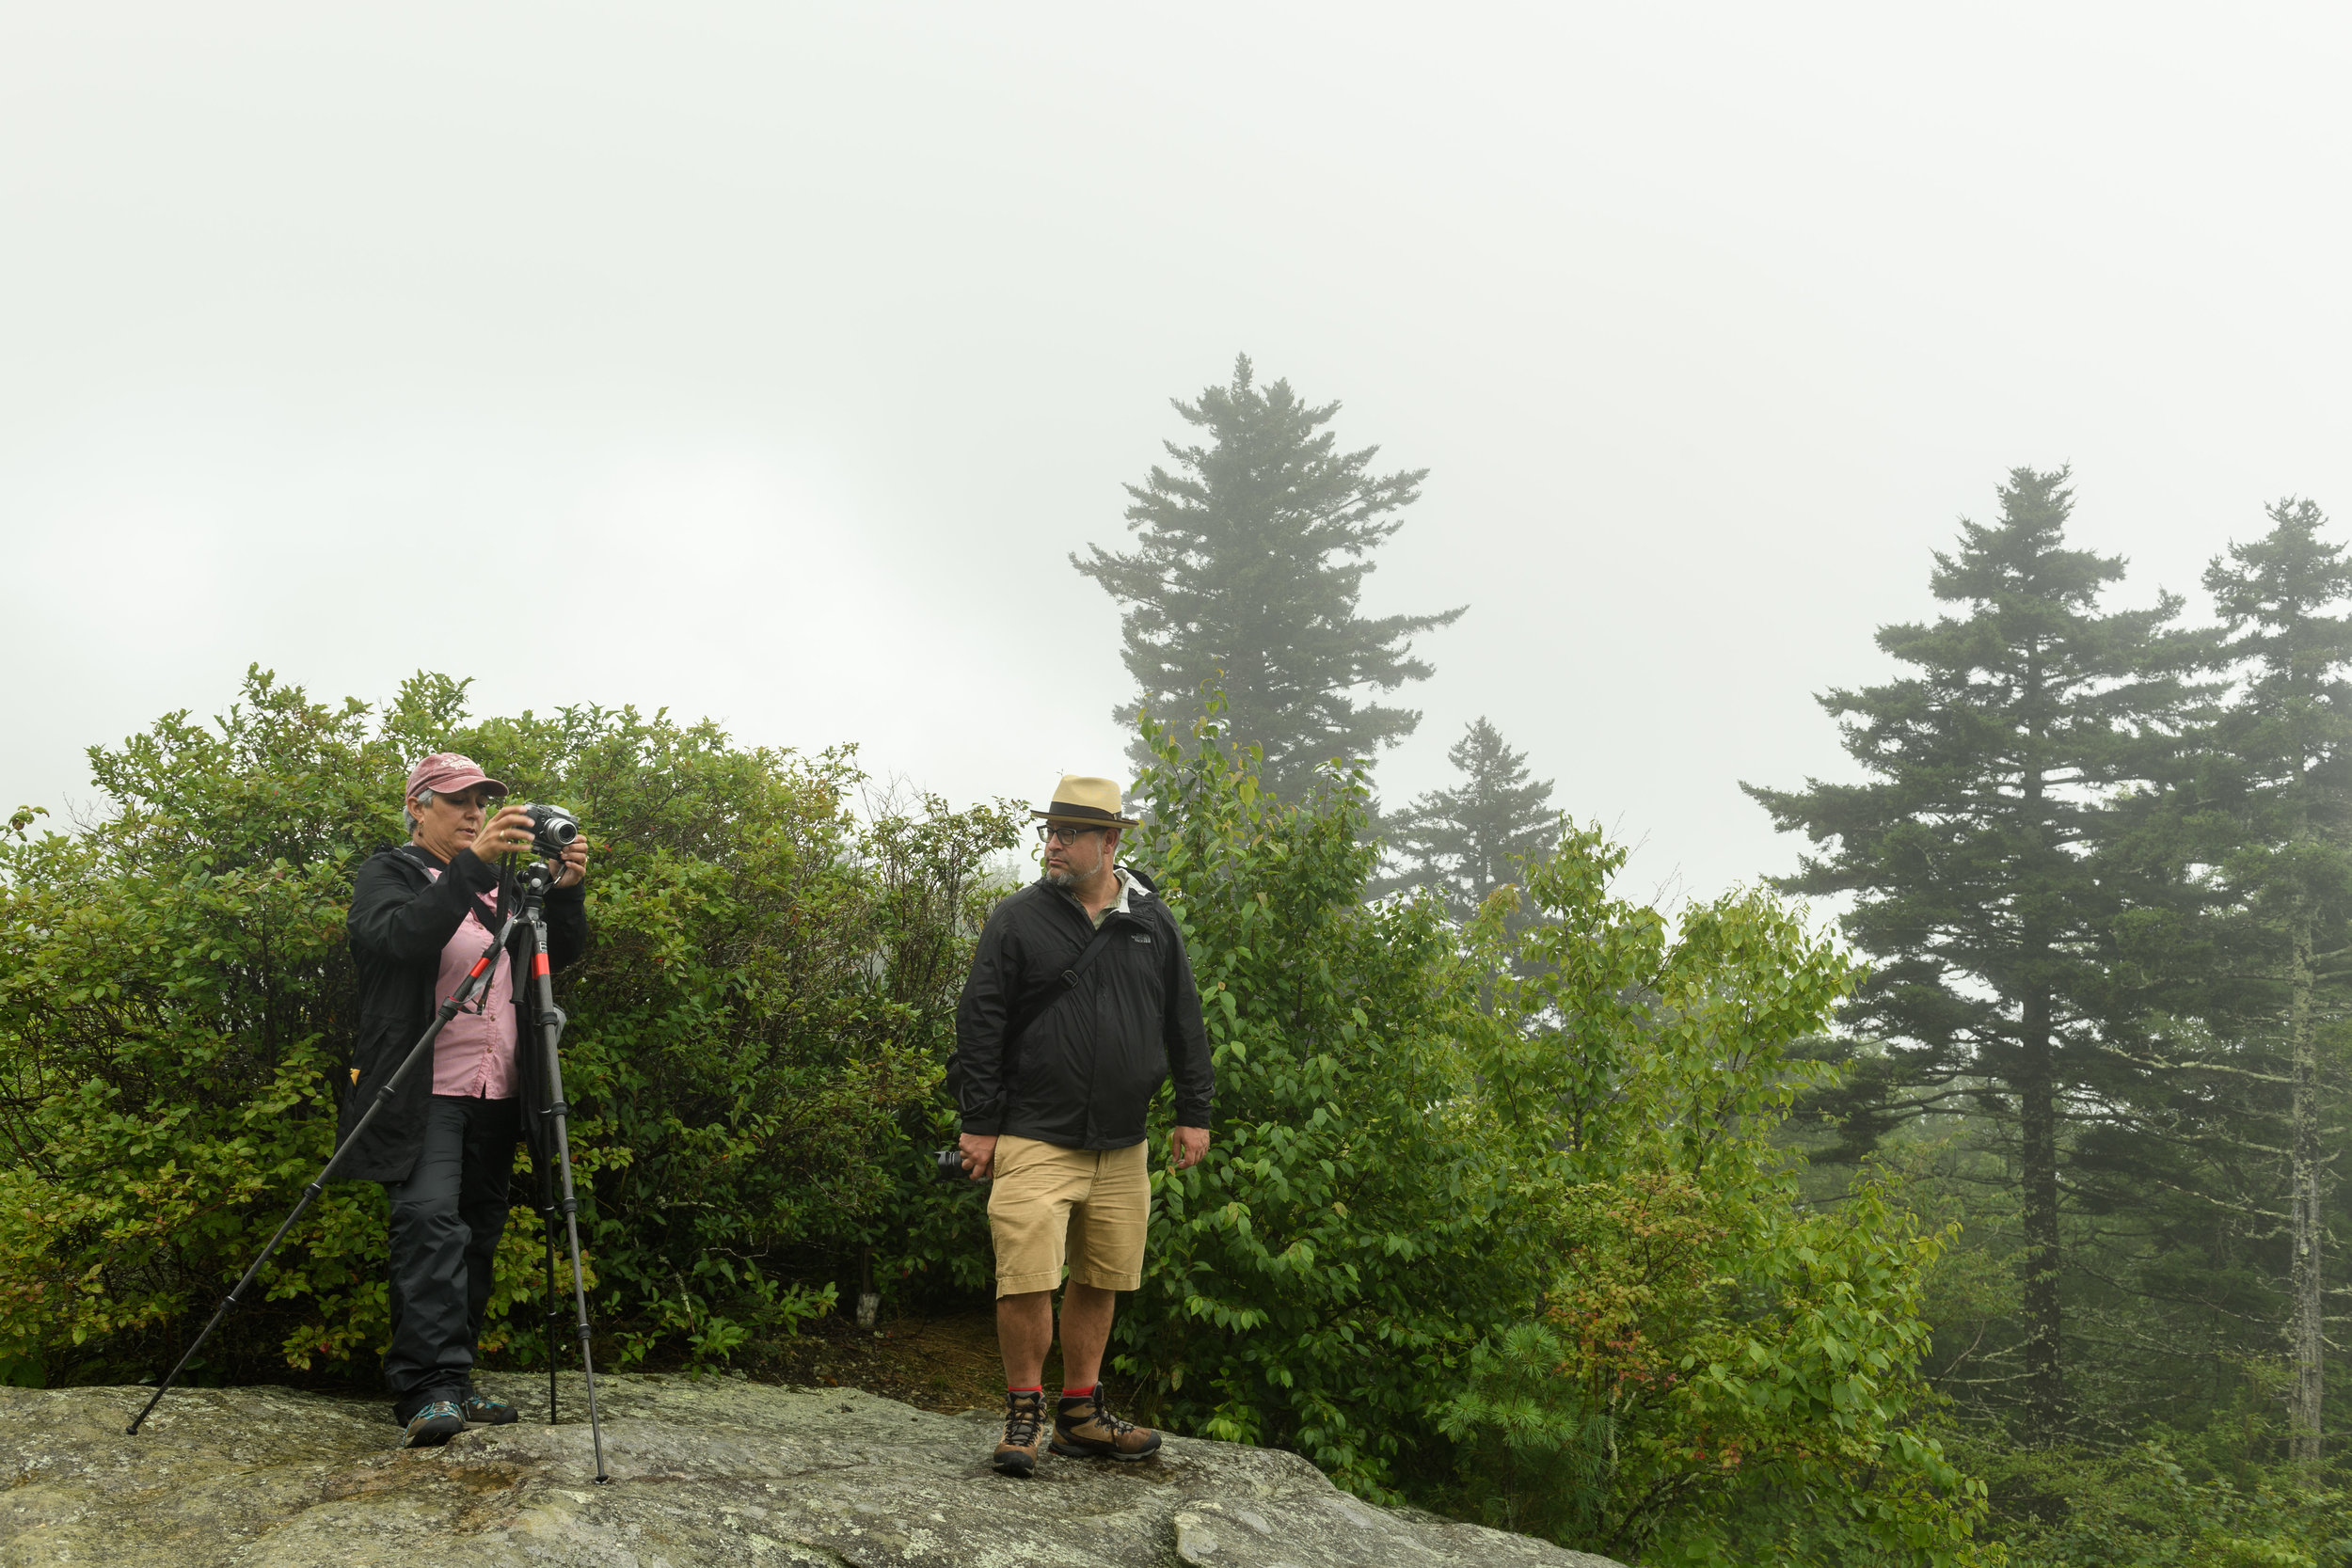
This summer we embarked on our first road trip, cruising along about two-thirds of the 469-mile Blue Ridge Parkway, stopping both day and night to photograph the rolling hills, the winding road, the tunnels, the bridges, the farmland, the landscape and more.

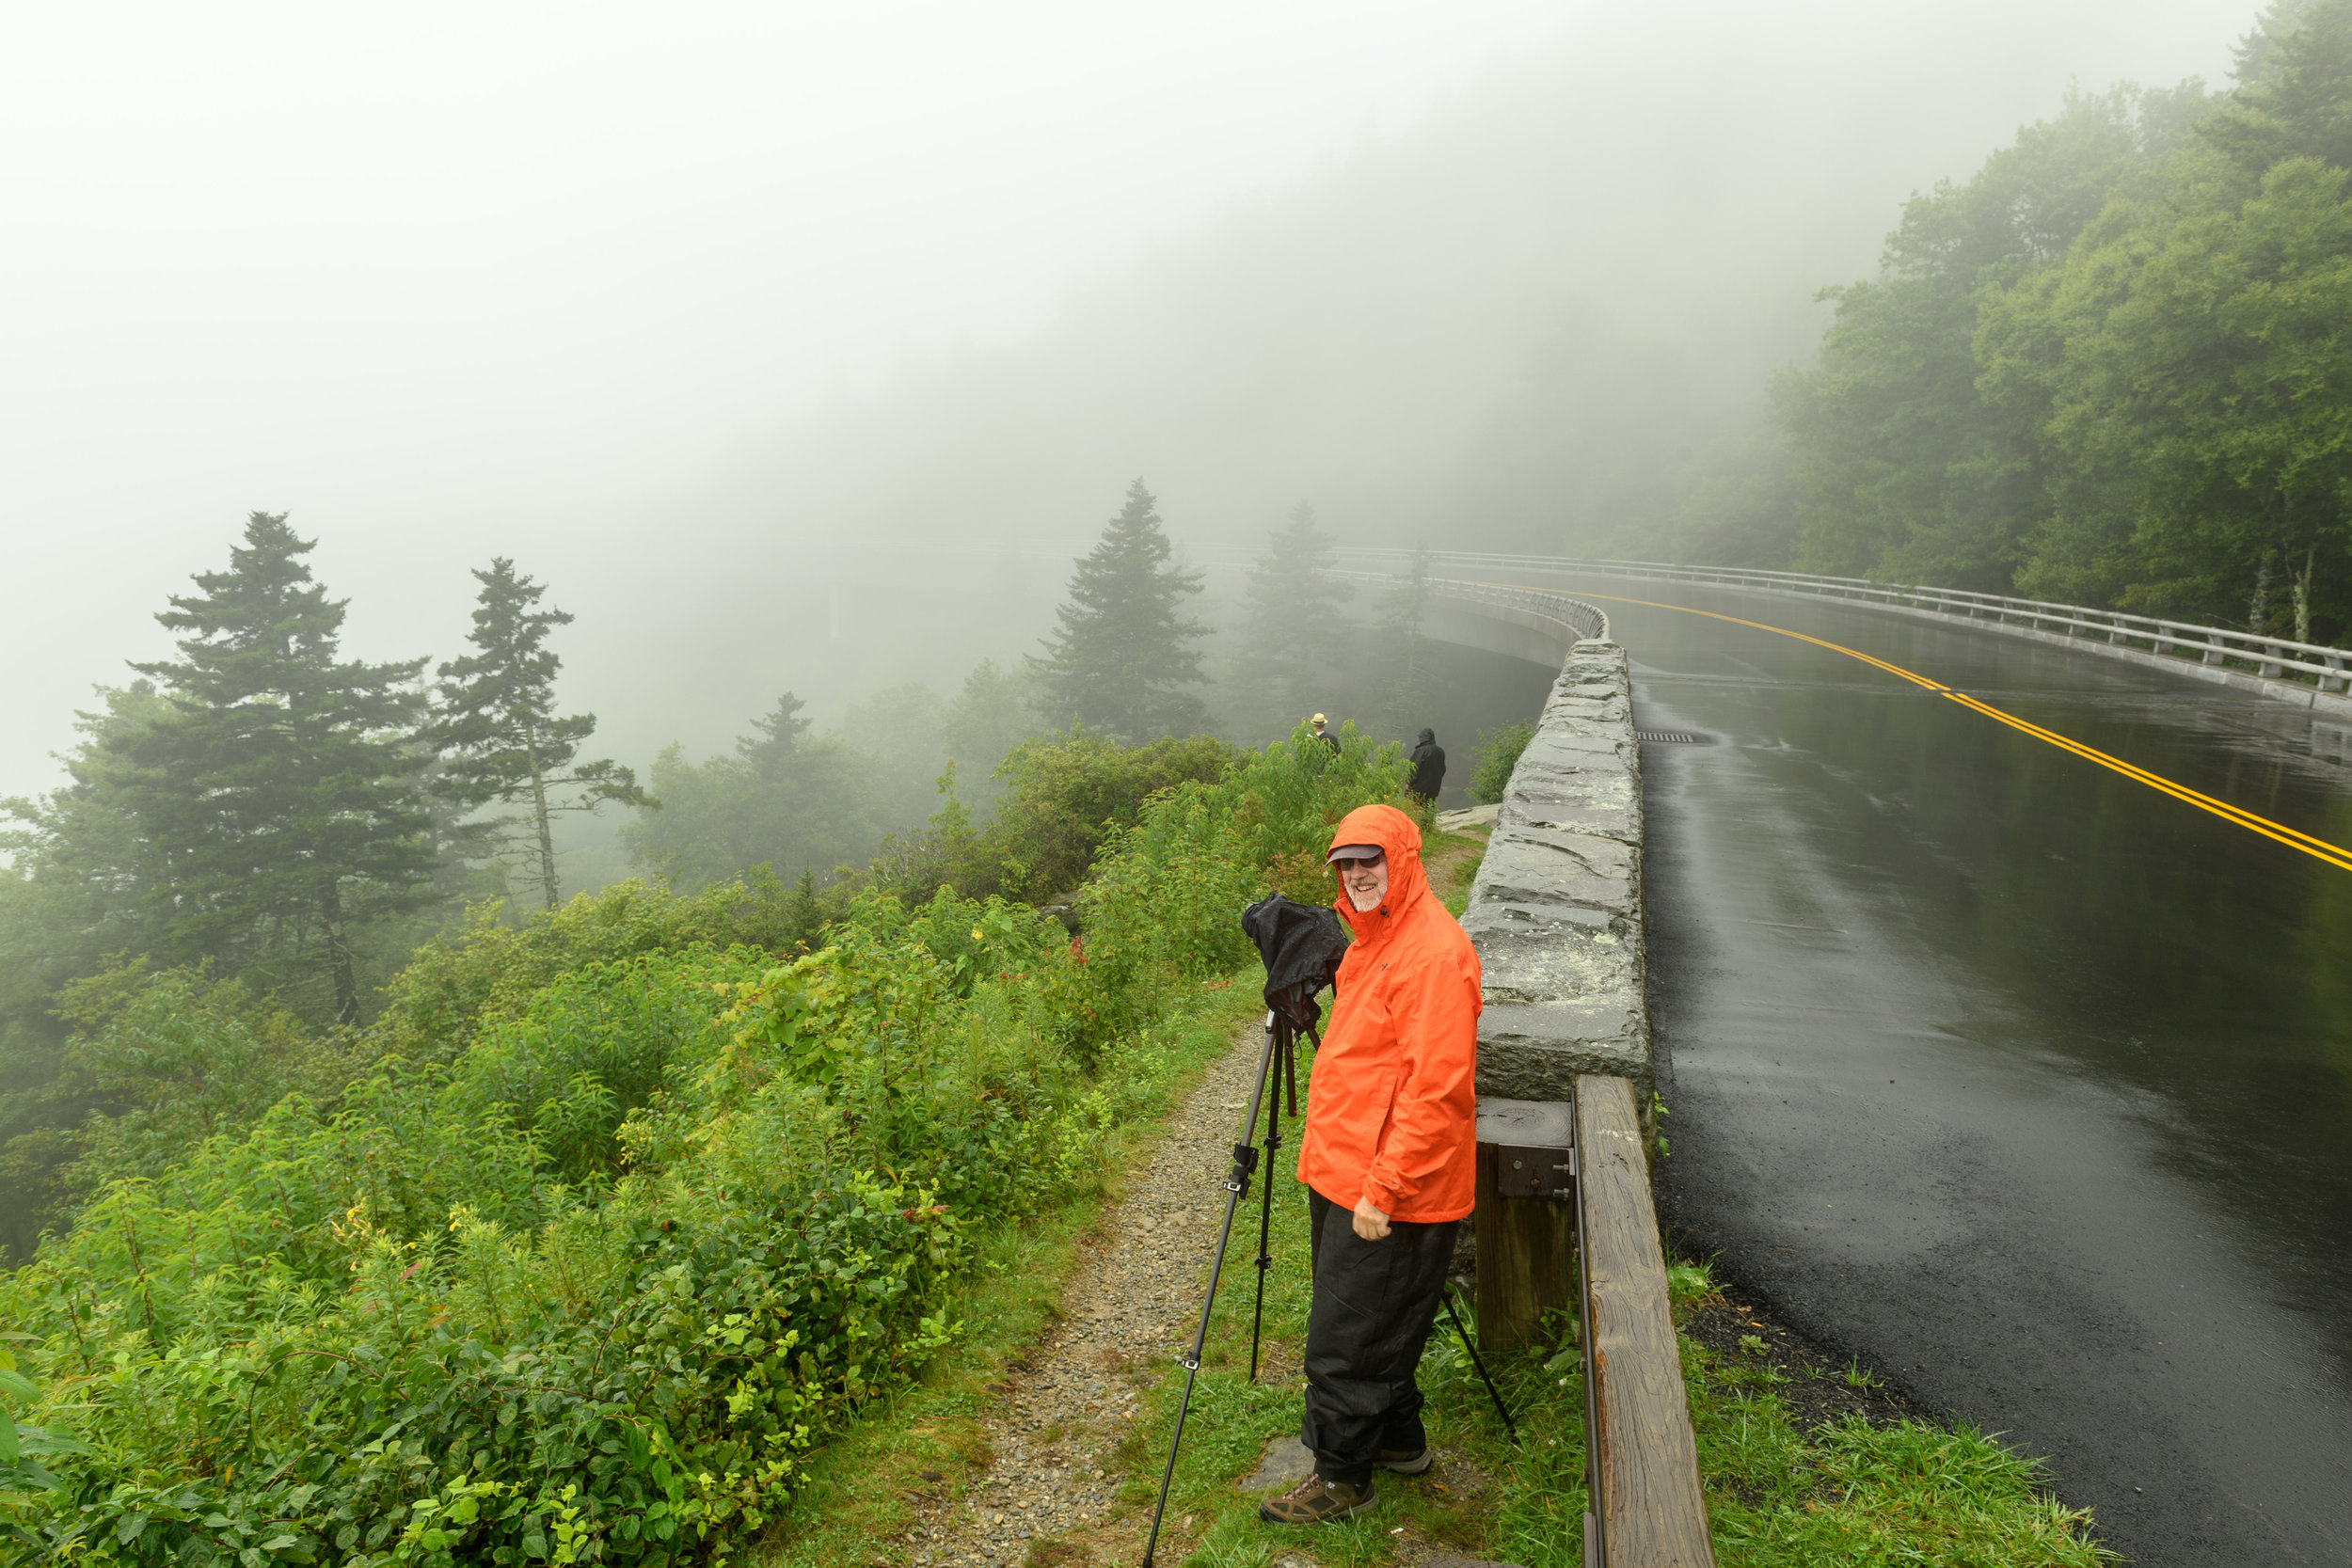
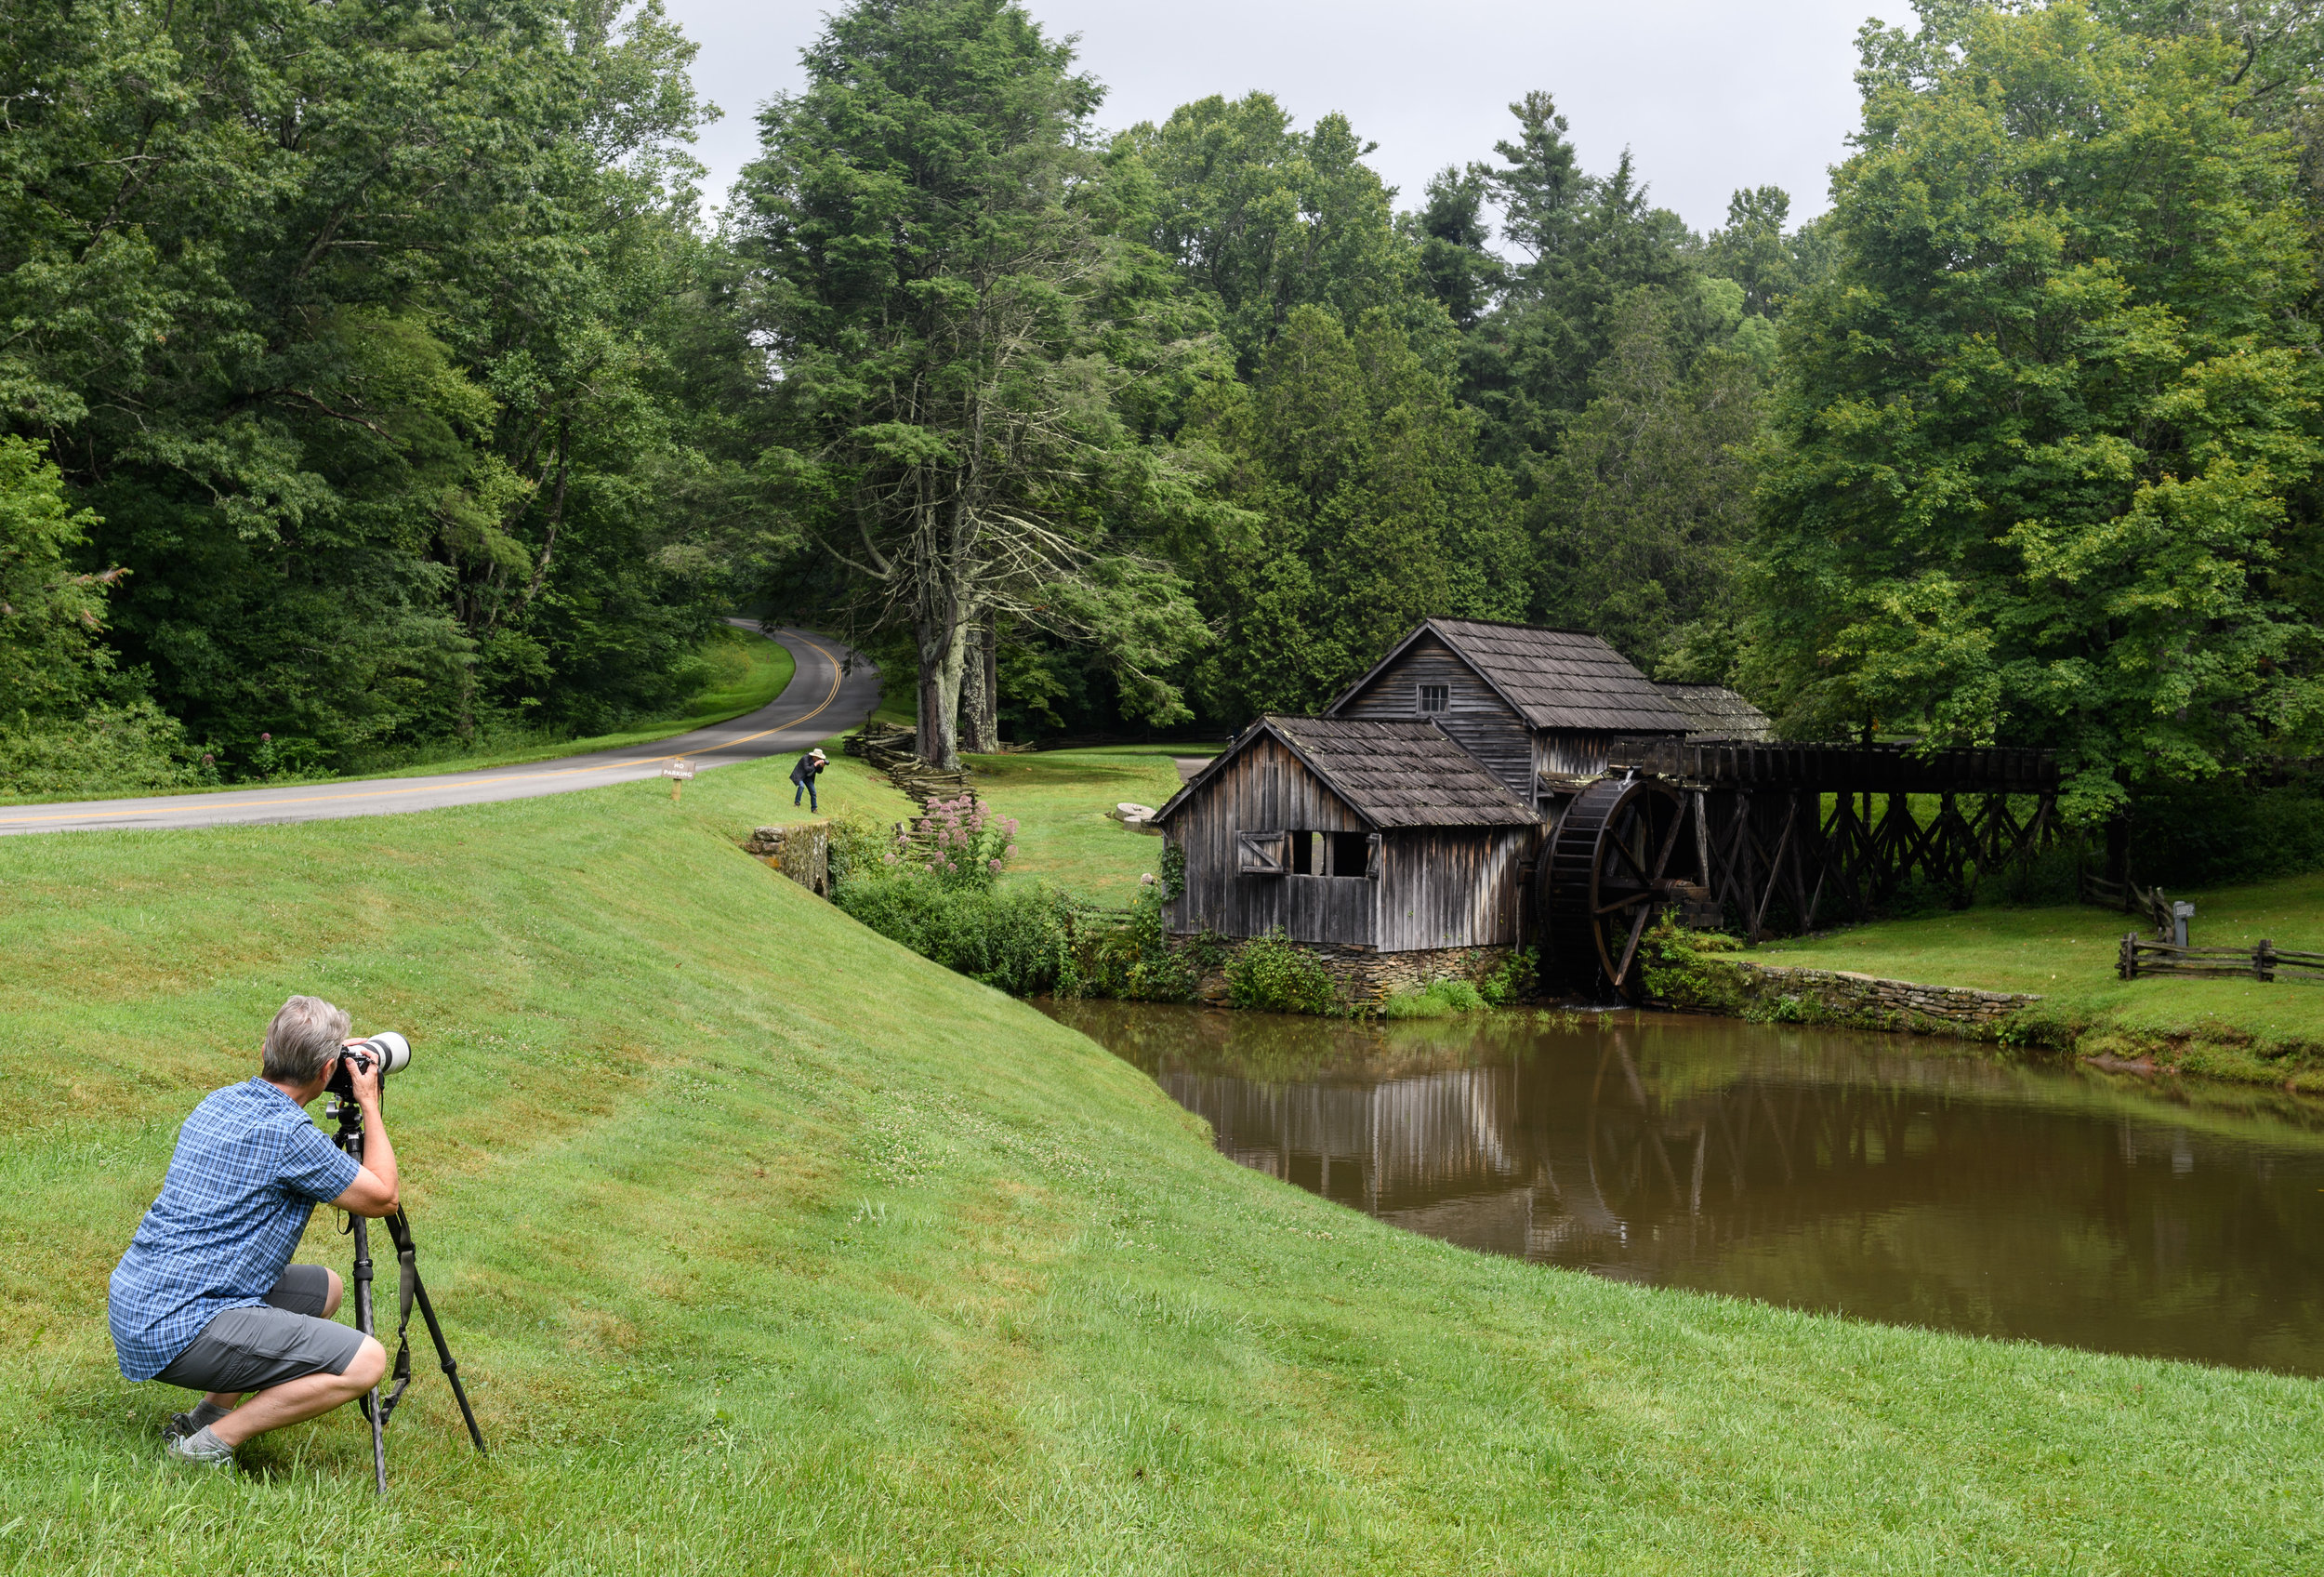
We also photographed rain. Quite a bit, in fact. Precipitation fell almost every day of the trip, at some hour. It started on the second night, as we were planning to shoot Mabry Mill; not much was lost, as we returned the next day and shot it under perfect overcast conditions. The third night rain washed us out once more, but again not much was lost, as we retreated to the hotel meeting room for a two-hour tethered demo on light painting.

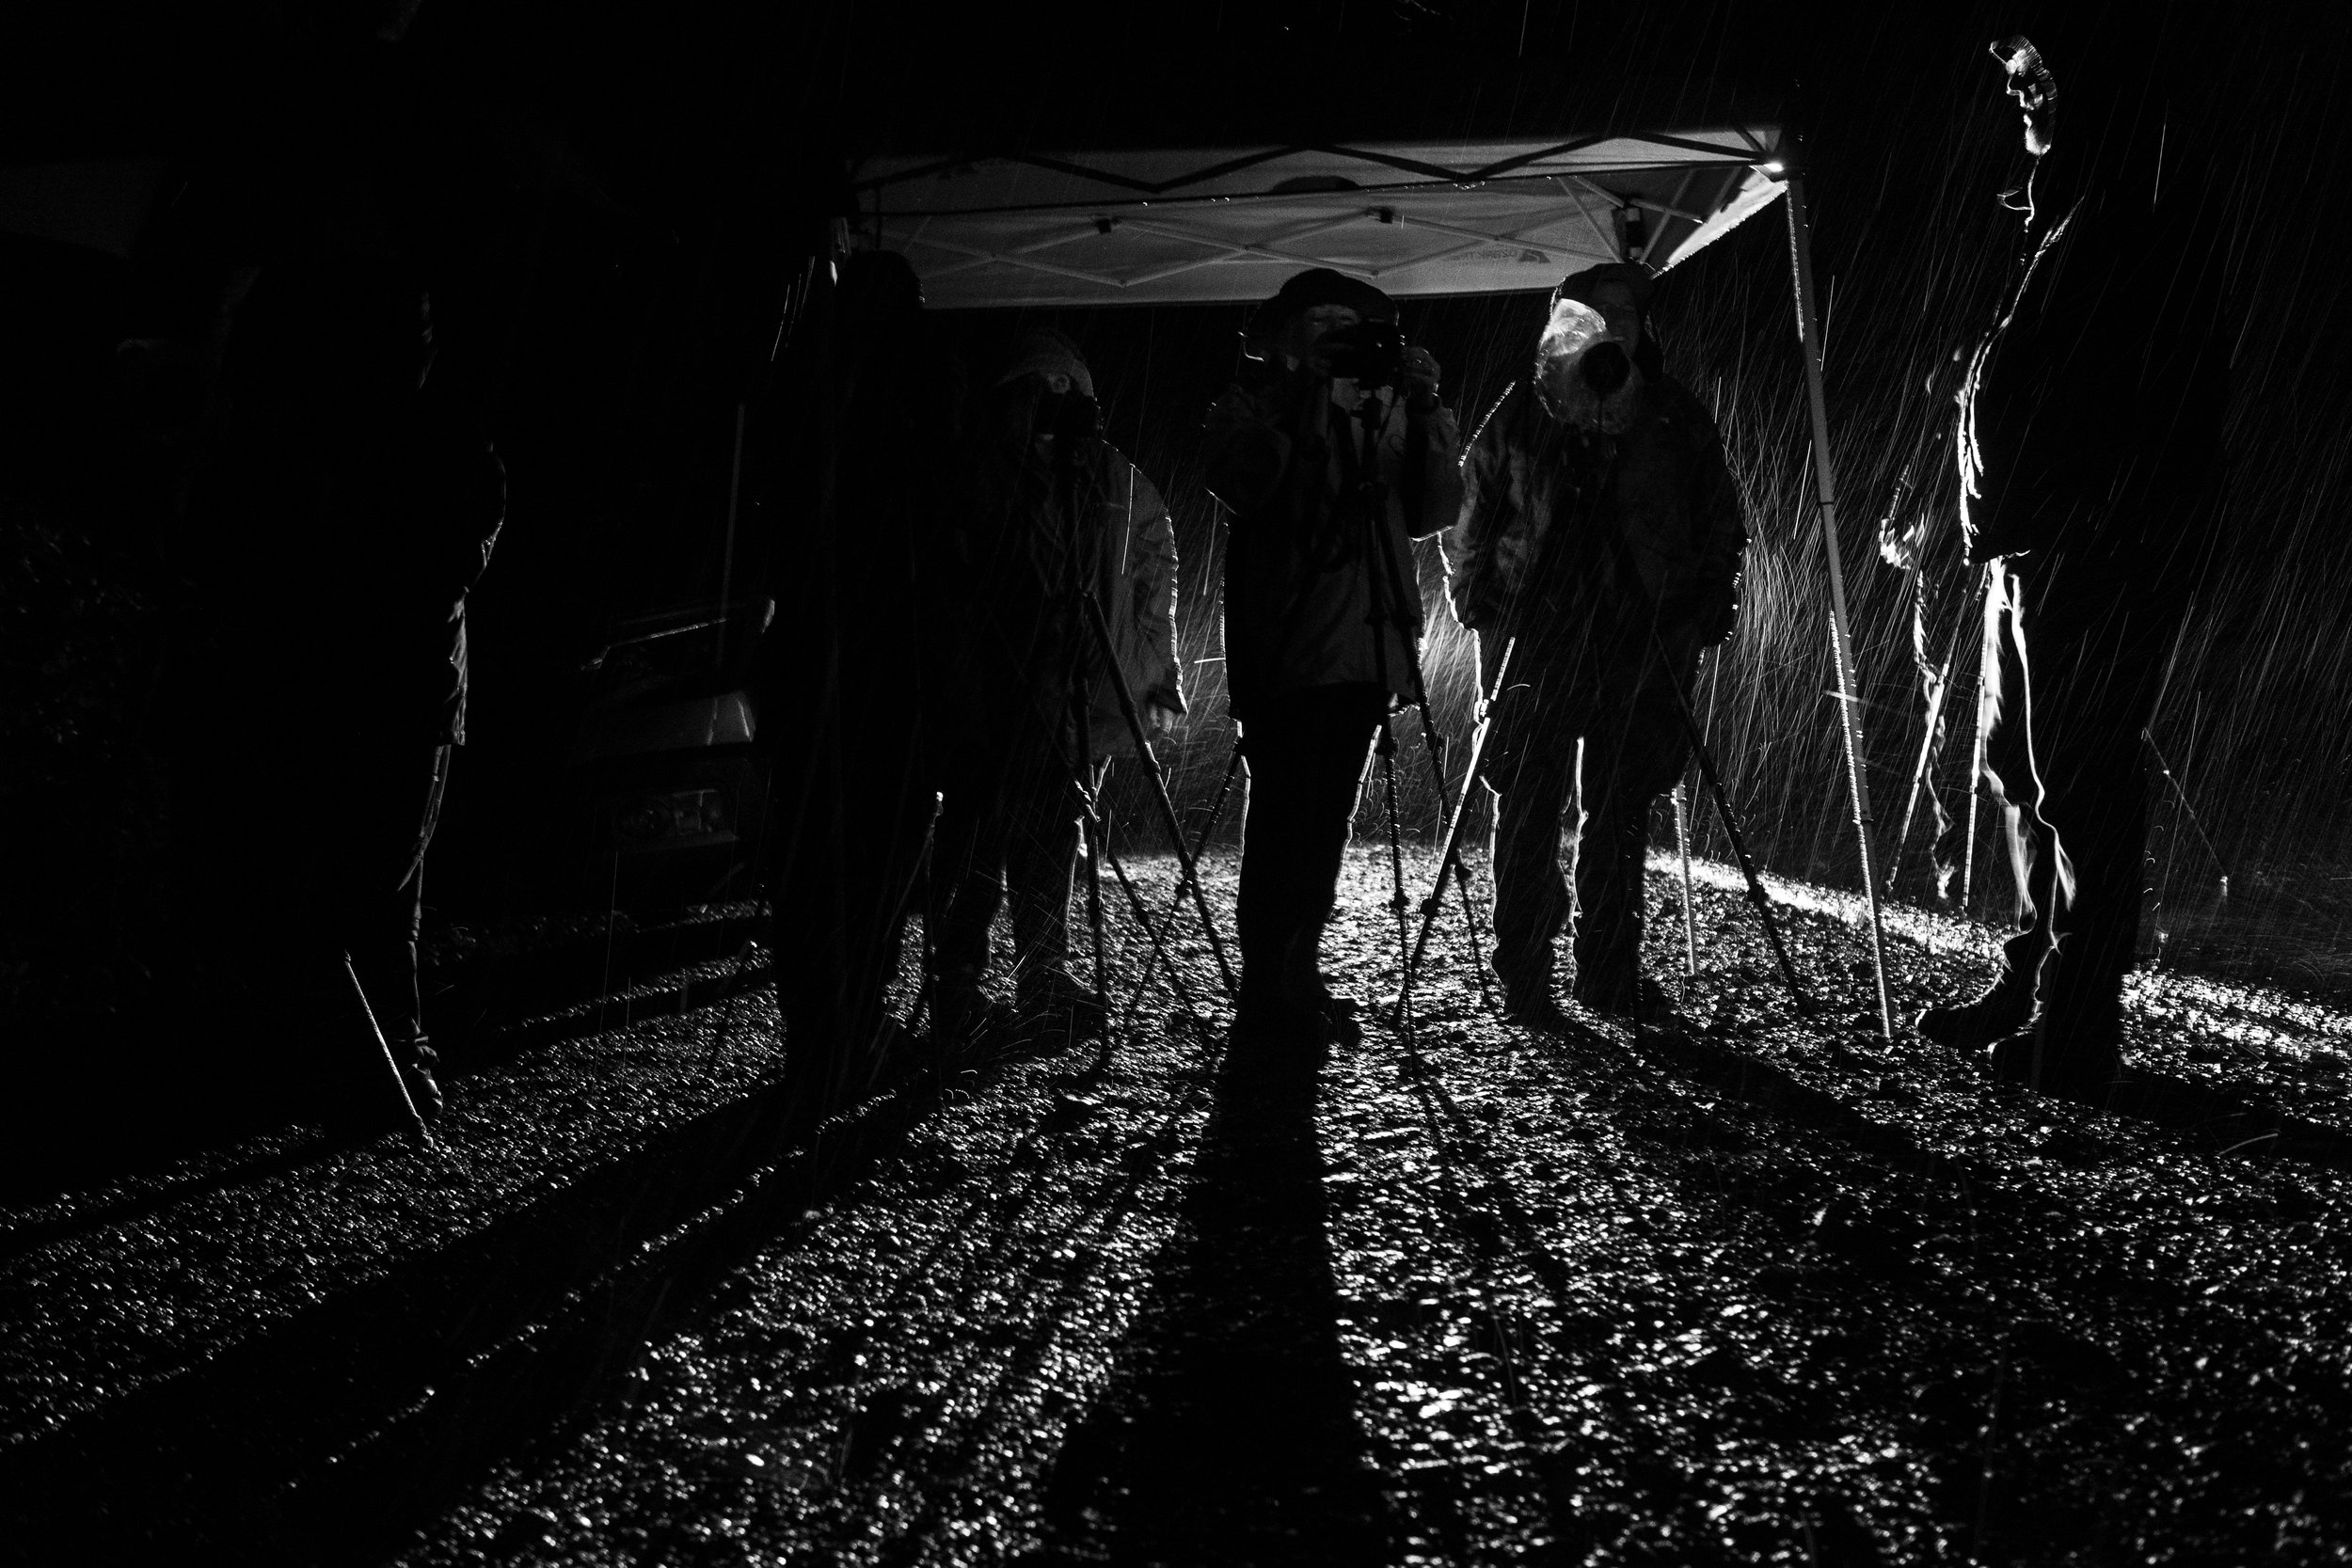
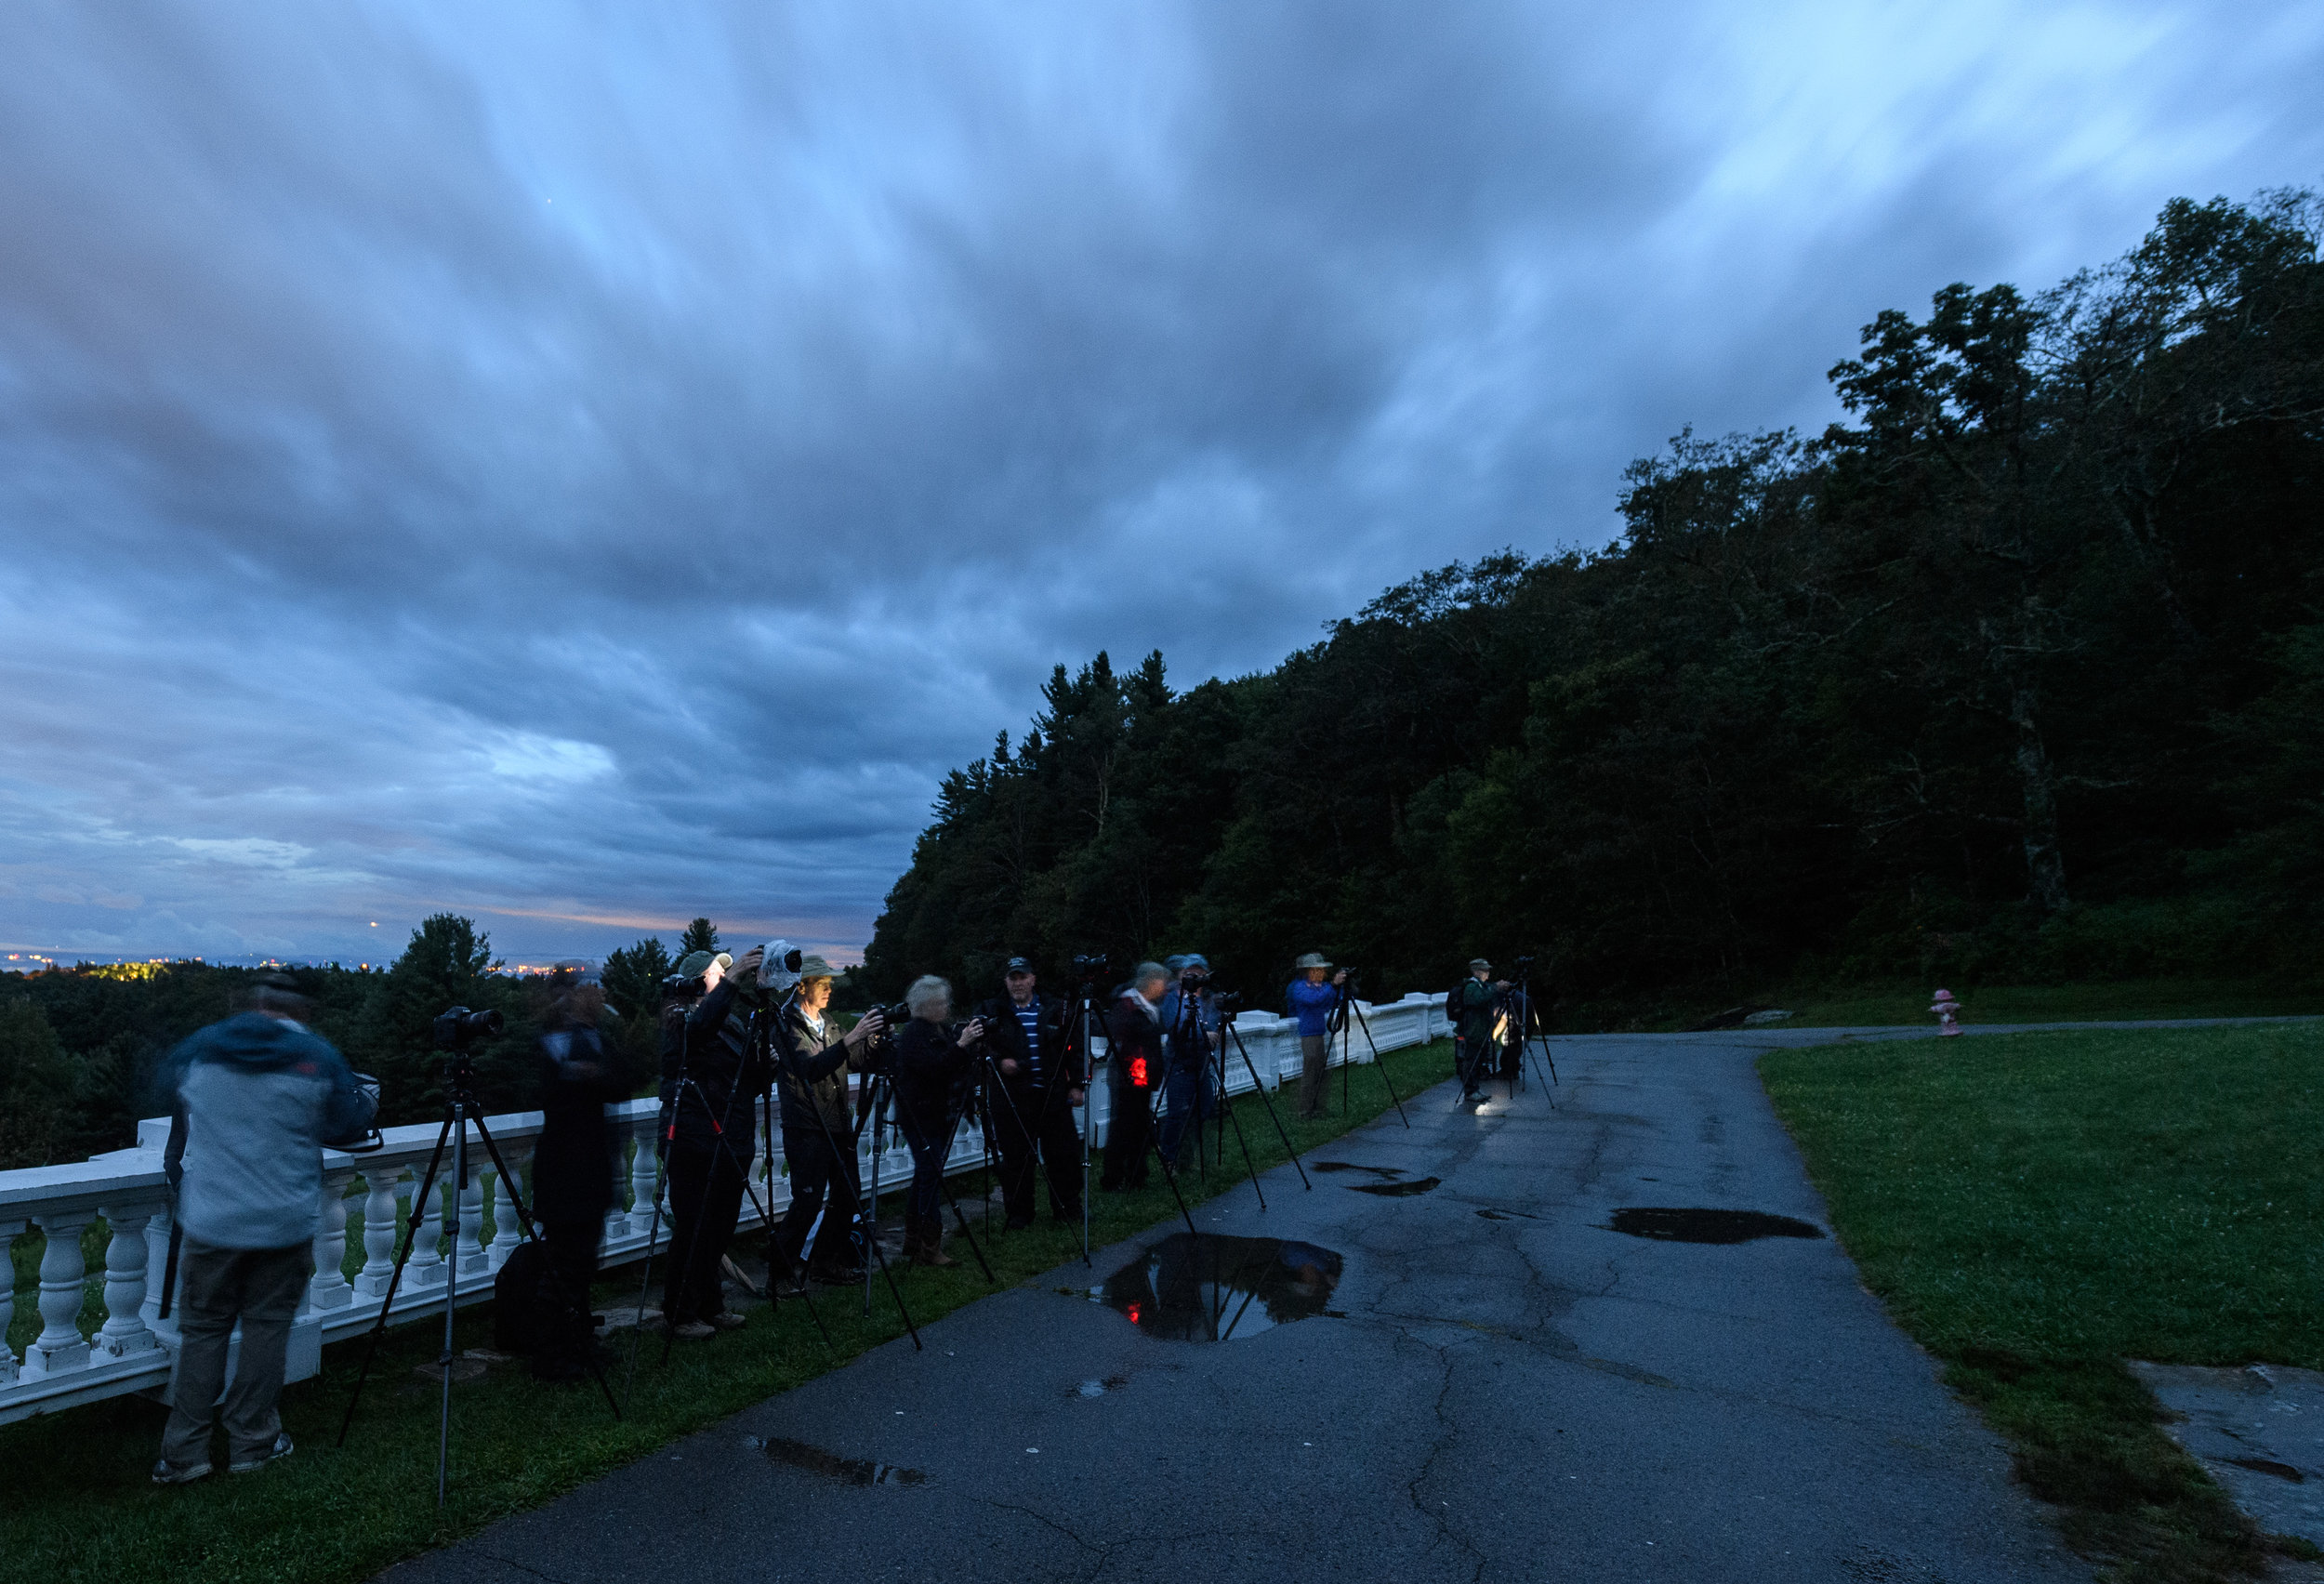
The fourth night, the rain retreated long enough for a great shoot at the Moses H. Cone mansion. Large holes opened in the clouds, revealing beautiful starry skies, and we light-painted the whole mansion with Luxli Viola LED panel lights. Alas, on the fifth night rain came again, but the group was not to be denied—we all donned rain gear, and one participant bought a portable picnic tent from a nearby Walmart that protected about half a dozen camera setups, and for about three hours we photographed car trails through one of the parkway’s iconic tunnels.

On the last night, the group ventured dry and high—all the way to the Richland Balsam Overlook, at 6,053 feet, the highest point on the Blue Ridge Parkway. We finally had a wonderfully clear night, and were able to photograph the Milky Way spanning over the landscape.

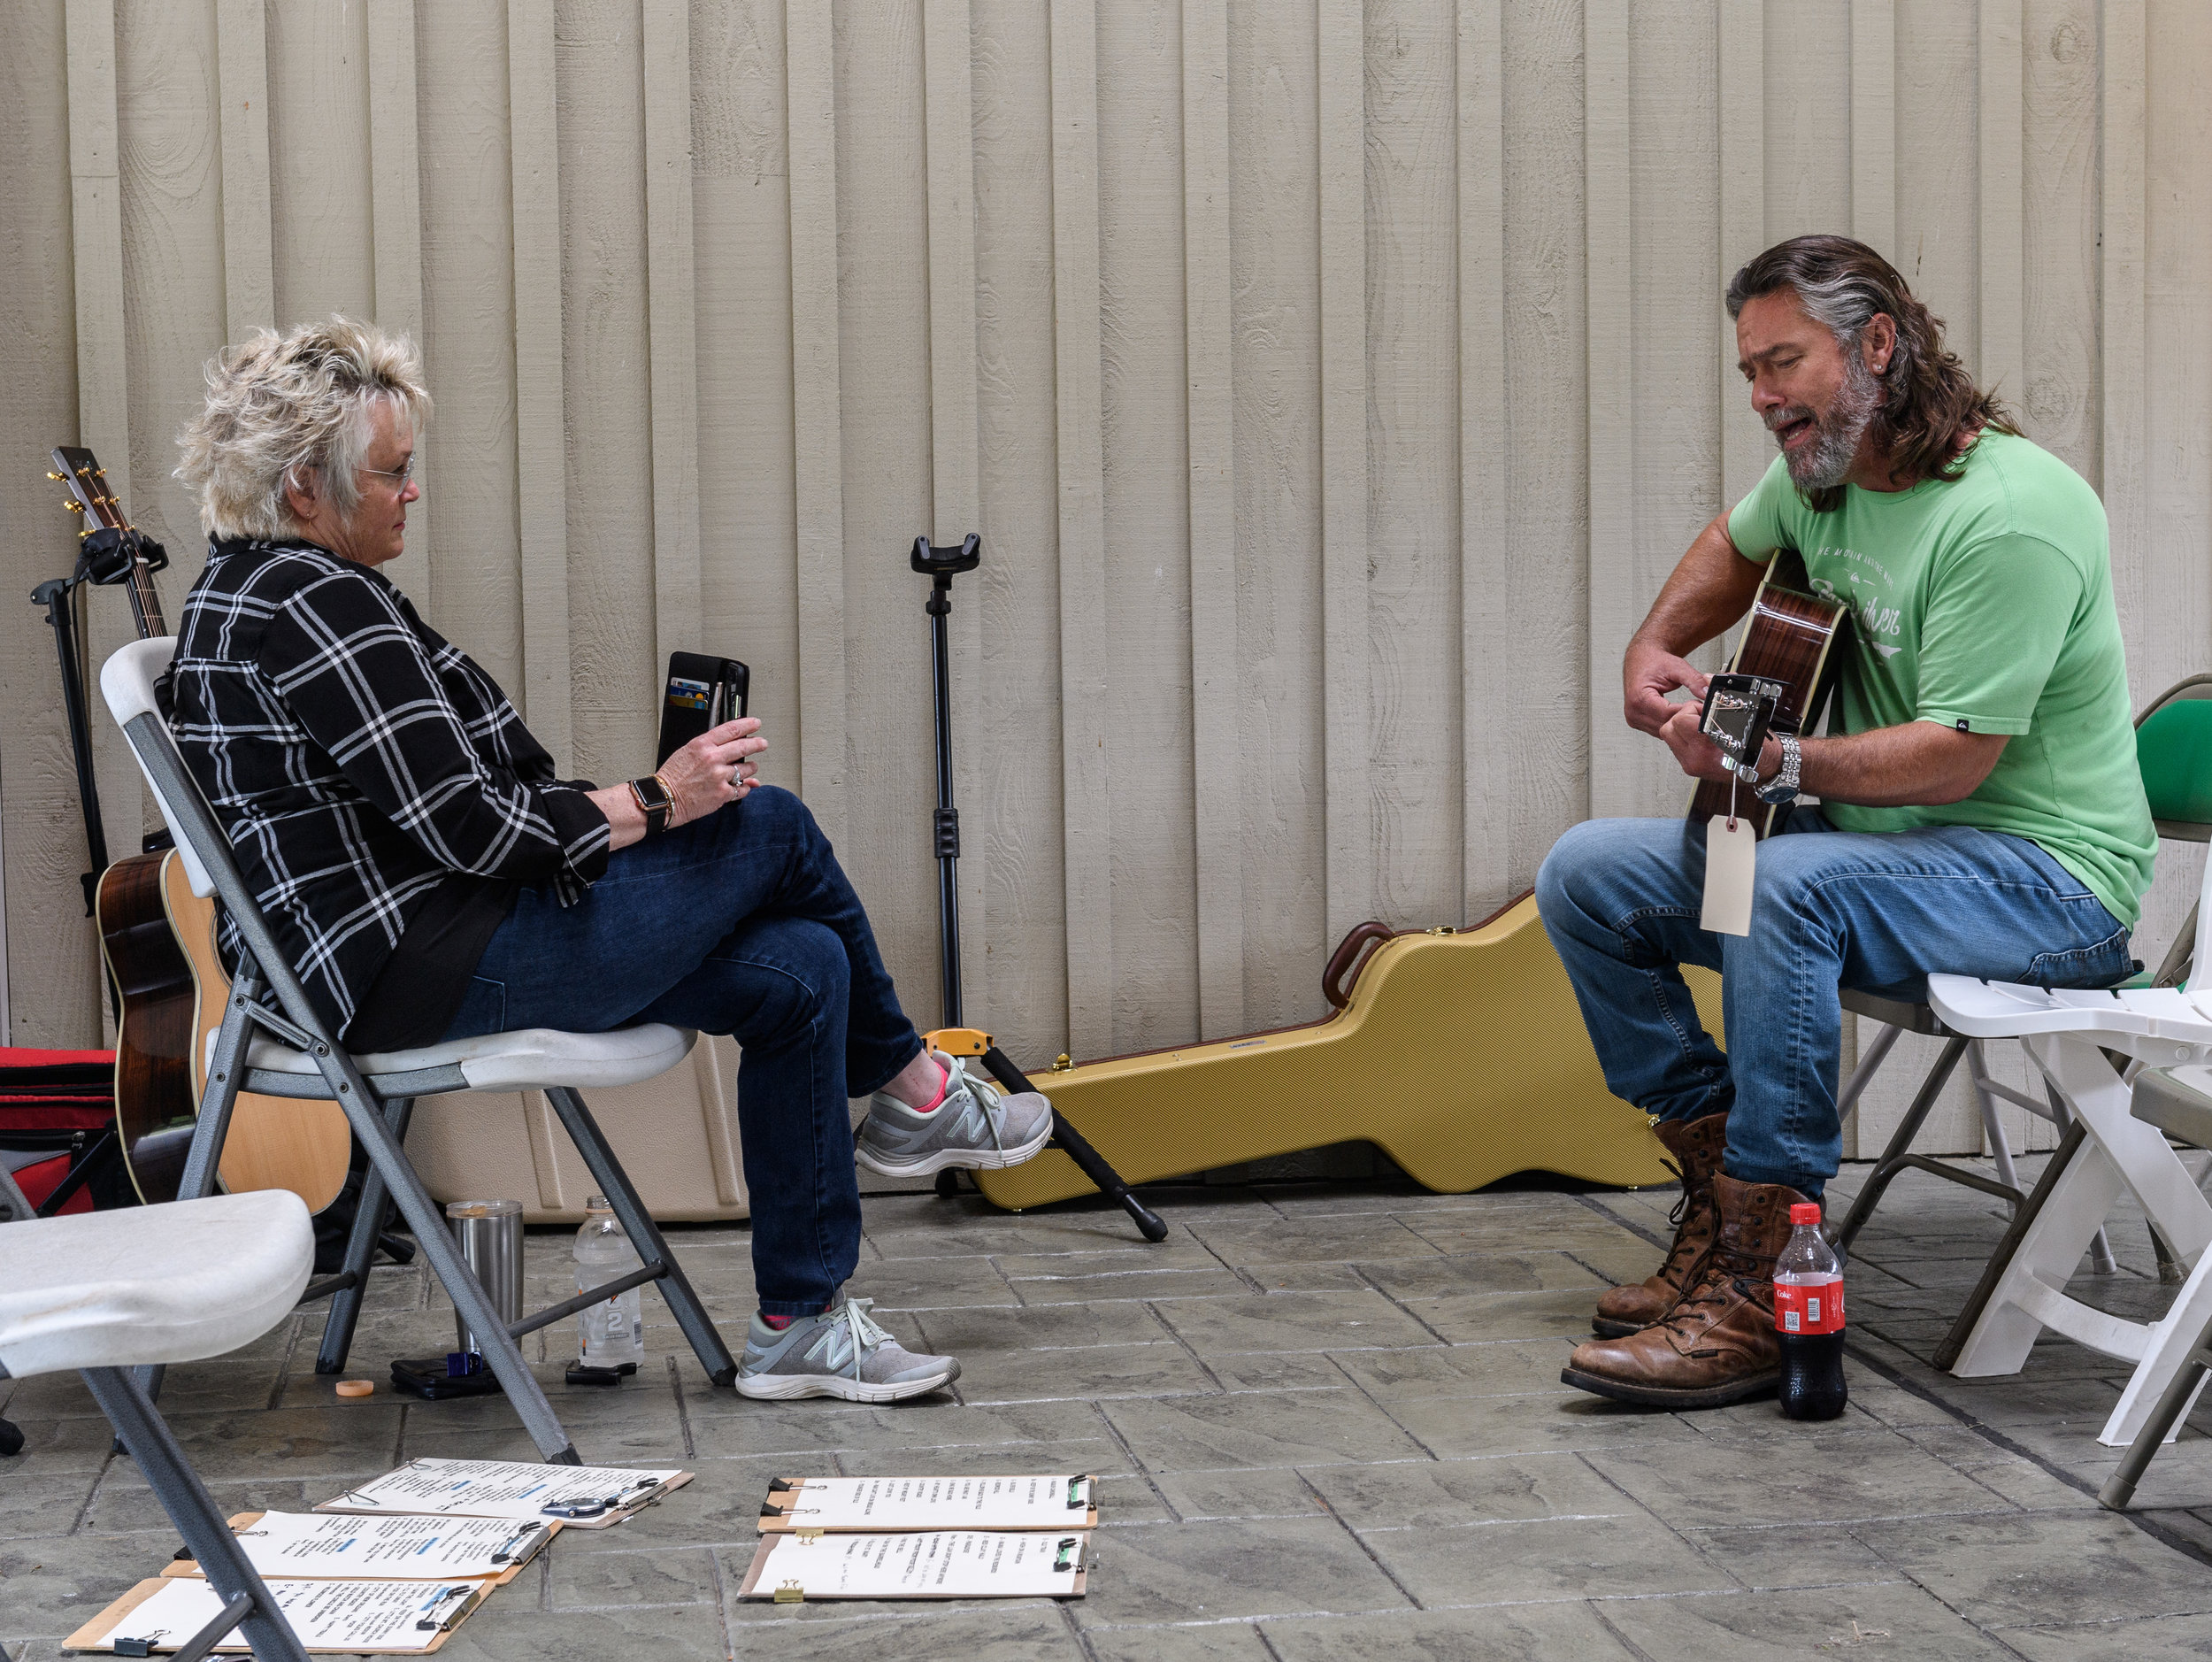
Our road trip was not all about photography, though. We shared a great many experiences, including dinner at the Peaks of Otter Lodge, brunch at the Mabry Mill Restaurant, bluegrass music in the breezeway at the Blue Ridge Music Center, BBQ in Asheville, and more. See ya on the road!

Rocky Mountain National Park

September 15-20
by Chris Nicholson

When we first scheduled our Rocky Mountain National Park workshop for September, one of the things we hoped for is that we might catch some fall foliage. It’s hard to predict—you know the foliage will turn, but trying to figure out which week it will, over a year ahead of time, is an exercise in silliness. So you just take a shot and hope for the best.

Well, boy did we nail it. Right as the workshop was beginning, the aspens of Rocky Mountain started lighting on fire with fall color, and our workshop attendees were all over it.

Of course, there’s much more to this park than autumnal color. So much more. And we photographed all of it.

We photographed the valleys, the waterfalls, the lakes, the ponds. We made a day-trip to Grand Lake, where we had a group BBQ lunch, then hiked to and photographed the beautiful East Inlet. We braved the night cold of the tundra, where we photographed a lightning storm skimming the horizon. We made Milky Way images at the edge of mountain meadows, where we could hear the bugling and the clashing antlers of elk in the darkness.

Then after the main part of the workshop ended, it was time for the optional backcountry add-on. We hiked about 2 miles up into the woods with five attendees to Dream Lake and Emerald Lake, two of the most scenic places in the park. We reached Emerald Lake in daylight, ate a picnic dinner, then started shooting as night fell. In the darkness, we slowly worked our way back down the mountain, photographing at each successive amazing location along the way, finally ending our night with one of the most stunning valley views in all the national parks, bathed in moonlight on a clear Colorado evening.

Chaco Culture National Historical Park

September 23-26
by Lance Keimig

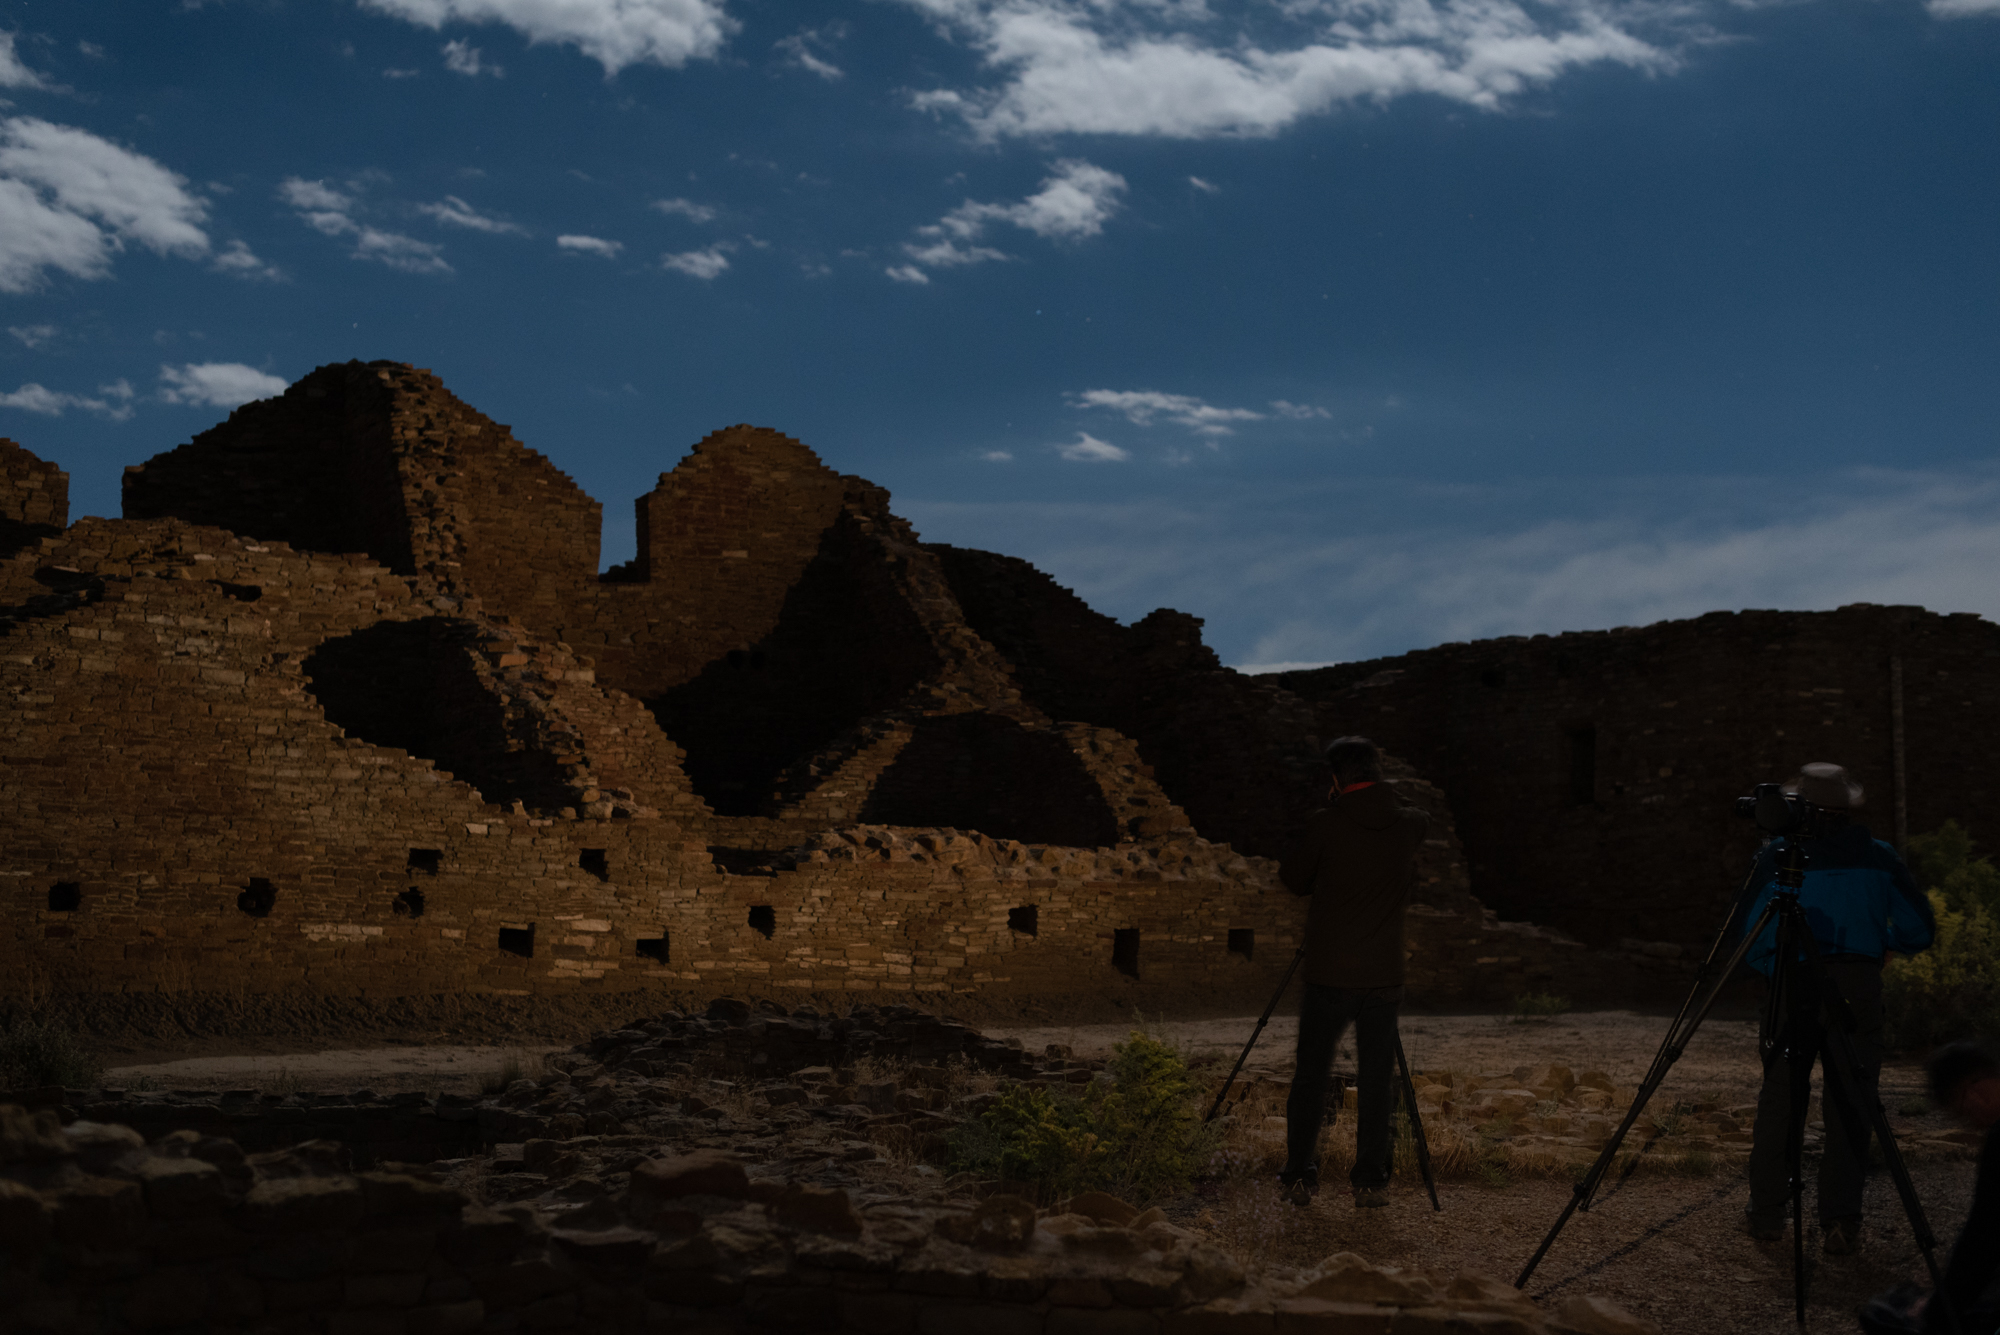
As you likely know, there are a number of designations for National Park Service properties: national parks, national monuments, national seashores, national recreation areas, and national historical parks, among others. Matt and I led NPAN’s first workshop to a historical park in September, at New Mexico’s Chaco Culture, the site of the densest collection of ancient Puebloan structures in the world.

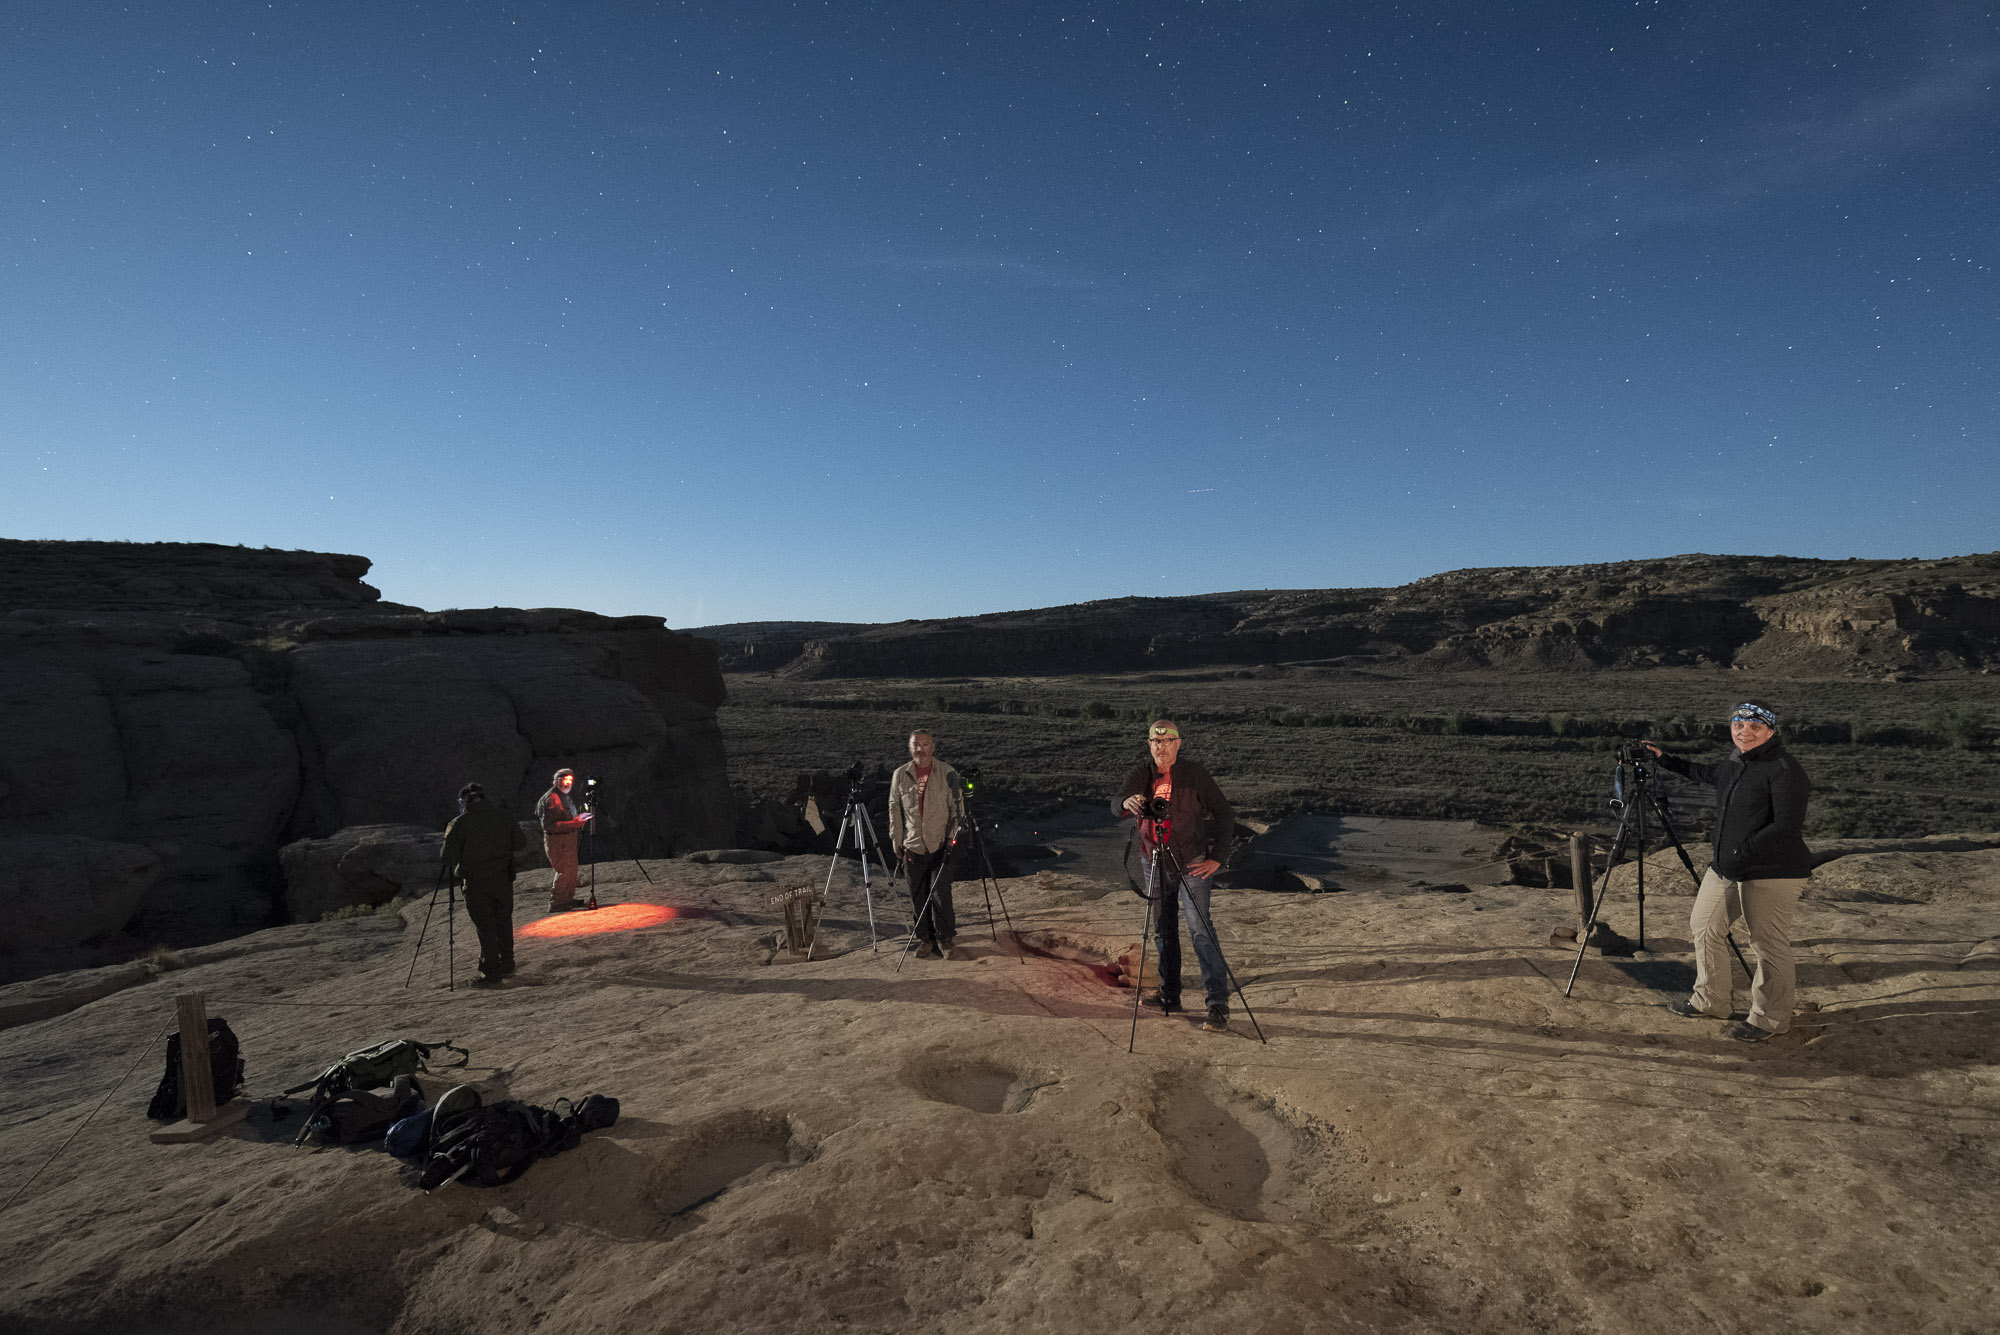
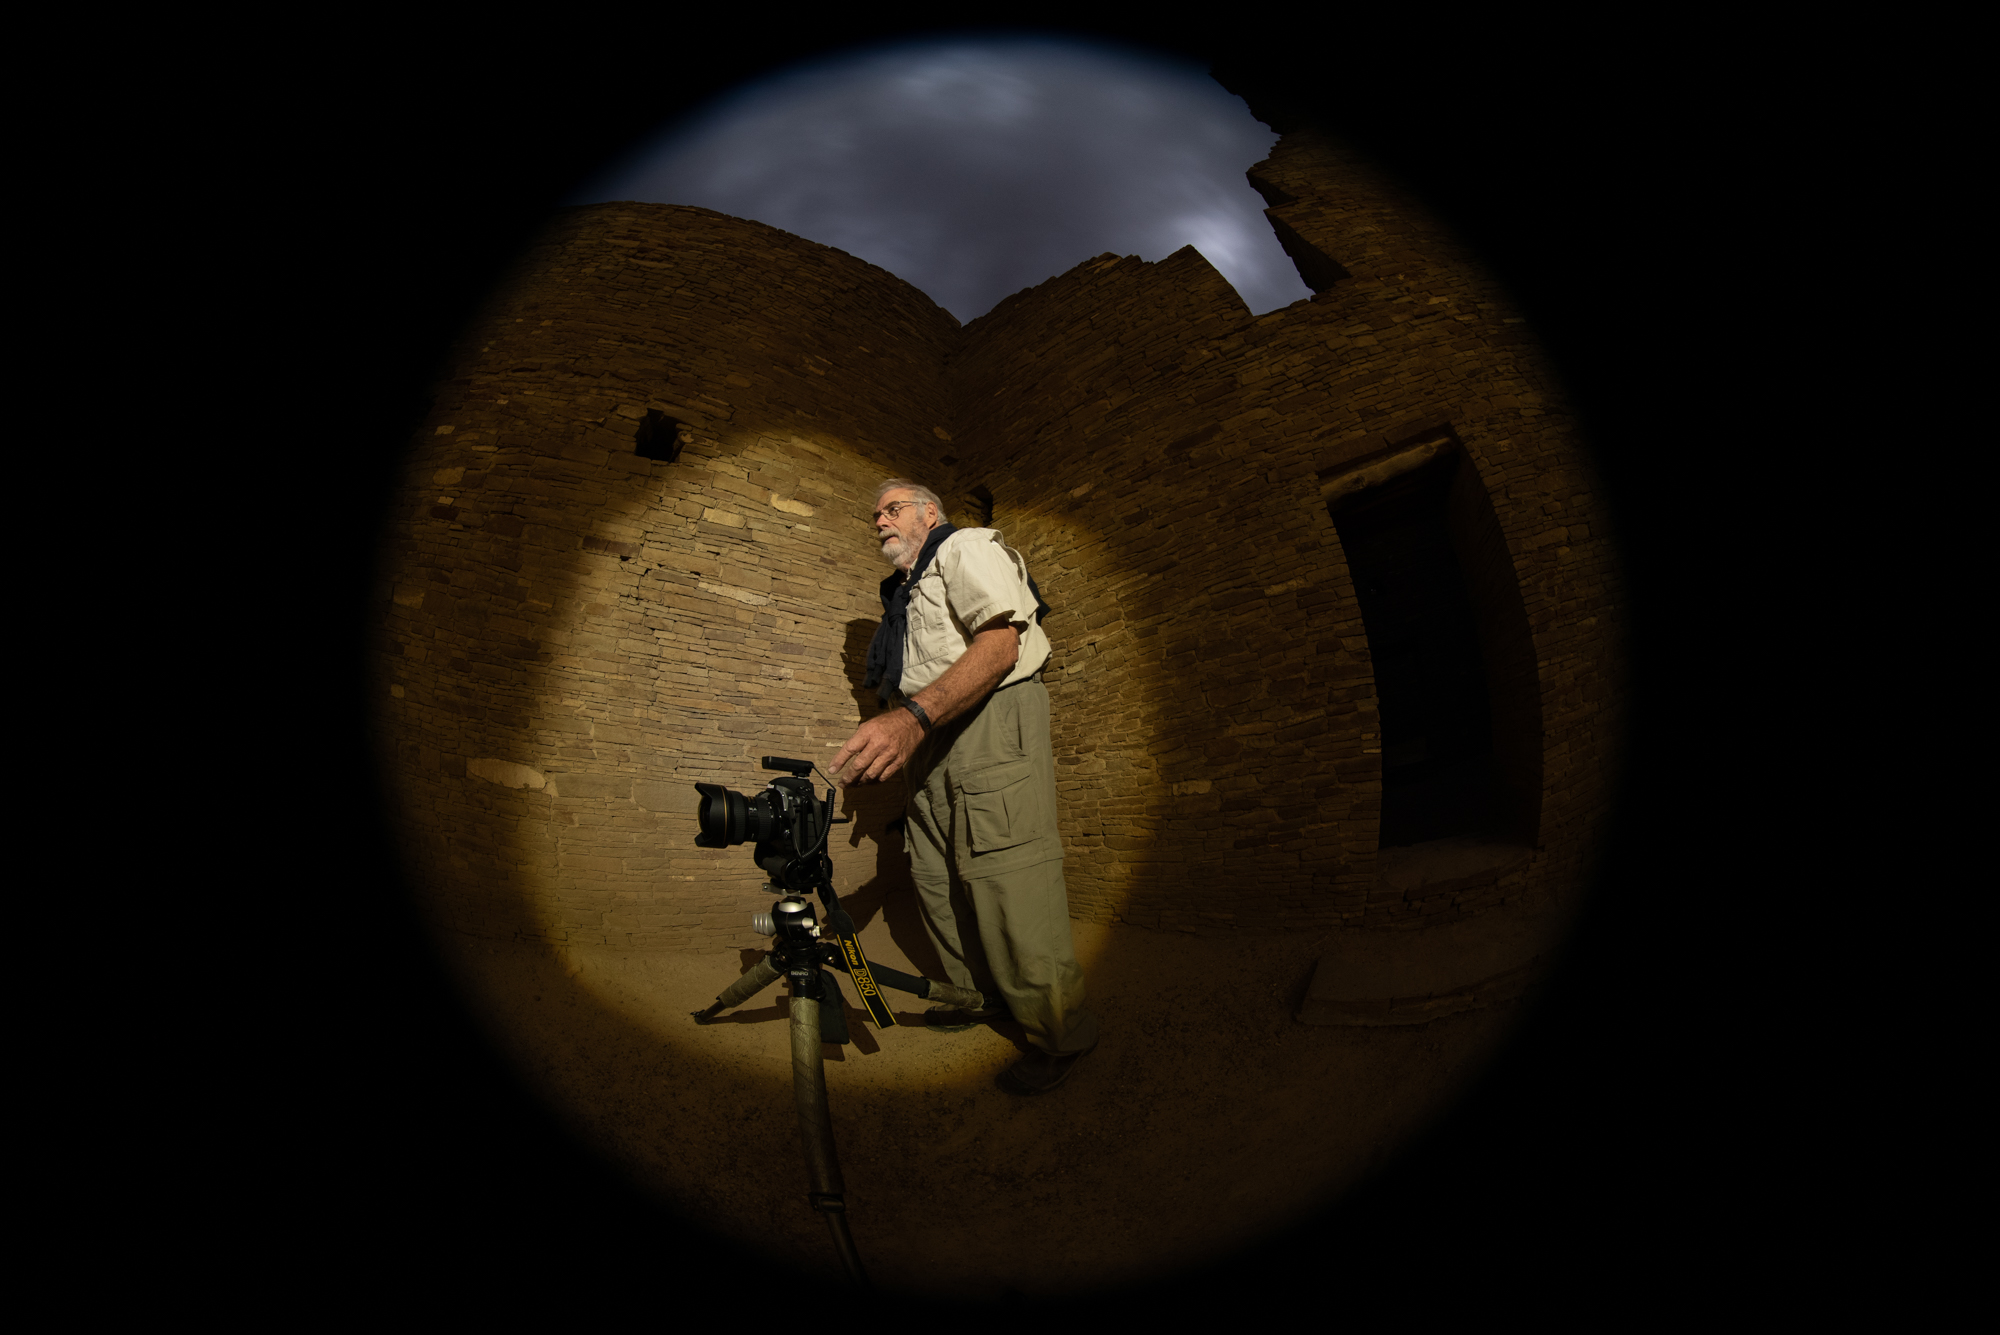
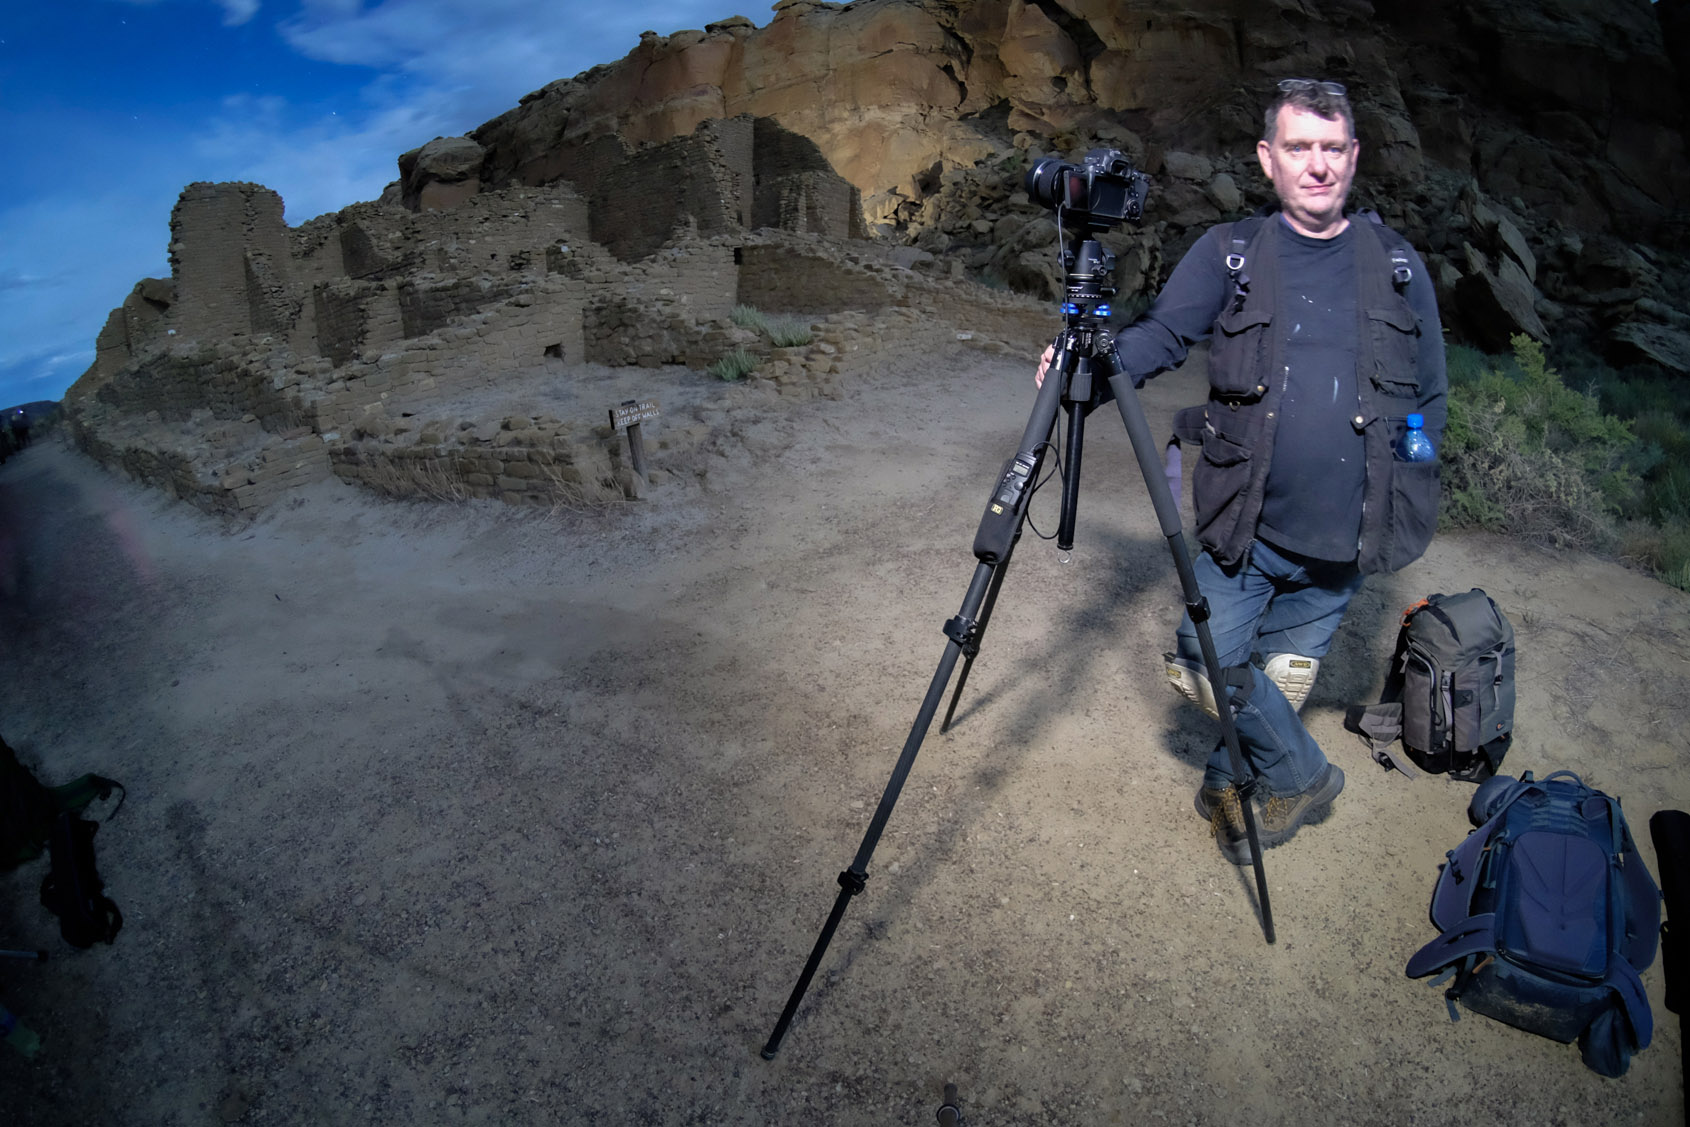
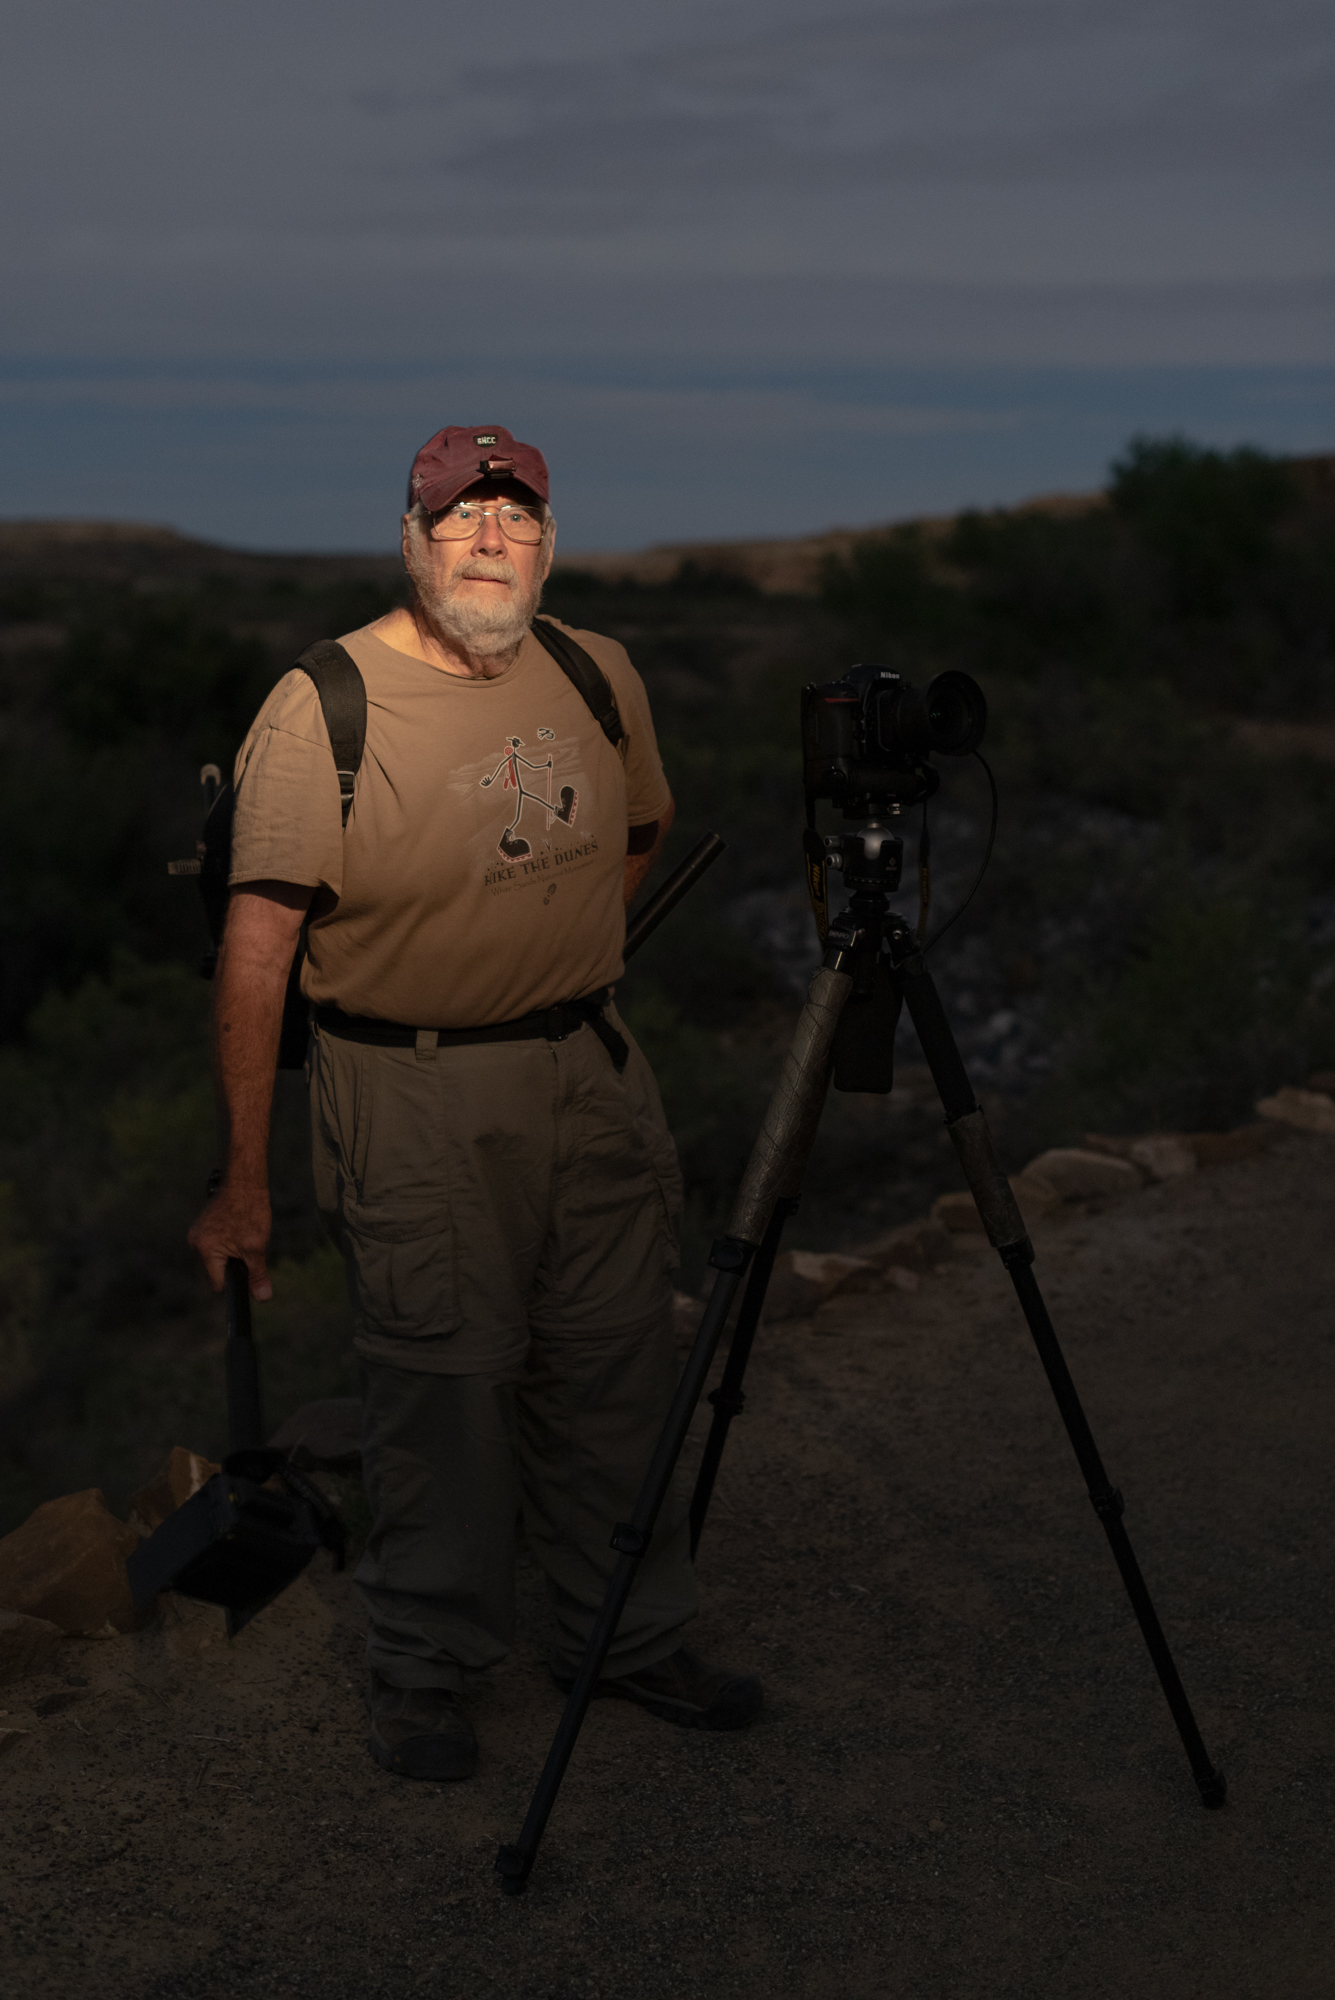
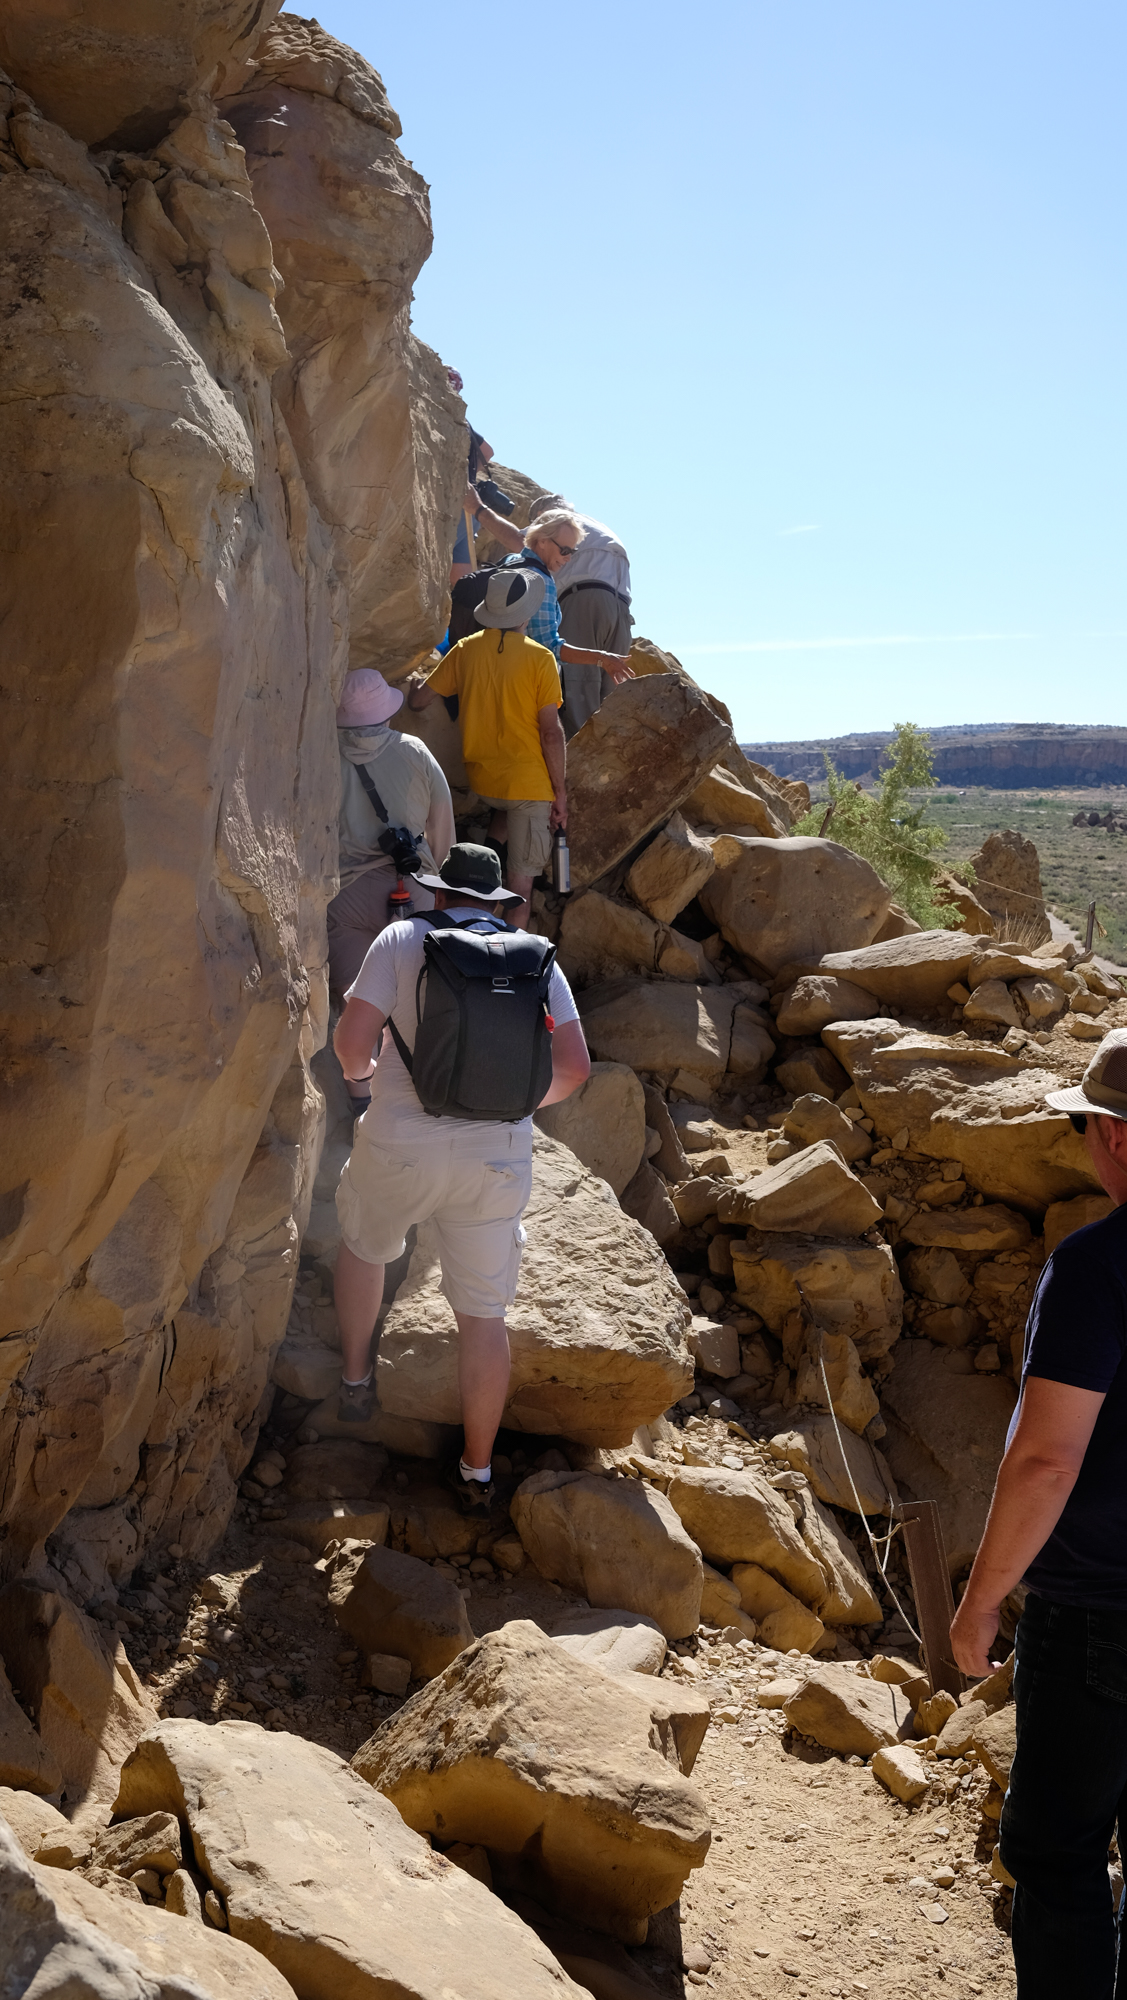
Photography at Chaco is all about the massive pueblos, as well as how they fit into the landscape. The various archeological sites at Chaco Canyon range from about 800 to 1,000 years old, and are the most significant feats of engineering from the ancient world in the American Southwest. We arranged for special nighttime access to the sites, which are closed to the public at sunset.

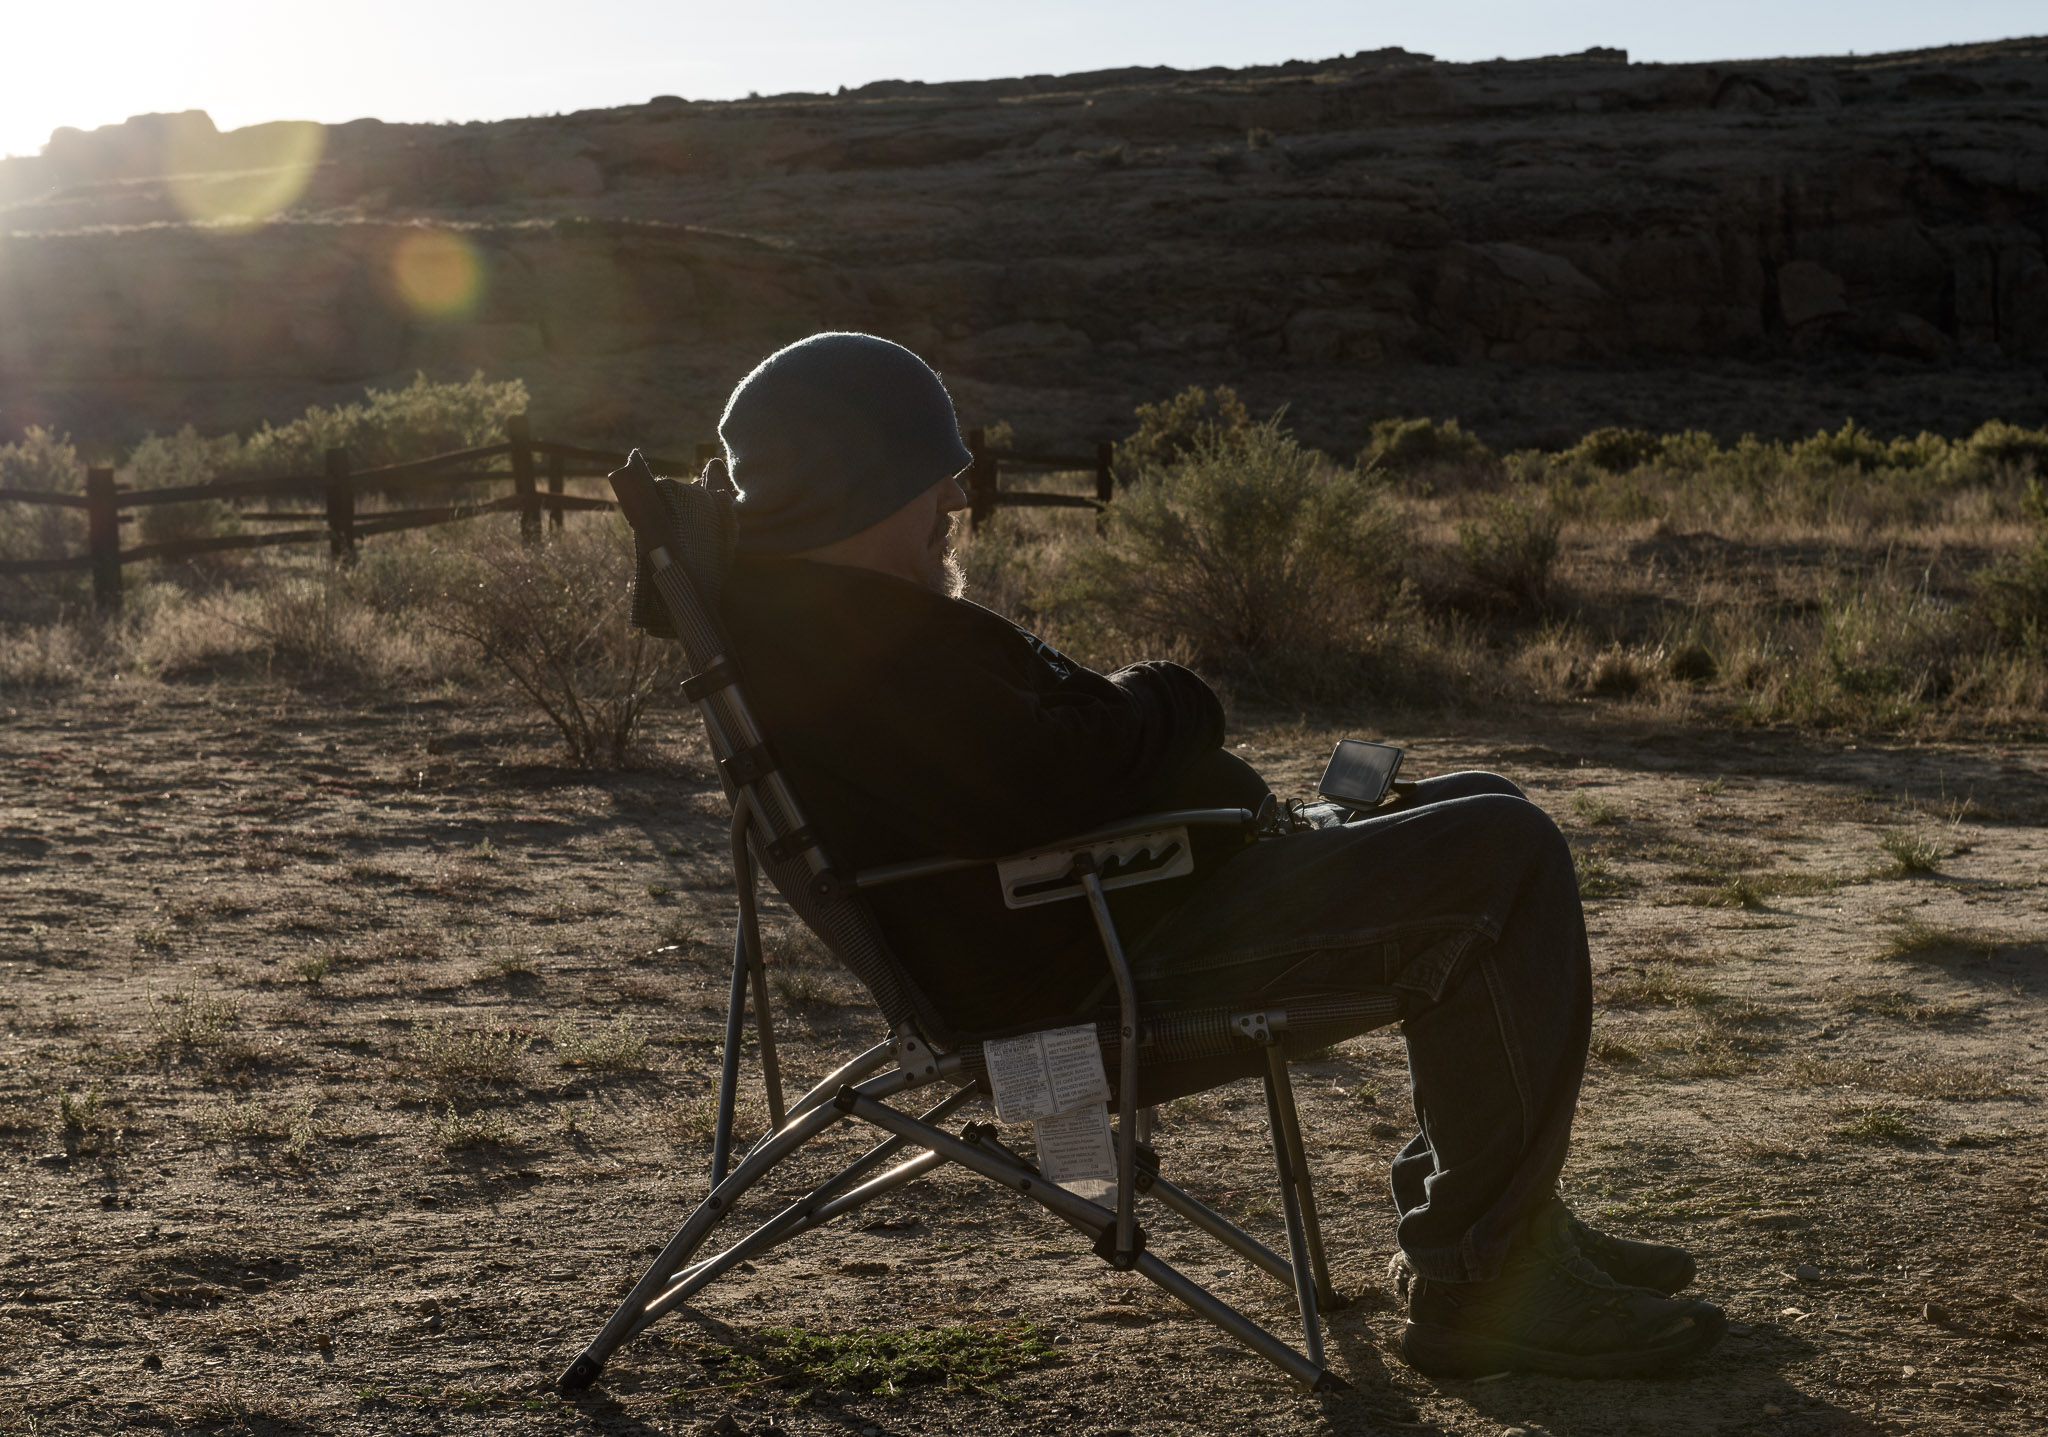
Many of the parks we visit are remote and hard to get to, and Chaco is no exception. The nearest accommodations are well over an hour away, but there is a campground at the edge of the park. In order to minimize travel and get the most out of our time at Chaco, we elected to base ourselves at the campground and to use one of the spaces at the park’s visitor center for our classroom. Many of our participants opted to bring an RV, but a good number decided to rough it and go for tent camping.

Our workshop coincided with this dark sky park’s annual astronomy festival—which was ironic because we were there during the full moon, specifically so that we had moonlight to illuminate the landscape while we focused on light painting the structures. Dr. Erica Ellingson and Nick Conant were there from the Fiske Planetarium at the University of Colorado at Boulder to present Ellingson’s Ancient Light program on Chacoan astronomy in their mobile planetarium, and we were able to arrange an extra presentation of the program for our group.

Chris and Matt had just completed their Rocky Mountain National Park workshop, and they drove to Chaco from Denver so that Chris could join us for the first couple of days and nights.

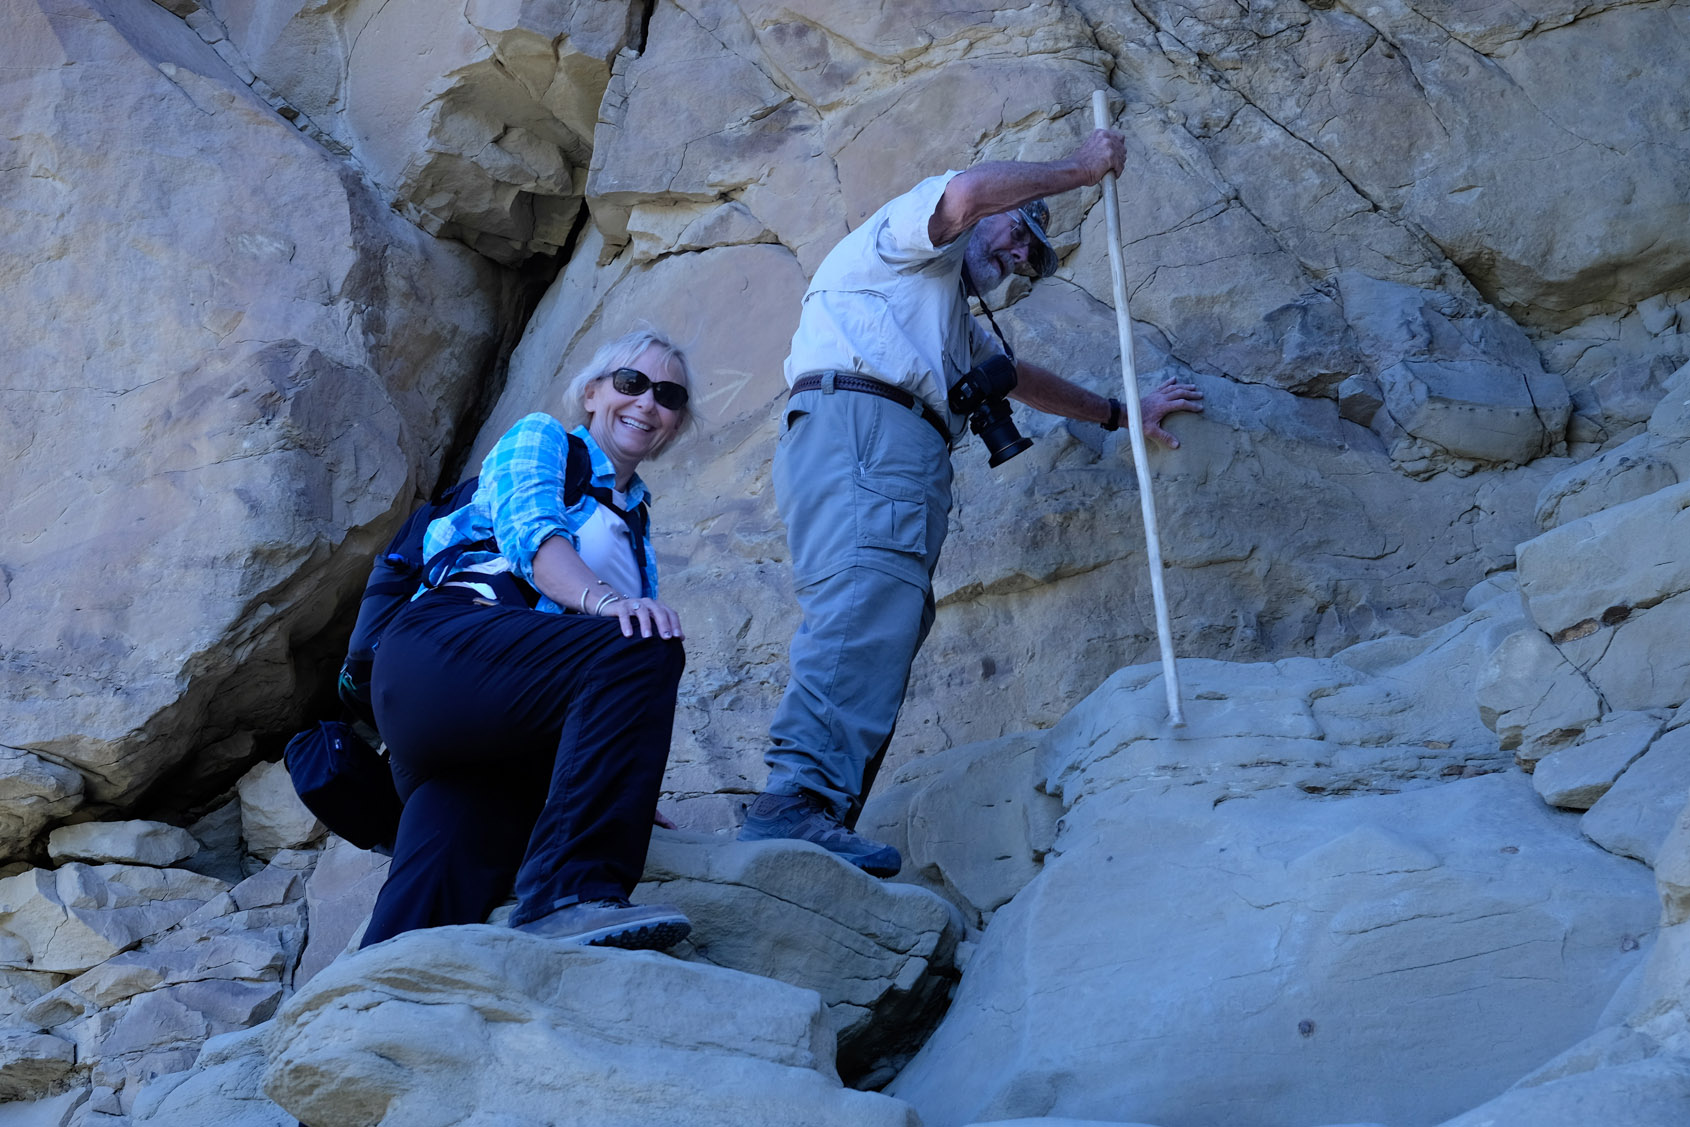
Of particular note was a high level of coordination and cooperation among the workshop participants, which proved essential while working in the tight quarters of the archeological sites. That’s not really a big surprise, because our groups are amazing, and we are truly fortunate to work with such great people on a regular basis.

This was my last workshop of the year, and it was a great way to end it. Thank you to my partners at National Parks at Night and to all of the wonderful workshop participants I’ve had the pleasure to work with over the year.

Catskills Night Portraiture (Fall Session)

October 12-14
by Matt Hill

I co-led our second night portraiture workshop in Catskill, New York, with Tim. Over one intense weekend we worked with two local models, Rip and Galaexius, to make iconic and creative portraits in the Hudson River Valley and some cool locations in the Catskill Mountains.

During the daytime, we did hands-on learning with lighting and posing models, as well as studying how to build up to a properly balanced exposure. In the evenings, we applied that knowledge in the field down at the river, as well as at the nearby natural art installation, Opus40.

Our models were the bomb, and our attendees really stretched themselves to do the complicated task of not only making a great photograph at night, but also a thoughtful and deliberate portrait.

We liked the experience so much, we’ll be bringing the idea back in a five-night format. Stay tuned … and on the mailing list. ;-)

Sloss Furnaces National Historic Landmark

November 15-18
by Gabriel Biderman

Our last workshop of the year was in an incredibly unique location, the Sloss Furnaces National Historic Landmark. Located in Birmingham, and built in 1880 and operated until 1970, Sloss is the only 20th century blast furnace in the U.S. being preserved and interpreted as a historic industrial site. And we were the first group to lead a dedicated night photography workshop there!

Our focus of the workshop was to interpret the location in black and white and to add a heavy dose of light painting. We had a diverse group of attendees—including several locals from Birmingham as well as people from Germany and both U.S. coasts—who came to explore the site with us.

We were also thrilled to work very closely with Sloss. They gave us a private tour of the whole site to kick things off, and they worked very closely with us through the whole process.

One of the big things that made this workshop so different for us was that we could return to the same location each night. The preserved footprint of Sloss is one-third of what it used to be, but it’s packed with a vast amount of subject matter. Participants could focus on a different subject each night, or they could revisit, reinterpret or finesse the same.

That flexibility of repetition was especially helpful for honing our light painting skills The variety of ways that we could interpret Sloss—wide overall exterior shots, tons of abstract details, and rooms that were pitch dark—offered infinite opportunities to create by adding light to the scene.

An unexpected surprise was the amount of stars that could be seen above the Furnaces. We could really heighten the sense of time against this timeless machinery. And because of the unseasonably cool temperatures, we were able to set up rigs to get 1-hour-plus exposures without much concern for long exposure noise in our images.

Our classroom time was spent discussing black and white techniques, as well as sharing one another’s work. Each day we were eager to get back to Sloss and cover more ground. We were fortunate enough to witness an iron pour one night, as Sloss continues to operate a workshop area for educational purposes.

We always end our workshops with a slideshow of our images, typically shared in our classroom. However, Sloss offered to have us showcase our images at their visitor center. The event was open to the public and showcased a nocturnal look at the site. We were also invited to have our work in a group show later in 2019. Rumor has it that we’ll be returning to Sloss as well as exploring other historic industrial sites in the near future!

Death Valley After Dark: Astronomy and Photography in the Backcountry

December 5-8
by Chris Nicholson

Our second partnership with Atlas Obscura was also a departure for us, in that this workshop was about not only night photography, but also astronomy. Out in the field with us day and night was Tyler Nordgren, astronomer and author of the book Stars Above, Earth Below: A Guide to Astronomy in the National Parks.

The workshop was an experience of photographing and exploring the night skies of the park’s most remote fascinations, including Racetrack Playa, Eureka Sand Dunes and the Wildrose Charcoal Kilns. We also visited some spots that are easier to access but are just as amazing, including Badwater Basin, Salt Creek Flats and Ubehebe Crater.

And that was only the tip of the adventure iceberg. We rented red Jeeps from Farabee’s for hours upon hours of backcountry driving, we camped at the Racetrack, we enjoyed fresh-cooked chili at the tent site, and we shared an outdoor pancake and coffee breakfast on a very cold desert morning (after a very cold desert night).

In addition to the night (and day) photography, Tyler continually waxed poetic about the universe above us. We learned about constellations and nebulae, we looked through his telescope and image-stabilizing binoculars at galaxies and a comet, and he taught us more than we could have imagined about the Milky Way and zodiacal light.

We’re looking forward to many more opportunities to seize the night with both Tyler and Atlas Obsura.

Astronomer Tyler Nordgren powered his telescope with one of the ONsite recharging packs that Tether Tools provided for our Death Valley backcountry workshop.

Partner Participation

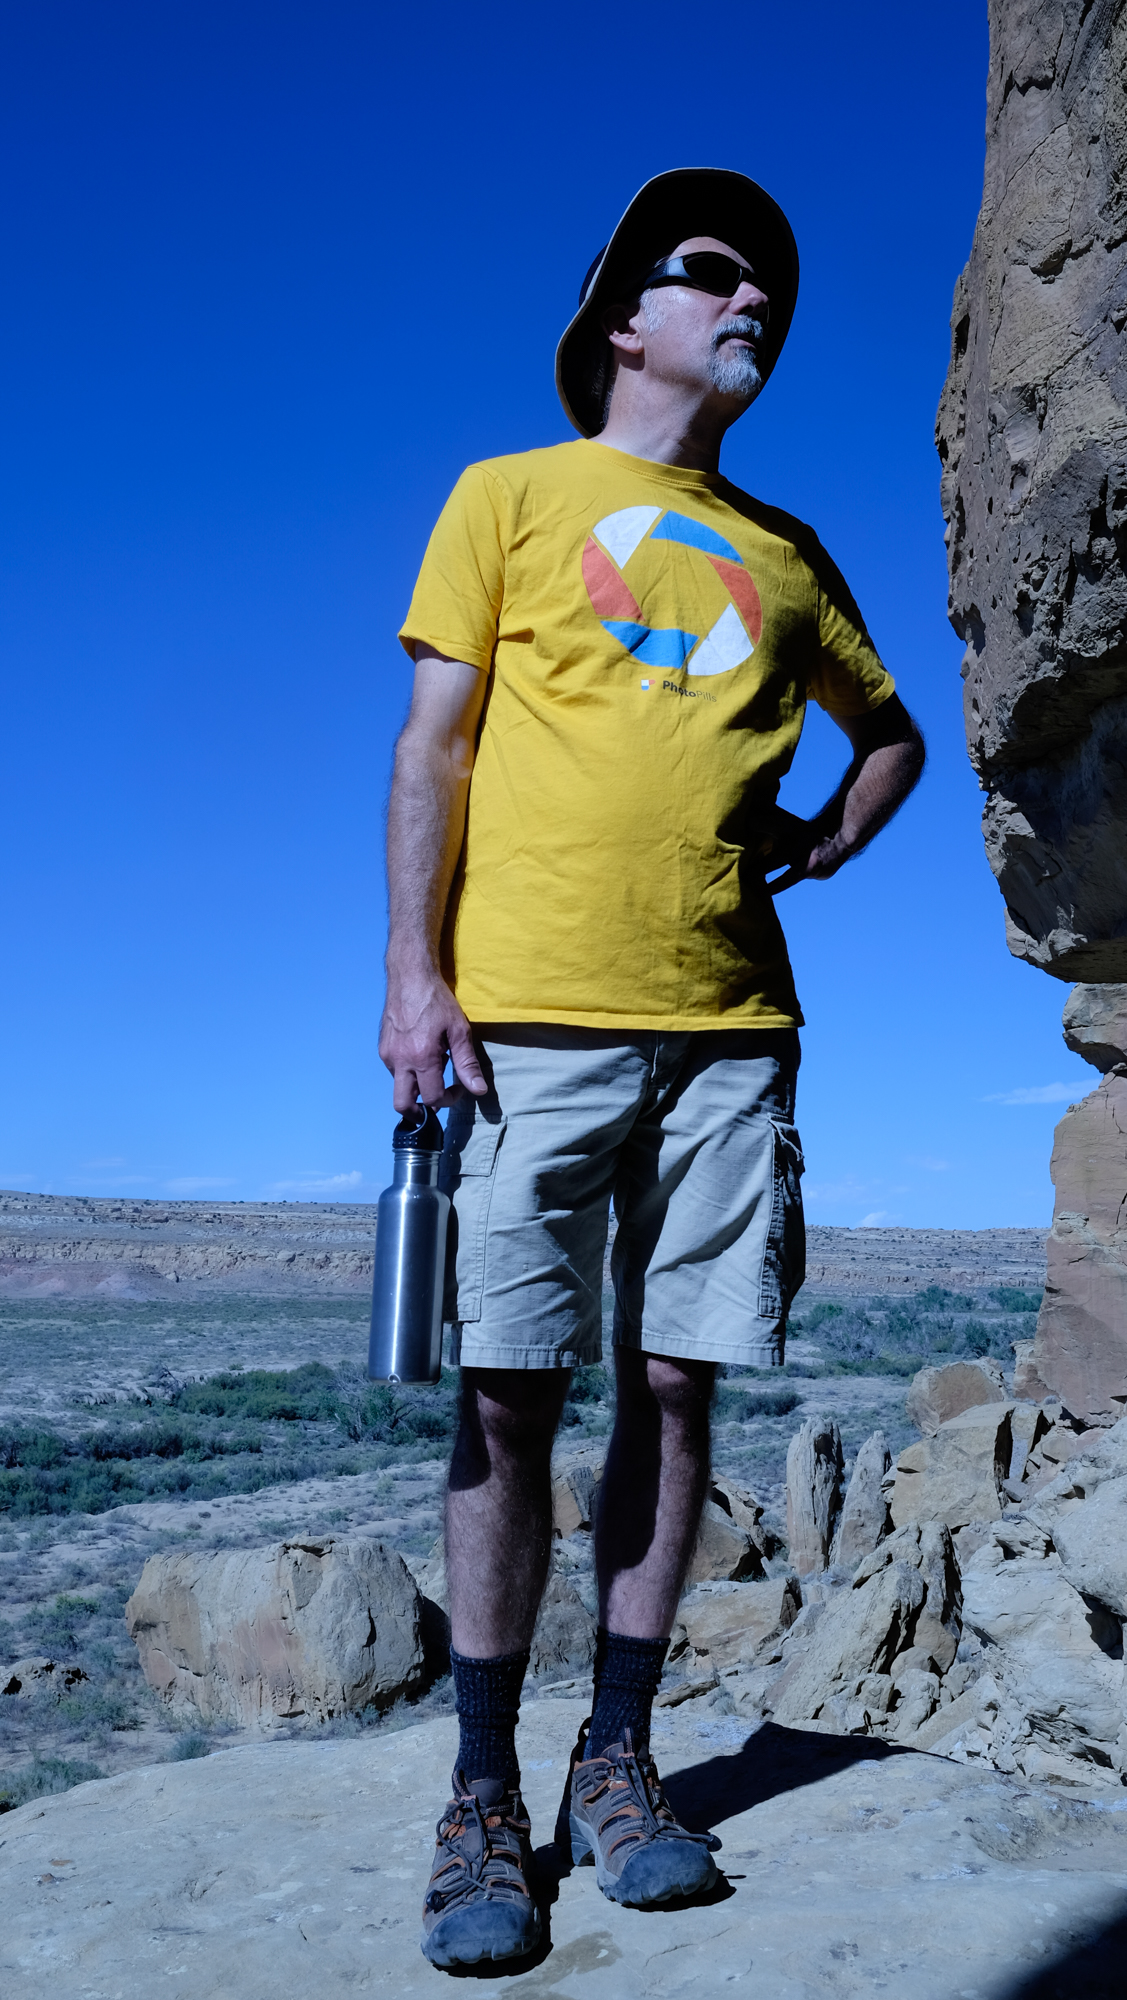
We’ve said it before, and we’ll say it again: When we form brand partnerships, we look for the relationship to benefit our workshop attendees too. Nikon, Coast Portland, B&H Photo, Peak Design, Light Painting Brushes, X-Rite, BenQ, Bay Photo, Irix Lenses, Valleret, PhotoPills, Tether Tools and Luxli all offered loaner gear, discounts, gifts and other perks at various locations. As always, our gratitude is unending.

Looking Forward

Wow. 2018 was amazing. And we couldn’t have done it without all the photographers—ranging from 16 to 80ish, male and female, from night photography rookies to veterans—who attended and made these workshops and tours so memorable.

It makes us want to do it again! And do it again we shall. If anything gets us more excited than our memories of 2018, it’s our anticipation for 2019. We’re heading to six national parks: Big Bend, Bryce Canyon, Glacier, Great Smoky Mountains, Grand Canyon and Lassen Volcanic. We’ll also be visiting Cape Cod, Devils Tower, the Outer Banks, San Francisco and Valley of Fire. We’re venturing overseas again too, to Morocco, Easter Island and Cuba. And we’re running two firsts: a Post-Processing Intensive in Catskill, New York, and a multinight backcountry backpacking adventure to Shi Shi Beach in Olympic National Park.

Several of the 2019 workshops still have seats available. As for the sold-out experiences? You can still sign up for the waitlist for any workshop at no cost and with no risk. If a spot opens up, we’ll invite you to apply.

So come join us, to seize the night!

Chris Nicholson is a partner and workshop leader with National Parks at Night, and author of Photographing National Parks (Sidelight Books, 2015). Learn more about national parks as photography destinations, subscribe to Chris' free e-newsletter, and more at www.PhotographingNationalParks.com.

UPCOMING WORKSHOPS FROM NATIONAL PARKS AT NIGHT