star trails

The Night Photographer's Guide to Star Stacking (Part III)

Note: This is the third in a three-part series about creating star trails with the stacking technique. Part I covered how to shoot the raw materials. Part II demonstrated how to edit the individual frames in Lightroom and Photoshop to create the star trail stack. In Part III, below, Tim explains how to clean up artifacts that can occur when combining these images in Photoshop.


This is the third and final installation of our three-part guide to star trail stacking. We hope you have enjoyed the series so far. For those of you who didn’t catch Part I and Part II, we recommend reading those blog posts before you jump in here, so that you are up to speed with the capture and initial processing steps.

This method of creating star trail images is versatile and comes with many advantages, but it can also result in artifacts that need to be corrected in order to create a polished final image—things such as plane trails and stray light, which can appear on individual frames during capture.

Star trails over Animas Forks, Colorado. Nikon Z 6II with a Nikon Z 14-24mm f/2.8 S lens at 15mm. 17 stacked frames shot at 4 minutes, f/2.8, ISO 640.

While the fact that these artifacts exist at all might make you question whether to use this technique to begin with, the opposite is true: These problems can appear in any long exposure of the night sky, and the stacking technique gives you more power to remove them in a way that doesn’t harm your final image.

Indeed, that we can remove common artifacts from individual layers is a great reason to choose the technique of shooting multiple shorter exposures and stacking them together in Photoshop rather than shooting one long exposure.

In This Video

In the following video I’ll cover:

  • exporting your images from Lightroom into Photoshop

  • changing blending modes to create the initial star trail composite

  • identifying and working on individual layers

  • removing plane trails from individual layers using the Spot Healing Brush

  • the difference between layers and masks

  • creating layer masks and using the paintbrush to remove unwanted items that appear on individual frames

  • using selections to remove unwanted items that appear on individual frames

  • streamlining the editing process by grouping layers

  • using color labels to mark important layers

  • when to flatten your image and when to retain the layers

  • creating a composite layer to enable edits that can’t be done to multiple layers

  • renaming your Lightroom files to reflect the file’s status

Your Turn

Have you been creating star trail images using the stacking technique? We’d love to see your photos! Share in the comments below, or on our Facebook page, or on Instagram (tag us @nationalparksatnight #nationalparksatnight #seizethenight).

Tim Cooper is a partner and workshop leader with National Parks at Night. Learn more techniques from his book The Magic of Light Painting, available from Peachpit.

UPCOMING WORKSHOPS FROM NATIONAL PARKS AT NIGHT

The Night Photographer's Guide to Star Stacking (Part II)

Note: This is the second in a three-part series about creating star trails with the stacking technique. Part I covered how to shoot the raw materials. In Part II, below, Tim goes over the required post-production. Later he’ll follow up with Part III, in which he’ll show how to clean up the artifacts of the technique (such as plane trails).


Previously I wrote about the in-field steps for creating star trails from multiple exposures. Now we’re ready for the next step, which is how to process those images into one final star trail photograph. And, as a bonus, I’ll include a light-painted foreground shot into the mix!

While there is a variety of software that can process raw files, Photoshop is still the industry standard for compositing images. In this post I’ll use Lightroom and Photoshop to complete our star stack.

The Lightroom Steps

Once your images are downloaded, all the frames for your stack should be together, because you shot them sequentially. For this example, my images are in a Lightroom folder called Inyo Mine (Figure 1).

Figure 1.

At this point you could bring the frames into Photoshop to stack them, but I recommend doing as much editing to the images as possible before sending them over. This could be as little as altering the exposure or as extensive as masking and removing plane trails from each image. I prefer to make adjustments beforehand to maximize the advantages of the raw workflow—once the frames are in Photoshop, they’ll be rasterized and any subsequent image adjustments could possibly hinder image quality in a way that wouldn’t happen earlier in the process.

However, you should note one caveat: We have seen that the more edits you make before stacking, the higher the chance that the final image will suffer from moiré. Now, you might never see moiré, but some photographers do, and some see it more often. The incidence of moiré can vary from one camera model to the next—for example, we tend to see it more with higher-resolution cameras.

The problem with moiré is that it can’t be edited out, so it needs to be avoided. As you’re getting into stacking for star trails, if you notice that you encounter moiré in your final images often, then it might just be more efficient to do your basic image edits after stacking rather than before. (More on this in a little bit.)

Either way, the edit we see that most often causes moiré in a stack is Lens Corrections—in fact, it’s common. So that’s the one adjustment you might want to make a habit of waiting until later to make.

However much editing you decide to do, you should ensure that global adjustments are the same on all of the images. Select all of the frames by clicking on the first, holding the Shift key, then clicking on the last (Figure 2).

Figure 2.

For this example I adjusted the White Balance, increased the Exposure and Whites, and added a touch of Dehaze on the first star trail image. We want these all of our global adjustments to be applied to all of the star trail frames, otherwise the stars will look different at various spots in the final trails. To apply the edits to all the frames, with all of the star trail images selected, click the Sync button (Figure 3), click Select All, then click Syncrhonize. (You’ll notice that I did not include the light-painted image with this sync, as I want to edit that separately.)

Figure 3.

Now that the global adjustments are synchronized across all of the star trail frames, you can make any edits that may be needed on individual files, such as removing plane trails, masking etc. At this point I made some adjustments to the light-painted foreground (Figure 4).

Figure 4.

Once all of your editing has been done, return to the Library module and again select all of the images you wish to stack (Figure 5). Notice that in this case I have selected all of the star-trail frames as well as the light painting frame.

Figure 5.

Choose Photo > Edit In > Open as Layers in Photoshop (Figure 6). This command does a lot of work for you in the background. It takes each of your raw files, make copies and converts them to TIFF, then sends them to Photoshop, each as an individual layer in one document. Depending on your Lightroom settings, this may produce a PSD or TIFF file. Either is fine.

Figure 6.

The Photoshop Steps

Once the frames begin opening in Photoshop you’ll see them appear as different layers in the Layers panel. The bottommost layer will show as “Load Layers” (Figure 7); this indicates that Photoshop is still opening and placing new files into the document. Be patient with this step. It could take a while depending on how many frames you are using.

Figure 7.

Once the images have been loaded you’ll see the Layers panel filled with your individual frames (Figure 8).

Figure 8.

Click on the top layer, hold the Shift key, then click on the bottom layer (you may have to scroll down a bit). This selects all of the layers so that our next step will apply to all layers in the file.

Now it’s time to change the blending mode, which is how we’ll combine the stars that appear in the different layers. The blending mode is set with a dropdown menu located near the top of the Layers panel (Figure 9).

Figure 9.

We want to change the blending mode to Lighten. With all of the layers still selected, click on the arrow for the blending mode dropdown menu, then from the options, select Lighten (Figure 10). Witness the magic. All of your stars have now combined to create trails.

Figure 10.

How did this work? Imagine the individual layers as individual photo prints stacked on a table. No matter how large the stack, you would see only the topmost print. It’s the same with layers.

However, changing the blending mode on all of the layers to Lighten tells Photoshop that the brightest part of each layer should show through all the way to the top. This means that wherever there is a star in the sky, it will show through.

Figure 11 shows an enlarged portion of the sky, and I have turned off the visibility of all the layers except one (circled in red). This was done by clicking the eyeball off for all the other layers, thus turning off their visibility.

Figure 11.

In just that one layer, you can see that the star trail is quite short. But when I activate another two layers, the trail lengthens (Figure 12).

Figure 12.

This is because the stars on these layers are brighter than the darker sky in the same spots on the other layers. Remember that with the Lighten blending mode, the brightest areas of each layer show through. So when all of the layers are visible (eyeballs turned on) and their blending mode is set to Lighten, you will see all of the star trails from each layer (Figure 13).

Figure 13.

Moiré

Note that this is the point where you might see moiré. It can be caused by the processing algorithm creating just slightly different pixels from one layer to the next. Zoom in to the sky and look for moiré, which will appear as a pattern of bands of somewhat lighter and darker pixels, such as in Figure 14. If you see that, you cannot edit it out. Your best bet is to close file (don’t bother saving), go back to Lightroom, undo some edits, and then re-create your layered Photoshop file.

Figure 14.

In that case, here’s how to troubleshoot:

  1. As mentioned earlier, the adjustment that we most often see causing moiré in a stack is Lens Corrections. If Enable Profile Corrections is on, turn it off, create the stack again, and see if that fixes the problem.

  2. If not, then it’s back to Lightroom. Zero out your most aggressive edits (Shadows at 100?!) and try again.

  3. If you’re still getting moiré, zero out all of your edits, create your stack, and then edit your final image in Lightroom.

We have seen only one case ever where these steps didn’t solve an issue with moiré.

If you are working with only star trail layers, with no light painting layers, then you could be finished at this point. Feel free to jump ahead to “Saving the File” at the end of this post.

Masking Around a Different Foreground

It’s been a while since I mentioned it, but remember the other image I opened as a layer, the one with the light painting? Because the lighting in that one layer is brighter than the dark foreground in all the other layers, all that light painting shows through—again because of the Lighten blending mode. More magic!

However, that light painting layer is causing one problem. That exposure was not made sequentially with the others. I shot the light painting frame before I started shooting the star trail frames. It has stars in it too, and because the blending mode for that layer is also set to Lighten, those stars are showing in the stack.

Figure 15 shows the image with the light painting layer turned on. You can see all of the stars (circled in red) from the exposure I made while light painting. This exposure was shorter, so the stars appear as dots rather than small trails.

Figure 15.

I do want the light-painted foreground from this layer, but I don’t want those star points to appear in the sky and break up my star trail pattern. The solution? Mask out the sky from that layer.

Masking

Selecting and masking in Photoshop is a deep subject and we could spend a summer of Sundays plumbing its depths. To keep this simple, we’ll use a powerful (and somewhat new) selection tool called Select Sky.

The goal is to keep the sky of the light-painted layer from showing in the stacked final image, while still letting the foreground show. This means we want a selection of the foreground for our mask. But in this case (and in many cases), it’s easier to select the sky and then invert that selection so that we have the foreground selected instead.

I begin by clicking on the light painting layer (Figure 16). Clicking on this layer tells Photoshop that when I start using selection tools, the selections will be based on the information from this layer. Then I choose Select > Sky.

Figure 16.

Then I choose Select > Inverse to change the selection to the foreground (Figure 17).

Figure 17.

The selection of the foreground is now active (shown by the marching ants in Figure 18).

Figure 18.

To turn this selection into a mask, all we have to do is click on the Add a Mask icon (Figure 19).

Figure 19.

The newly created mask on the light painting layer (circled in Figure 20) allows the foreground to show (as indicated by the white area of the mask thumbnail) but blocks the sky from showing (indicated by the black area).

Figure 20.

Saving the File

Once you’re done, you’ll want to save the file and send it back to the Lightroom catalog. To do so, select File > Save, then File > Close. Once back in Lightroom, you can continue fine-tuning the edits with a more familiar set of controls.

However, there’s a potential hitch when it comes to saving. Image files with lots of layers can be quite large. The more frames you stacked, the larger the final file will be. The problem is that PSD files cannot be larger than 2 GB, and TIFF files cannot be larger than 4 GB. If your layered image is larger than those limits, Photoshop will complain, and you’ll need to make a decision. You may:

  1. Flatten the layers (select Layer > Flatten Image), which will dramatically reduce the size of the file. This means Photoshop can save the file as a PSD or TIFF, which has the added benefit of taking up less space on your hard drive. However, your layers will be gone forever, so if you want to make layer-level changes in the future, then you’ll need to go through the whole process again.

  2. Save the file as a PSB, which is Photoshop’s large-document format. Simply select File > Save As, and choose “Large Document Format (*PSB)” as the file type. This will allow you to keep all your layers, but will of course use more room on your hard drive.

More Potential Steps

Creating star trails by stacking images has a lot of advantages, but it can also create some artifacts, such as plane trails, or stray light from flashlights or from cars driving by. Working with those artifacts is the next step in your process, and I’ll cover that in the next and final blog post in this series. Stay tuned for Part III, coming soon.

Tim Cooper is a partner and workshop leader with National Parks at Night. Learn more techniques from his book The Magic of Light Painting, available from Peachpit.

UPCOMING WORKSHOPS FROM NATIONAL PARKS AT NIGHT

The Night Photographer's Guide to Star Stacking (Part I)

Note: This is the first in a three-part series about creating star trails with the stacking technique. Part I, below, covers how to shoot the raw materials. Come back soon for Part II, in which Tim goes over the required post-production, followed by Part III, in which he shows how to clean up the artifacts of the technique (such as plane trails).

To learn more about night photography techniques that involve photographing with processing in mind, attend our Shoot for the Edit: Colorado workshop in September 2022!


Night photographers are fortunate to have many ways to interpret a subject. The night sky can be captured with a stunning Milky Way core, or as a deep sea of stars that register as thousands of points of light. We can illuminate the foreground to give the sky a sense of place, use filters to give the stars a fantasy look or use longer exposure times to render the stars as trails across the sky.

Star trail photos are fun to shoot, and they bend reality by dilating time in a way that humans can’t otherwise perceive. Yet, shooting star trails is rife with potential obstacles, from camera limitations to stray light and more.

In a series of blog posts that starts today, I’ll show you how to create star trails by using a special technique that works around those potential problems: star stacking. In this first post I’ll discuss how to shoot for star stacking, in the next post I’ll cover how to process the images, and then in a third post I’ll teach how to rid your stacks of plane trails and other artifacts of the process.

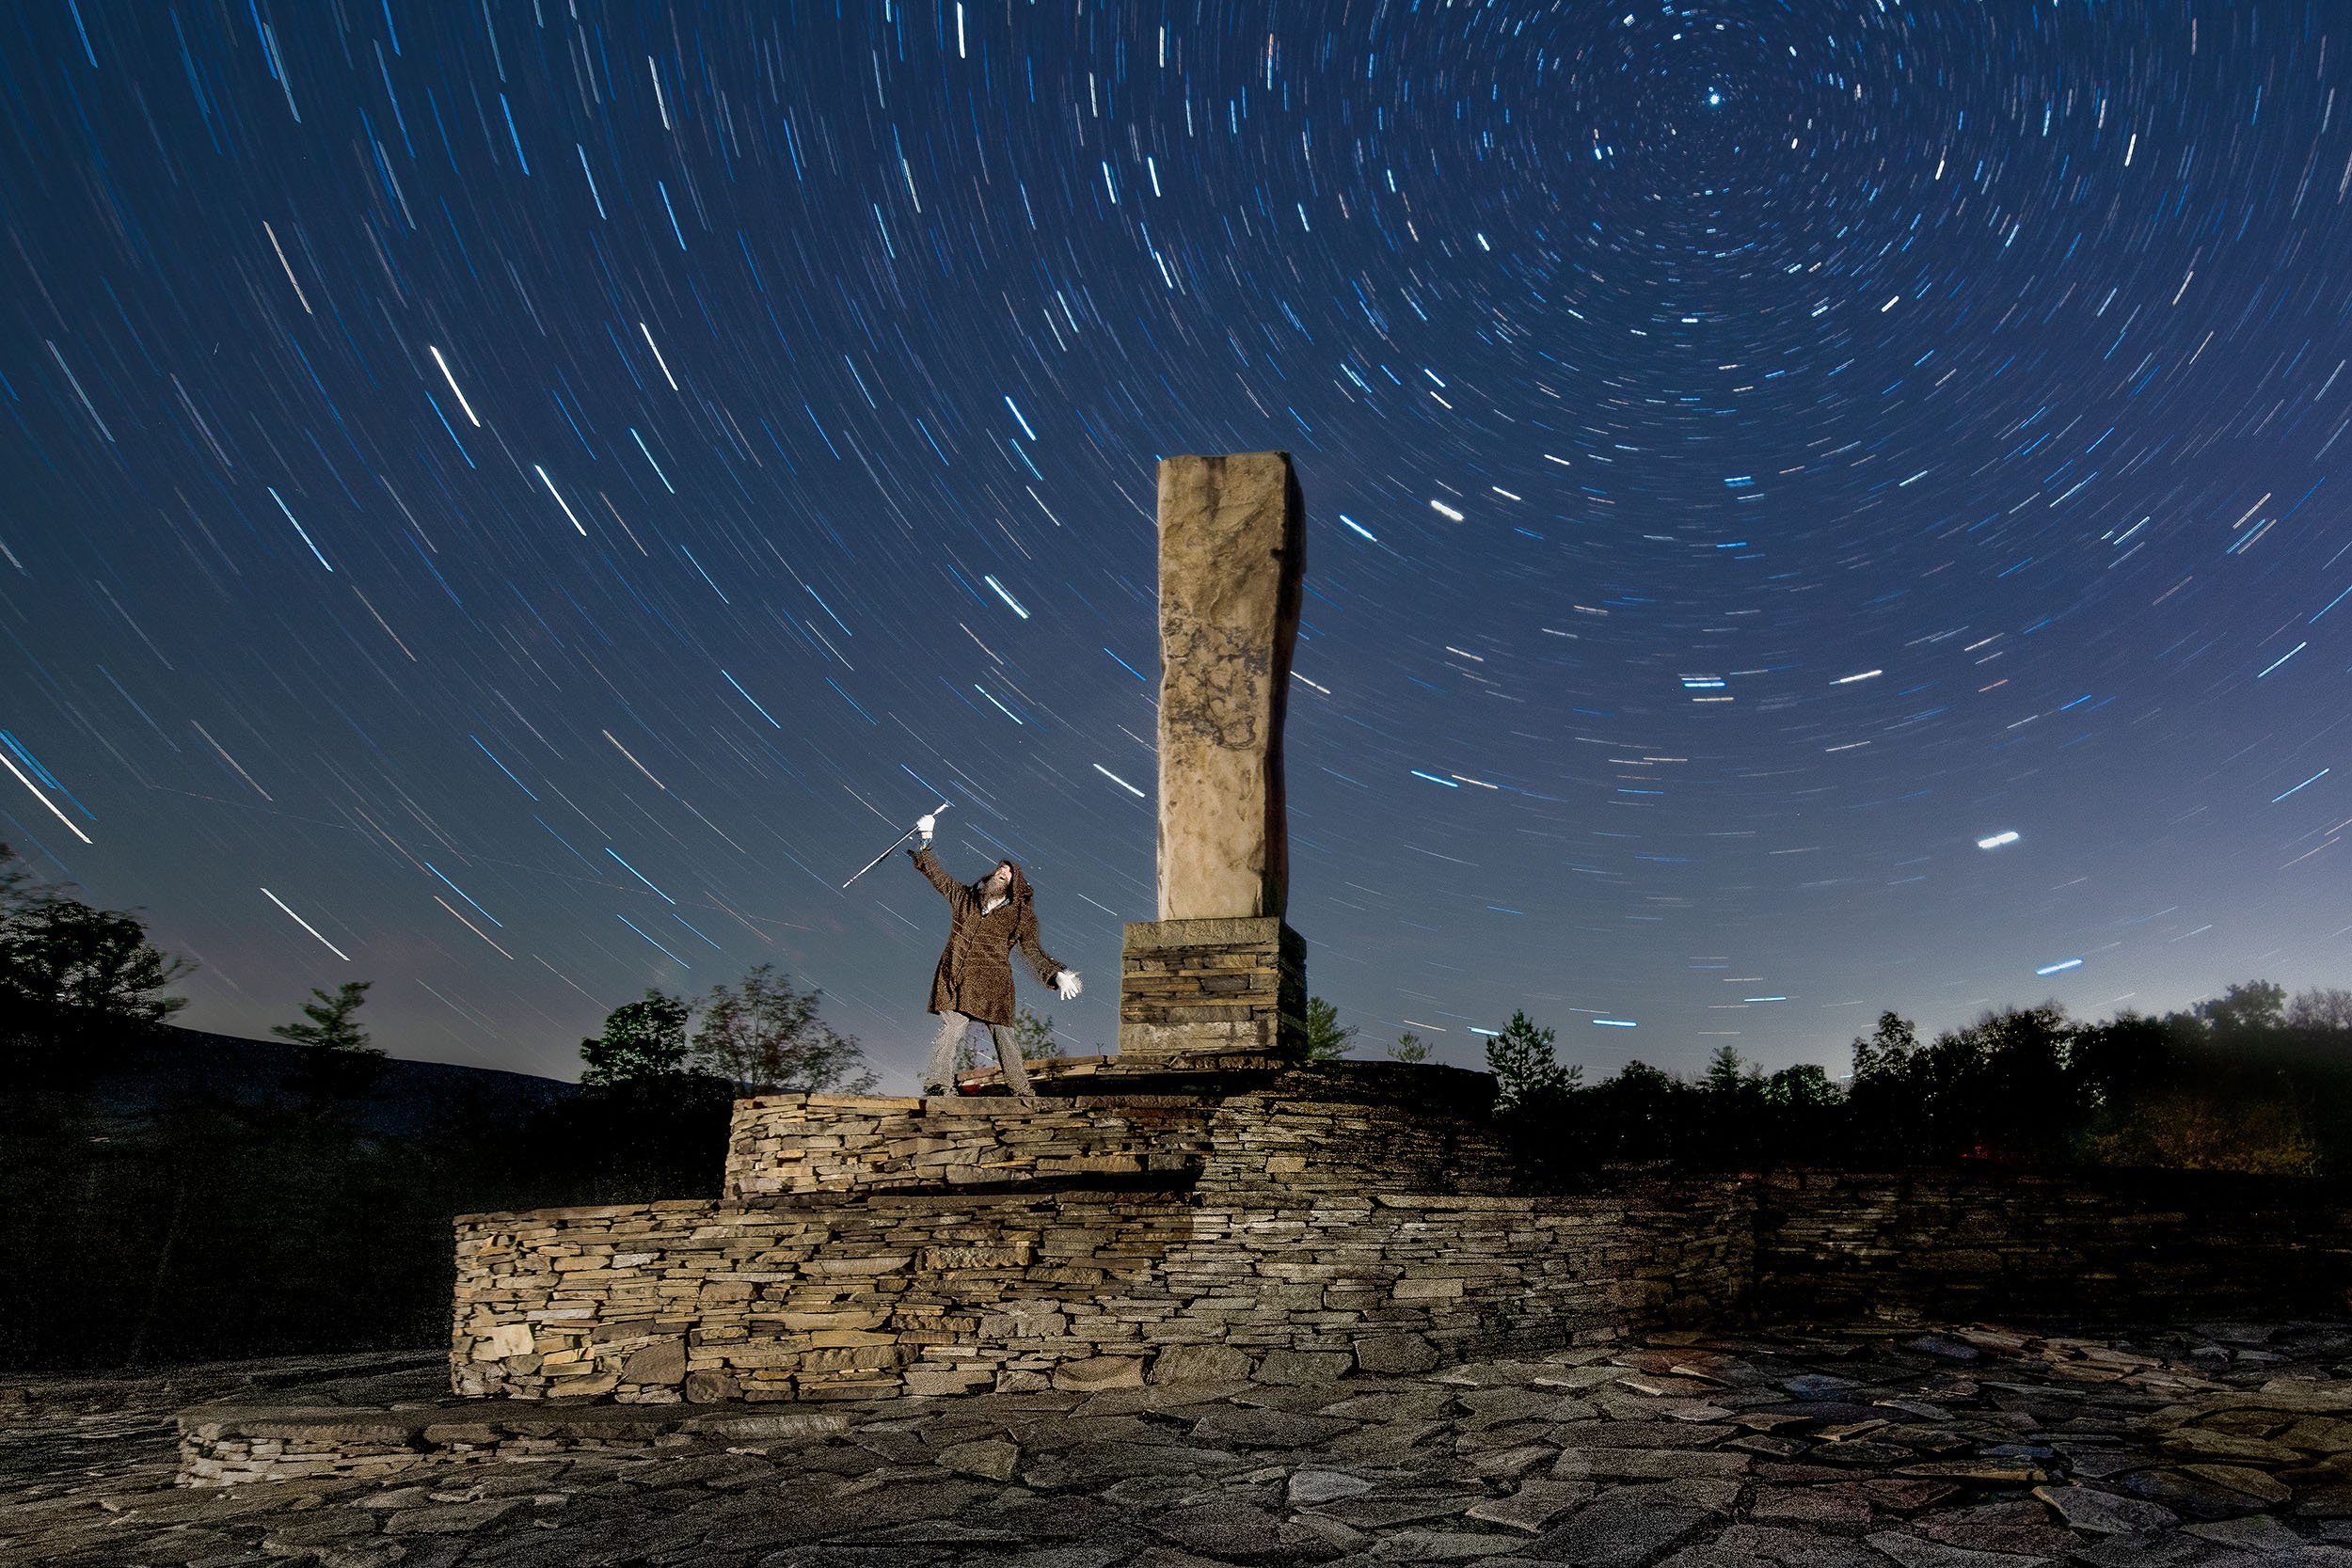
Woodstock, New York. Nikon D850 with a Nikon 14-24mm f/2.8 lens. 3 frames shot at 25 seconds, f/4, ISO 100, stacked in Photoshop.

Why to Stack

There are two primary methods of creating star trails: capturing one long exposure or capturing many short exposures and stacking them together in Photoshop or other similar programs. The latter involves more post-production work, so why would we choose that? Let’s take a look at the pros and cons of each method:

One Long Exposure

Advantages:

  • No need for post-processing to create the star trails. All the trails are in the one image.

  • No fussing with a complicated intervalometer. Simply plug in a cable release, set your camera to Bulb, press and lock your cable release, and mark your watch. Turn off the cable release when the time is up. Easy.

Disadvantages:

  • You’ll need to use Long Exposure Noise Reduction (LENR). This is the feature that we turn on when shooting very long exposures (i.e., more than a few minutes). The problem is that this setting renders most cameras unusable for twice the exposure time. Setting your camera to shoot an hourlong exposure renders your camera unusable for anything else for 2 hours!

  • You may not always be able to shoot long exposures when there is a lot of moonlight or artificial illumination, because all that light can blow out your exposure.

  • With one long exposure you risk having your image ruined by any number of lighting mishaps. Someone could walk through your scene with a flashlight. Cars could illuminate parts of the landscape you preferred to be dark. The list goes on and on.

Multiple Shorter Exposures

Advantages:

  • No need for LENR. (In fact, you can’t even use it, because turning on the feature would create gaps in your star trails in the final stacked image.)

  • It’s easier to remove unwanted lights from any individual frame, or to mask in just one clean foreground.

  • It can be easier to incorporate light painting into your image without the worry of ruining your entire shot. In fact, you could even shoot different takes on your light painting and mask in your favorite.

Disadvantages:

  • Slightly harder to set up the exposures. You’ll need to use either your camera’s built-in intervalometer or purchase a separate corded or cordless intervalometer.

  • It requires more time in front of the computer.

Yellowstone National Park. Nikon Z 6 with a Nikon 14-24mm f/2.8 lens. 8 frames shot at 5 minutes, f/4, ISO 400, stacked in Photoshop.

The decision to shoot one long exposure or shoot many shorter exposures and stack them together during post-processing is often a matter of circumstances rather than a simple preference. You simply can’t make superlong exposures when there is a lot of moonlight. Also, if a lot of other people are around, you’d be wise to break up the total exposure time into smaller segments just to safeguard against accidents.

All in all, shooting shorter exposures and stacking them is now the more common way of creating star trails.

Shooting Star Stacks Step by Step

Capturing the night sky can be complex, with many different considerations to create the final image, and shooting a star stack certainly doesn’t make it simpler. Here’s a basic outline of necessary steps:

  1. Set White Balance.

  2. Set ISO.

  3. Determine and set aperture and shutter speed.

  4. Turn off noise reduction.

  5. Compose.

  6. Focus.

  7. Run a high ISO test.

  8. Calculate the final exposures.

  9. Program your intervalometer.

  10. Shoot.

Camera Settings

With any type of photography—day or night—we need to adjust our camera’s settings to suit the situation. Figure 1 shows a good general place to start for your nighttime test shots:

Figure 1.

High ISO Test Shots

Once your camera is set, you have a composition and you’ve focused your stars (see Chris Nicholson’s great post “8 Ways to Focus in the Dark”), it’s time to make some test exposures. The test exposures will help you fine-tune your composition and ensure your stars are sharp. We run these tests at high ISOs so that we can run them faster—we don’t want to waste time running tests that are 5 minutes each!

It’s easiest to start with a shutter speed that will render the stars as dots rather than dashes. This will help you determine if the stars are actually sharp. (It will also render a usable star point or Milky Way shot, so you’ll have that in the bag too!)

Calculating the proper shutter speed is best done using the night photographer’s best friend, PhotoPills. Open the Spot Stars pill (Figure 2). First, near the top right, choose the camera you’re using. (You can set the default in Settings, which is a great shortcut if you use PhotoPills a lot.) Then input your focal length and aperture.

Figure 2.

Figure 3.

PhotoPills will make its calculations and supply you with an ideal shutter speed according to the NPF Rule. This will be the maximum time you can open your shutter and still keep your stars as dots rather than dashes. For example, with my Nikon Z 6II and a 14mm lens, the NPF Rule tells me that I shouldn’t shoot any longer than 18.48 seconds (Figure 3). For the purpose of these test shots, I would round up to 20 seconds. (But if I was shooting for the Milky Way, I would round down to 15 seconds.)

At this point, you can fire a test shot. Zoom in on your LCD to ensure your stars are sharp.

Once your test exposures have determined that you have good focus, you no longer have to adhere to the NPF rule—after all, our eventual goal is to get those stars to trail. If test shots reveal sharp stars but an underexposed image, then increase your shutter speed since, again, trailing stars are your goal anyway.

Calculating Shutter Speed

Our aim is to star-stack, but we need to know how long in total we want to shoot. It’s best to start by figuring what one long exposure would be, and then work back to break it up into individual exposures.

Let’s assume the camera is now set to 30 seconds, f/2.8, ISO 6400. Let’s turn those points into some trails. To do that we’ll need to increase the shutter speed, and to compensate we’ll lower the ISO.

The Six-Stop Rule (Figure 4) is an easy way to make these changes. This rule states that for a given exposure, the amount of time in seconds at ISO 6400 equals that amount of time in minutes at ISO 100. (The difference between ISO 6400 and 100 is six stops, thus the name of the rule.) In our example exposure from above, 30 seconds at ISO 6400 translates into 30 minutes at ISO 100.

Figure 4.

Of course, maybe we don’t want to keep the shutter open for 30 minutes. That’s OK. The Six-Stop Rule has given us our base long exposure, and we can work our way up from there. Again sticking with our same example exposure from above, other usable equivalent exposures can be seen in Figure 5.

So if you wanted one long exposure to capture star trails you could use 30 minutes at ISO 100. If you wanted a longer exposure, you could stop down your aperture one stop and keep your shutter open for an hour. But for this tutorial on star stacking, we want more, shorter exposures.

Figure 5.

Calculating Shutter Speed for Stacking

You’ll use the same test shot data to calculate exposures for stacking.

Our initial test exposure of was 30 seconds, f/2.8, ISO 6400. This means we could shoot any of the following combinations and get the same overall brightness:

  • 30 minutes at ISO 100

  • 15 minutes at ISO 200

  • 8 minutes at ISO 400

  • 4 minutes at ISO 800

  • 2 minutes at ISO 1600

  • 1 minute at ISO 3200

The shorter of those combinations by themselves would not produce very long star trails. But when we shoot a lot of frames and stack them together later, these combinations will create trails as long as we want them to be. For example, to make an hourlong trail, you could:

  • shoot 15 4-minute exposures at ISO 800

  • shoot 30 2-minute exposures at ISO 1600

  • shoot 60 1-minute exposure at ISO 3200

You’re really free to choose whatever combination works best to achieve your vision.

Just keep one thing in mind: Because you can’t use LENR with this technique, you’ll want to keep your shutter speed short enough to avoid long exposure noise. This limit is different for different cameras in different conditions, so it’s a good idea to test your camera to learn how it behaves. But as a benchmark, a 2-minute shutter speed is safe for many cameras in most situations. If you don’t know for sure that your shutter can stay open longer without resulting in long exposure noise, then just stick with that 2-minute limit and you should be OK.

Death Valley National Park. Nikon Z 6 with a Nikon Z 14-24mm f/2.8 lens. 53 frames shot at 30 seconds, f/2.8, ISO 160, stacked in Photoshop.

Shooting the Raw Materials

We’re finally ready to make pictures!

When shooting the series of shorter exposures, you’ll want to shoot them consecutively with as little time in between each shot as possible. To achieve this you’ll take two steps:

  1. Turn off Long Exposure Noise Reduction. Again, LENR takes time after each exposure, which would create gaps in your stacked trails.

  2. Program your intervalometer. (Matt Hill has an excellent video on setting up an intervalometer.) If your camera has a built-in intervalometer and you’re comfortable using it, then of course you may do that. But we find that external intervalometers are usually a little easier to use, and they don’t have the shutter-speed limitations that the internal ones do. A key is to set the interval between your frames to as short as possible in order to minimize those gaps. For most intervalometers, the minimum interval is 1 second, which is short enough to get the job done.

In terms of how many frames to shoot, that depends on how long you want your trails to be. If you want an hour and you’re shooting 5-minute exposures, then you’ll need 12 frames. In that case, you can program your intervalometer to fire 12 times. Or you can set your intervalometer’s number of shots to infinity, and just stop it manually when you feel like you have enough to work with.

Once the intervalometer is set, click the start button, sit back and enjoy the night sky.

And while you’re at it, be sure not to touch your tripod! If your tripod moves even a smidge, your frames won’t align in Photoshop later. That can be fixed, but it’s best not to cause the problem to begin with.

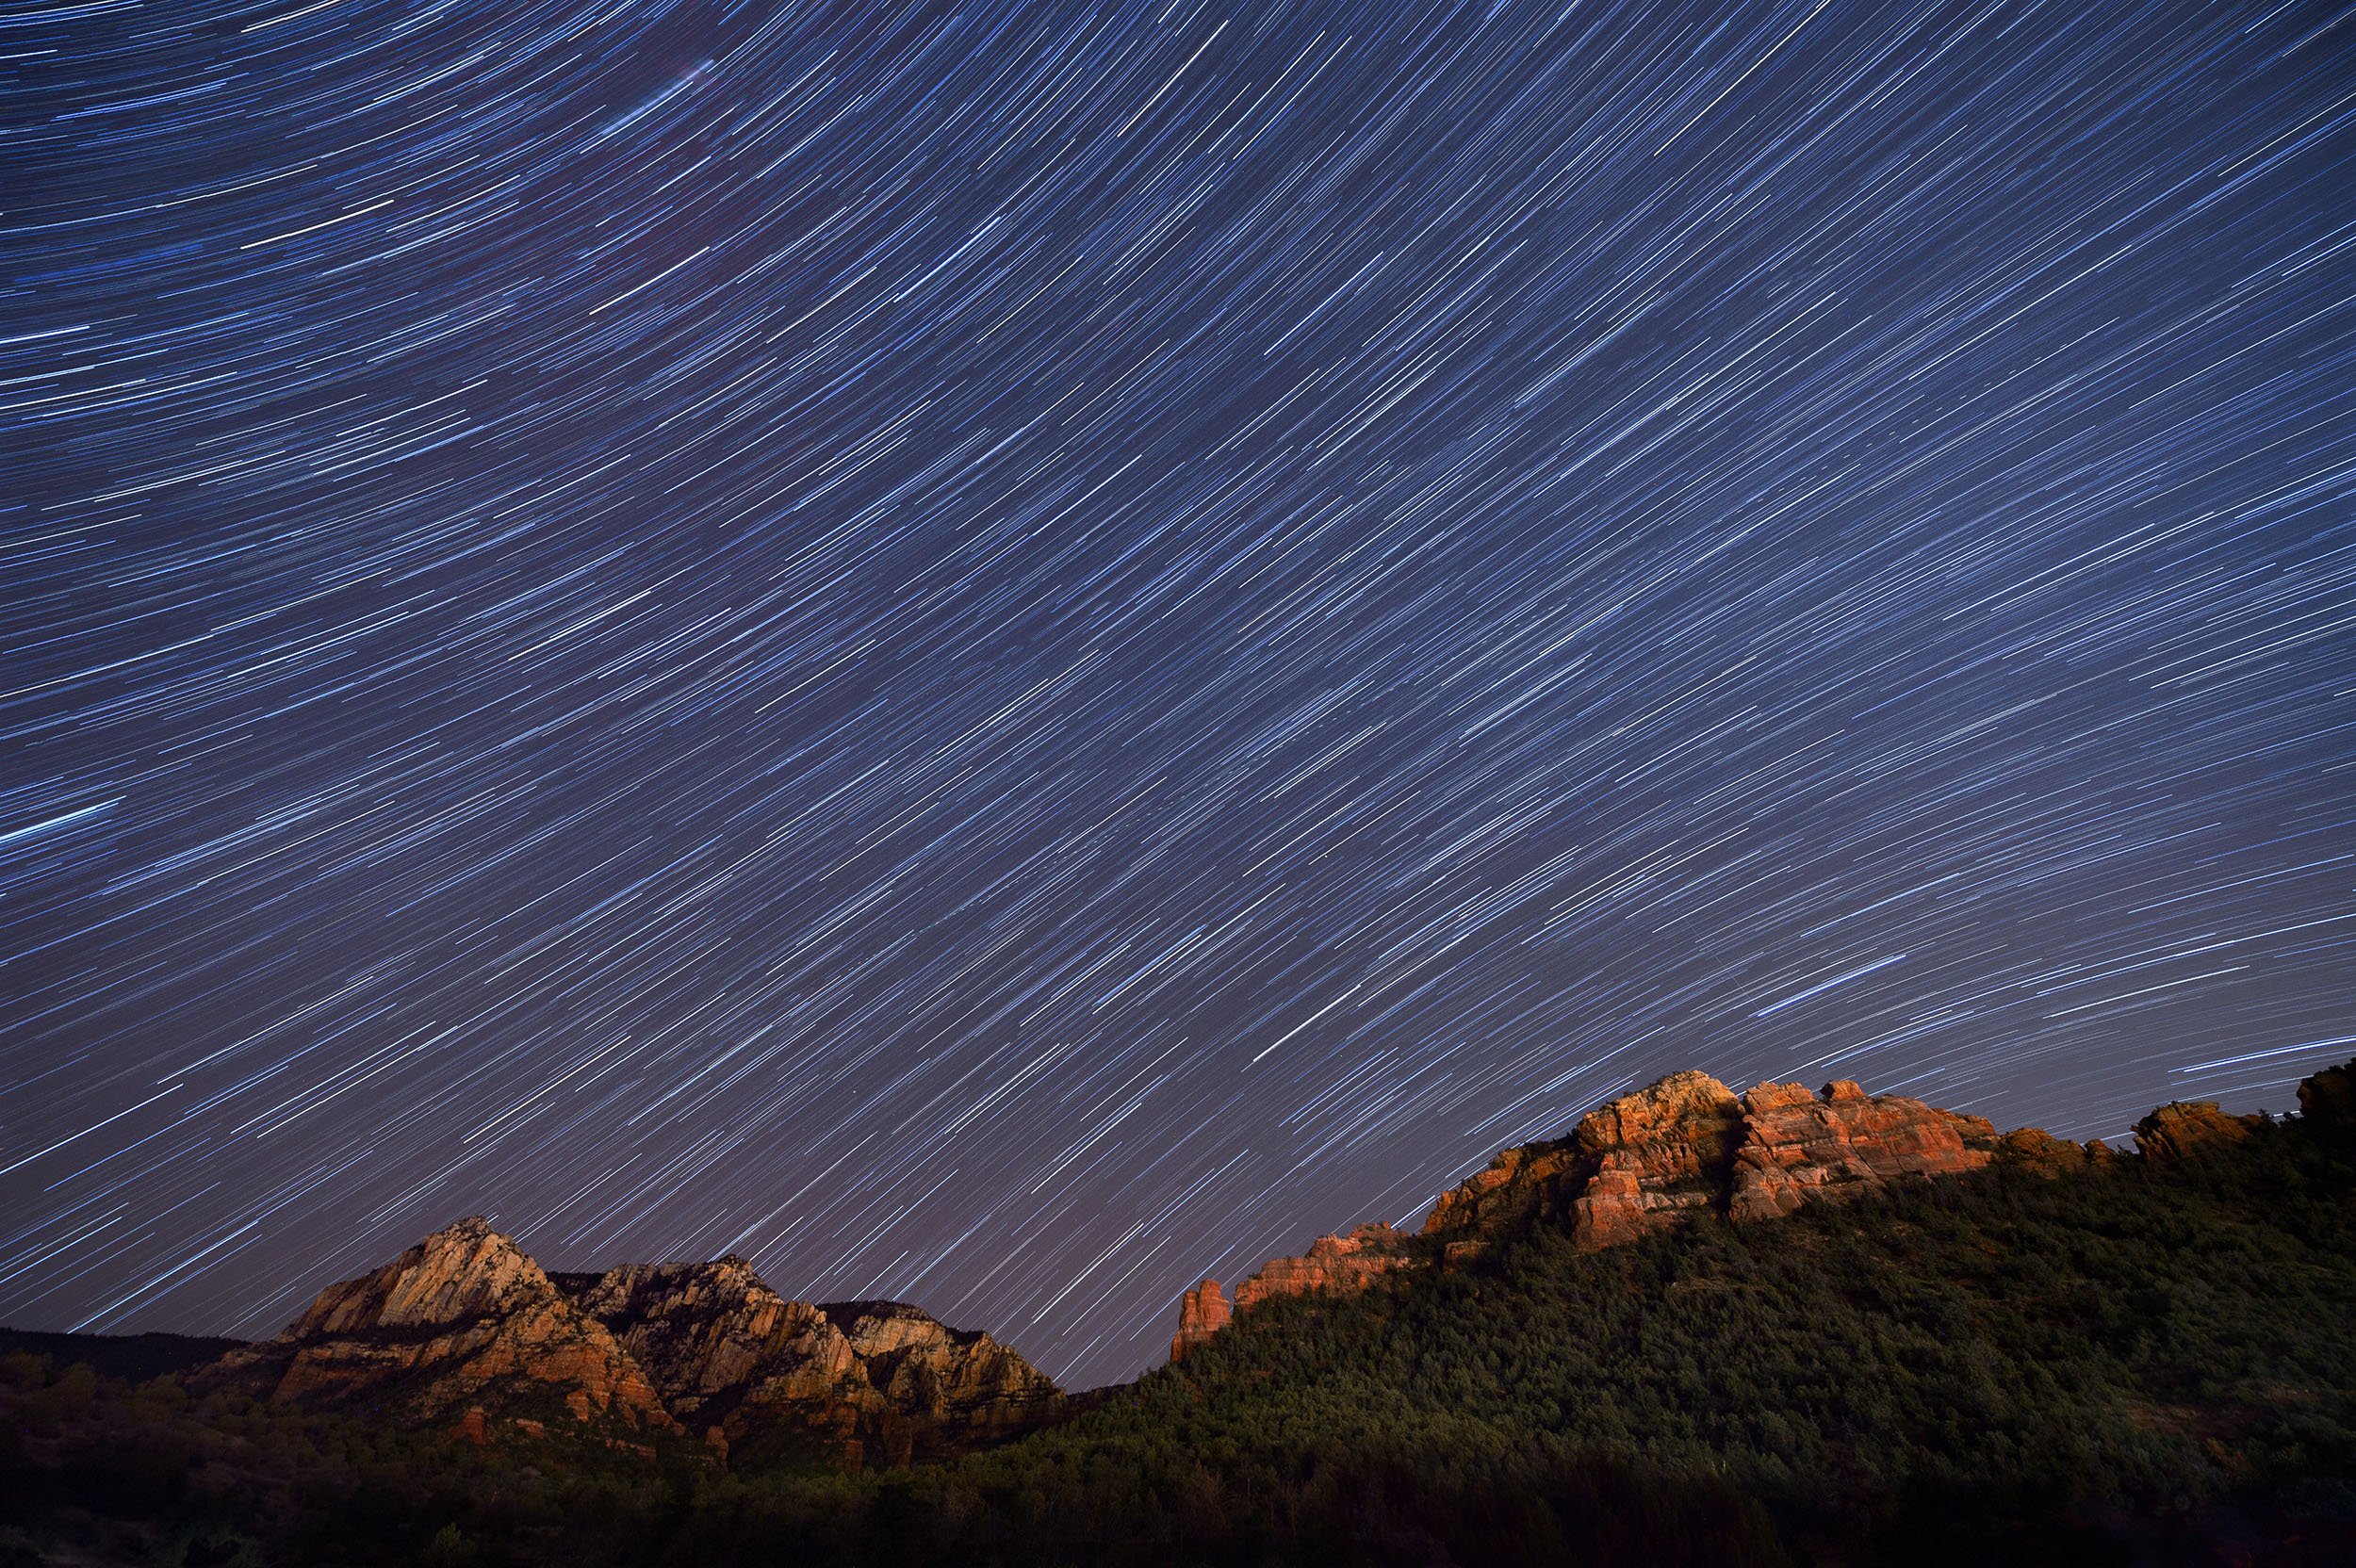
Sedona. Nikon D4s with a Nikon 14-24mm f/2.8 lens. 8 frames shot at 8 minutes, f/4, ISO 200, stacked in Photoshop.

Putting it All Together in Post-Production

Once your images are made, you’ll want to get to the computer to stack them into star trails. That’s the next step in your process, and it’s the next blog post we’ll publish. Stay tuned for Part II, coming soon.

Want to learn more about shooting for star tracking and then editing those images into trails? Join us for our Shoot for the Edit workshop in Colorado next month!

Tim Cooper is a partner and workshop leader with National Parks at Night. Learn more techniques from his book The Magic of Light Painting, available from Peachpit.

UPCOMING WORKSHOPS FROM NATIONAL PARKS AT NIGHT

Five Questions: Barns, Filters with Auroras, Star Trail Settings and More

The night photography world is full of questions, and we’re happy to help with answers.

This installment of our “Five Questions” series features inquiries about photographing barns on the Blue Ridge Parkway, coma with Nikon Z lenses, moving a Lightroom catalog on a Mac, using filters when shooting auroras and settings for star trails.

If you have any questions you would like to throw our way, please contact us anytime. Questions could be about gear, national parks and other photo locations, post-processing techniques, field etiquette, or anything else related to night photography. #SeizeTheNight!


1. Clapboard on the Blue Ridge Parkway

Question:

I am thinking about traveling to the Blue Ridge Parkway to do some star photography and would love to do some light painting of old barns or structures. I am wondering if you have any locations you can recommend. — Michael S.

Mabry Mill, Blue Ridge Parkway. © 2021 Chris Nicholson. Nikon D5 with a Nikon 24-70mm f/2.8 lens, lit with four Luxli Fiddle LED panels. 30 seconds, f/2.8, ISO 6400.

Answer:

The Blue Ridge Parkway is a great place to find barns! But many are on privately owned or leased farms along the parkway; you could still shoot those, but would want to ask permission of course, especially if photographing them at night, and absolutely if you’re going to light paint them.

Sticking to barns that are not privately owned, here are some tips:

Stay north of Asheville. The section of the parkway south of Asheville (and even for a bit north) is mostly mountainous. The northern two-thirds of the parkway—perhaps safely stated as “north of the Linn Cove Viaduct”—is more rural and agricultural.

If you’re open to just historic clapboard structures that aren’t barns, you can’t drive more than a few miles without seeing some. These come to mind immediately: Mabry Mill, Puckett Cabin, Brinegar Cabin. Lots of others scattered about.

For barns in particular, off the top of my head: the Johnson Farm at Peaks of Otter (you’ll need to hike to it), Explore Park (though you’ll want to ask about access after 8 p.m., as it’s managed by the city of Roanoke) and the farm at Humpback Rocks Visitor Center. — Chris

2. Non-Coma Z Lenses

Question:

I just switched to the Nikon Z 6II and am looking for a recommendation for a lens without coma distortion. I have tried and returned two Rokinon 14mm f/2.4 lenses with severe coma. My preference would be a lens in the 14-24mm range. — Edmund

Answer:

You are going to love the Z 6II! The FTZ adapter works well, so it gives you lots of options, but both the Nikon Z 14-24mm f/2.8 and Nikon Z 24-70mm f/2.8 are among the very best lenses Nikon has ever produced. Pricey, but worth it. Another option (assuming you have the FTZ adapter) is the Nikon’s F-mount 14-24mm. There is nothing better than those three lenses at this time. — Lance

3. Moving Lightroom on a Mac

Question:

Is there a simple way to migrate Lightroom files on a Mac? I will soon have to bring in a new and larger external hard drive. — Julie P.

Answer:

Yes, and the process is actually pretty simple.

  1. With Lightroom closed, plug in the old drive and the new drive.

  2. Copy all of the information from the old drive to the new drive.

  3. Unplug your old drive and launch Lightroom. You will see question marks next to your folders, because Lightroom can no longer find your old hard drive.

  4. You need to locate the parent folder for your images. In Lightroom, navigate to the topmost folder in your Folders hierarchy. That may well be the parent folder, but it’s possible that the true parent folder is hiding above it. By right-clicking on that topmost folder, you will see an option to Show Parent Folder. This command will show the folder containing that topmost folder, if there is one.

  5. Right-click on your parent folder and choose Find Missing Folder. Lightroom will open your system’s Finder.

  6. Navigate to the new drive, then choose the matching parent folder and click Choose.

The parent folder and all of its subfolders (all on the new hard drive) will now be linked back with Lightroom. — Tim

4. Light Pollution Filters and Auroras

Question:

I just read your article on light pollution filters. Will these filters also be usable when shooting Northern Lights? — Claron K.

Answer:

Yes, I believe they would be useful for shooting Northern (or Southern) Lights when near inhabited areas. As auroras tend to be green, pink, purple and sometimes blue, the orange/yellow blocking ability would have a complementary effect. However, you could be lose up to 1 stop of light, so keep that in mind. — Matt

5. Star Trail Settings

Question:

I just reviewed your “How I Got the Shot: Lake McDonald” blog post about star trails. Phenomenal image! I have done a ton of research on how to do this kind of photo, but was hoping for a simple recommendation for settings and timing. I’ll be shooting with either a Nikon D850 or a Nikon Z 6 with a 14-24mm lens. — Darlene

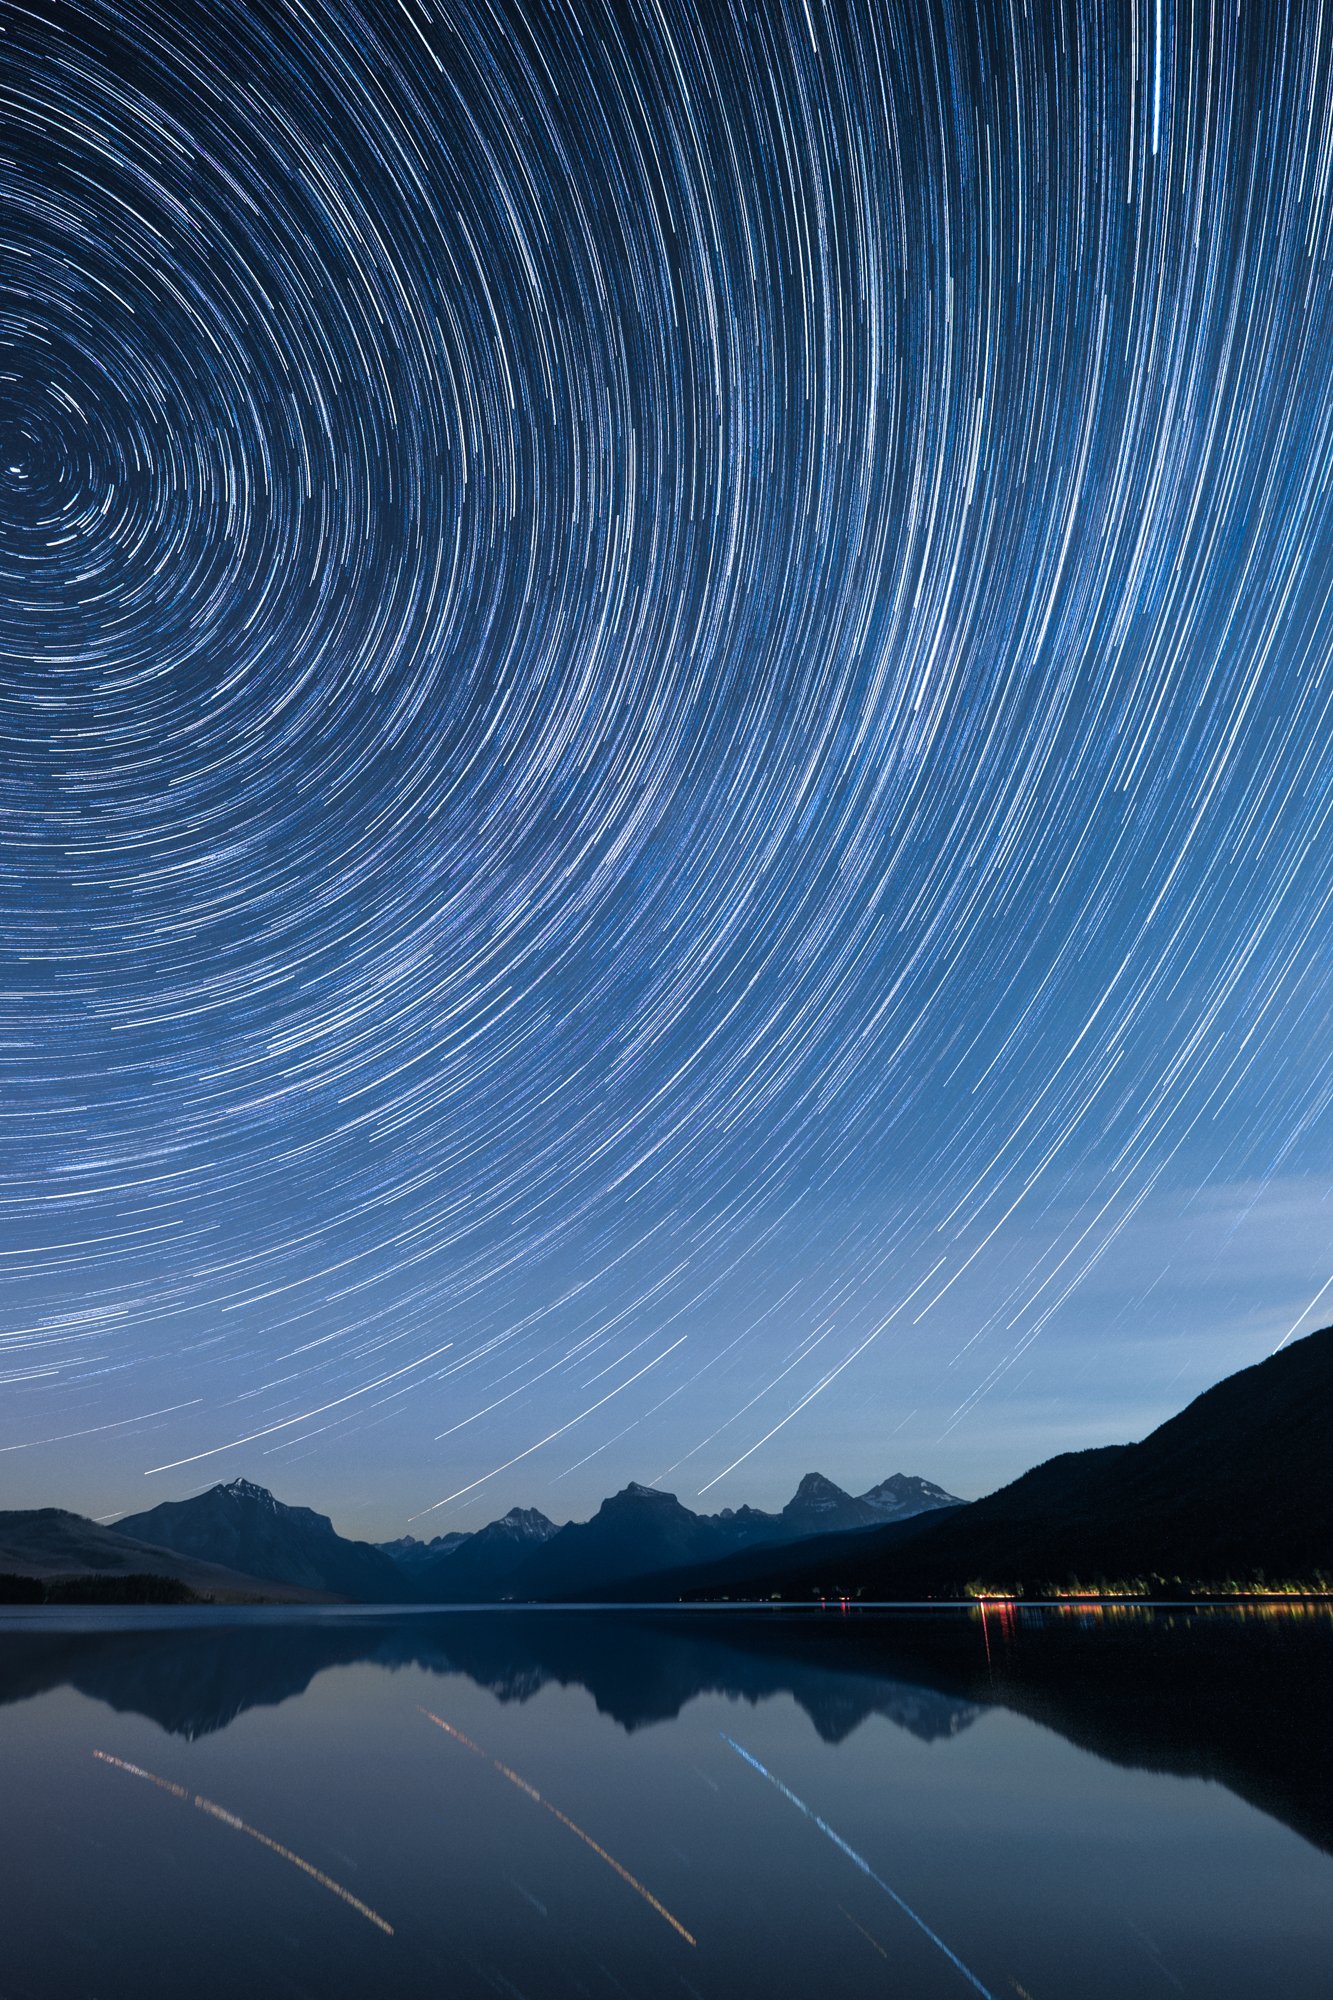
Star Circles Over Lake McDonald. © 2015 Gabriel Biderman. Fujifilm X-T1 with a Fujifilm 10-24mm f/4 lens. 41 stacked frames, each shot at 2 minutes, f/4, ISO 3200.

Answer:

There is no simple formula for star trails. You need to find the balance between a proper base exposure, how long you want to go, and image quality.

You can capture trails with either one long exposure or with multiple shorter exposures that you later stack in Photoshop. Single exposures are often best for up to 15-minute shots, but when you want longer trails you’ll most likely want to shoot multiple frames to stack.

Do a high ISO test shot to figure out the proper exposure. Then you want to get to a more optimal image quality setting. Lower your ISO to something you’re comfortable with in terms of noise (for example, maybe ISO 800), and then adjust your shutter speed accordingly to compensate.

Also consider apertures, in this regard: The wider the aperture, the higher number of stars will appear. While that might sound like a good thing, too many star trails could look too chaotic and distract from the rest of the scene. For example, on a dark night f/2.8 will show an overwhelming number of trails, while f/8 would create a more subtle effect. Under a full moon this isn’t so critical, as not as many stars are visible anyway. Either way, just be careful that you don’t stop down so much that you have to crank up your ISO and sacrifice image quality.

Another consideration is how long your camera’s shutter can be open without generating long-exposure noise (speckled red, blue and green confetti-like specks in your image). This noise is produced when a camera processor overheats during long exposures, but higher outdoor temperatures and lower humidity also play a factor. You have to learn what your camera can tolerate by running some tests in different conditions. For example, if the ambient temperature is 60 to 65 F or less then you can usually get away with 4- to 6-minute exposures, but if the temperatures are 80 F or higher then you might be limited to 30 seconds or 1 minute.

To counteract that effect, you might wonder about using long-exposure noise reduction (LENR). You can use that quite effectively if you’re shooting one long exposure for star trails, but it would be countereffective for stacking. The reason is that for most cameras, LENR disables the shutter after each exposure (for the same amount of time as the shutter speed), which would create breaks in your star trails.

The final decision is how long you want your star trails to be. When facing north for circumpolar trails, you want to shoot for at least 1 hour, and the longer the better. If you are facing east, west or south, you can get away with shorter total exposures—8 to 30 minutes might be sufficient. — Gabe

Chris Nicholson is a partner and workshop leader with National Parks at Night, and author of Photographing National Parks (Sidelight Books, 2015). Learn more about national parks as photography destinations, subscribe to Chris' free e-newsletter, and more at www.PhotographingNationalParks.com.

UPCOMING WORKSHOPS FROM NATIONAL PARKS AT NIGHT

How I Got the Shot: Star Circles Over West Quoddy Head Lighthouse

West Quoddy Head Lighthouse. Nikon D780 with a Tamron 15-30mm f/2.8 lens at 18 mm. Five stacked frames shot at 10 minutes, f/3.2, ISO 800.

The Location

After our recently completed PhotoPills workshop in Acadia National Park, Chris and I took an extra day and night to visit Lubec, Maine, and the West Quoddy Head Lighthouse––the easternmost point in the continental United States and the light that warns ships of its rocky shores.

We both enjoy working out different strategies for photographing lighthouses with different types of beacons. Some beams are continuous, some pulse or flash, and some rotate. Each type requires a unique approach to get the best possible exposure (or exposures) for both the lighthouse and the surrounding landscape.

West Quoddy Head Light is among the most common in the category: those with a pulsing or flashing light. The beacon switches on and off every few seconds in a consistent, unique pattern (referred to as the lighthouse’s “characteristic”) that enables mariners to establish their location.

Seafaring folk just need to know what the colors and pattern are—they’re not concerned about anything else. But night photographers? We care. The longer that the light remains off (the “eclipse,” in lighthouse terminology), the easier it is to photograph, because the longer it’s on (the “flash”), the harder it is to control in a night exposure. West Quoddy Head’s characteristic is a white beam that flashes for 2 seconds, eclipses for 2 seconds, flashes for 2 seconds, eclipses for 9 seconds, then repeats (Figure 1).

Figure 1. This animation depicts what the 2-2-2-9-second flash sequence of the West Quoddy Head Lighthouse looks like in-person. This is the drastic change in exposure you need to compensate for when shooting a flashing-beam lighthouse. © 2021 Chris Nicholson.

Even for lighthouses with long eclipses, exposure is still a challenge, because the lantern is so bright. The usual technique to keep the flash from blowing out in an exposure is to cover the lens while the light is on and expose when the light is off over an extended period of time until an adequate ambient exposure is achieved. You still want to see the light, of course, so you allow the camera to see just a single flash.

Now let’s get back to Lubec and West Quoddy Head Lighthouse. We had arranged for after-hours access to the grounds, which is in a state park that is normally closed at sunset. We’d had a long day of travel and arrived after darkness had already fallen. There was no moon that night, and we set up without the benefit of daytime scouting. (Chris had been there before, but almost 20 years earlier!)

The lighthouse is situated on a peninsula (Figure 2) at the mouth of the Bay of Fundy, making it accessible from all sides with lots of photographic opportunities. The candy-striped paint and classic keeper’s house are easy to work with, but what really makes this lighthouse fun to photograph is its characteristic—that flash pattern of 2, 2, 2, 9.

Figure 2. Google Earth view of the West Quoddy Head Lighthouse.

The unusually long 9-second period of darkness makes it easier than most other lighthouses to get a good image without over-exposing the lantern. This was especially helpful on that moonless night, as there was almost no light source other than the stars to illuminate the overall scene. A few dim lights (an exit sign and a computer’s glow) inside the keeper’s house lit a couple of the windows, but did little to light the landscape.

The Composition

My initial inclination was to set up beneath the lighthouse on the north side to capture the vertical core of the late-season Milky Way behind it (Figure 3). This required using an ultrawide lens tilted significantly upward. The resulting composition was tight on the sides, had too much foreground and had too much perspective distortion for me to correct effectively in post-production.

Figure 3. West Quoddy Head Lighthouse test shot. I wanted to get the Milky Way in the frame, but didn’t like the compositional options. Nikon D780 with a Tamron 15-30mm f/2.8 lens at 15mm. 8 seconds, f/2.8, ISO 12,800.

I moved around to the south side of the lighthouse and set up a horizontal composition that included the keeper’s house, the ocean and a great alignment to make star circles. I wished that we had at least a little moonlight for the landscape, but that was not the case.

I established my composition with the intention to keep the camera level (in order to minimize distortion) and to crop out some of the resulting dark grassy foreground.

Then I focused on an illuminated window in the keeper’s house. I was about 50 feet from the house, so I knew that with an 18mm lens I could safely focus on the foreground and still have the stars in focus. (See “Use Hyperfocal Distance to Maximize Depth of Field at Night.”) Since we had just finished the PhotoPills bootcamp and those skills were fresh in my mind, I confirmed my focus choice with the Advanced DoF pill and found that if I focused at 50 feet then my depth of field would be from 18 feet to infinity. That was plenty!

The Exposure

While we generally use a baseline of 20 seconds, f/2.8, ISO 6400 for starlit scenes, that’s really a compromise exposure that underexposes to keep the stars as points of light. I prefer to add at least a stop of extra exposure for my star trail images; my go-to baseline for star trails is 10 minutes, f/3.2, ISO 800.

I could have used the Six Stop Rule to extrapolate, but since I was changing all three exposure variables from my test shot, it was easier to use the Exposure pill in PhotoPills to translate from the test exposure to the final exposure. In this case, a successful test of 1 minute, f/2.8, ISO 6400 yielded a final exposure of 10 minutes, f/3.2, ISO 800 (Figure 4). Boom! My go-to baseline was almost exactly the same as that night’s perfect exposure.

Now that I had fixed the composition, focus and exposure, it was time to get down to the real task at hand. In order to get a good semblance of a star circle with a wide lens, I knew that I would have to do at least 30 minutes of exposures, and preferably more.

Figure 4. Unadjusted frame from the series, showing the single-shot exposure. Nikon D780 with a Tamron 15-30mm f/2.8 lens at 18 mm. 10 minutes, f/3.2, ISO 800.

If you’ve been paying attention, you might be wondering at this point how I’d go about exposing long enough for a star circle while covering the lens whenever the light was flashing. The short answer can be summed up with two words: patience and determination.

That meant that I would have to stand behind the camera covering and uncovering the lens according to the flash sequence of the lighthouse for the entire series of exposures. I probably could have used the cover-the-lens technique for just one exposure and then masked out the lighthouse from the rest of the images in post, but that’s not how I roll. I wanted to do as much in-camera and as little in post as possible.

I practiced for a couple of minutes to get the rhythm of the flash sequence down, and then started my first exposure, not knowing how long I’d be able to keep it up without accidentally uncovering the lens at the wrong time. To keep my count, when I wasn’t covering the lens, I was waving the black card in time with my counting. As luck would have it, I managed to pull off five 10-minute exposures, each with good highlight detail, even keeping it together when Chris came over to see what I was up to and started chatting.

Counting, covering and uncovering while trying to hold a conversation is not an easy task. It was on the sixth exposure that I whacked the lens with my black card and moved the camera ever so slightly. So that was it. Fifty minutes of star trails behind a lighthouse with a well-exposed lantern. That was a record for me, but now I can’t wait to go back and do it under a full moon!

The Processing

Stacking the images in Photoshop was relatively easy because of the way I’d gone about capturing the raw materials. The light wasn’t blowing out in any of the exposures, so it was a simple matter of:

  1. selecting the five frames in Lightroom

  2. choosing Photo > Edit In > Open as Layers in Photoshop

  3. selecting all five layers

  4. changing the blend mode of the five layers to Lighten (Figure 5)

Figure 5.

I made a few minor touch-ups, then saved and returned the image to Lightroom.

Wrapping Up

Lighthouses are a challenging and fun subject for night photography. Sometimes the approach is dictated by geography––like the charming Bass Harbor Head Lighthouse in Acadia National Park and how it demands certain compositional compromises—while others offer 360 degrees of access.

The technique to get the best images varies from one lighthouse to the next, but the biggest challenge is usually trying to manage overexposure in the lantern while getting enough exposure for the landscape. The solution to that challenge varies depending on the lighthouse, and in this case the particular set of challenges pushed me toward a final photograph (Figure 6) I was quite happy with.

Figure 6. The final image of West Quoddy Head Lighthouse. Nikon D780 with a Tamron 15-30mm f/2.8 lens at 18 mm. Five stacked frames shot at 10 minutes, f/3.2, ISO 800. That was fun.

If you’d like to have a go at some of the best lighthouses in North America, sign up for the waitlist for our Lighthouses of the Outer Banks, Acadia National Park or Monhegan Island workshops, and keep an eye out for more lighthouse workshops in the future.

What lighthouses have you photographed at night? We’d love to see! Feel free to post your take on this towering genre in the comments, on our Facebook page or on Instagram (tag us @nationalparksatnight and/or hashtag us #nationalparksatnight).

Lance Keimig is a partner and workshop leader with National Parks at Night. He has been photographing at night for 30 years, and is the author of Night Photography and Light Painting: Finding Your Way in the Dark (Focal Press, 2015). Learn more about his images and workshops at www.thenightskye.com.

UPCOMING WORKSHOPS FROM NATIONAL PARKS AT NIGHT