We get a lot of questions. We hope we have a lot of answers. Today, at least, we have the same number of each. Five, to be specific. Five questions from night photographers just like you, and five answers from the five of us.
If you have any questions you would like to throw our way for a future “Five Questions” blog post, please contact us anytime. Questions could be about gear, national parks or other photo locations, post-processing techniques, field etiquette, or anything else related to night photography. #SeizeTheNight!
1. Moon Lenses
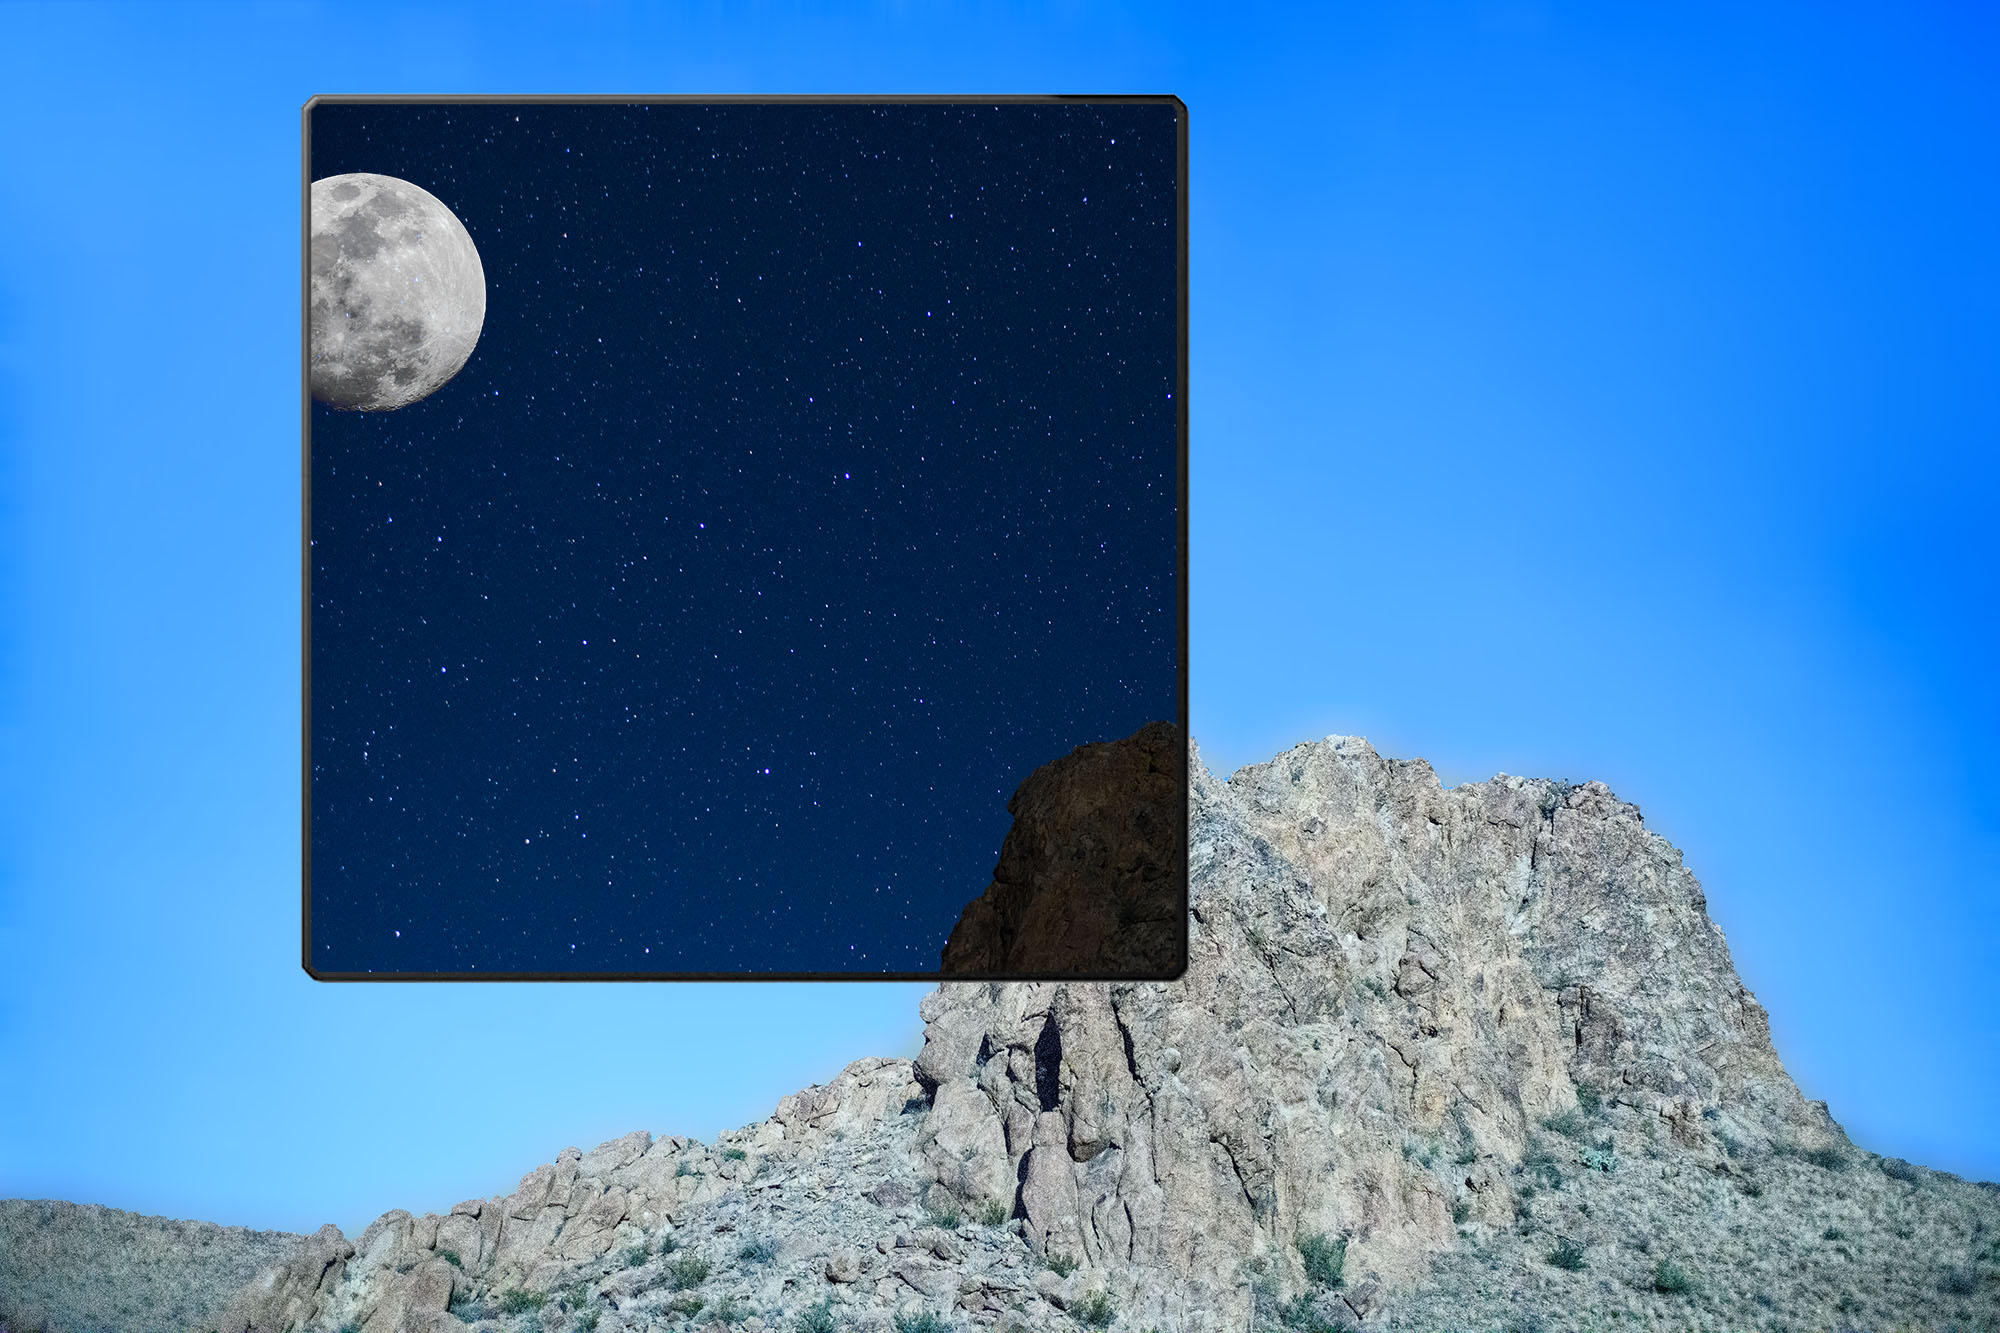
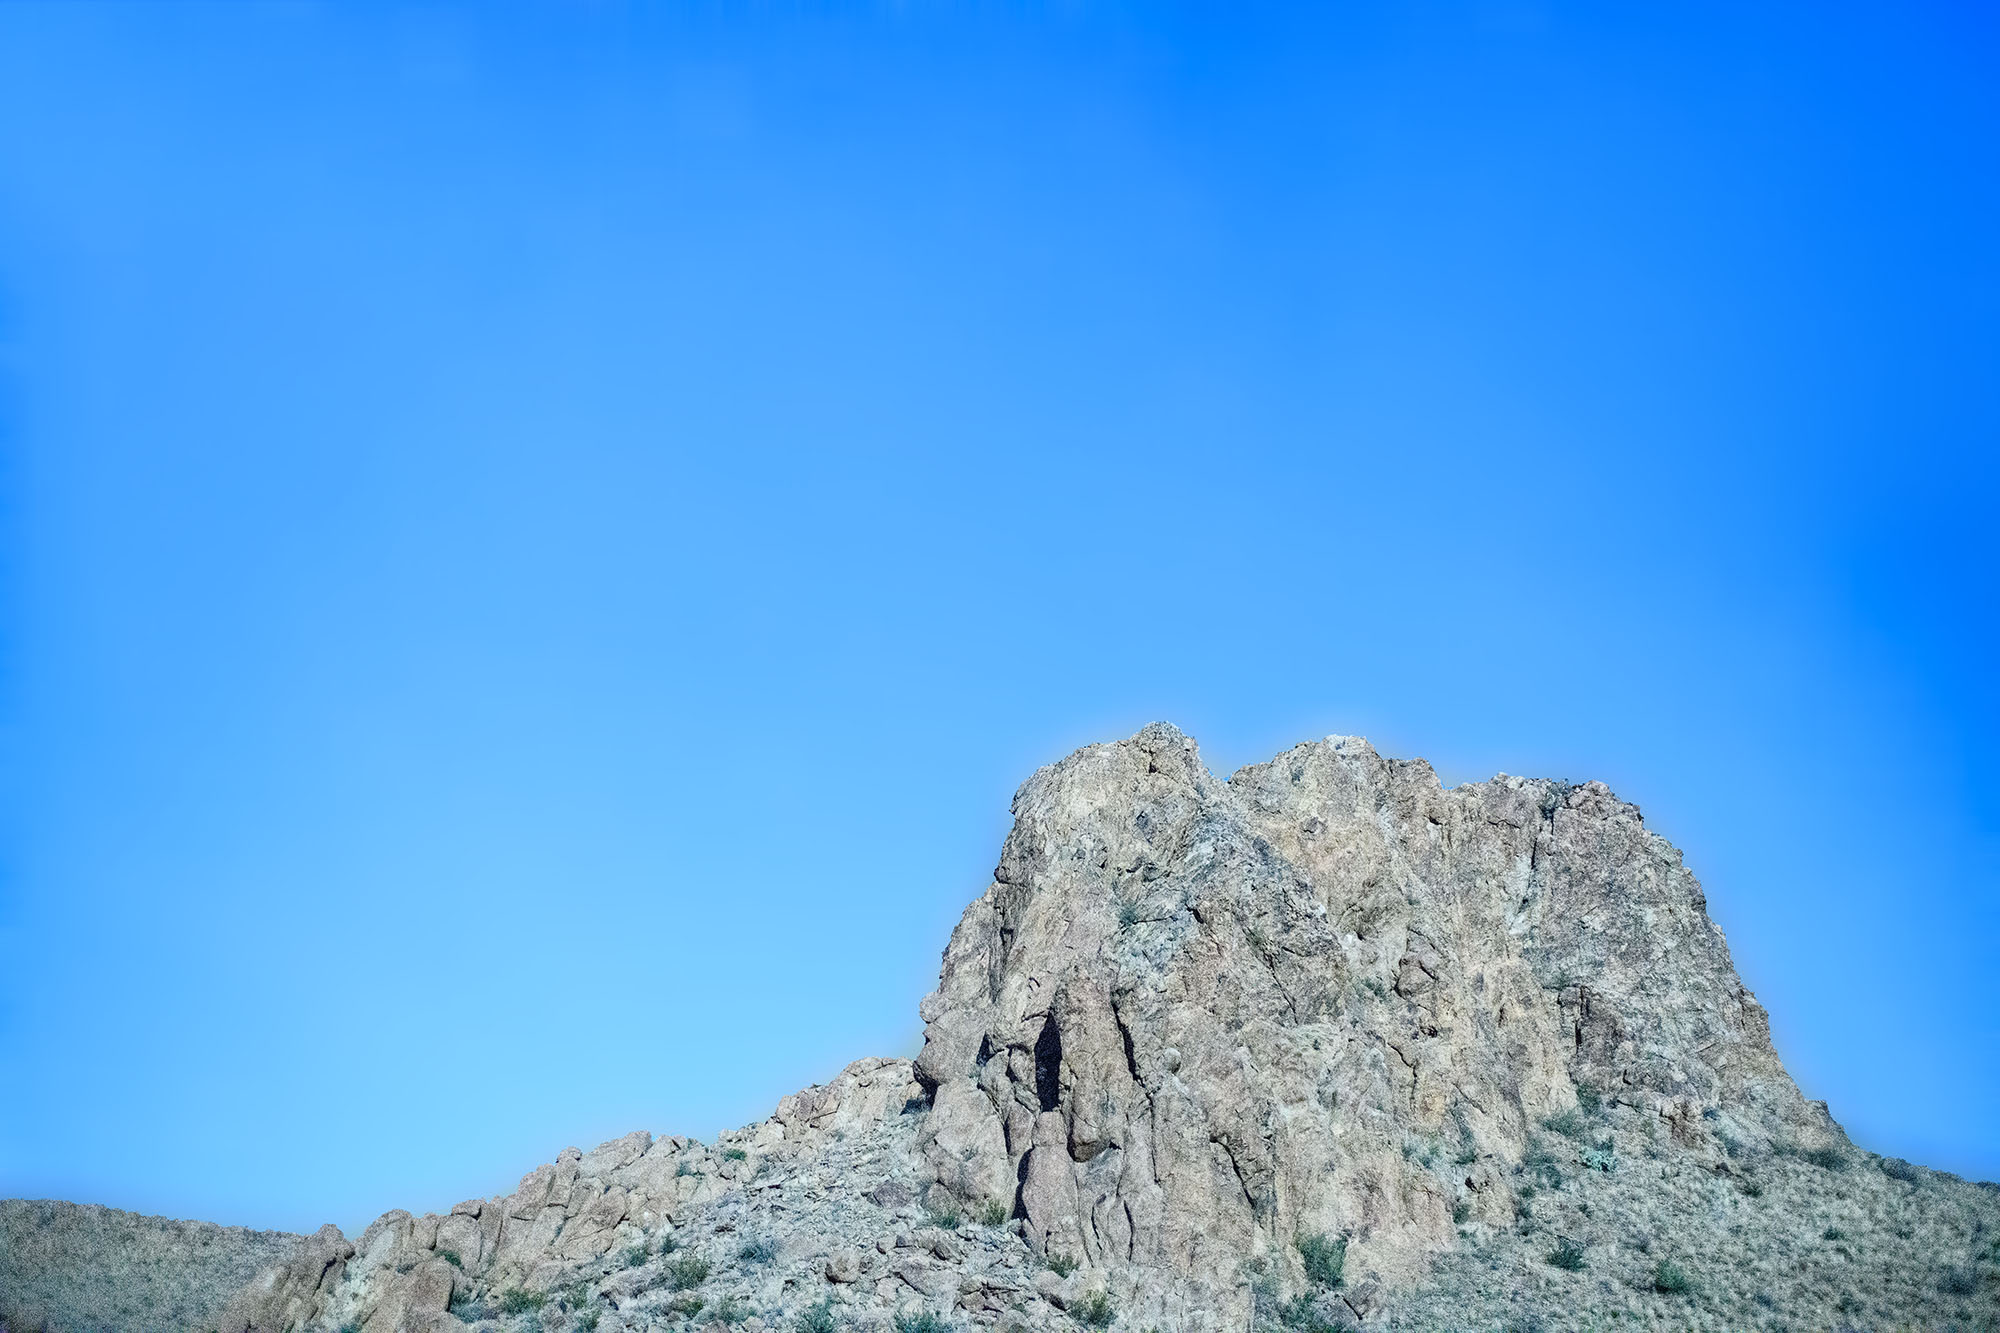
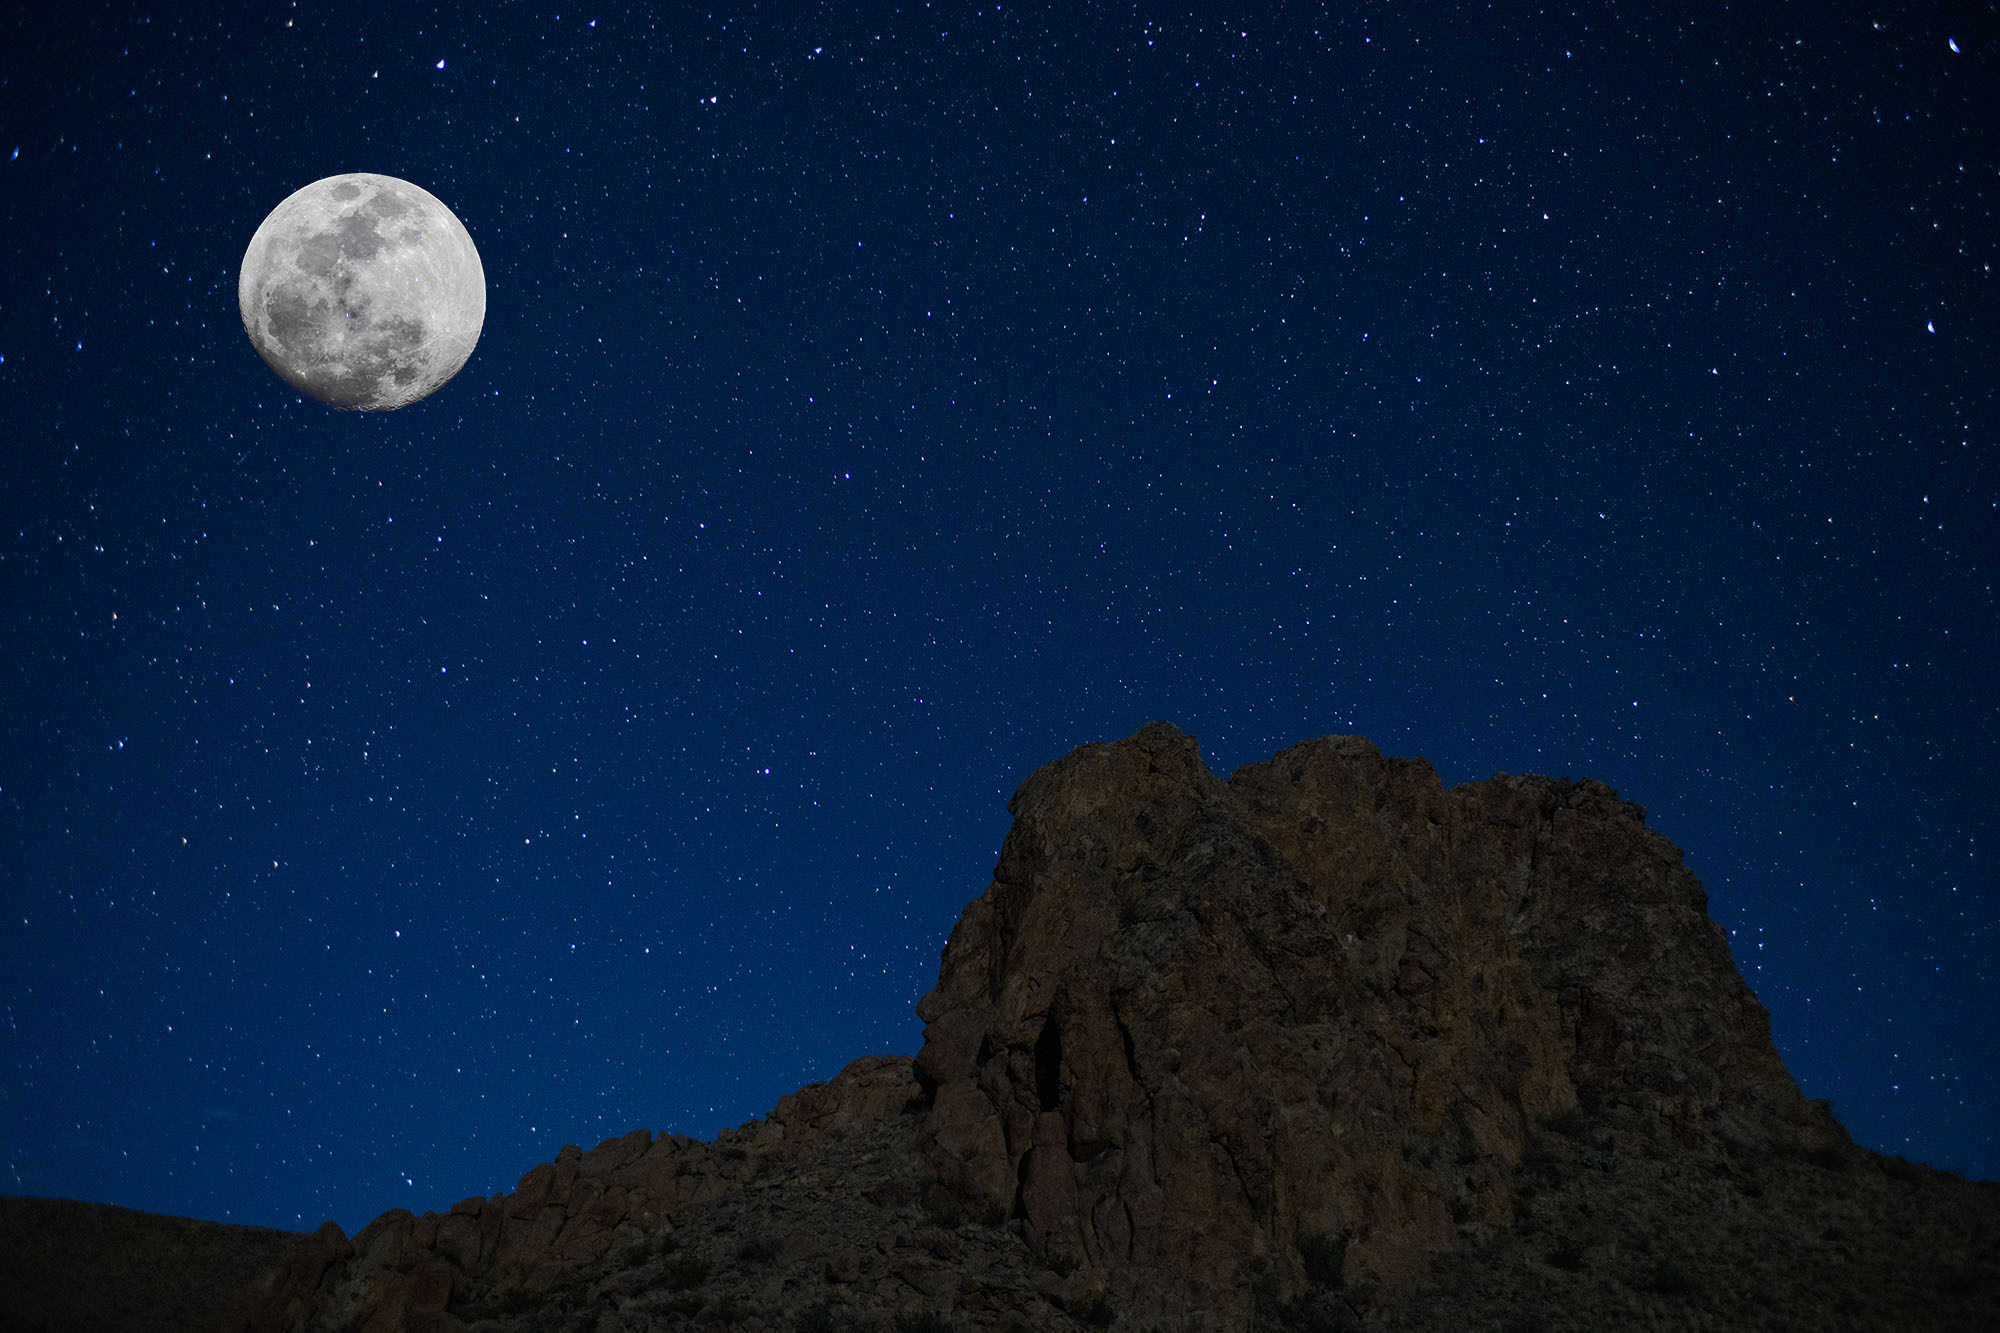
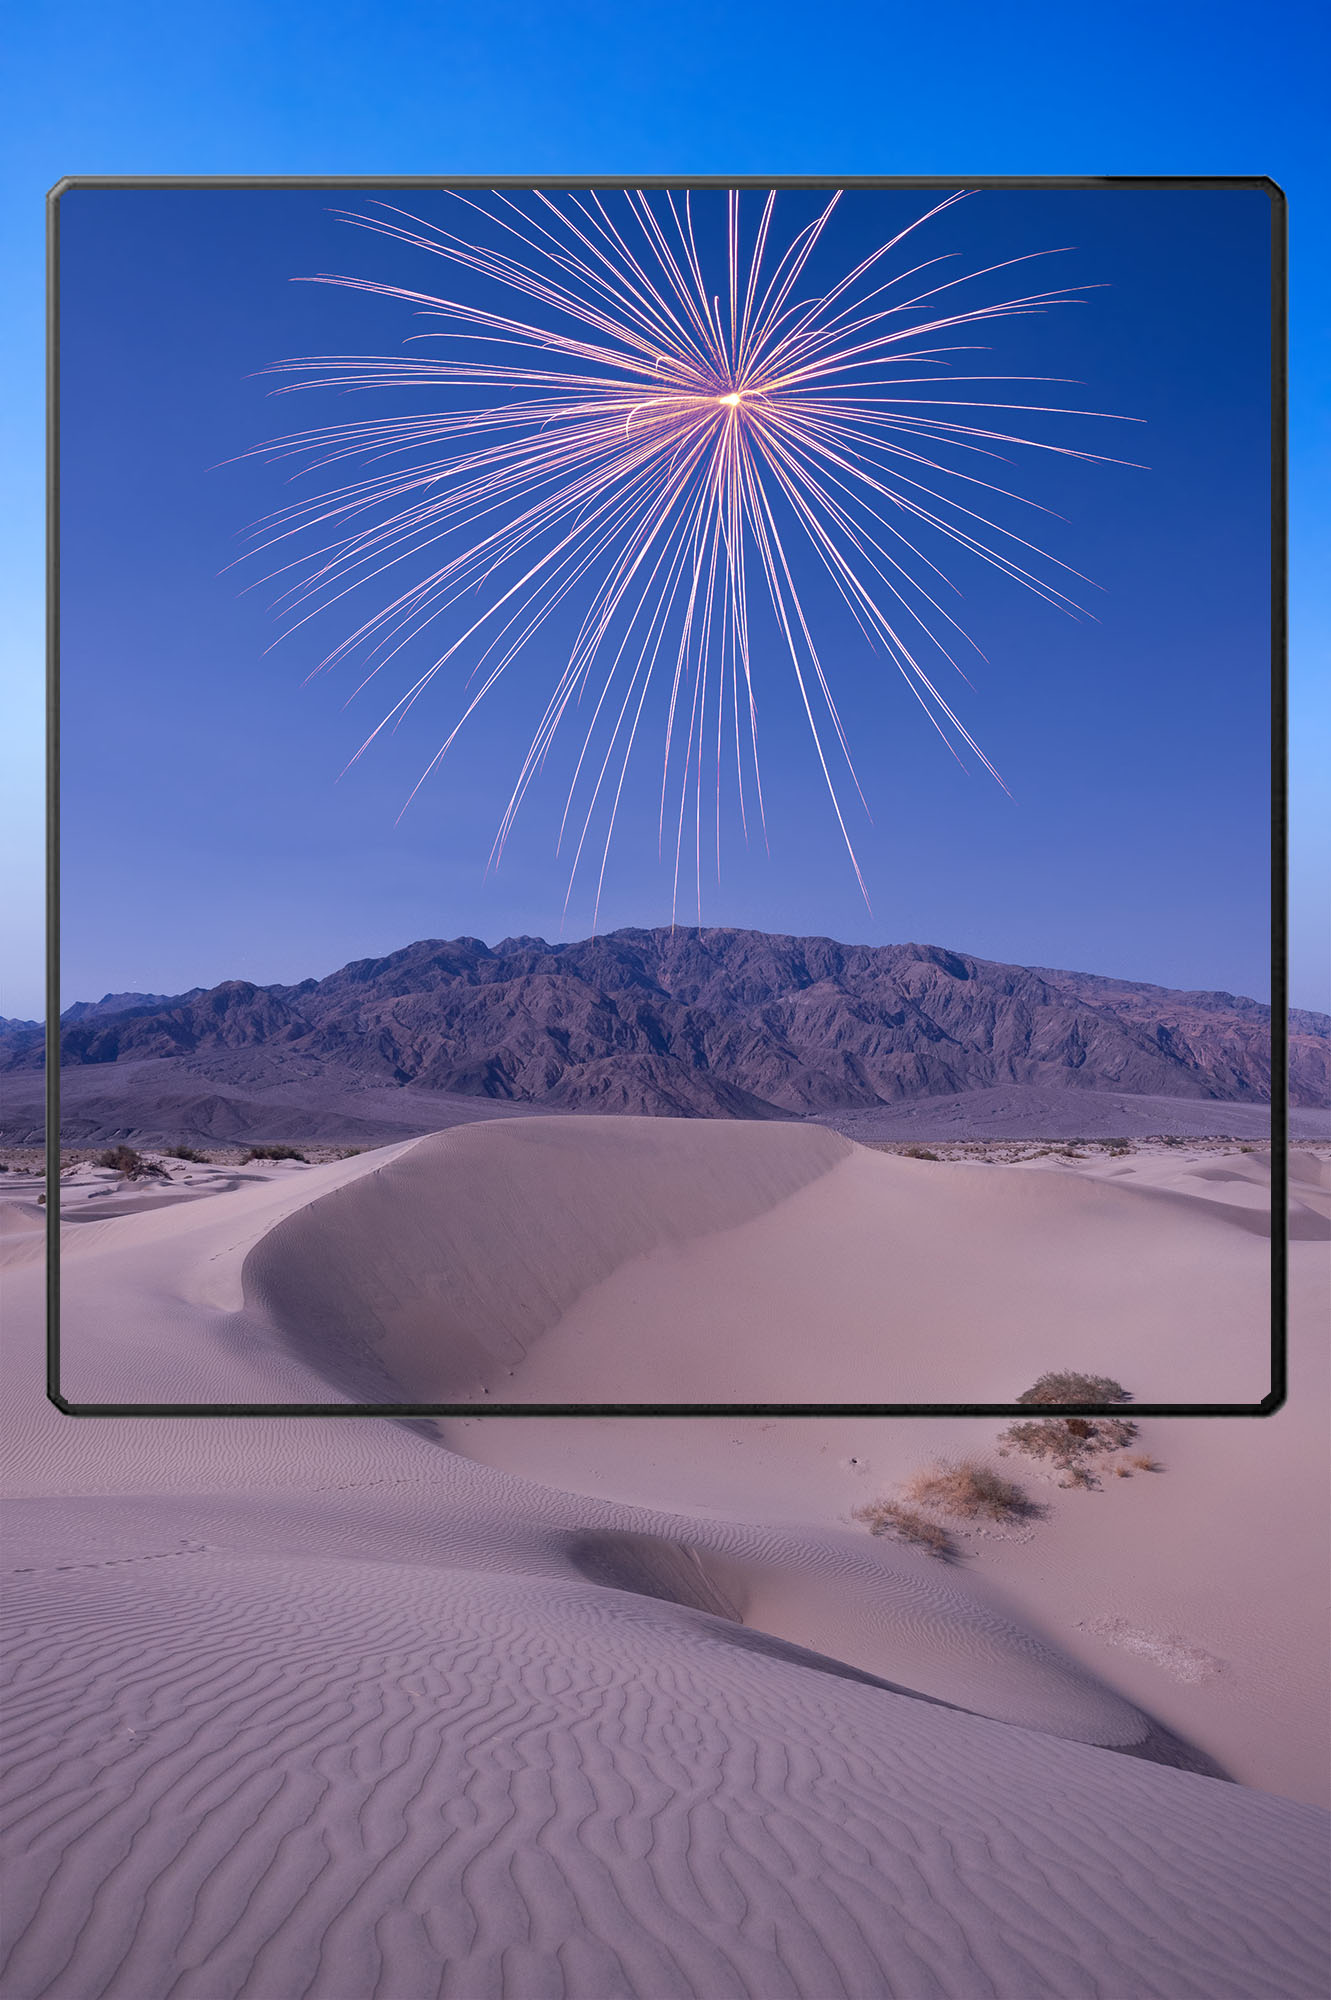
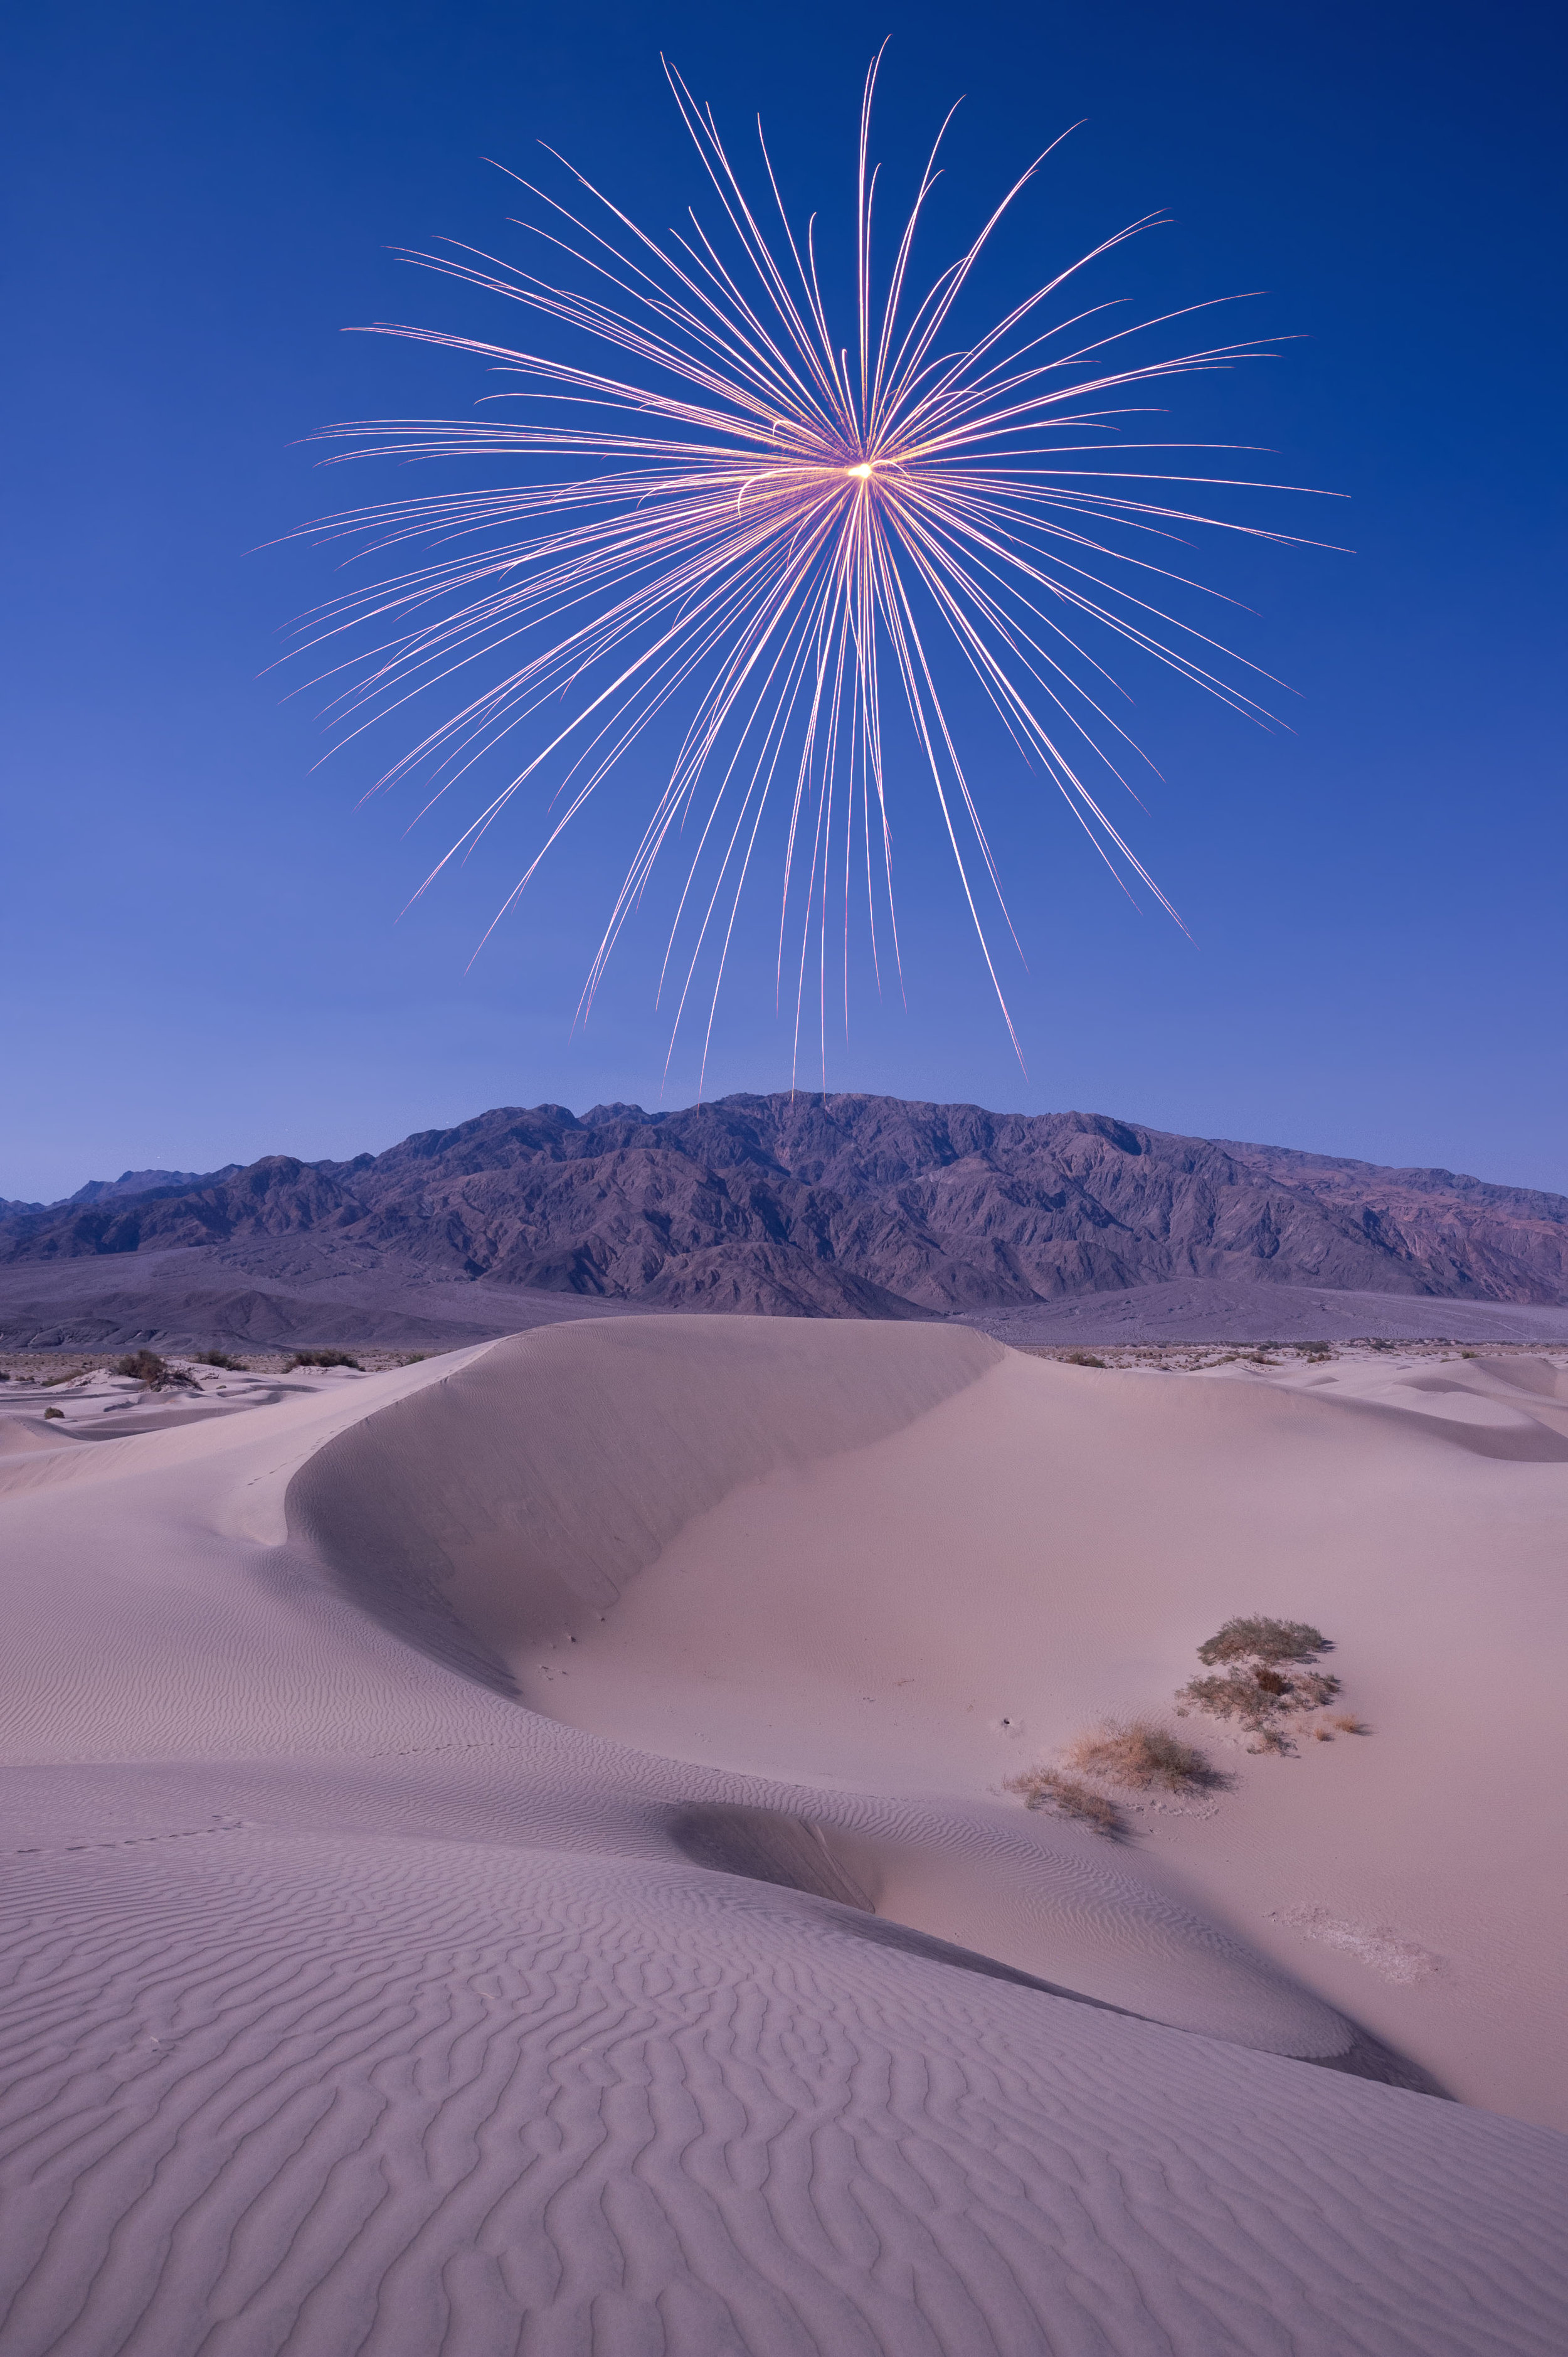
The moon rising over Mesquite Flat Dunes, Death Valley National Park. Nikon D750, Tamron 15-30mm f/2.8. Dunes light painted with a Coast HP5R flashlight. © 2016 Lance Keimig.
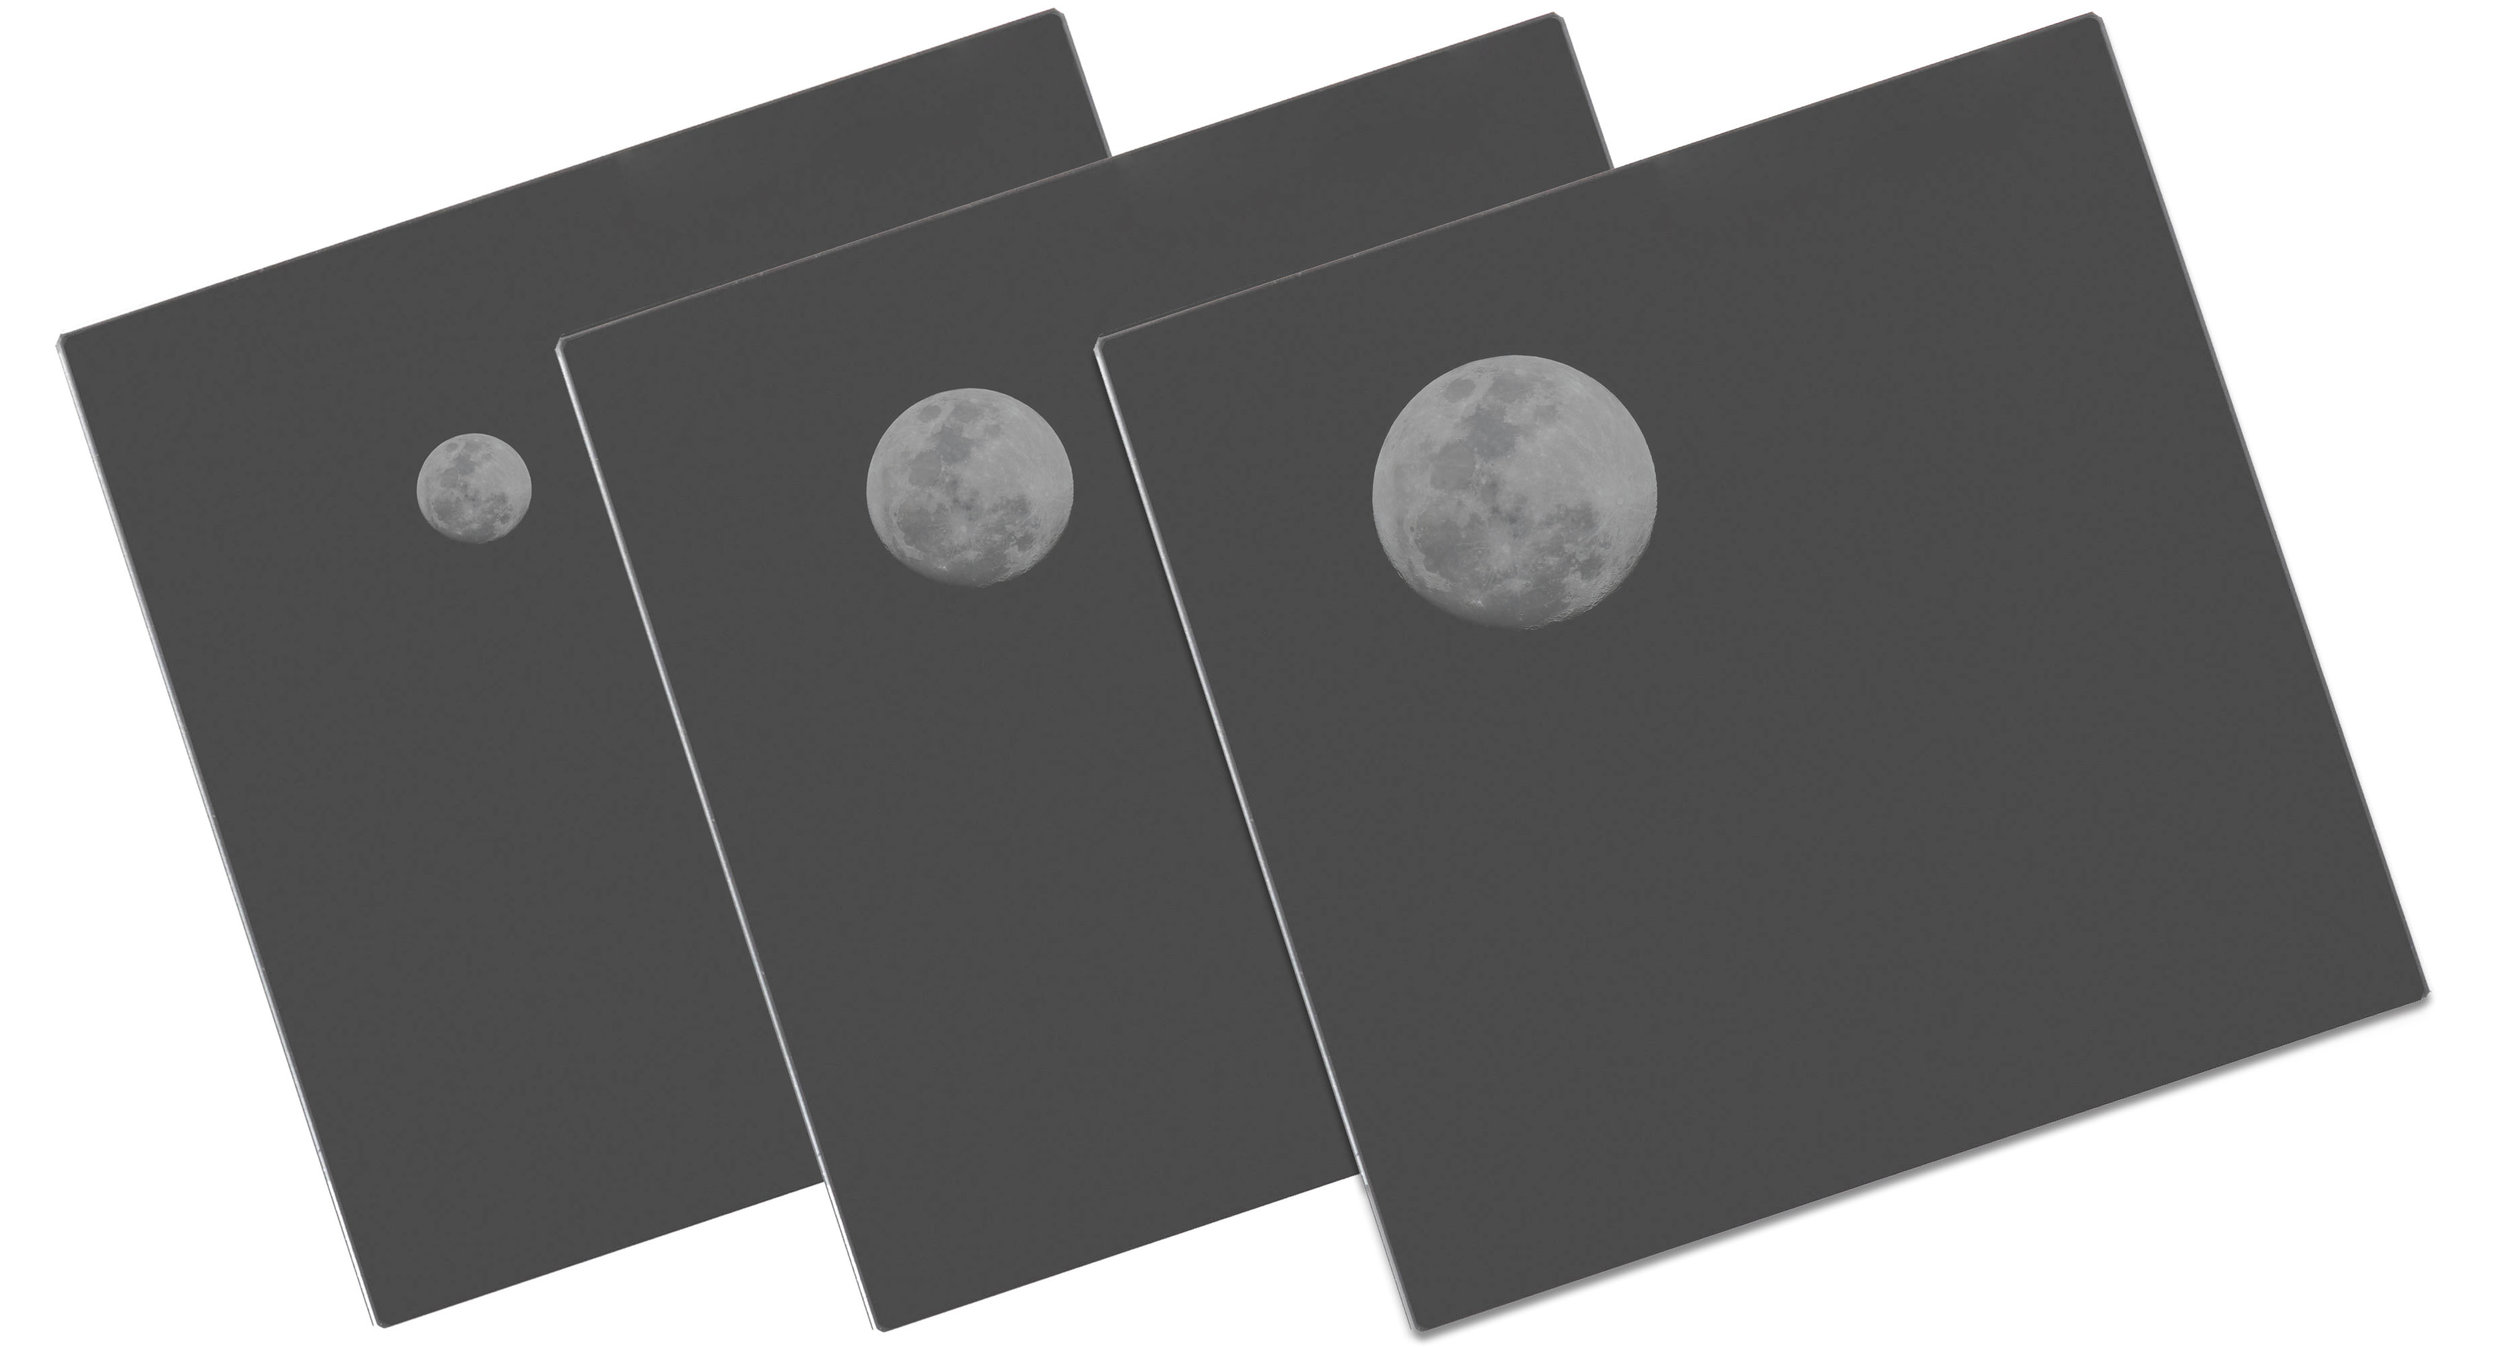
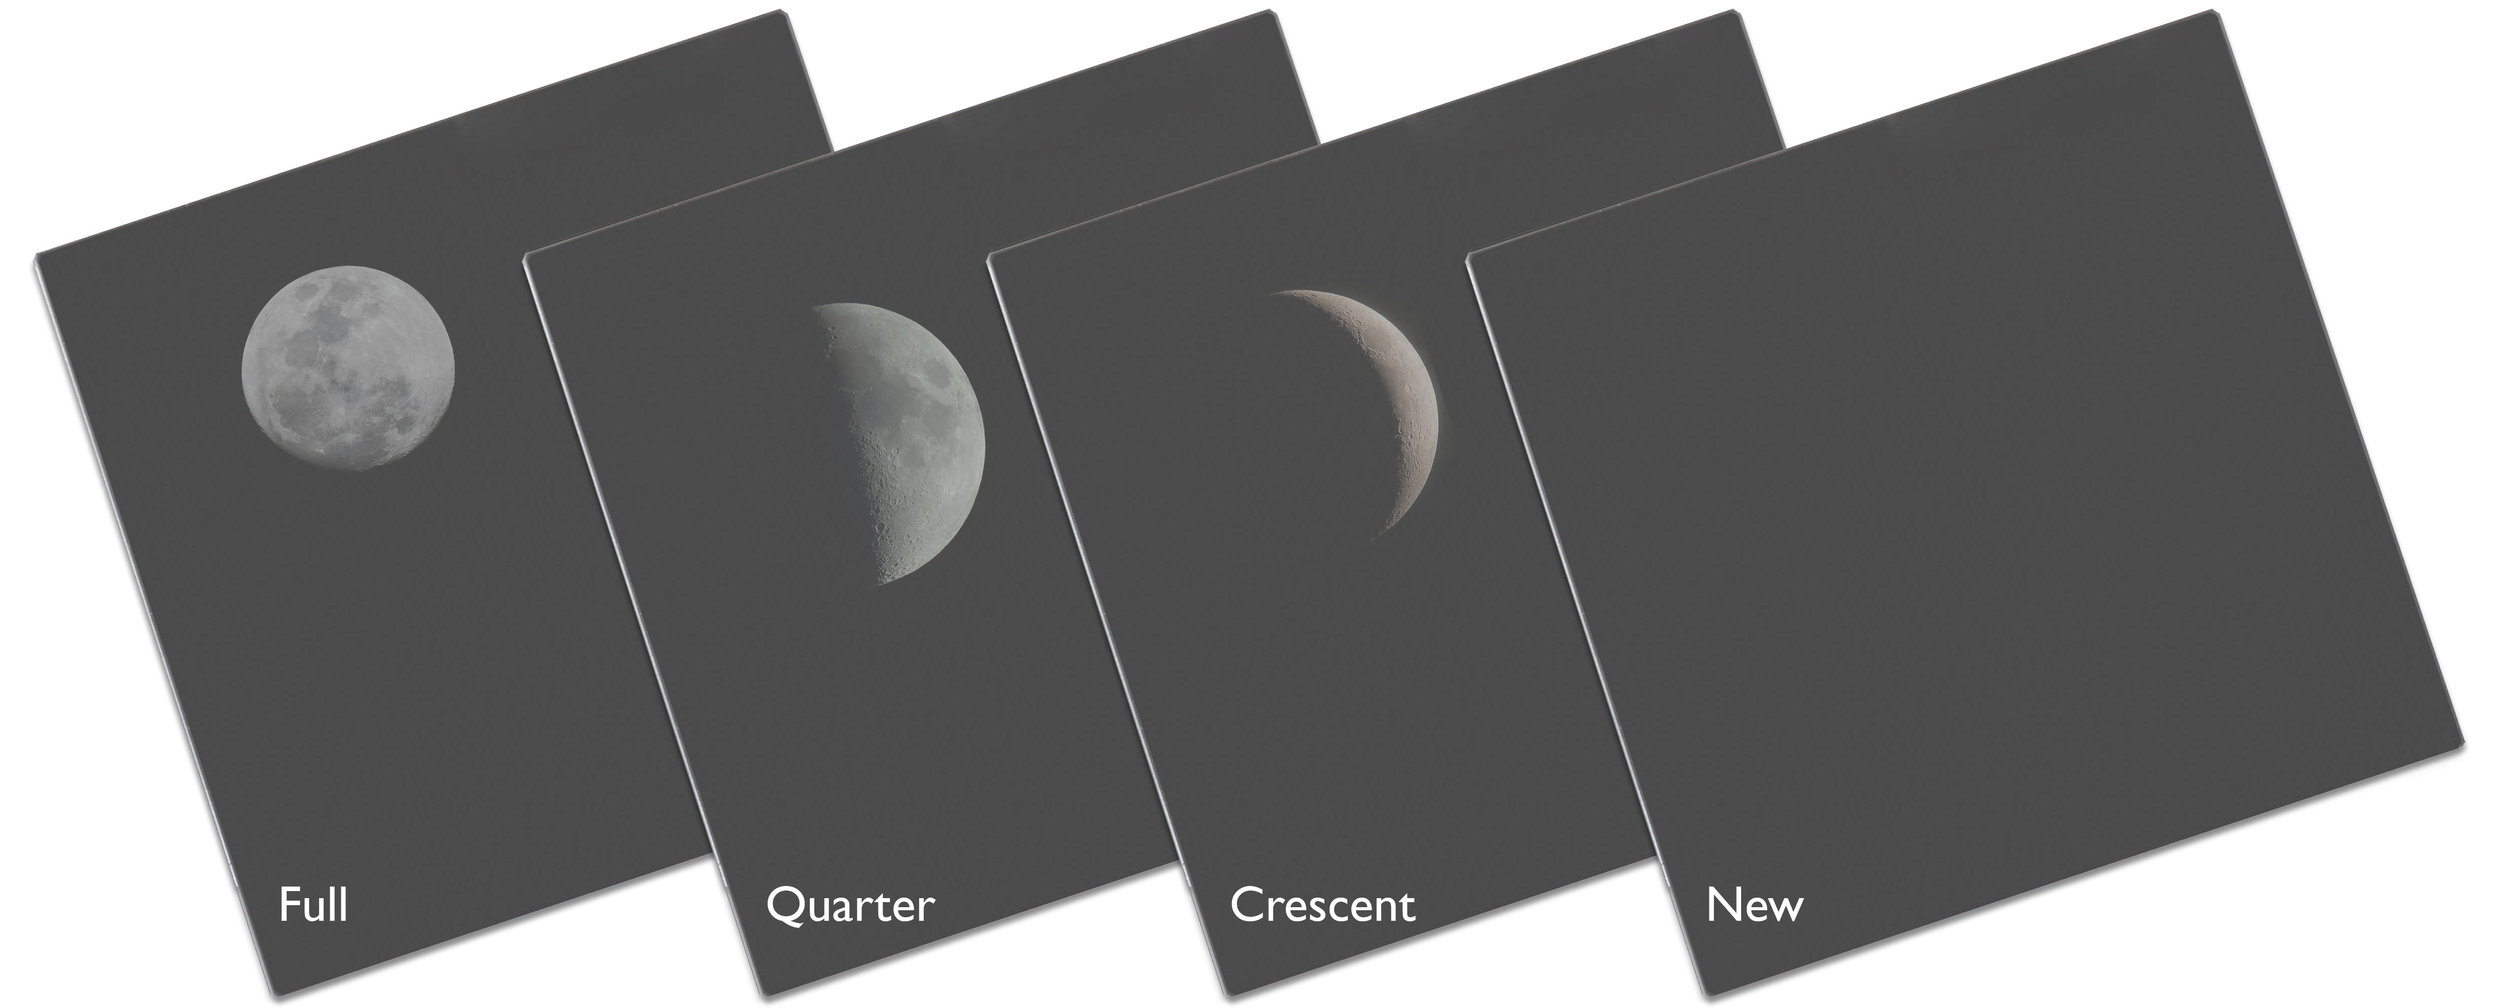
Q: I wanted to get a shot of the recent super blue moon full lunar eclipse, but I wasn’t sure which lens would be a good one to use. I wanted to get the moon as part of the landscape, with an in-camera shot (rather than just a zoomed shot of the moon). It would have been OK if the moon wasn’t super huge in my shot—I just wanted a nice overall image. This was with my Nikon D750, and I have a 70-200mm lens. For the next time, should I rent something zoomier (a 200-500mm)? — Tracy W.B.
A: Lens choice questions are really hard to answer. So much depends on the shot that you have in mind. We recommend using PhotoPills (see their website or in-app links for tutorials and ideas) to plan your shot if you have a location in mind, and then plan your strategy from there. If you don’t have a specific location in mind, then start by thinking about places you could shoot with a good view of the moonrise, figure out exactly where the moonrise will be using PhotoPills, and do some test shots beforehand to see which focal length will work best.
You shouldn’t need to rent a lens since you don’t have a specific shot in mind. Instead, build a shot around the lens you already have! — Lance
2. Cords vs. L-Brackets
Q: When I shoot in portrait orientation with my L-bracket on, I have the problem of not having access to my USB port to connect a remote release, since it is on the left side of the camera where the mounting bracket also is. Do you know of a way to solve that issue? — Michael M.
Custom-designed L-brackets (such as the Kirk model for the Nikon D750, pictured here) allow the photographer to access all the jacks, ports, controls and so on.
A: I love that you’re using an L-bracket! I could barely survive on a shoot without mine. But yes, I understand your issue, as it’s one I’ve had.
First, if you’re using a generic L-bracket, that could certainly cause this issue. Generic models have the advantage of being less expensive. But the more-expensive custom models (such as those made by Really Right Stuff and Kirk Photo) are designed for specific camera bodies. One of the advantages is that space is left around each jack and port, so you should have ready access to plug in anything you want.
However, that doesn’t mean you can’t still run into problems. For instance, on my Nikon D3s with the Kirk L-bracket attached, I can’t connect a proprietary power cable to an external battery because of the way the plug is designed. Another example is exactly what’s happening to you: Plugs that stick straight out from the jack (rather than at a right angle) might not work when the L-bracket is mounted to a tripod head vertically (which kinda defeats the reason for using the bracket).
I suggest contacting the manufacturer of the accessory you’re trying to plug in and asking if they can supply or recommend an alternative cable. Or, if the accessory is the cable, only buy one with that right-angle-type connector.
Ironically enough, this could also be a case where a generic L-bracket could serve you better; one that’s designed a little taller than your camera could allow enough space to mount the vertically oriented body off-center, providing room for your connector underneath, out of the way of the tripod head. — Chris
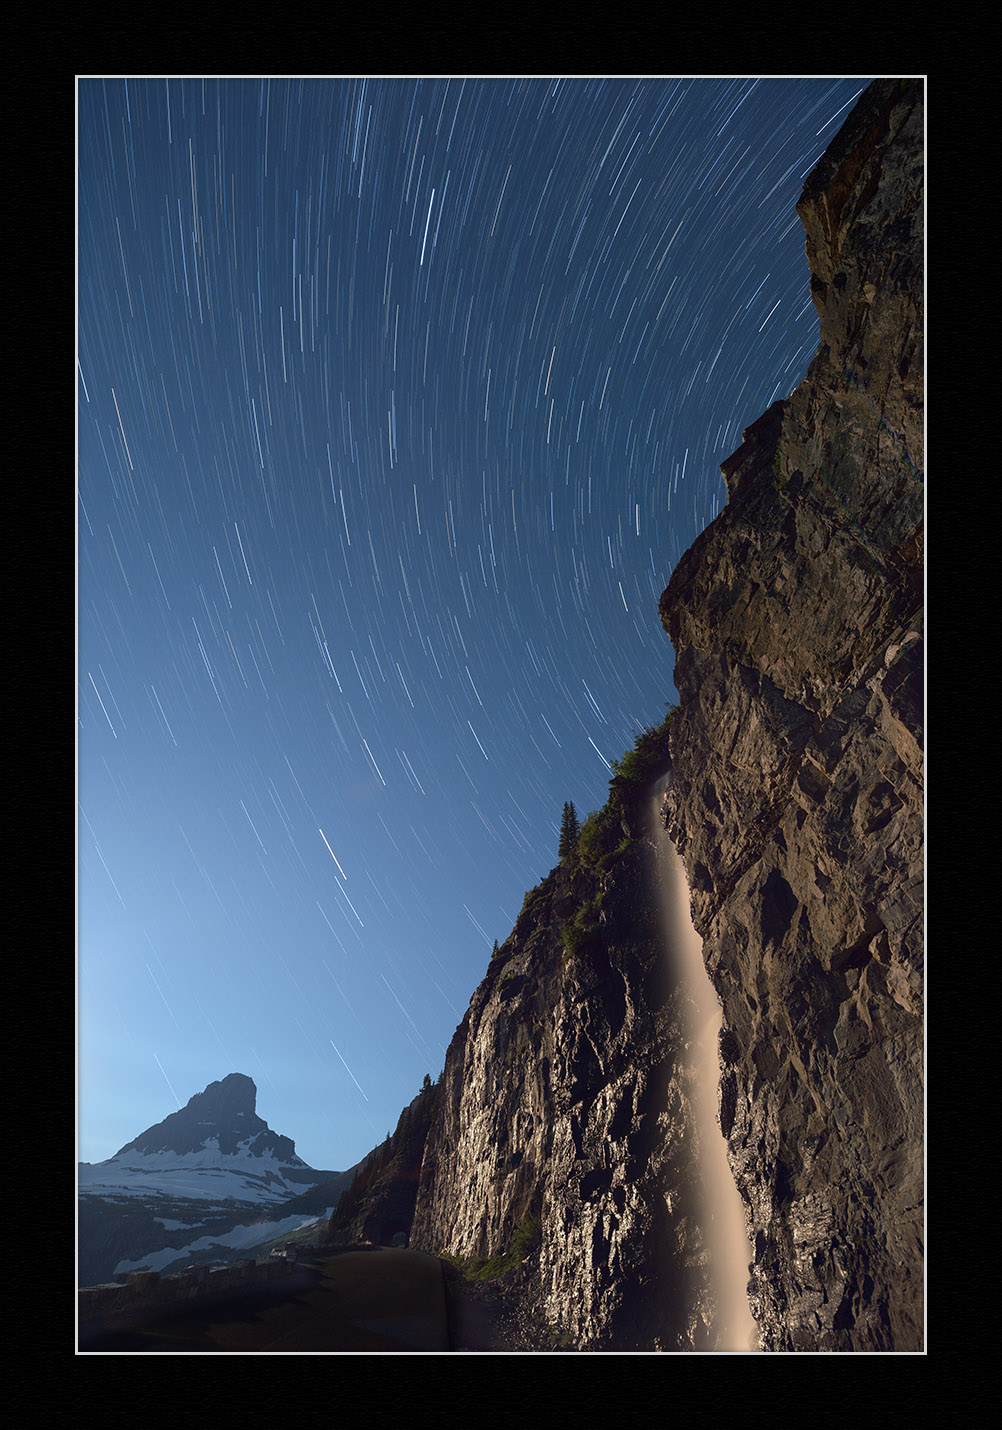
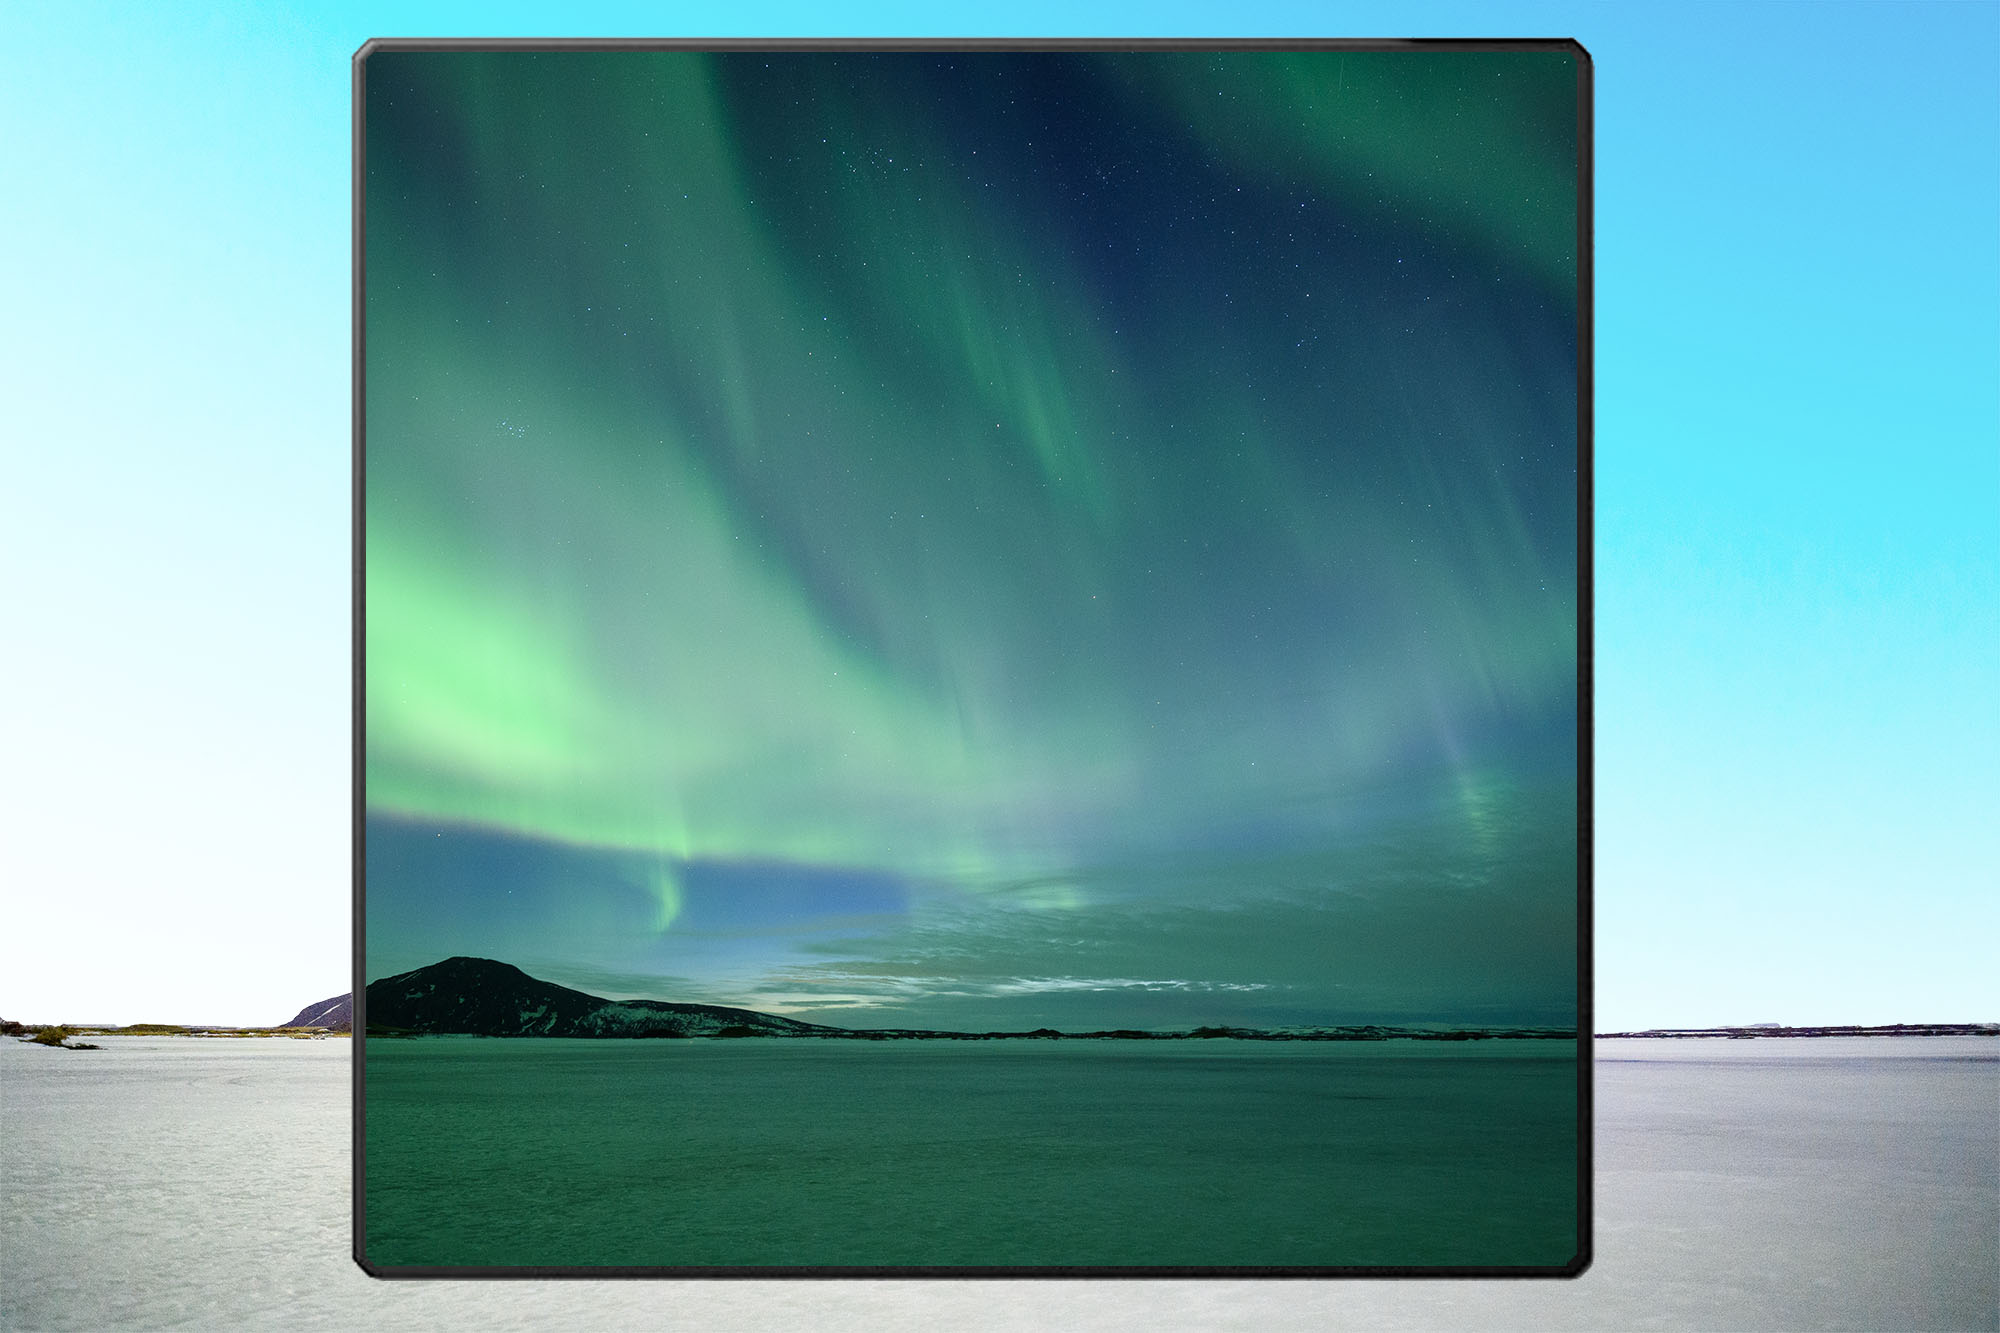
3. Wildfires and Smoke in the Northwest U.S.
Q: My experience living in the Pacific Northwest is that, over the past four to five summers, forest fires in Washington, Oregon, Idaho, Montana and British Columbia have produced serious haze conditions for both day and night photography in July, August and September. You’re doing a workshop in Glacier National Park this summer. How would you adjust shooting for this possibility? — Dave E.
A: Yes, the past couple of years have been kind of smoky up here! I live in Montana, so I know what you mean.
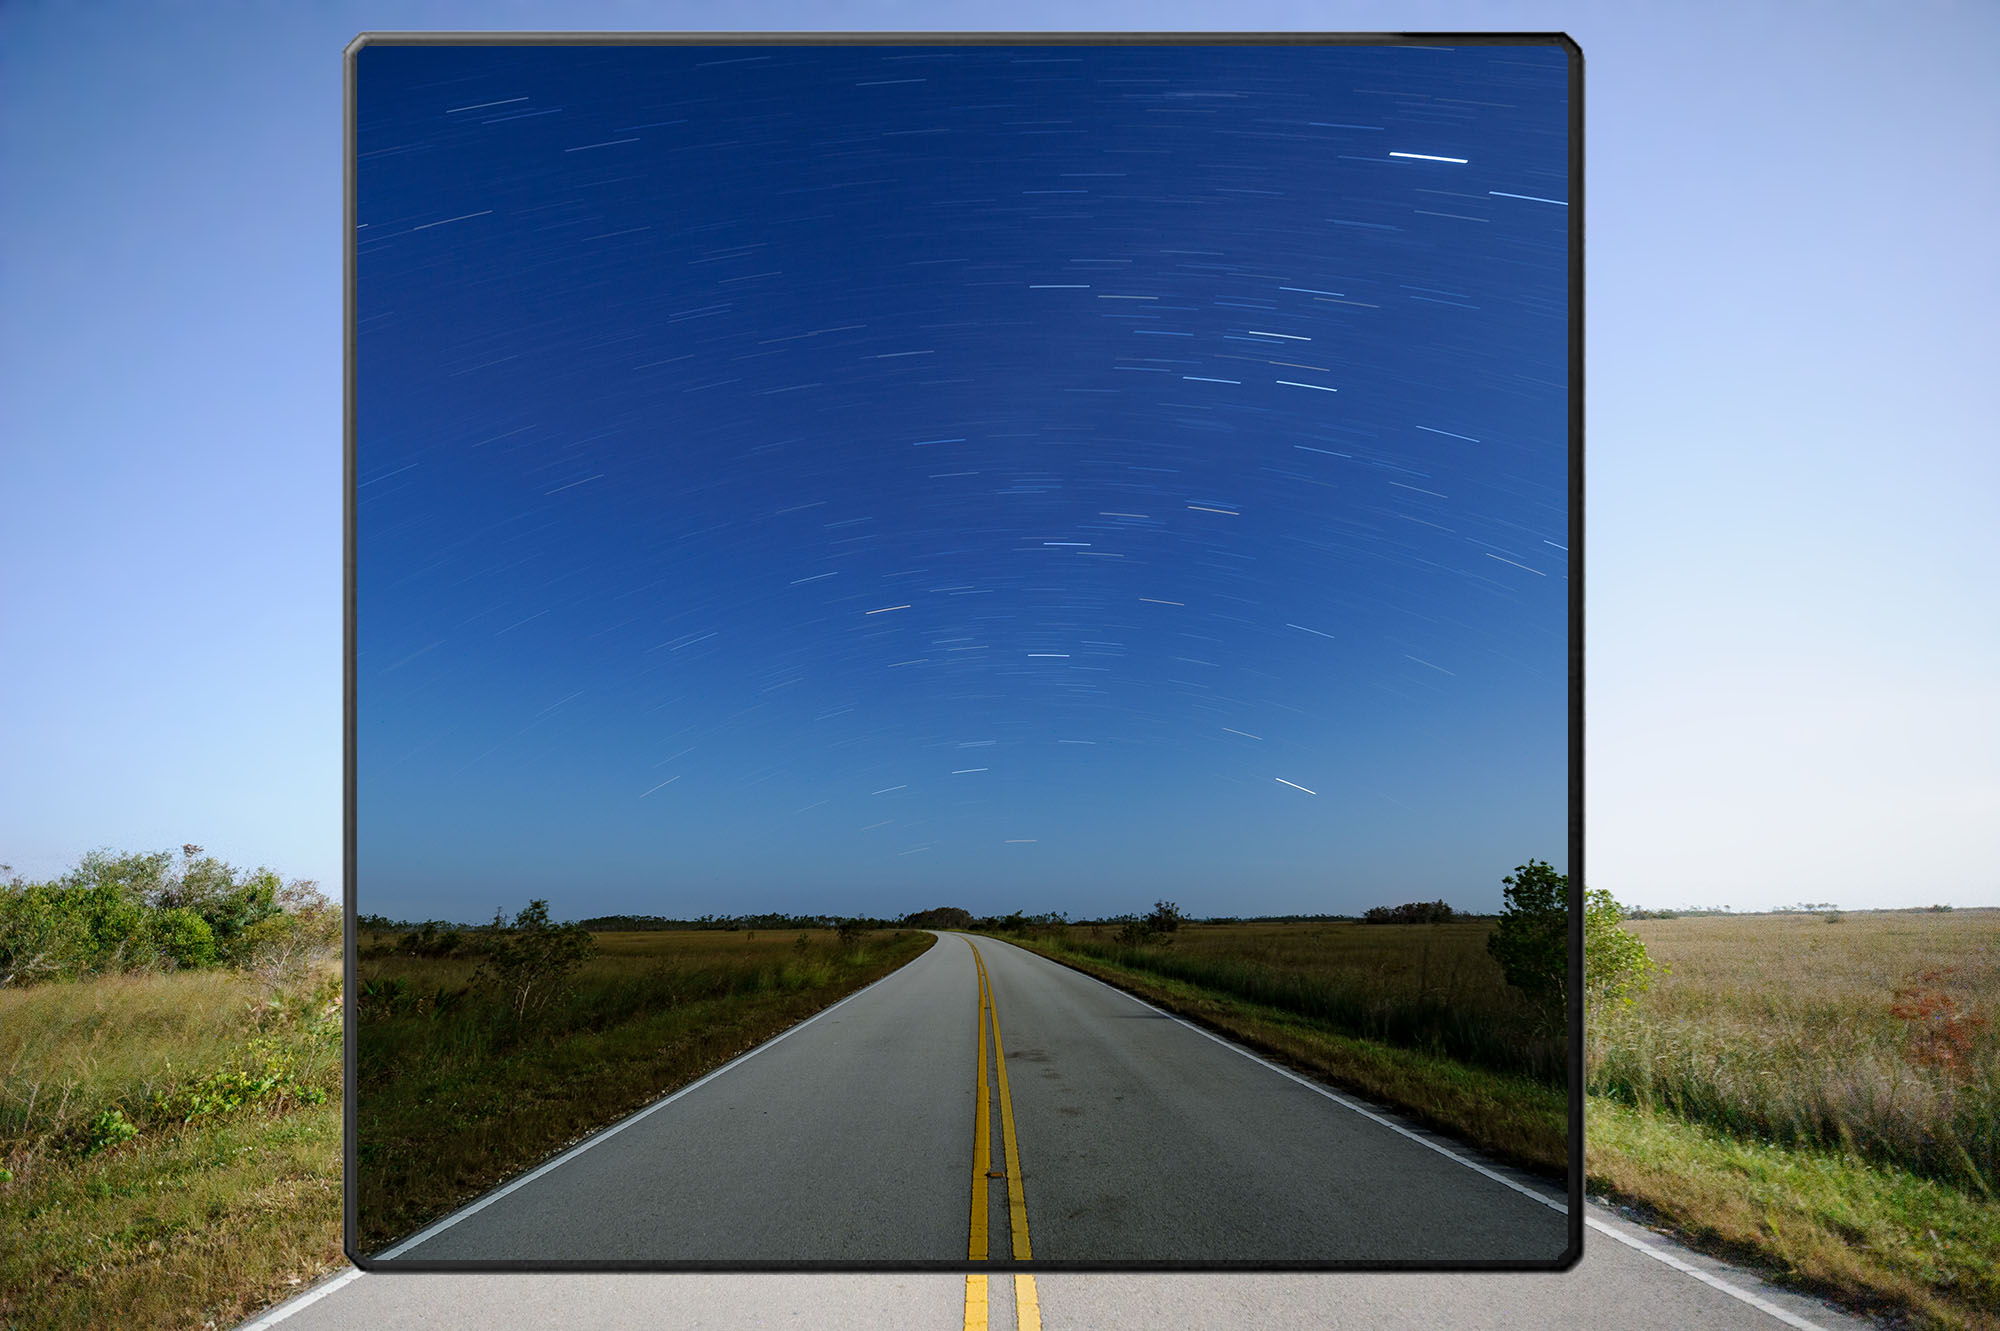
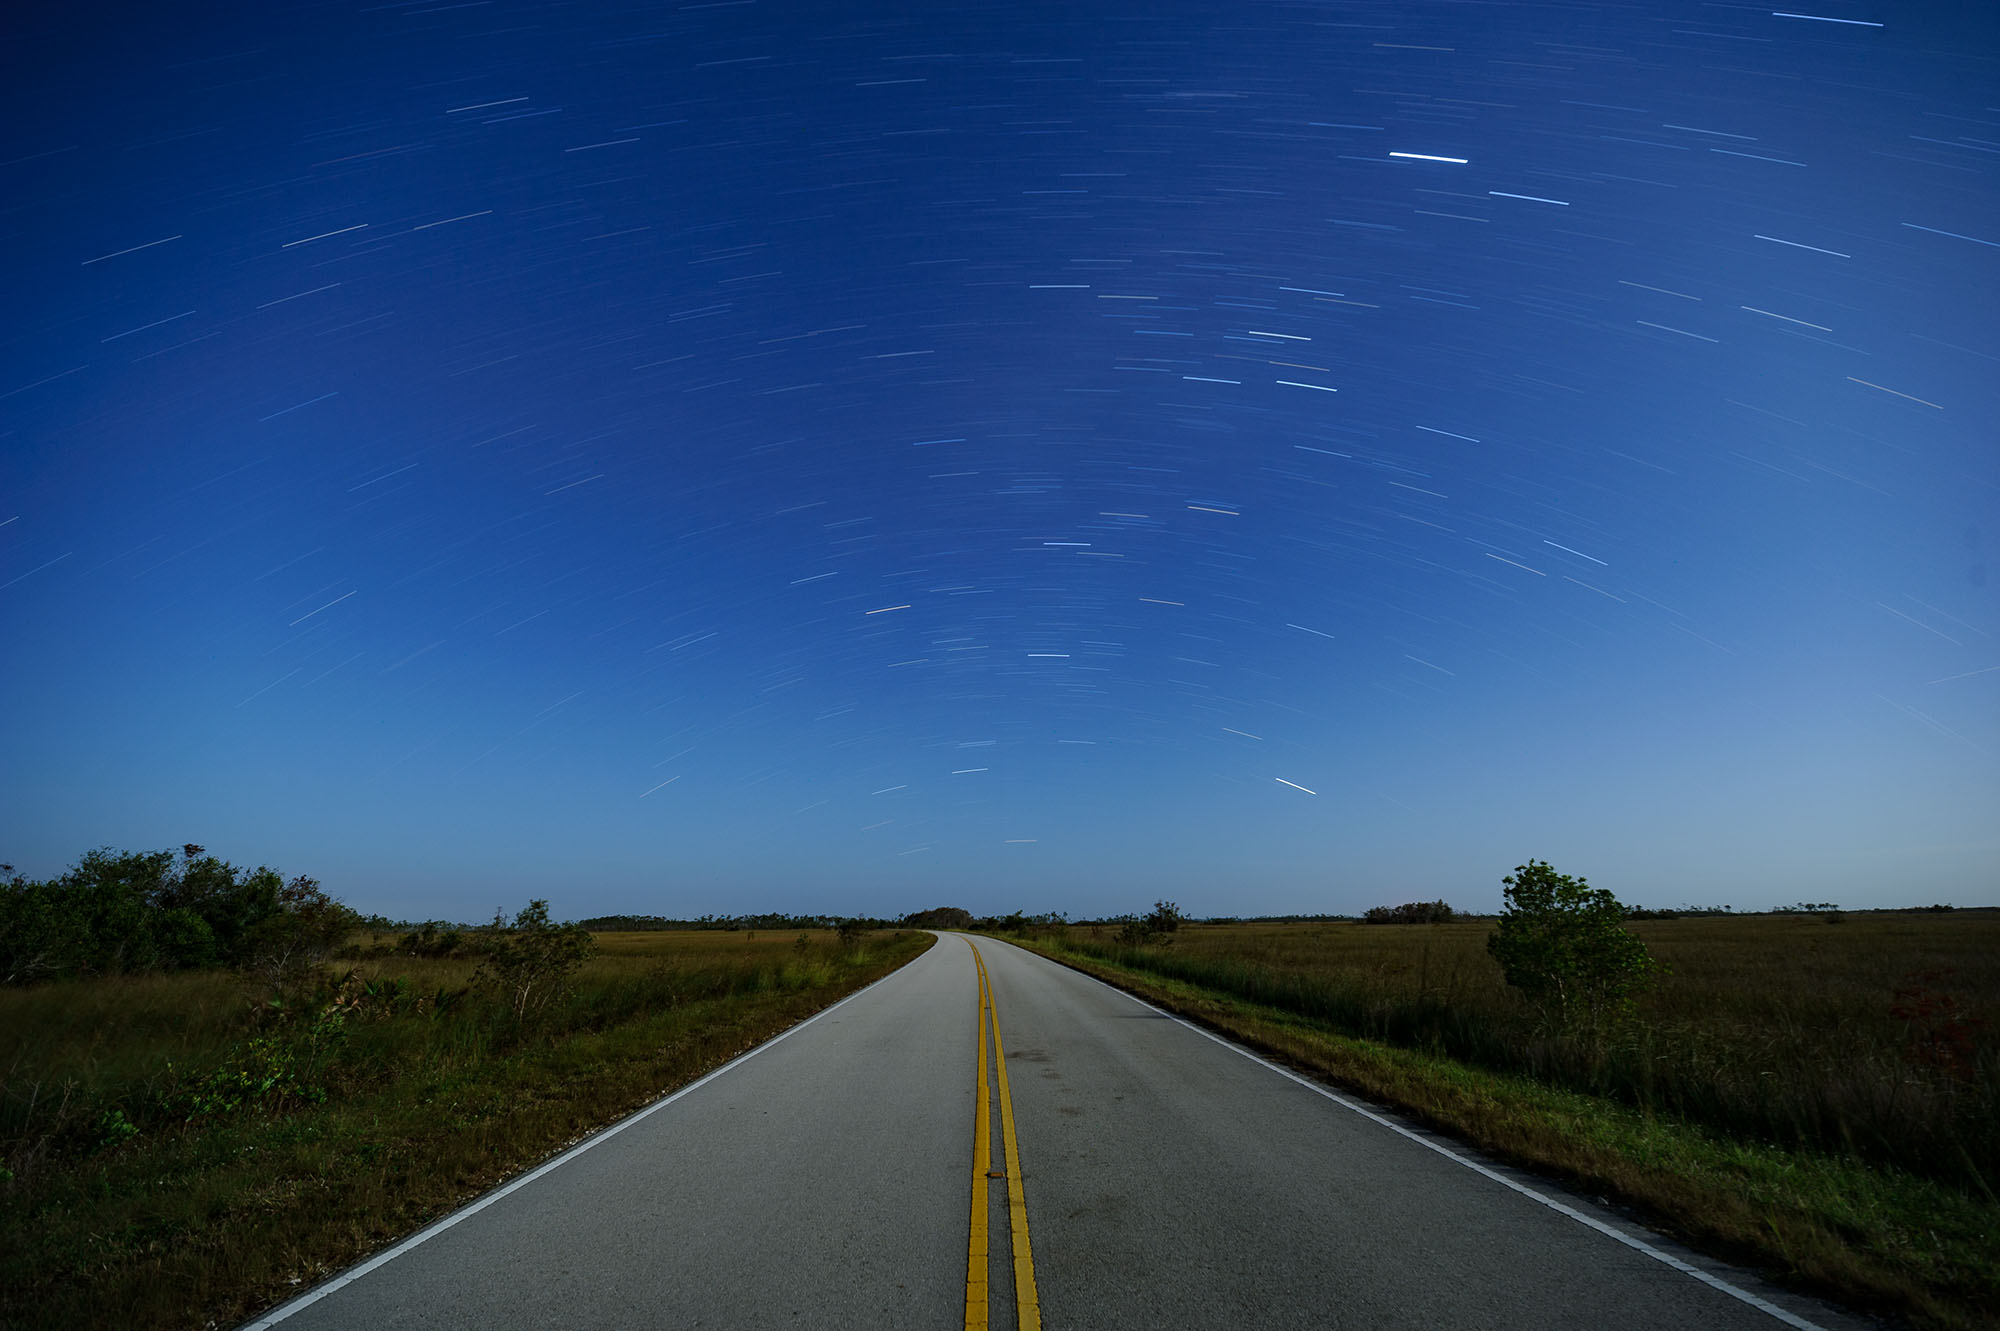
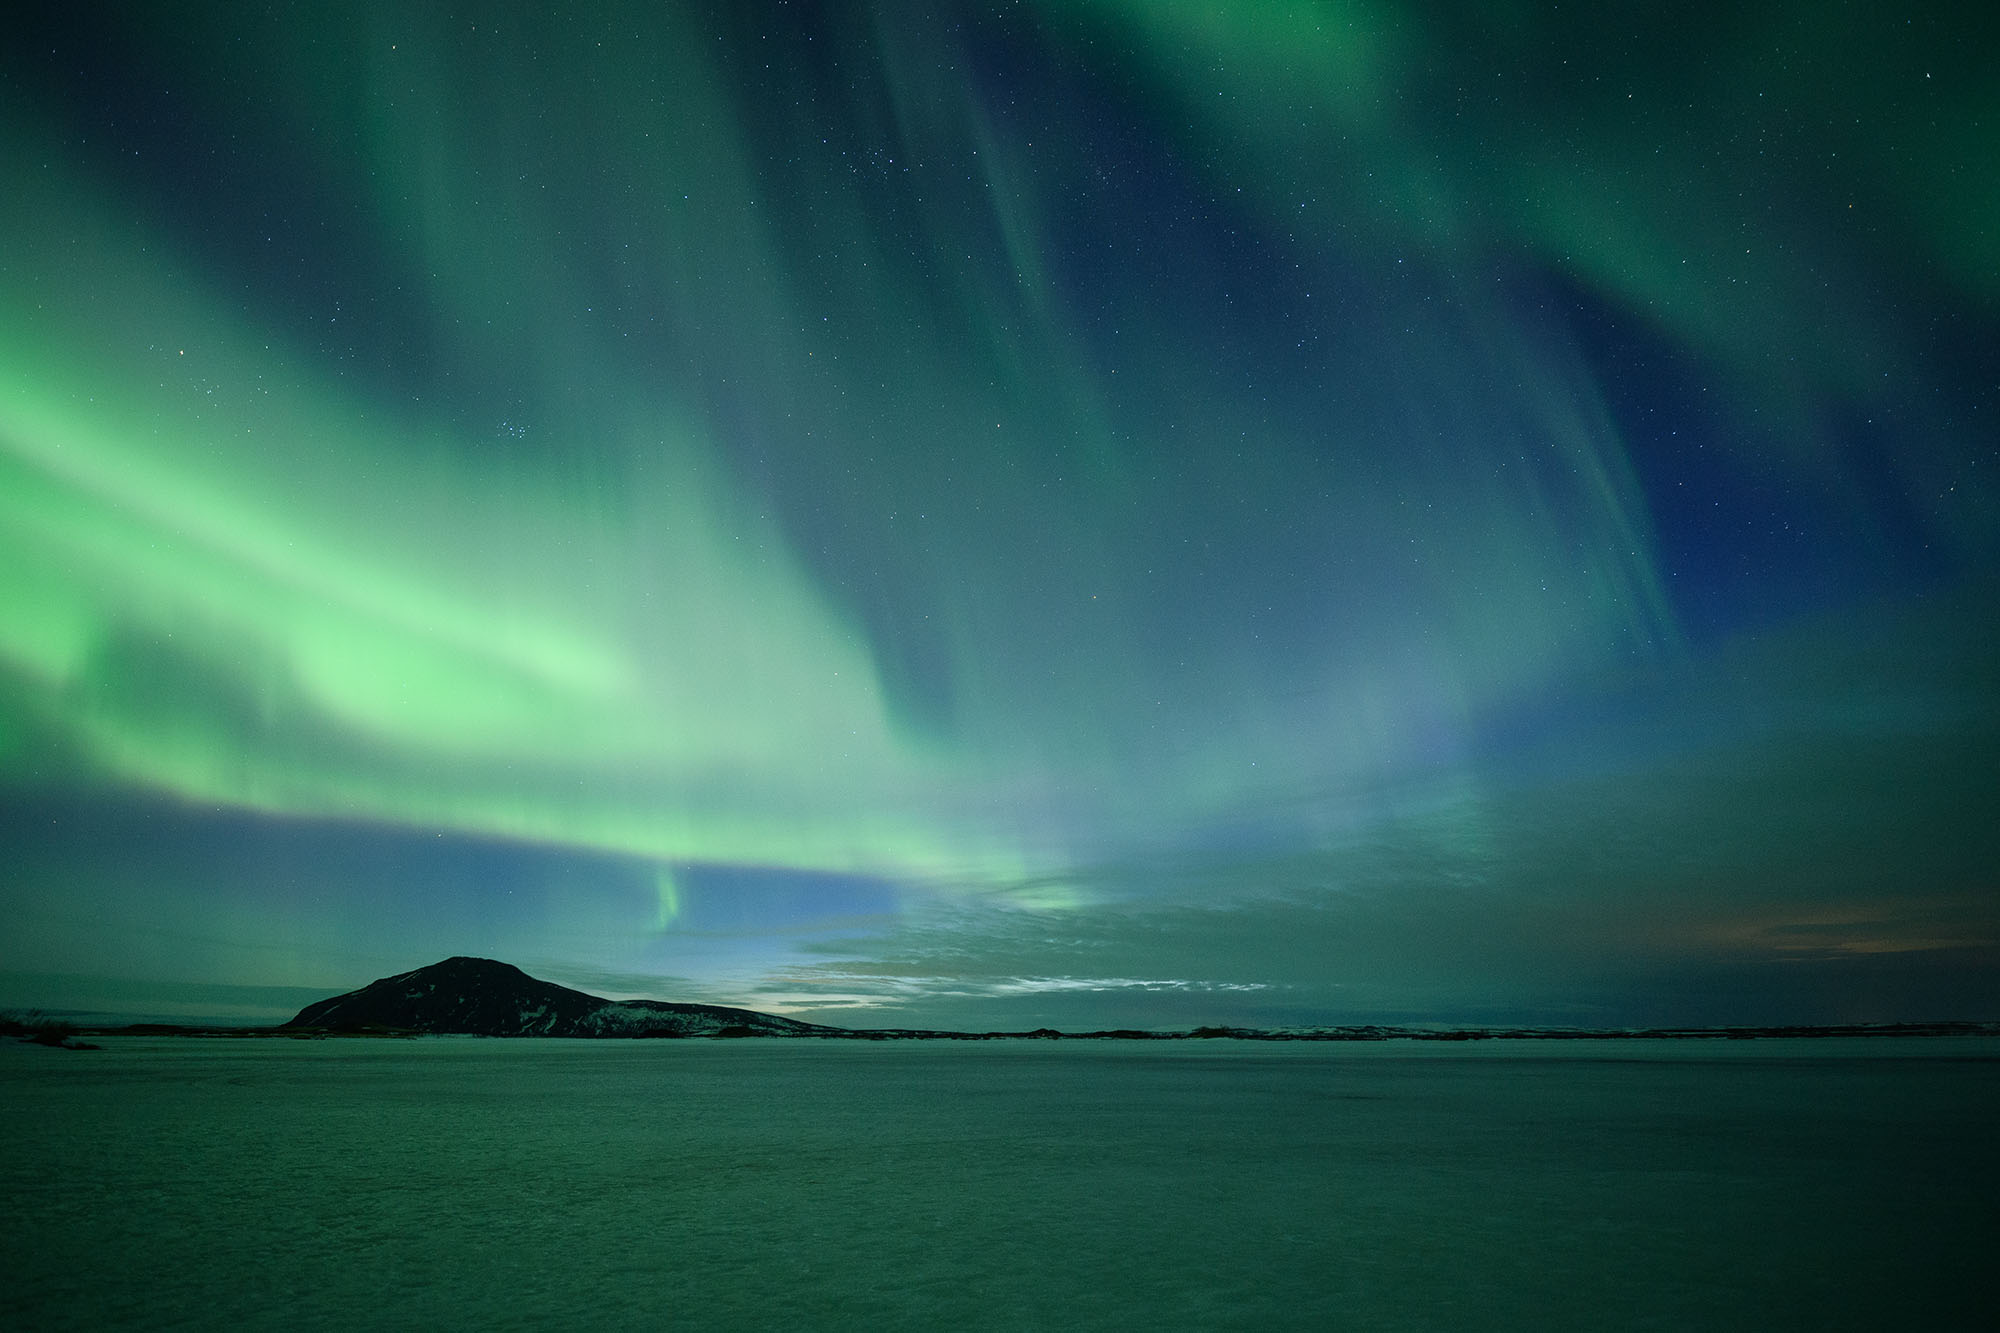
However, I have been visiting Glacier National Park in summer for over 20 years and have been unable to make images only a couple of times. The images below are from last summer during the height of the fire season and during the infamous Sprague Fire in Glacier that burned down the Sperry Chalet. (Which, incidentally, is being rebuilt!)
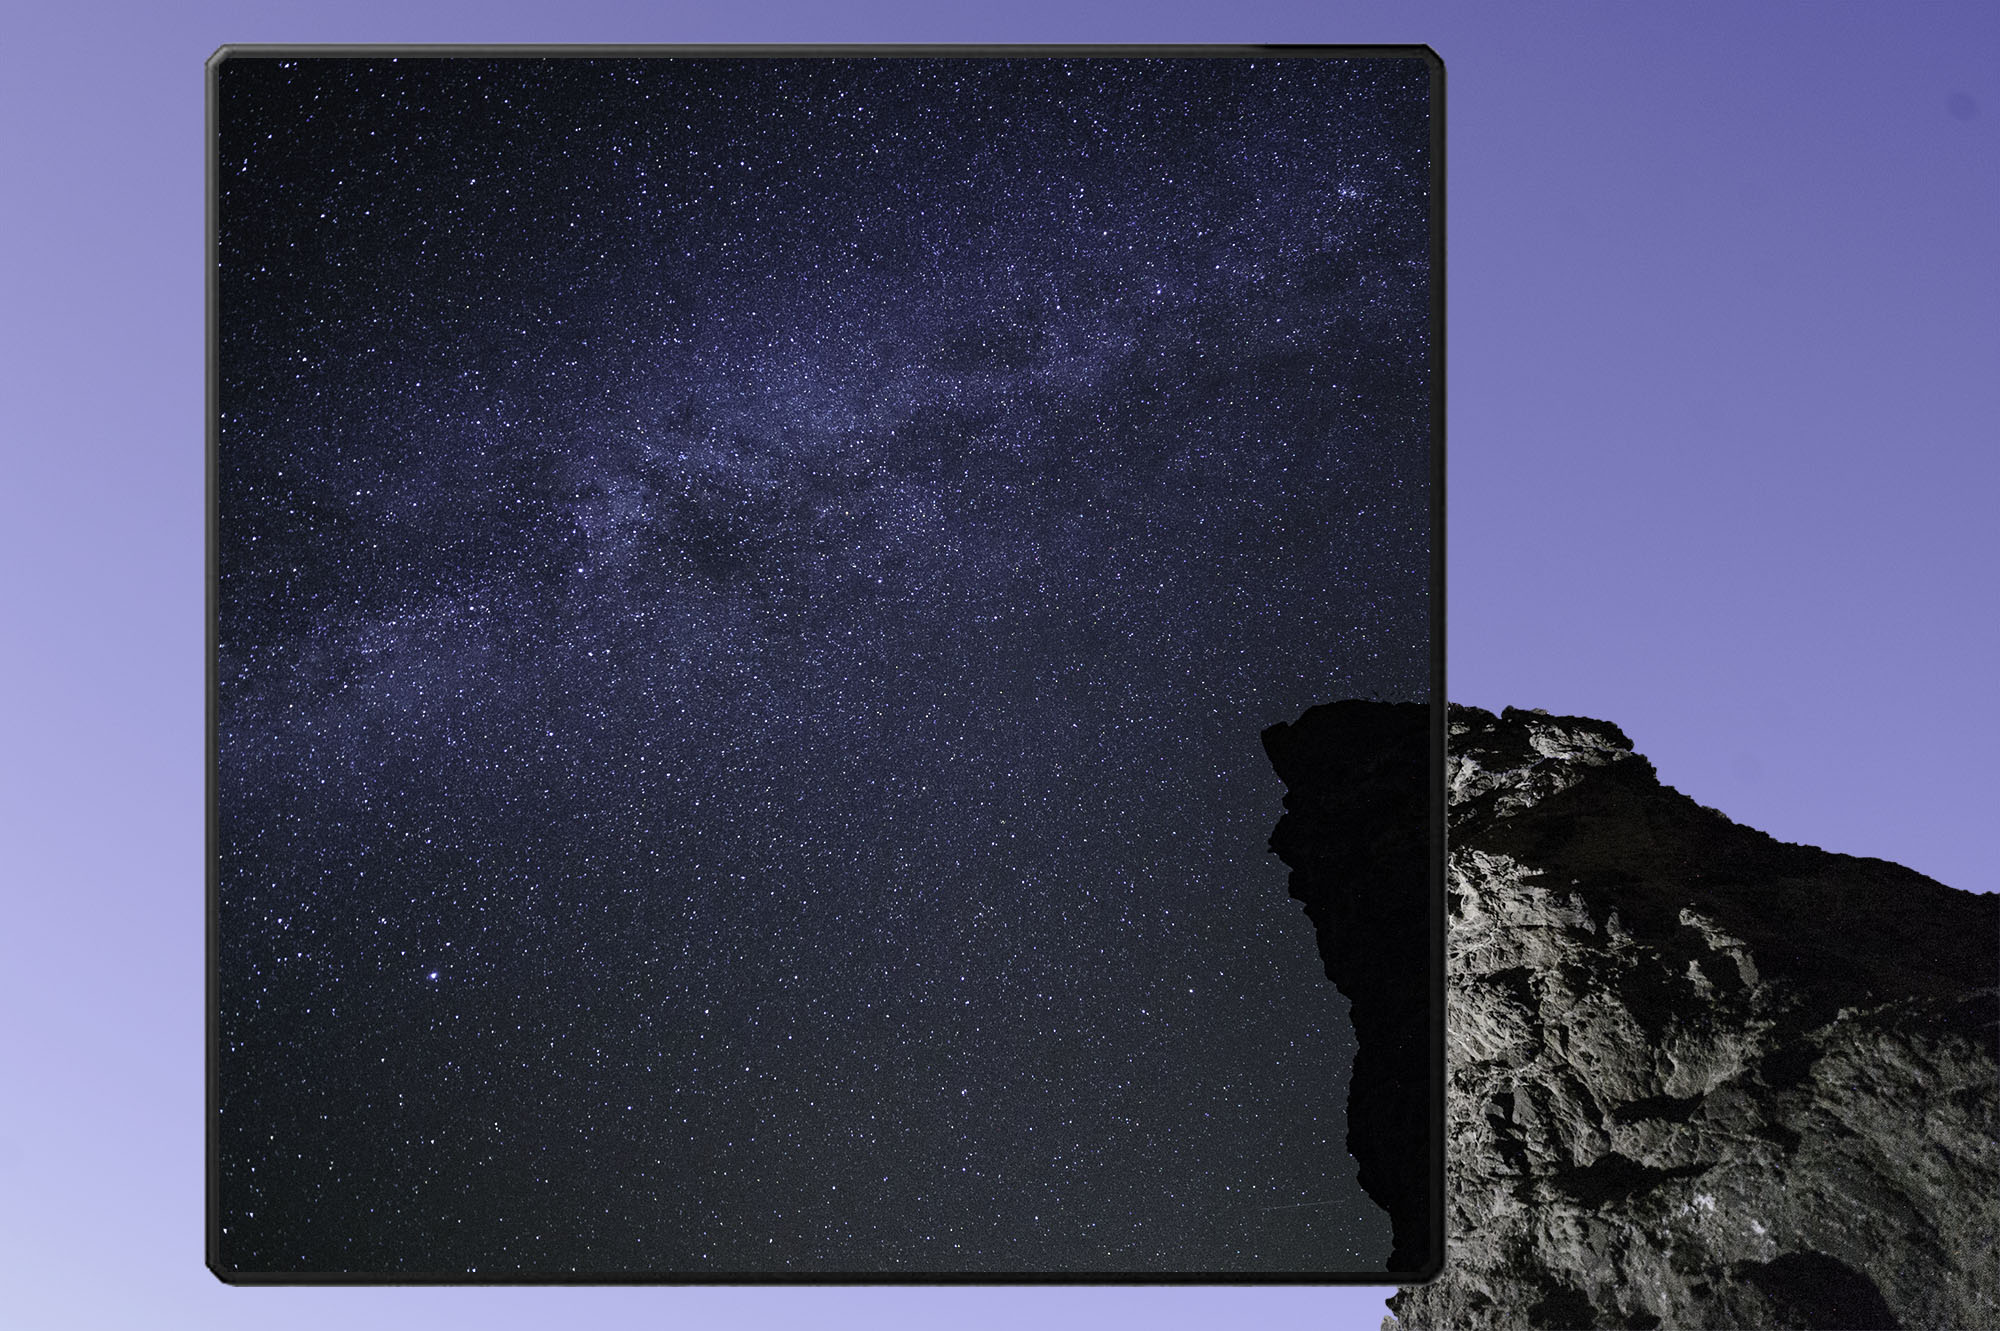
Night photos in Glacier National Park during the 2017 Sprague Fire. Nikon D4s. © 2017 Tim Cooper.
That’s not to say there is no risk, but wind conditions, locations of fires, etc., play such a big part. It’s really hard to guess when fires will happen and when they will inhibit photography.
That being said, if I did run into an abundance of smoke, I would be looking all over the park and surrounding areas for clearer skies. All of us at National Parks at Night love light painting, full-moon shooting and all types of night photography. Shooting the Milky Way and star trails is just one part of what we focus on, so smoke certainly wouldn’t make us pack up the cameras for the night. I’ve been in many situations where the skies were overcast and the image-making was great due to other aspects of the scene. — Tim
4. Intervalometers for Fuji X-T Bodies
Q: I recently attended one of Matt’s speaking engagements and it definitely sparked an interest to experiment with some night photography in the coming months. I have a Fuji X-T2 kit that includes a 10-24mm lens, along with a nice stable tripod. I’m planning to purchase an intervalometer cable release next week. Have you used a wired or wireless intervalometer shutter release with an X-T2 with success? — Elliot R.
A: Yup. There are two intervalometers that I find work well with the X-T2. For a wired model, I recommend the Vello ShutterBoss II (ignore that it says it’s for Canon—it also works with your Fuji!). For wireless, I recommend (surprise!) the Vello Wireless ShutterBoss II.
I use the wired model all the time with my X-T1 for time-lapses. Gabe uses an X-T2 with the same wired release.
However, before choosing, I do recommend considering the pros and cons of a wired versus wireless intervalometer. See my 2017 blog post “Remote Question: Wireless or Wired Intervalometers for Camera Triggering?” — Matt
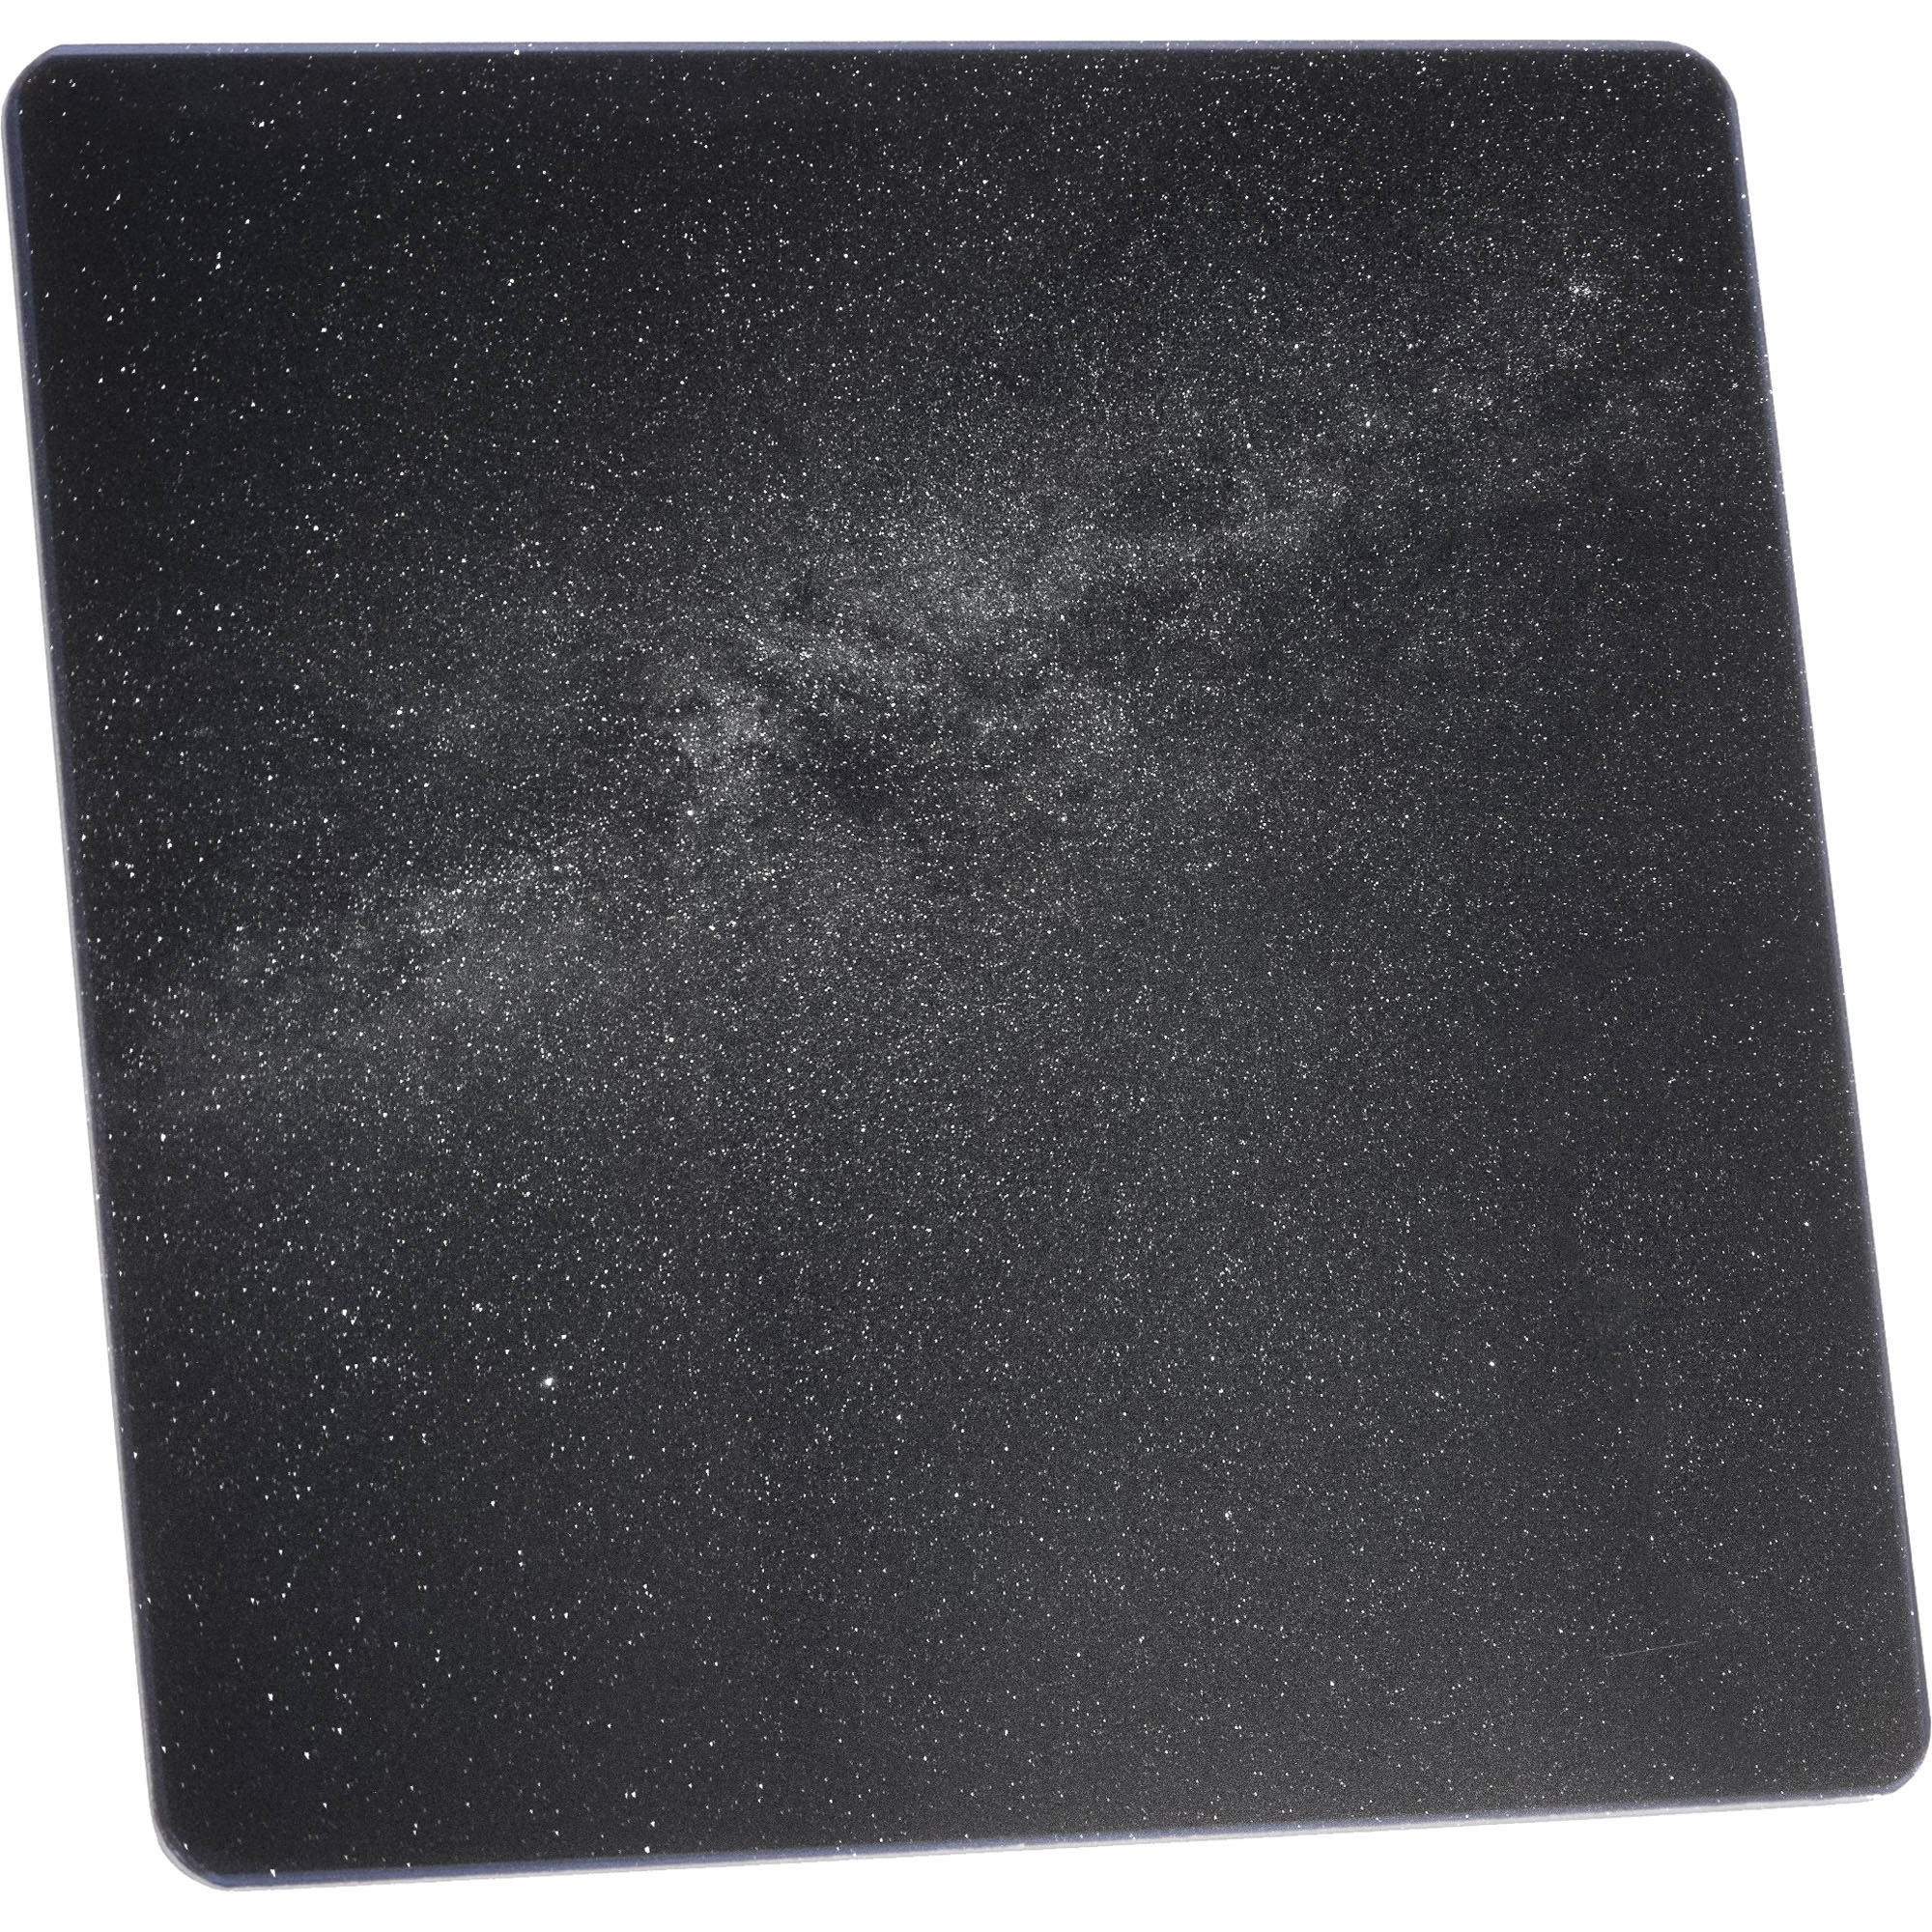
5. Noise With Varying-Quality Cameras
A side-by-side comparison of ISO 100 (left) and ISO 51,200 (right) images from a camera noise test.
Q: In the descriptions of your workshops you say to know your DSLR or high-end mirrorless, but I’m not sure what is considered “high-end.” I have a Sony Alpha a6000. I have tried a few times doing night photography using that with a Samyang 12mm f/2. I also see you guys mention full-frame; how important is full-frame versus crop sensor when doing night photography? I have seen amazing night photography pictures using the Sony a6000. — Kylee W.
A: While there are plenty of crop-sensor cameras that do well with night photography, I have found the a6000 and a6300 get rather noisy with long exposures. But everything is definitely subjective, and my tolerance for noise might be less than yours. The best advice I would offer is to test your camera, figure out how noisy it gets and establish your own parameters. You can run this test either in the field or in the comfort of your home.
Take a picture of something that has shadows in it (because noise appears in the shadow areas first). Put your camera on a tripod and take a series of shots at ISOs of 1600, 3200, 6400, etc.
Then (and, for this, you might have to turn your lights low and stop down your ISO and apertures), do a series of images at various shutter speeds: 15 seconds, 30 seconds, 1 minute, 2 minutes. ... Keep doubling your time and adjust your ISO and apertures (or lighting), and end at somewhere around 8 minutes.
Do these tests with your camera’s noise reduction features off, and then again with the noise reduction features on. See if that makes a difference.
Download the images to your computer and inspect them at 100 percent. Look for two things:
- When your image gets too grainy for your taste, that is the ISO that you will want to avoid.
- In your long-exposure images, look for red, purple and other colored specks. That is color noise from the long exposures. Again, determine the ISO at which that becomes unacceptable to you.
This test will help you establish the parameters in which you can successfully operate your camera (according to your own tastes) with both the high ISOs and the long shutter speeds that are needed for most night photography.
If you’d like to see a more detailed rundown on how to perform a high ISO test, along with sample images, see our 2016 blog post “Keep The Noise Down: How To Take An ISO Test With Your Camera.” — Gabriel